|
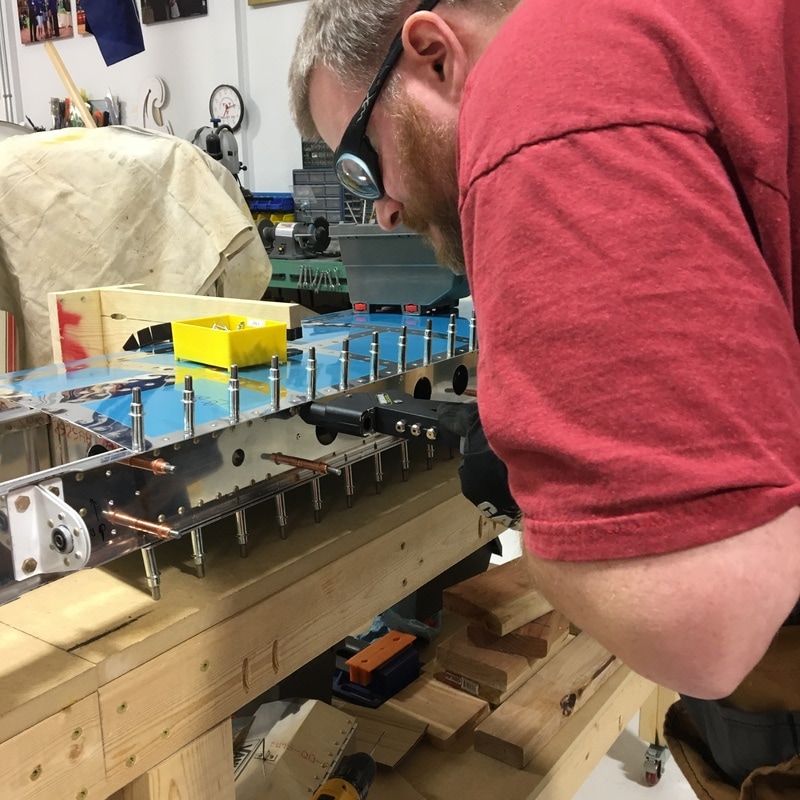
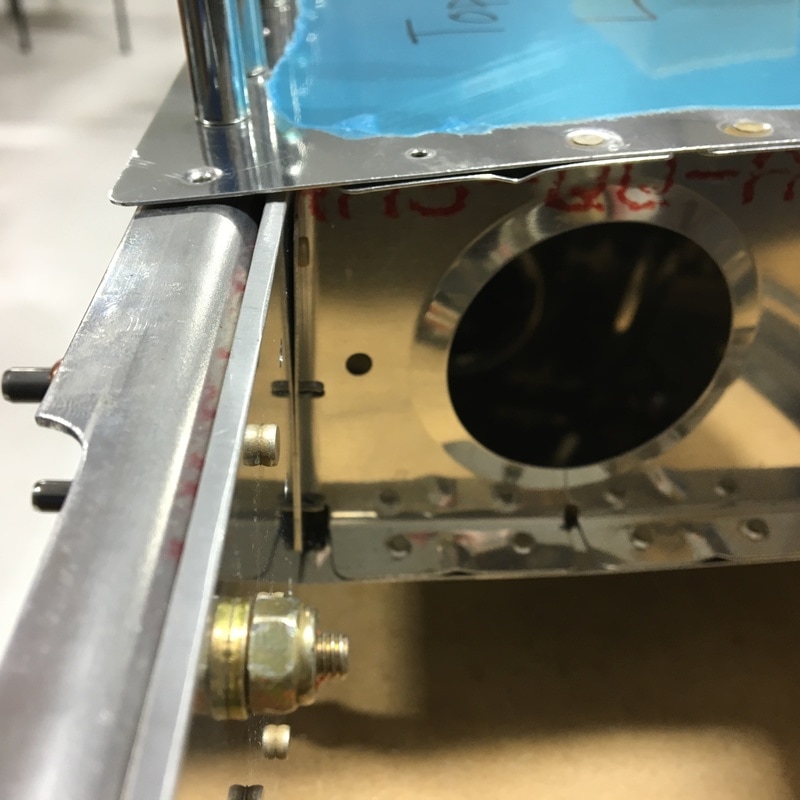
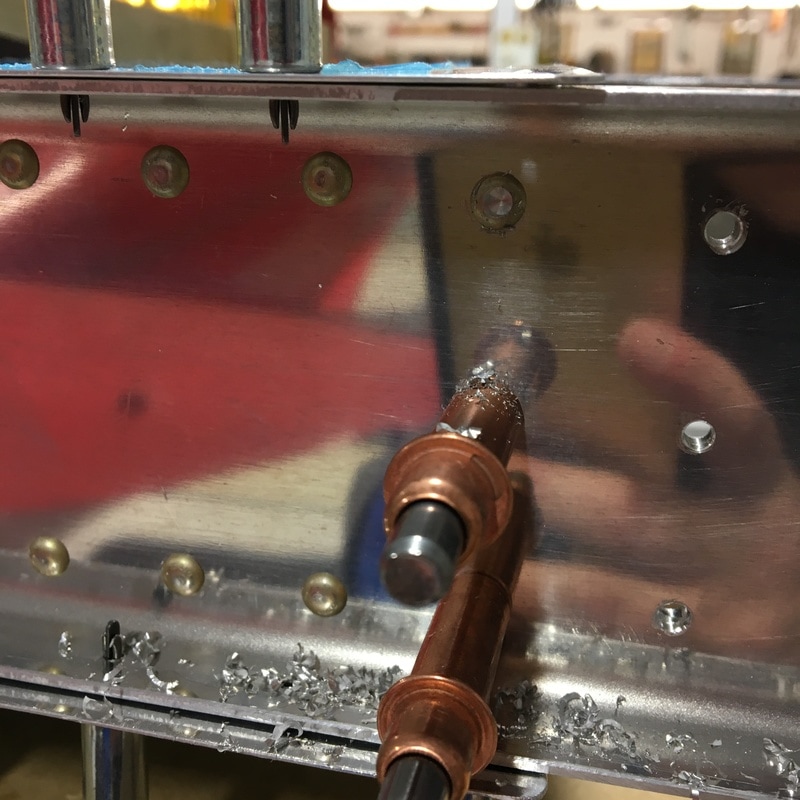
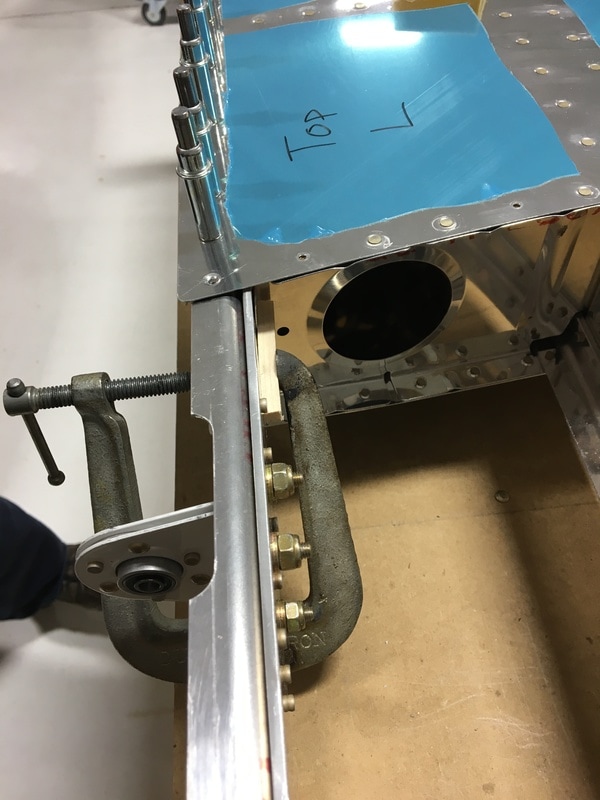
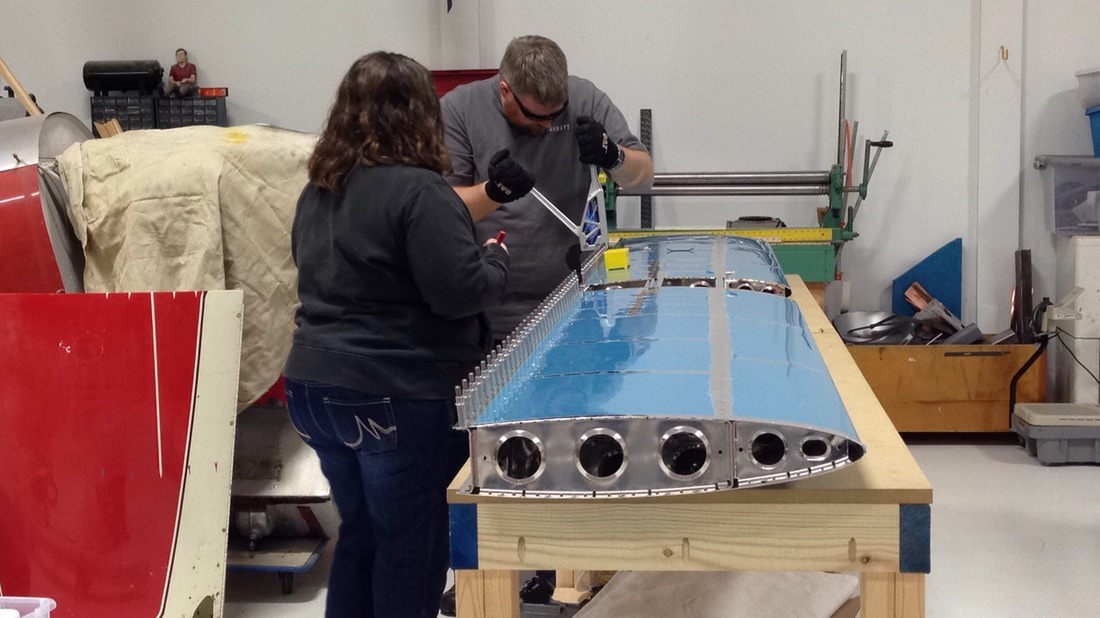
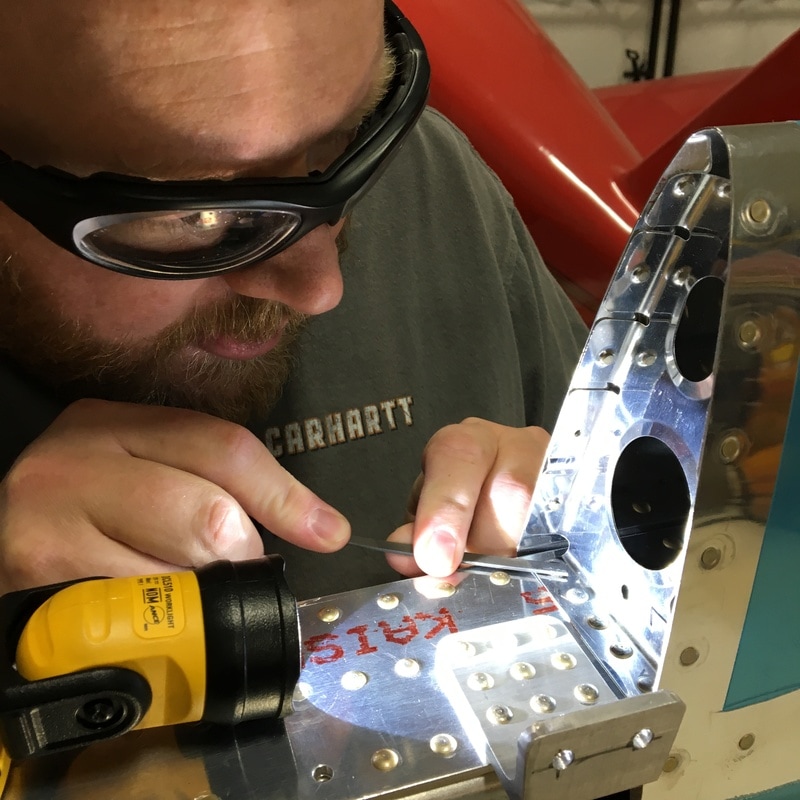
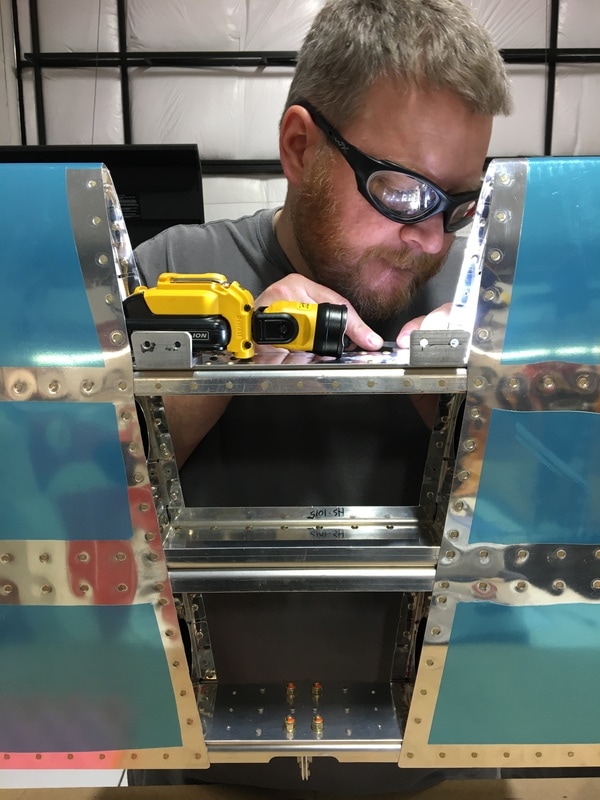
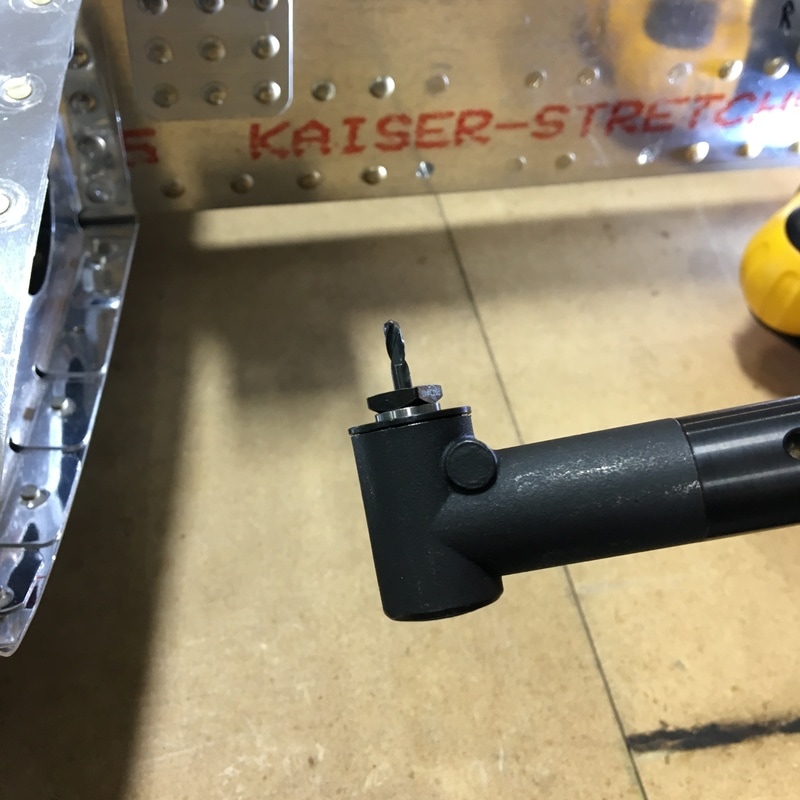
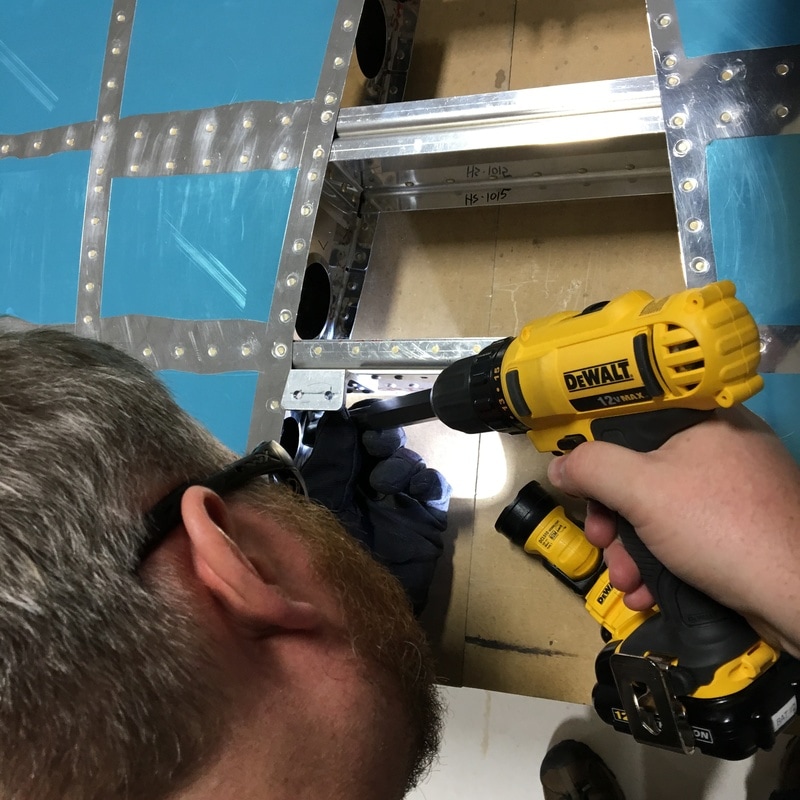
We have (finally) reached the point where we can attach the rear spar to the horizontal stabilizer. It's been a long, long, long, road to this point. If you had told me that we would spend 10 months working on this part of the plane, I would have never believed it. We only have two steps left before we can officially declare this part of the build finished 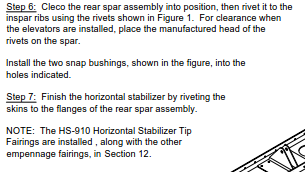 ...and we have to fix that terrible rivet I showed you last week. We decided to wait awhile before we tackled our riveting mistake. We needed time to contemplate our options and maybe ask for a little advice from some more experienced builders. In the meantime, we started attaching the rear spar to the ribs using pop rivets. Once the rear spar is in place you can only access it from one side, so pop rivets are the only option. The nice part about pop rivets is that they are pretty hard to mess up. Don't get me wrong, you can definitely mess them up, but there are fewer ways that they can go horribly wrong. The worst part of this step was that we had to ream almost every single hole before we could set the rivet. The six rivets that are in the center of the horizontal stabilizer are accessible from both sides, so we used regular rivets in that location. When we squeezed the very first rivet, we didn't notice that the rib flange was pulled away from the spar. You could see the rivet bulge between the flange and the spar, so it had to come out. We went about that in the regular way - drilling out the head of the rivet and then using a punch and hammer to drive out the shaft. That's when things went wrong. As we (should) have learned many times, a small mistake can turn into a much bigger mistake very quickly. When we tried to hammer out the rivet shaft, this is what happened to the flange. 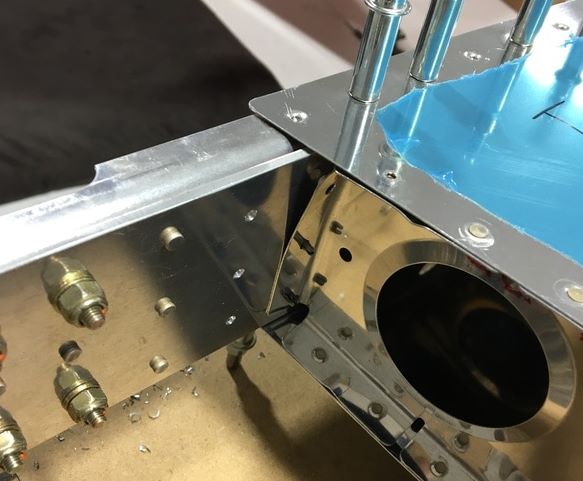 Oops! As we hammered out the shaft, the bulge in the rivet got stuck on the flange. As the rivet moved, it pulled the flange with it. At this point, our only option is to fix mistakes as best we can, so we tried to bend the flange back to it's original location. First, we put two flat dies in the squeezer and tried to flatten things out by squishing the flange back into place. 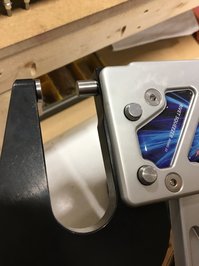 That helped a little bit, mostly to flatten the area right around the rivet hole. Next, we tried to use clamp to push things back together. 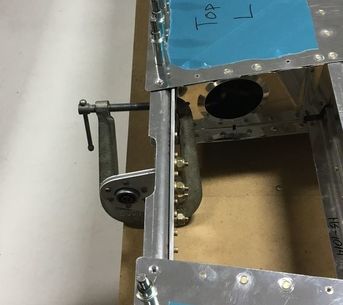 I may have mentioned once or twice (or a hundred times) that there isn't much room to work in this area, so we had to find a small enough clamp to fit. The clamp helped straighten things out, but it left quite a few scratches on the flange and spar. There was no way to bend the flange back to exactly where it should be, so we decided we would have to use the clamp to hold things in place while we replaced the rivet. We used some tiny pieces of scrap wood to protect the aluminum from the clamp. This is the end result of all that work (after we installed the other two rivets). 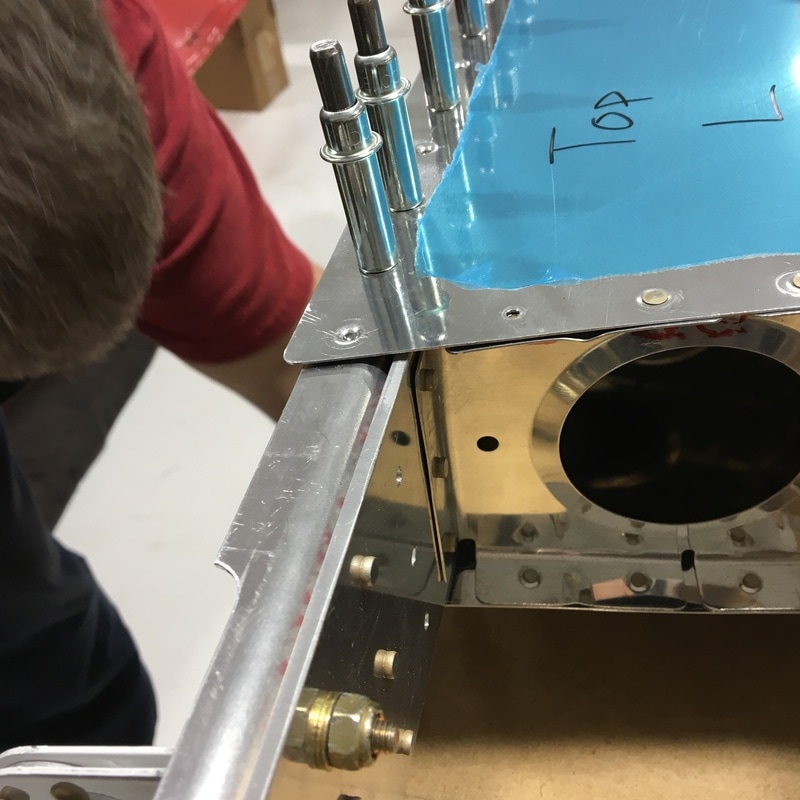 Honestly, I'm not sure that it looks much better than it did originally. Mike says that the final product is better and after all the trouble we went through, I'm going not going to argue. The final step was to attach the rear spar to the skin. It was probably the easiest thing we've done on the plane in months. Not a single thing went wrong and Mike actually finished half of the rivets on his own while I was at work last weekend. He could have easily finished all of the rivets but (wisely) waited for me so we could finish it together. 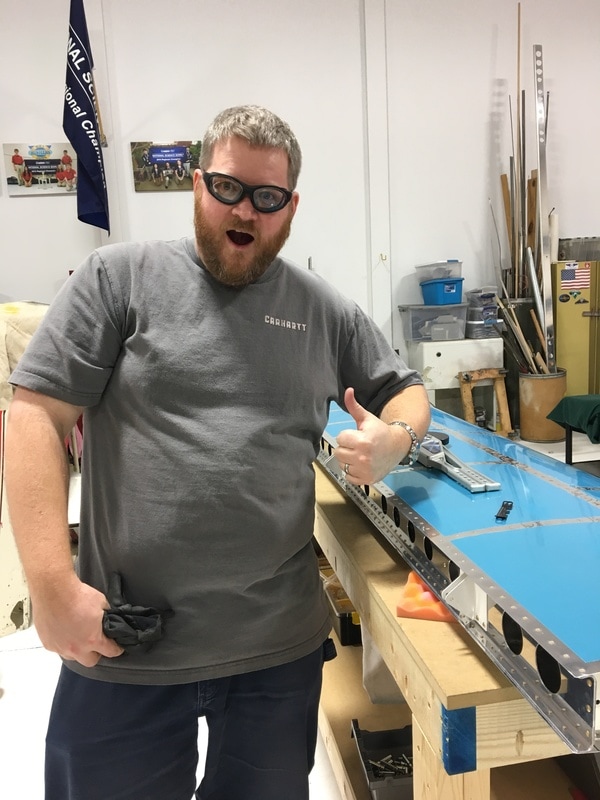 Normally, this would have been the point where we declare victory, but we still had that one rivet to replace. Remember, it looks like this... 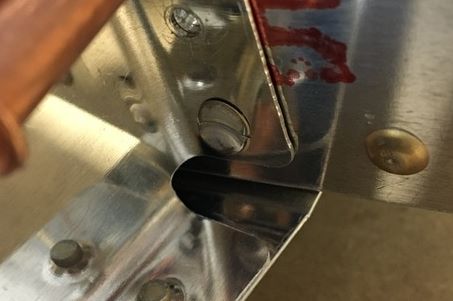 We've spent the last two weeks debating how to remove this rivet. The manufactured head is so deformed that we couldn't tell where the center was. Mike posted this photo on a builder's forum that he frequents and asked for advice. People suggested that we drill though the shop head on the other side since it is in good shape. We considered that option, but decided against it because even if we removed the shop head, there's no room for a hammer and punch to remove the rest of the rivet. Finally, we decided to very carefully perform airplane surgery and attempt to remove the mangled manufactured head. Mike wanted to get a better look at what we were working on, so we put the horizontal stabilizer back into the wooden cradles, upside down. 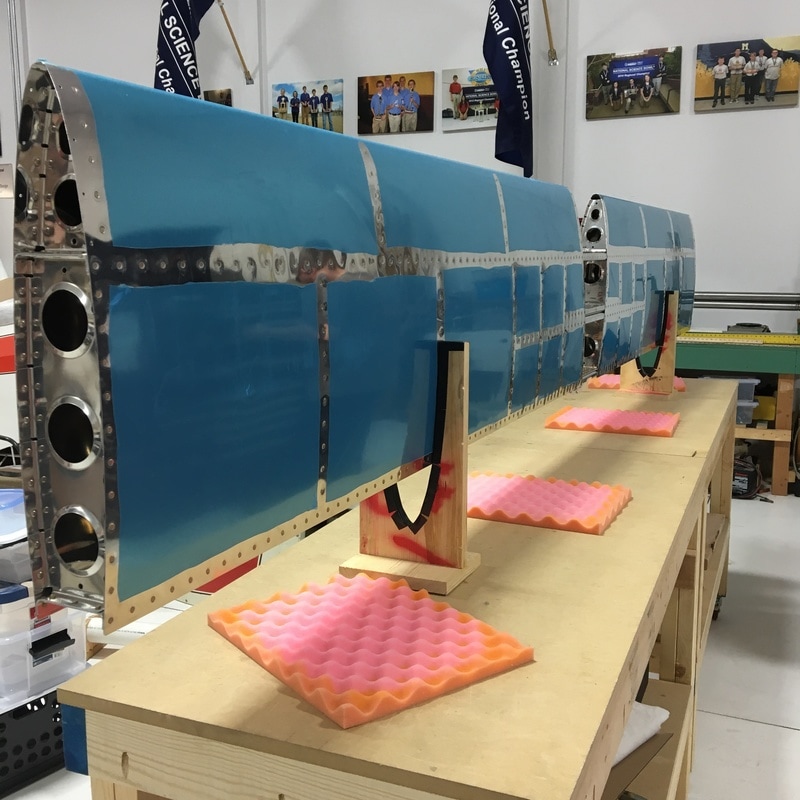 Mike used calipers to measure the distance between the center of two rivets (on the side we didn't mess up) and we used that measurement to try to determine where to find the center of the mangled rivet. Then, he used a tiny metal file to try to flatten out the head near the center. While Mike worked, I hovered, took pictures, and tried to act as the voice of panic/reason. After a while, we laid the horizontal stabilizer on it's side again and Mike used a punch to make a divot where we thought the center of the rivet would be. We used the shortest, smallest drill bit we had (which only fits in the angle drill) and attempted to drill out the center of the head. Then he carefully used a hammer and punch to break off the least mangled half of the head. After half an hour of work, this is what we removed. 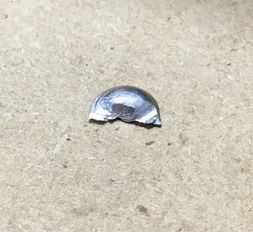 And this is what was left. 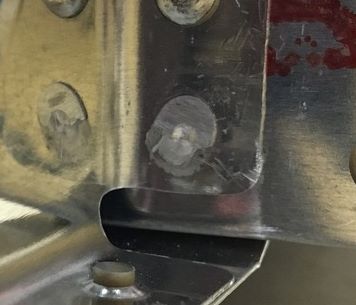 We still couldn't tell where the center of the rivet was, so we had to keep working on it. I'm typically more patient that Mike when it comes to fiddly work, so I spent 20 minutes very carefully filing away at the remaining head.  The only evidence of progress I had was a slowly growing pile of tiny metal shavings. Eventually, I had removed enough metal that I was able to slide a razor blade behind the thinnest part of the remaining head, bend it forward and pull it off with pliers. We decided that we couldn't file away any more metal without damaging the flange, and while it was still impossible to tell where the center of the rivet was, we were able to make an educated guess. Technically, you only have to remove the manufactured head before you can punch out the shaft and shop head. Since we didn't know where the center of the rivet was, we used a smaller punch than usual. The idea was that even if we weren't dead center, we would be less likely to punch a hole through the flange while we hammered out the rest of the rivet. Using a smaller punch didn't work out quite as we had planned. 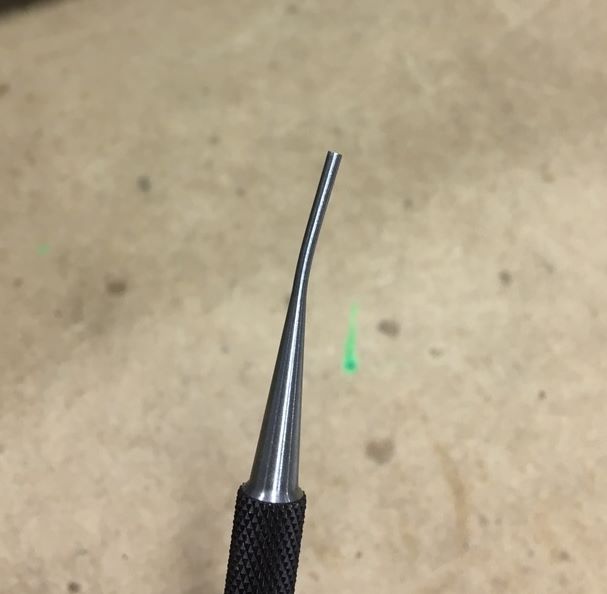 The punch bent and the rivet didn't move at all. We decided that we would have to be brave and attempt to drill out some more of the rivet. Luckily, we actually managed to hit the center of the rivet and were finally able to get the rest of the rivet out. It didn't look to pretty by the time we were done. 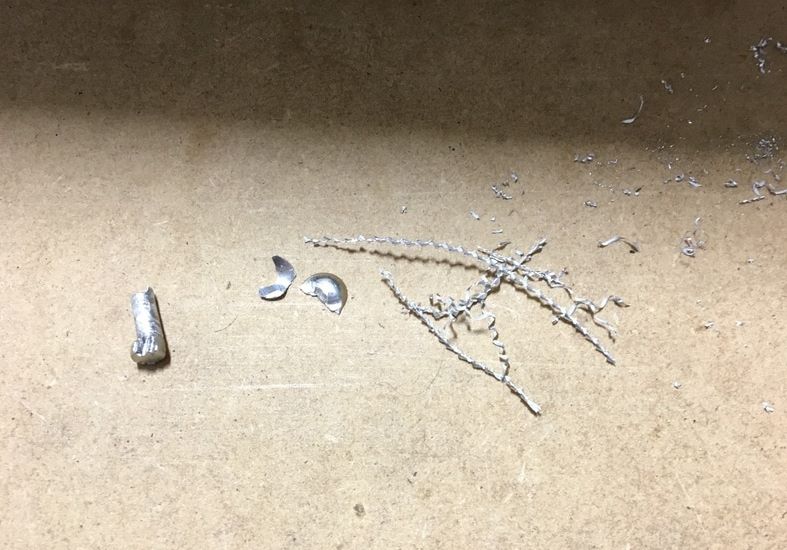 After our previous attempt to remove a rivet from this part of the plane, we weren't too surprised when the flange bent as we removed the rivet. Just like last time, we used a clamp to straighten things out as much as possible. Then we used a small piece of rubber hose over the shaft of the rivet so I could keep the flange in place we installed the new rivet. It actually looked pretty good by the time we were finished. We are definitely getting better at fixing our mistakes. 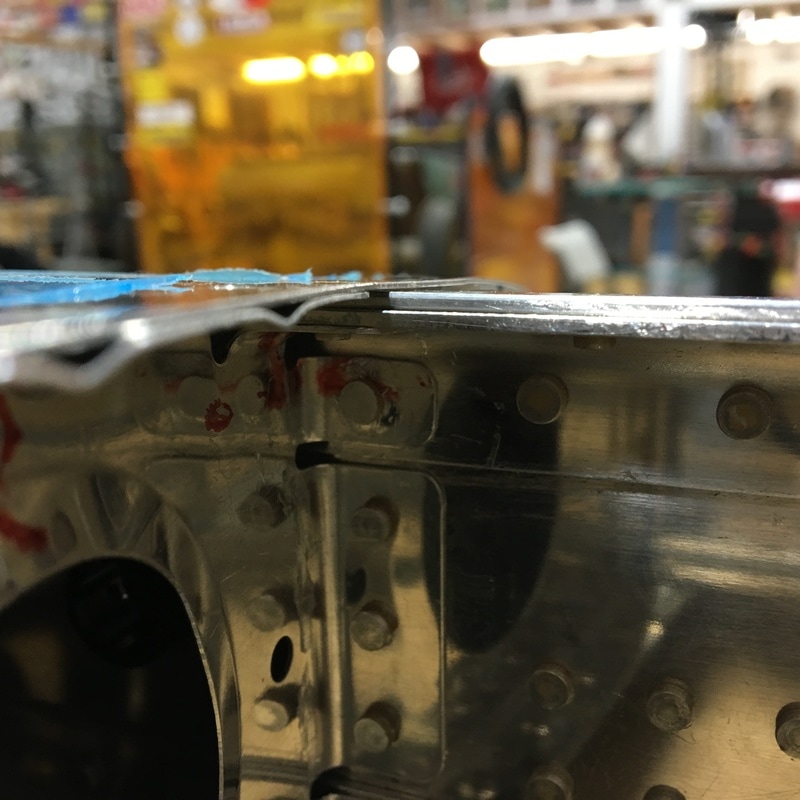 After all that work, we triumphantly declared ourselves finished with the horizontal stabilizer! We now have 2/5 of an airplane tale! 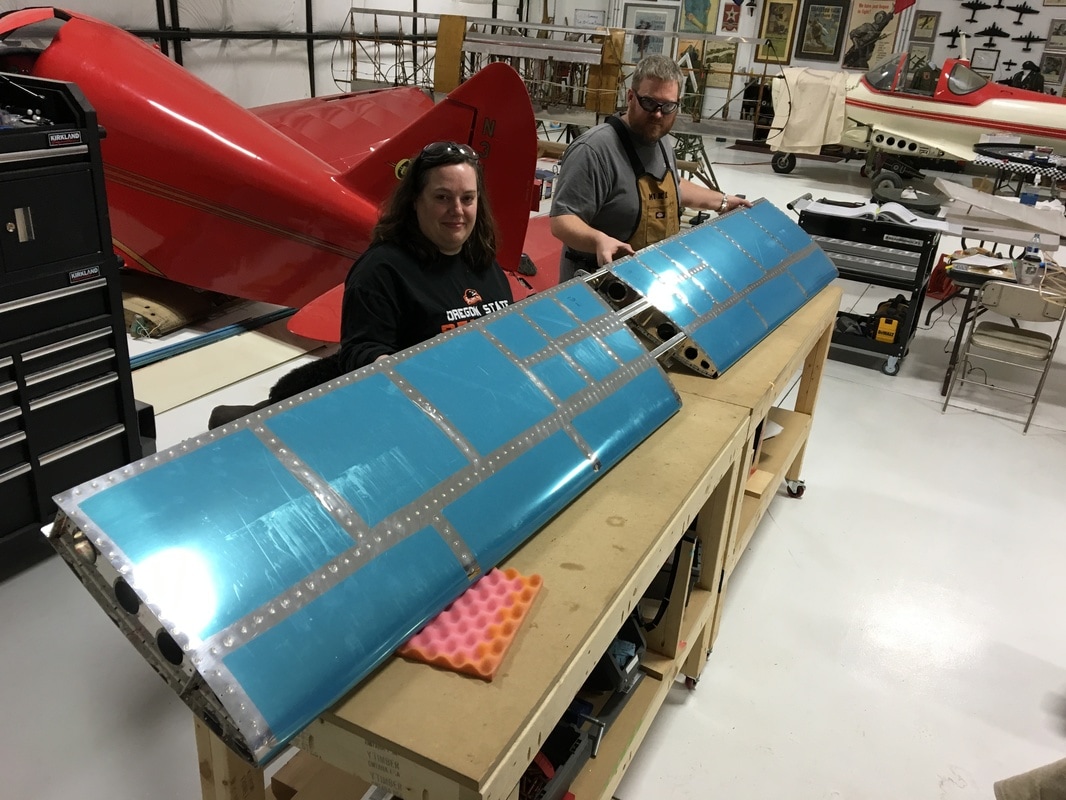
1 Comment
Some Guy Overseas
1/30/2017 09:38:52 am
Bravo! I think it is amazing that you are sticking with this through the problems. I think when the tool broke, I would have lost hope. As a side note I read the comic in the following link on the same day as this post and got a large chuckle at the part that relates to Mike. https://xkcd.com/1792/ Leave a Reply. |
AuthorThe supportive spouse's guide to building an airplane. Archives
May 2017
Categories |


 RSS Feed
