|
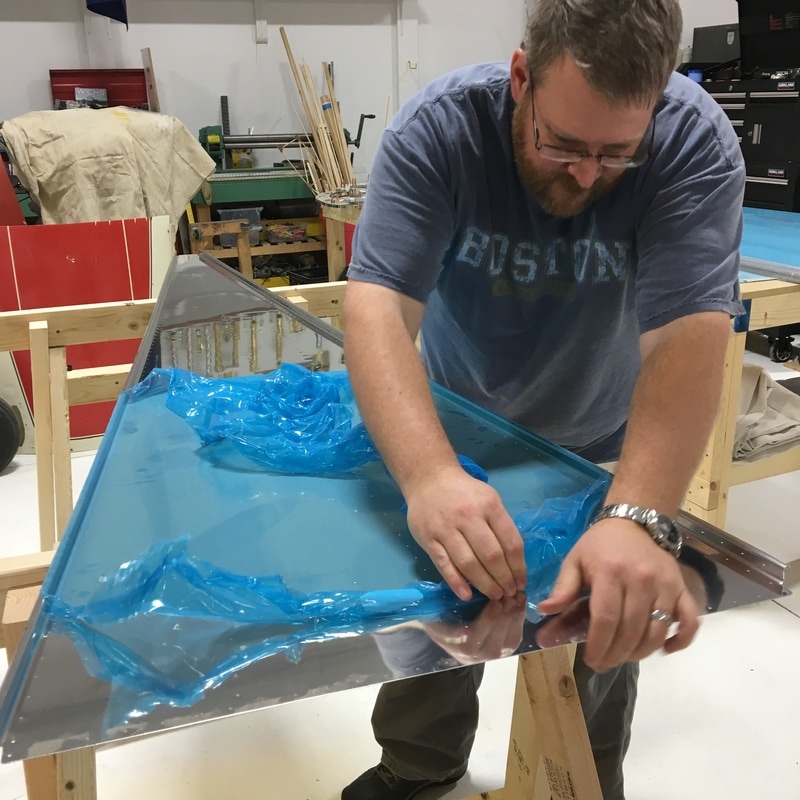
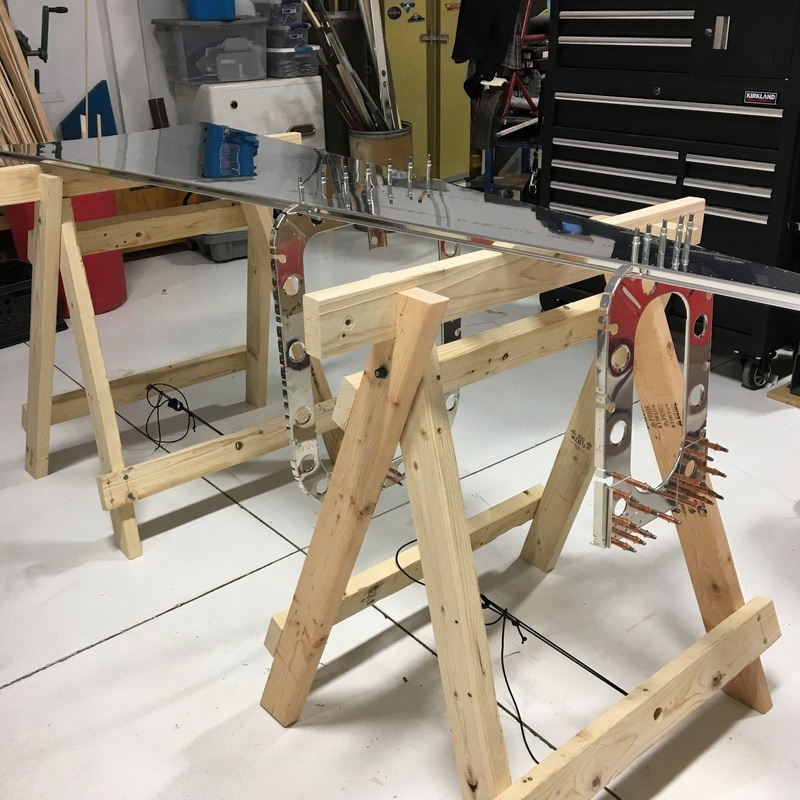
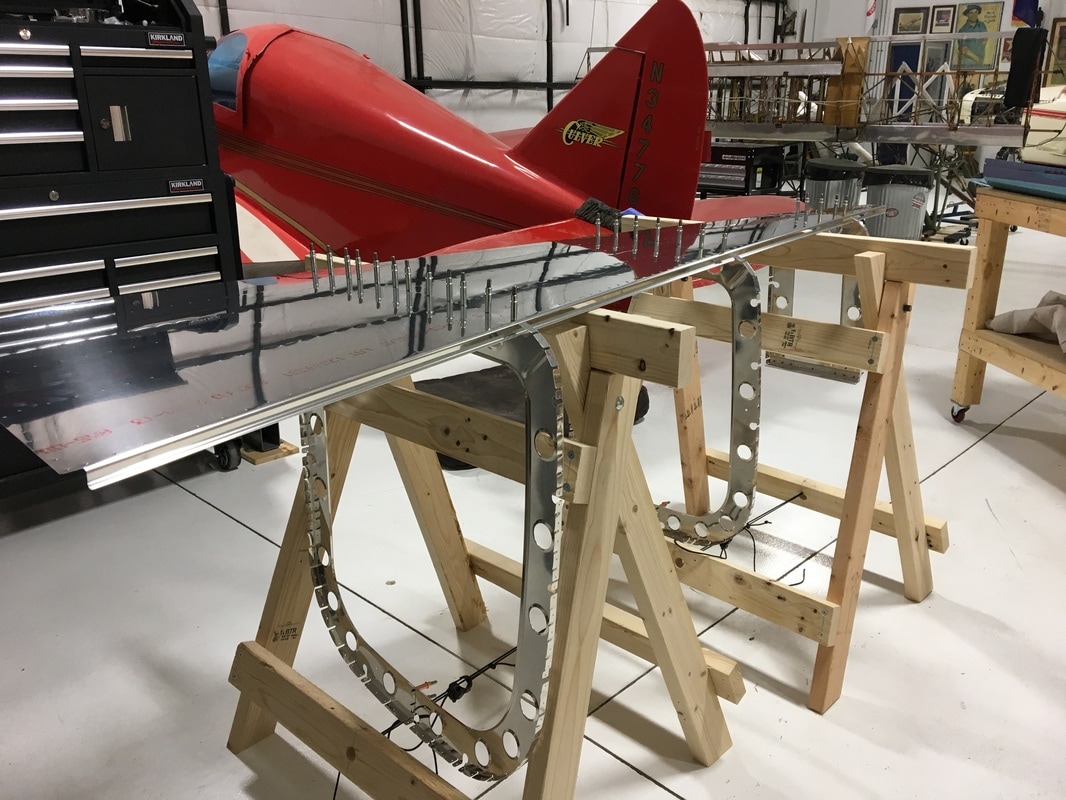
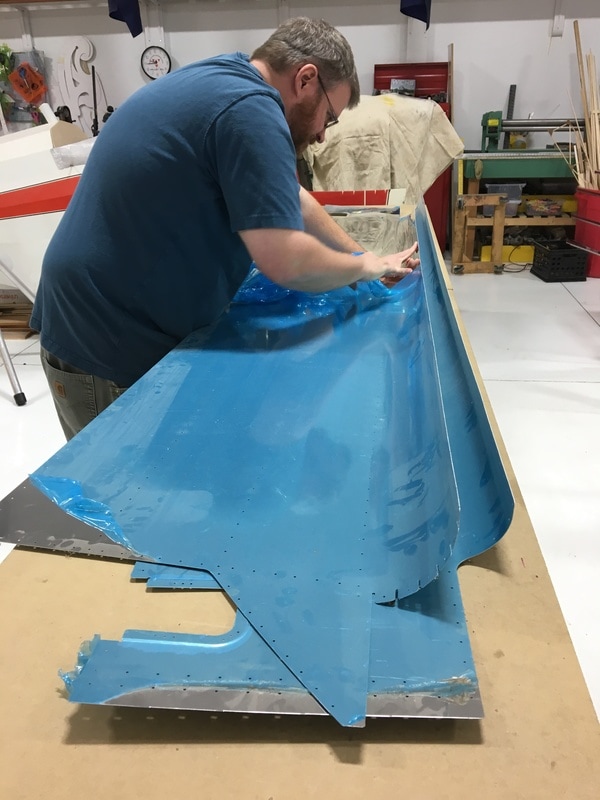
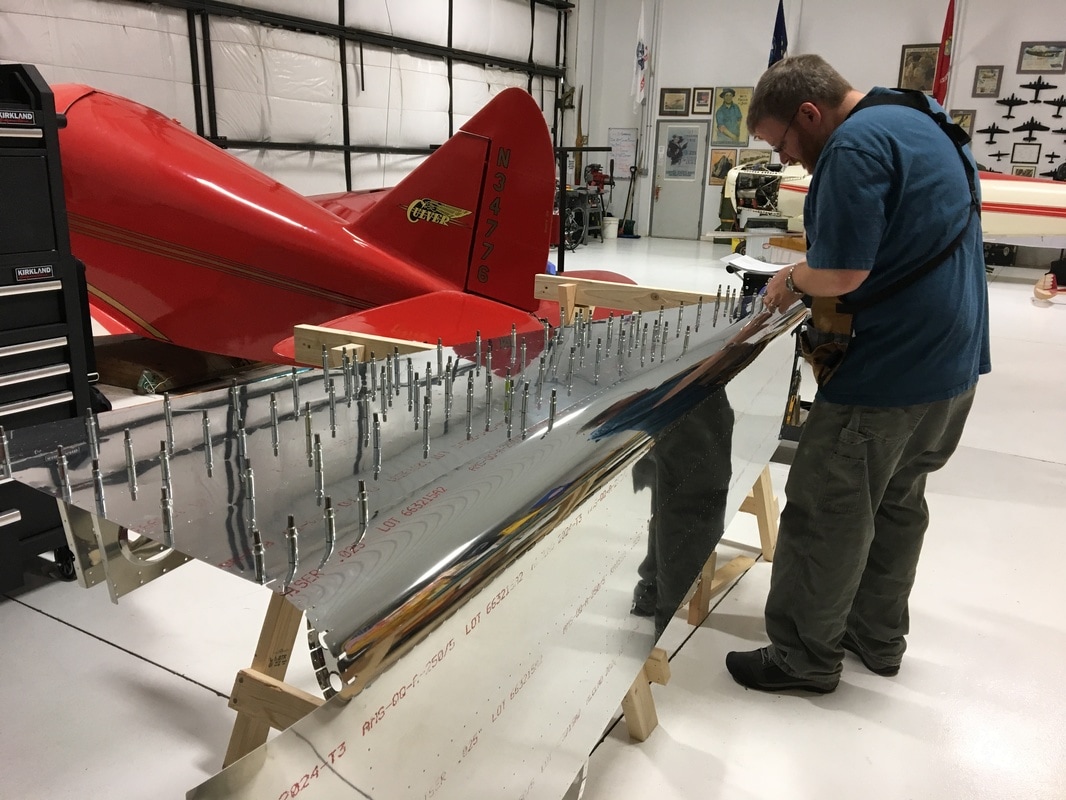
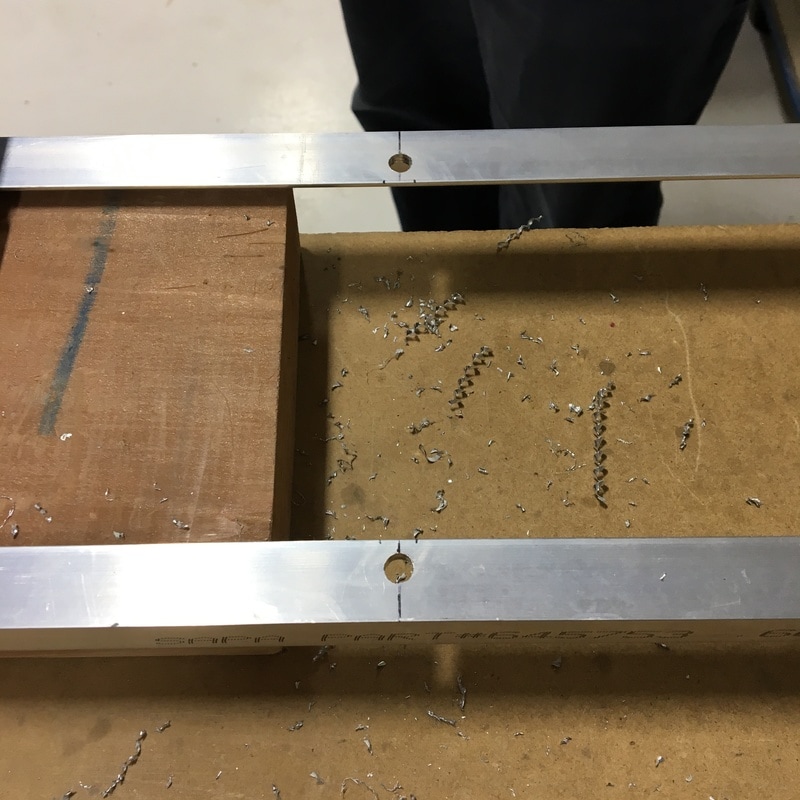
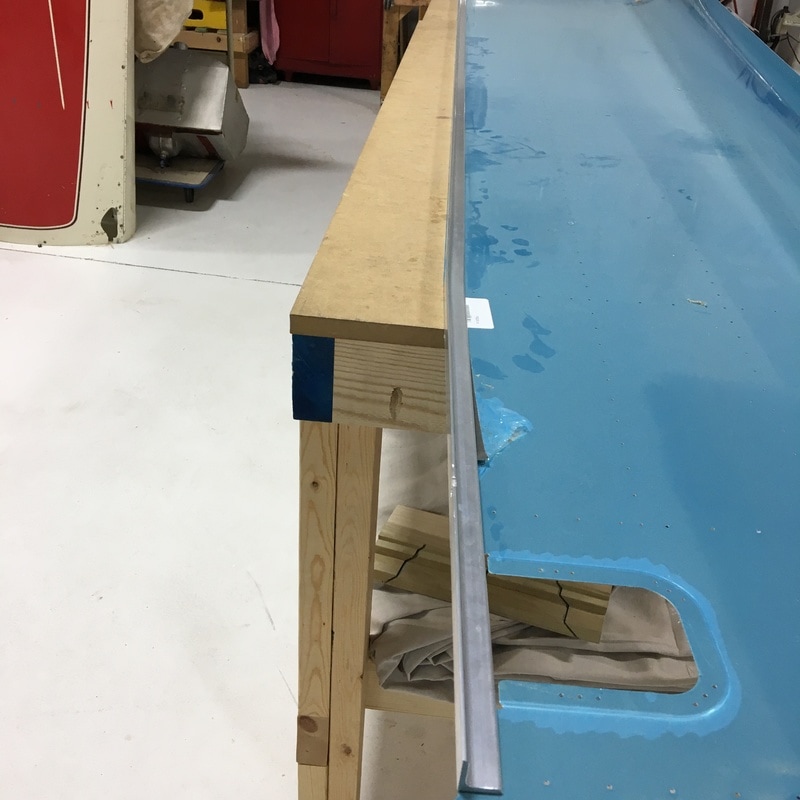
We are finally ready to begin putting the tail cone together. There are points in the build process when I realize "holy crap, we are building an airplane!" and this is definitely one of those points. Our first step was to dig the tail cone skins out of storage and peel off the blue vinyl. Rather than just remove the vinyl along the rivet holes, like we did on the vertical and horizontal stabilizer skins, we decided to completely remove the vinyl on the tail cone. There are so many rivet holes in this part of the plane that we would be removing 75% of the vinyl anyway, so we might as well just take it all off. It also means that the tail cone is very shiny and reflective, which makes it harder to take good pictures of some parts of the build. This is also a great time to admire the sawhorses that Mike built. He debated for a long time about whether or not to buy prebuilt sawhorses or make our own. Ultimately, he decided to build them because the plans suggest using sawhorses that are a couple of inches taller than the standard prebuilt version. These home built sawhorses also have some other benefits that we discovered later on. This skin is the bottom of the tail cone and once it was ready, we flipped it over so we could start adding the bulkheads. The bulkheads are basically vertical walls that provide structural support. These walls just happen to have large holes in the middle. There are small notches cut out of the edge of each bulkhead and this is where those J-channel stringers get installed. 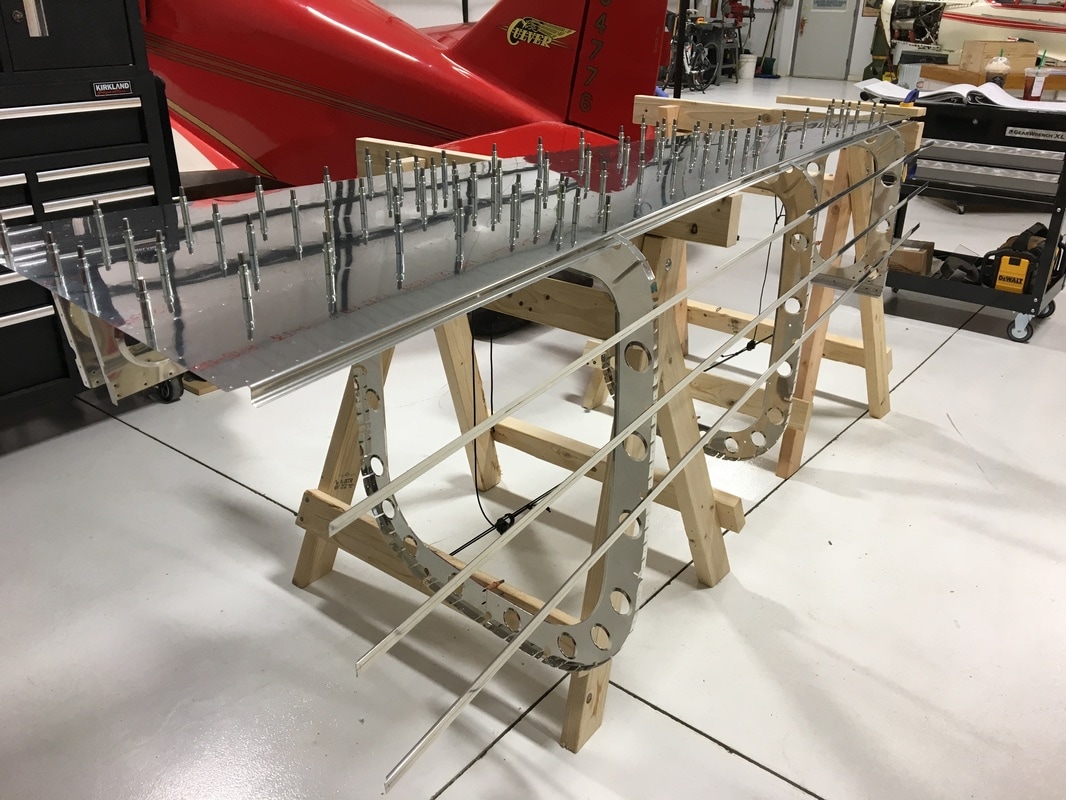 There are also some shorter stringers that run inside that bottom skin, but they were really hard to photograph. Once the stringers are in place, we peeled the vinyl off the side skin and put it into position. If you want a good arm workout sometime, come help us peel vinyl off these skins! It's hard work and takes much longer than you would expect. You'll also notice that the side skins have a curve in one side. This curve forms that bottom edges of the tail cone. Here's a side view where you can see how the stringers run against the side skin. 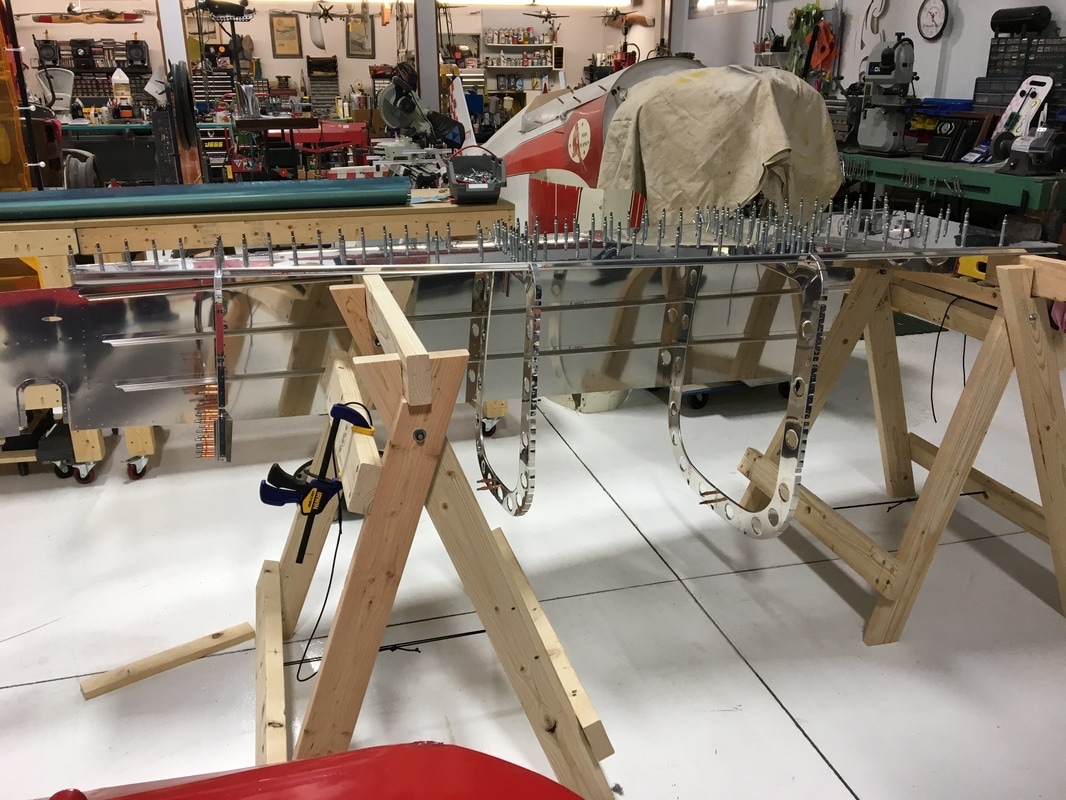 This is also where we discovered an added benefit of our home built sawhorses. Once the side skin was in place, one side was much heavier than the other and we were worried that it would fall of the sawhorses. There's an additional structural component at the widest end of the tail cone called the "bellcrank ribs". I have no idea what a "bellcrank" is or why it needs ribs, but their inconvenient locations meant that the sawhorse had to sit about two feet from the end of the tail cone. Because our home built sawhorses are made of standard 2x4's we were able to do this. 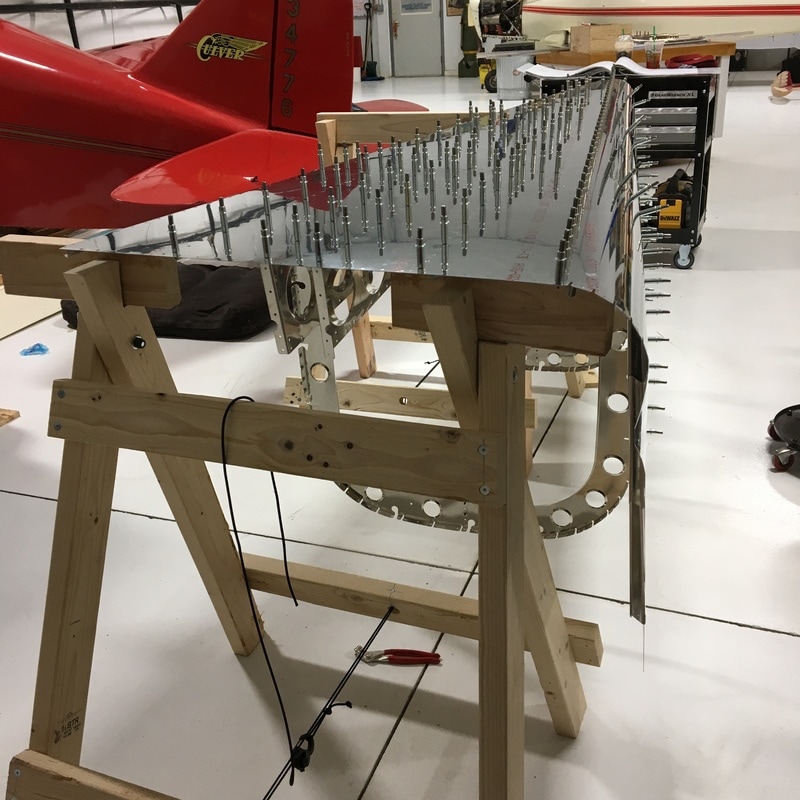 Instead of a solid 2x4 across the top of the sawhorse, we used two smaller scrap chunks of lumber and were able to create a gap for those bellcrank ribs. At this point, I left the hangar for several hours while Mike match drilled holes in all those stringers. I don't know that I've explained match drilling yet - it simply means that there are already holes in one part, in this case the skins, and you need to drill matching holes in some underlying piece, in this case the stringers. Remember those lines we drew down the stringers in my last post? Those lines help Mike make sure that the stringers are in the perfect location when he drills the holes. It took hours for Mike to drill all those holes and when I came back to pick him up, this is what it looked like. 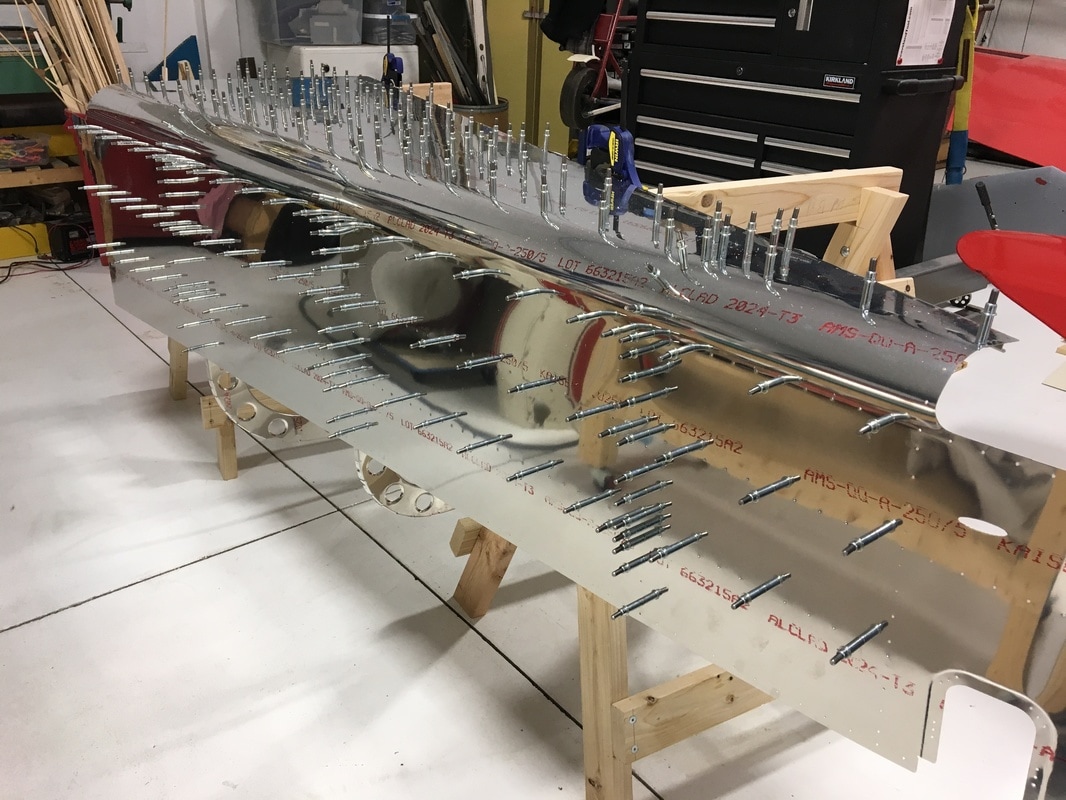 Our final step of the day was to flip the whole thing over... 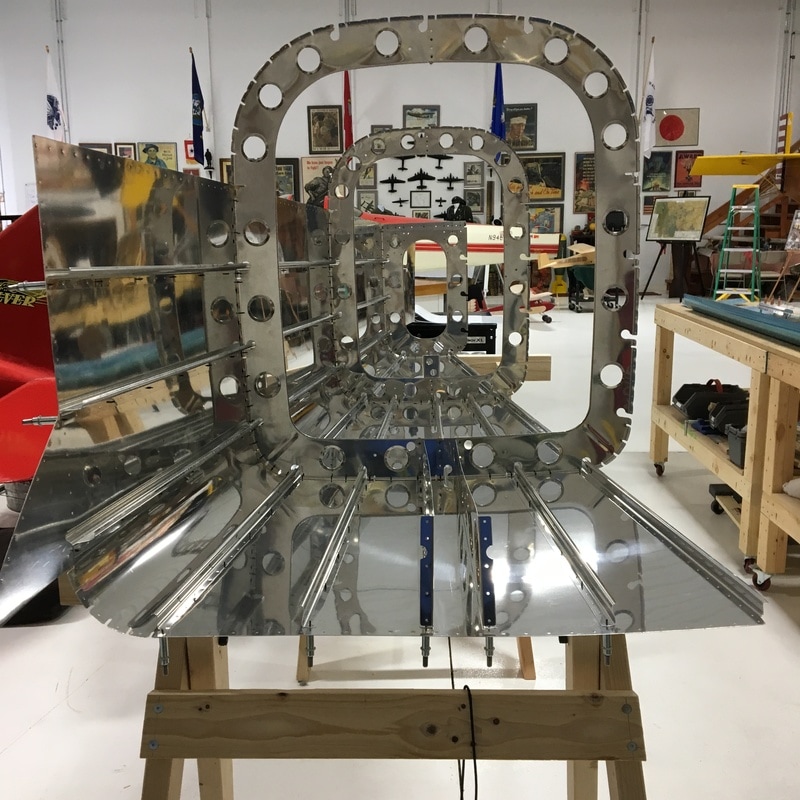 Next, we will add the other side skin.
0 Comments
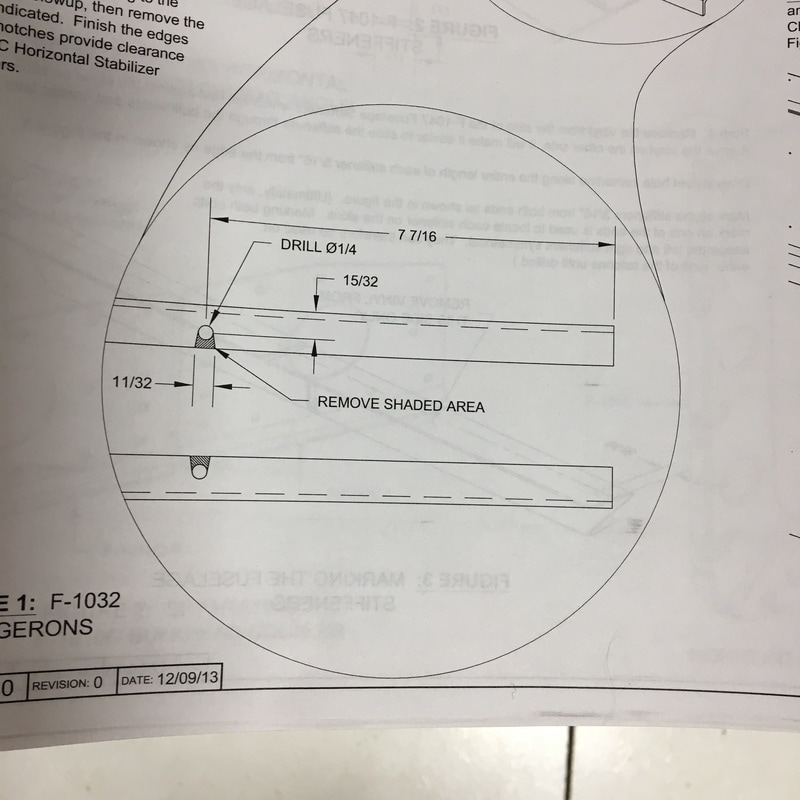
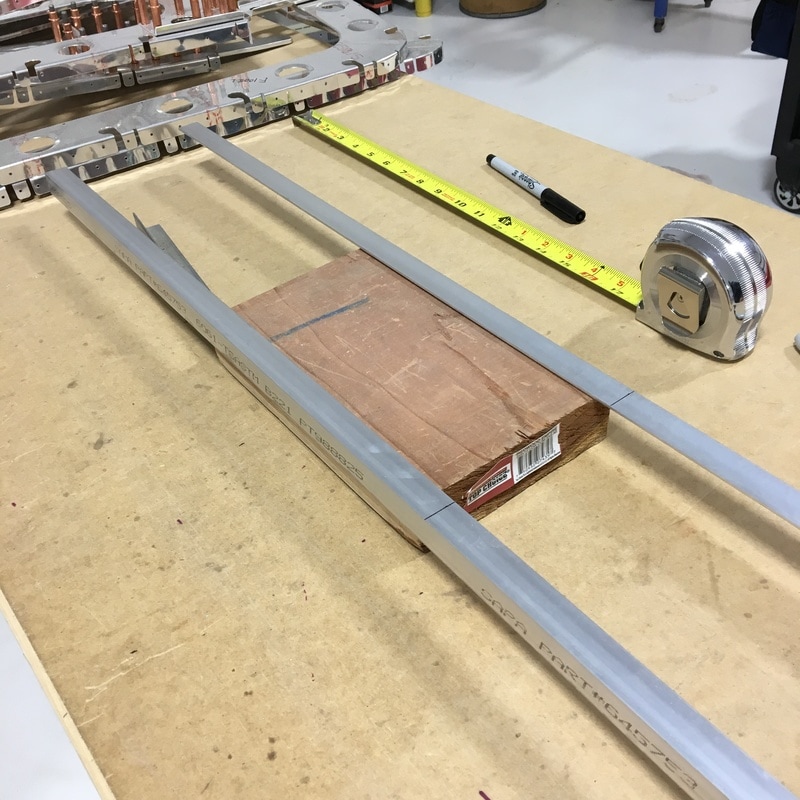
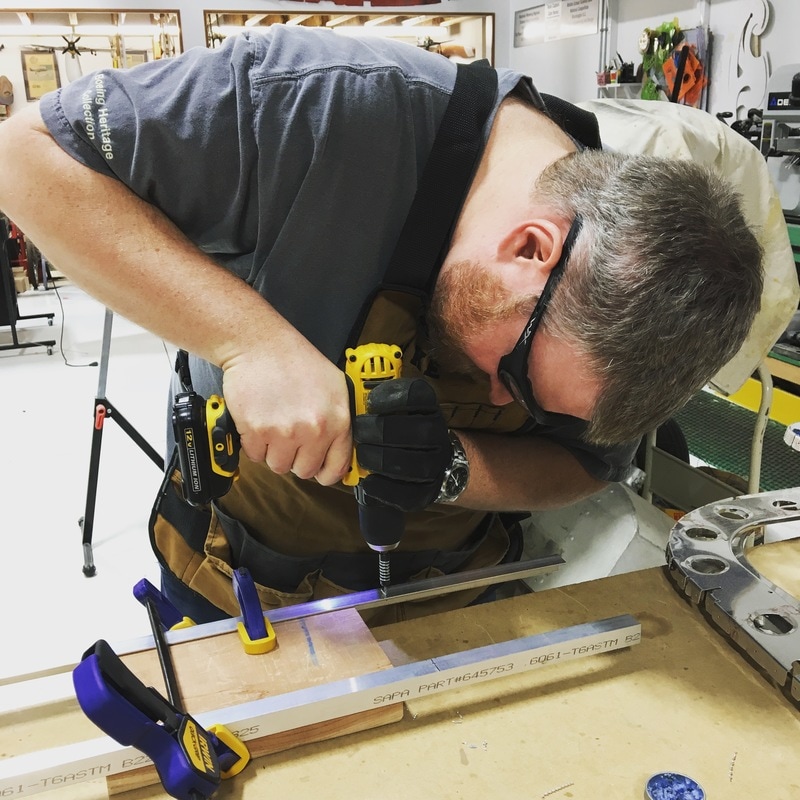
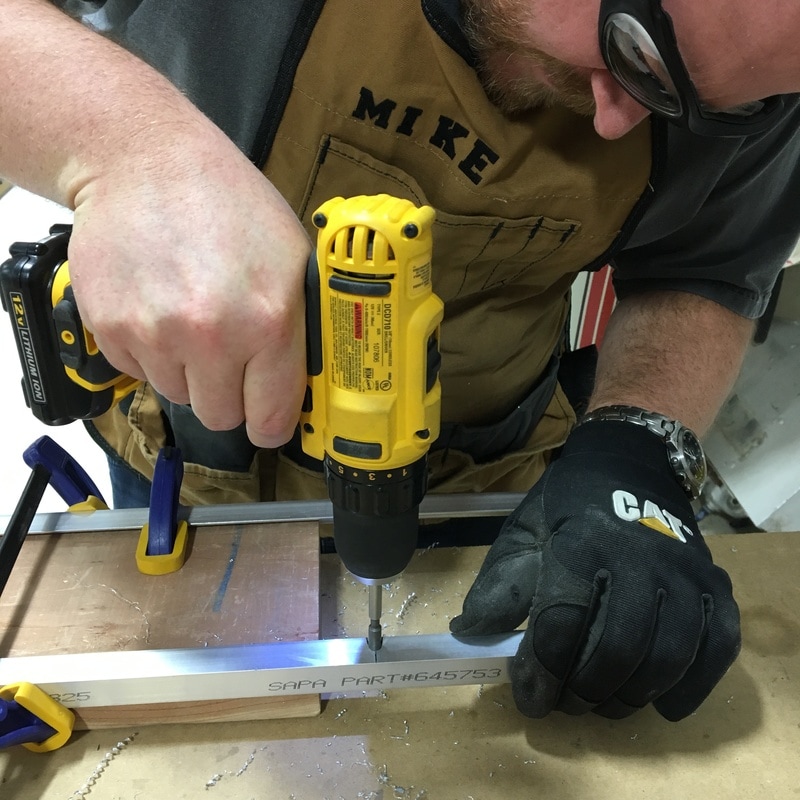
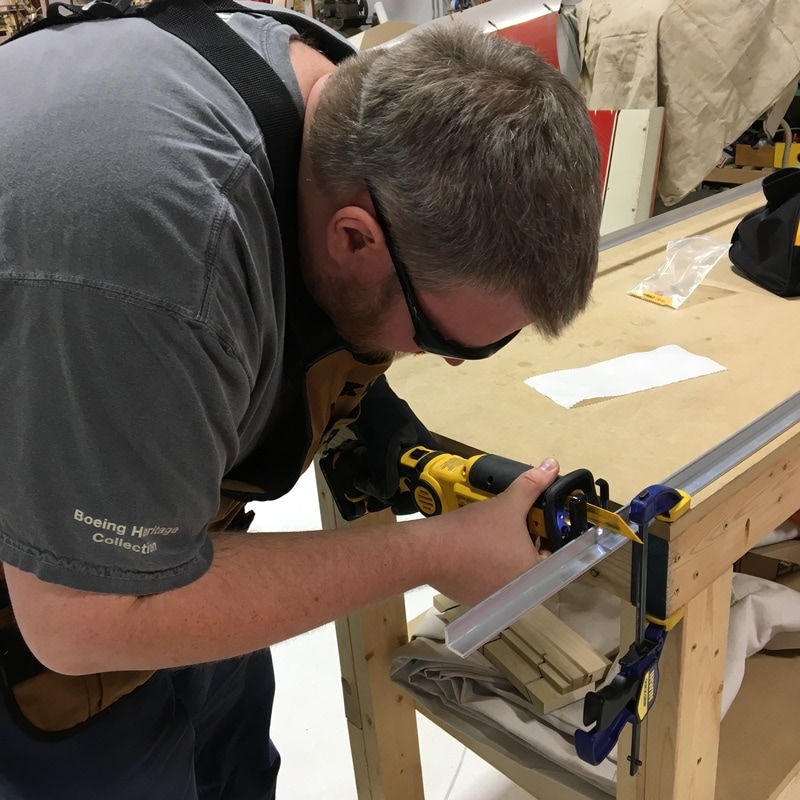
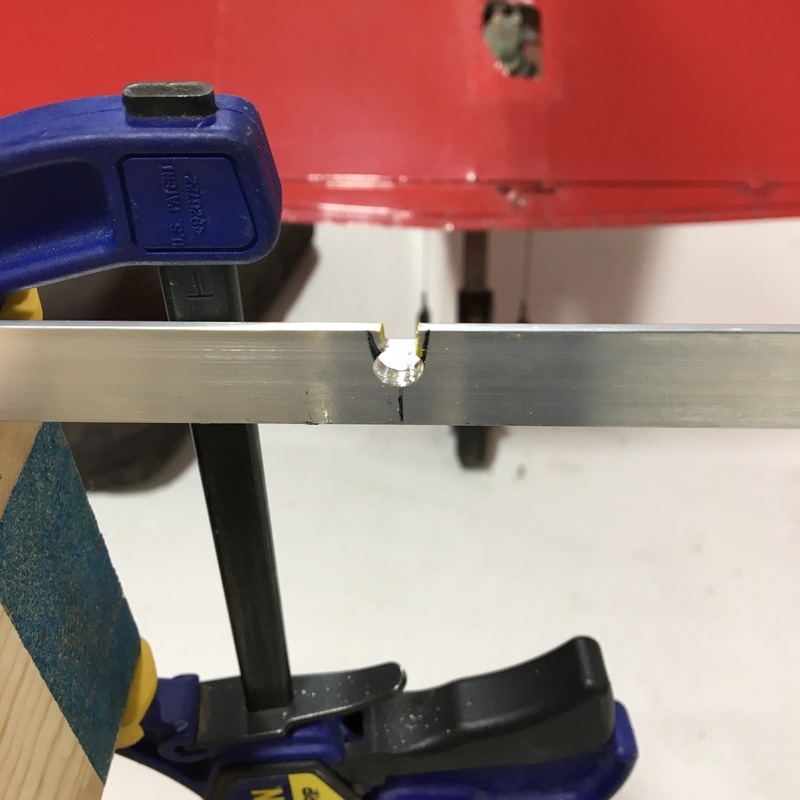
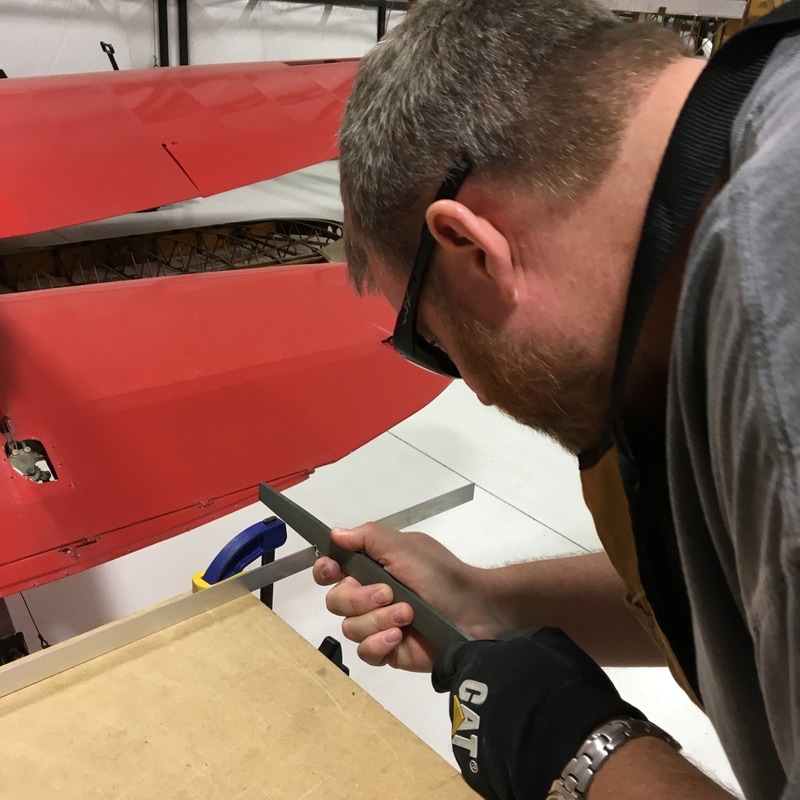
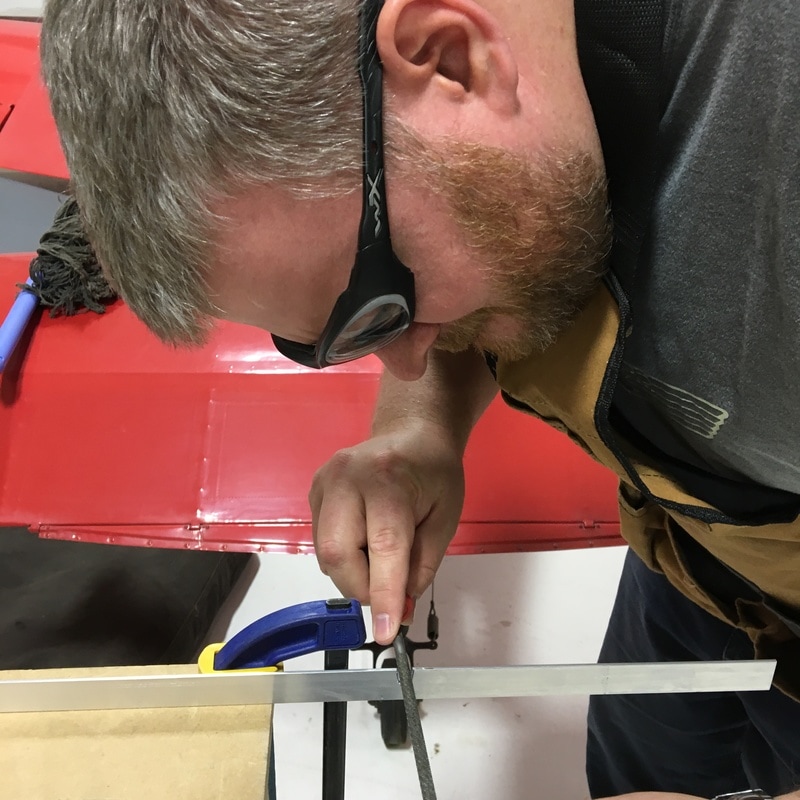
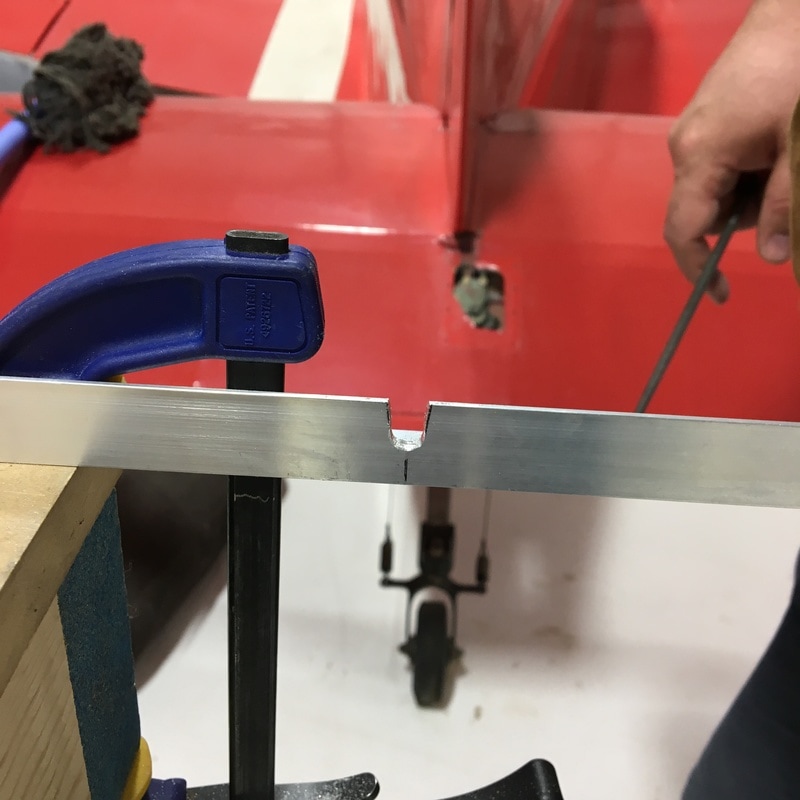
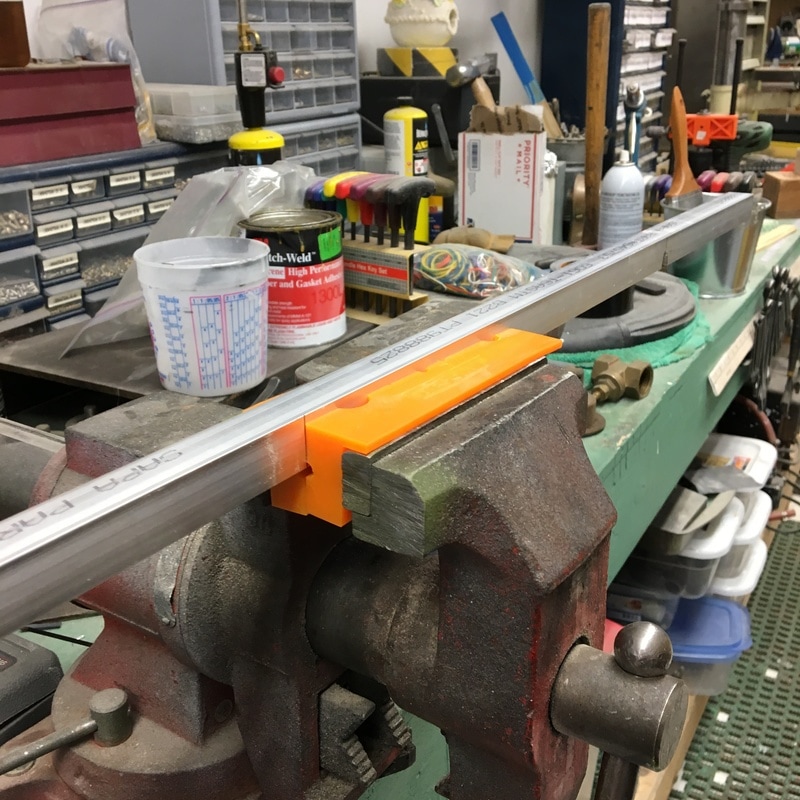
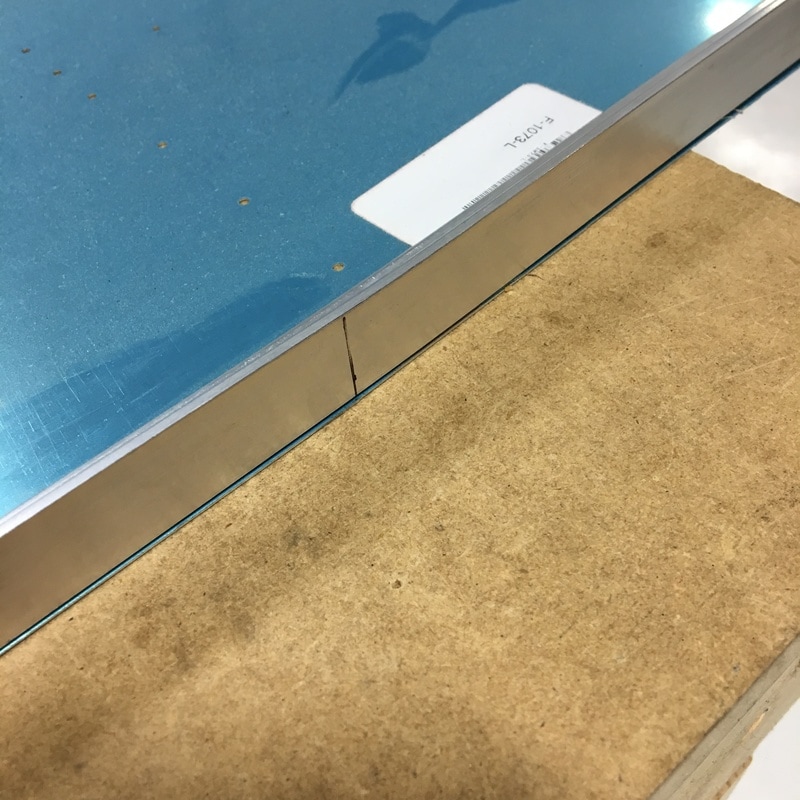
We've spent the last three work sessions completing some very time consuming projects. There hasn't been a lot to show for the hours we've spent at the hangar, but I'll bring you up to speed on what's been happening. After we finished with the stiffeners, we got to move onto the longerons. A longeron is just another structural component in the tail cone and fuselage. In this case, it's a long "L" shaped piece of aluminum that runs the entire length of the tail cone. Wikipedia tells me that there honestly isn't much difference between a longeron and a stringer (the long pieces of aluminum we worked on last week). They serve exactly the same function, but longerons tend to be a bit heftier than stringers. Also, the word "longeron" is much more fun to say. The longerons had to be notched so they wouldn't rub against some of the other structural components of the tail cone. The notches have to be cut in a very specific location, which required a bunch of careful measuring and remeasuring. Then we drilled some small pilot holes before drilling the final 1/4" holes. I mostly stood around the took pictures during this process. As I saw the spirals of razor sharp metal that Mike was creating as he drilled the big holes, I realized I wasn't wearing my safety glasses. You definitely wouldn't want something like this to fly into your eye! 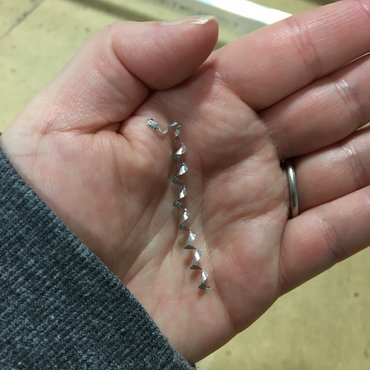 Once the holes were drilled, we marked out the additional area that needed to be removed. Mike removed most of it with a saw and we finished up with a file. Everything went smoothly, but since we were very careful during this process it took us about an hour to finish two notches. Now we will just hope that they are in the right place. We won't really know until we put everything together. The next task we had to complete was bending the longerons so they line up with the edges of the tail cone skins. There is a 2° angle in the skins that we had to try to match. You can just barely see the angle in this picture. 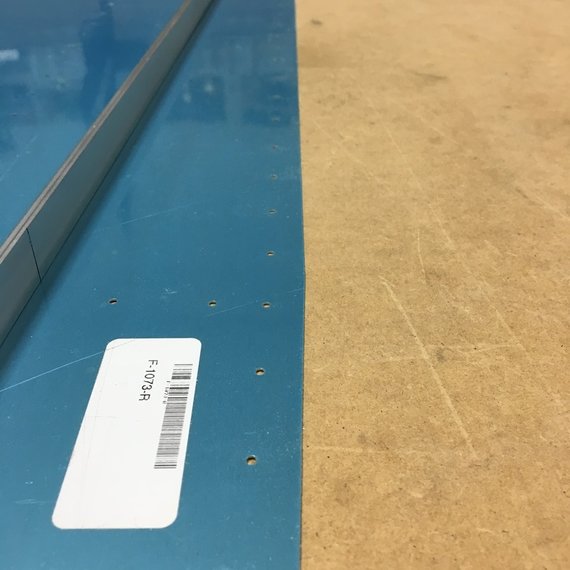 To bend the longerons, we used the old "preload" technique from my last post. Or, as I prefer to call it, push on the metal and whack it with a hammer. This is quite a bit harder than it looks. The "L" shape of longerons means that they have a tendency to bend in two directions instead of just one. In this particular set of pictures, that means the longeron is bending away from Mike as he whacks it with a hammer, but is also bending down toward the floor. The whole thing is a process of trying to get the 2° bend in the direction you want and then remove the extra bend that you didn't want. We got it figured out eventually, as you can see in the bottom pictures. It took forever to bend the first longeron, and about five minutes to do the second one. The final prep task we had to finish was draw a line down the length of the J-channel stringers we previously cut. This line has to be precisely 5/16" from the edge. The problem we had to solve is how to draw a line exactly 5/16" from the edge all the way down an 8 foot long piece of oddly shaped aluminum. Mike, of course, had a clever solution that I, of course, thought was ridiculous at first. I'm pretty sure when Mike described his idea I laughed, mostly because I didn't even remotely understand what we were trying to do. Mike's idea was to create a jig with a hole drilled in it. 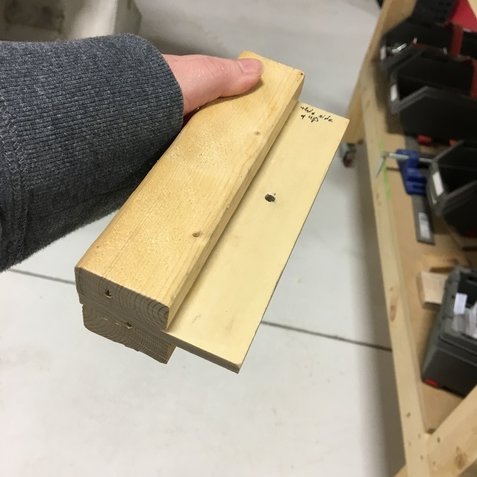 You put a marker through the hole and very carefully slide the jig down the length of the stringer. 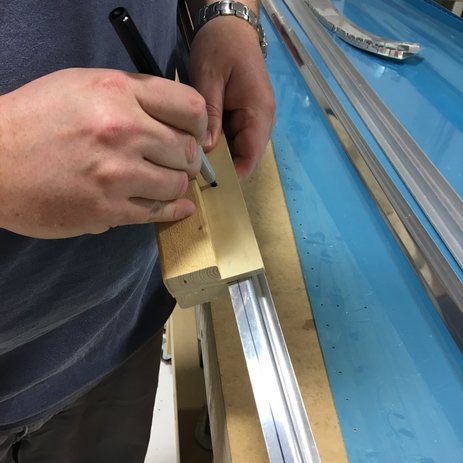 It was pretty awkward to use because the only flat surface in the J-channel is where we need to draw the line. I eventually got the bright idea to rest the J-channel on the miter box Mike built to trim the ends off the stringers and that worked much better. 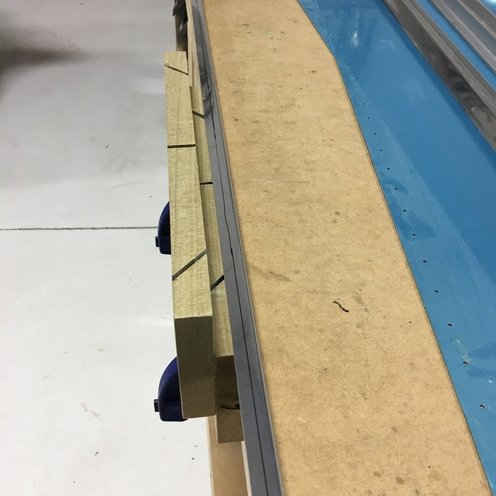 These lines will eventually be used to make sure the stringers are in the right place while Mike drills holes. By centering the line in the middle of the predrilled holes in the skins, you can make sure that your stringer is in the perfect location.  With these last pieces finished, we are ready to begin construction of the tail cone!
|
AuthorThe supportive spouse's guide to building an airplane. Archives
May 2017
Categories |


 RSS Feed
