|
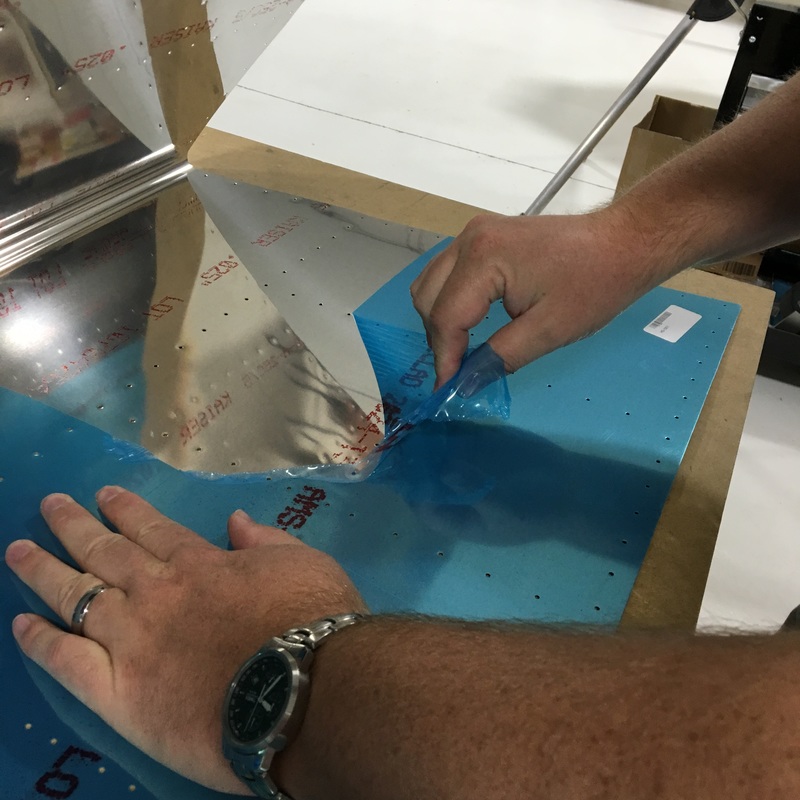
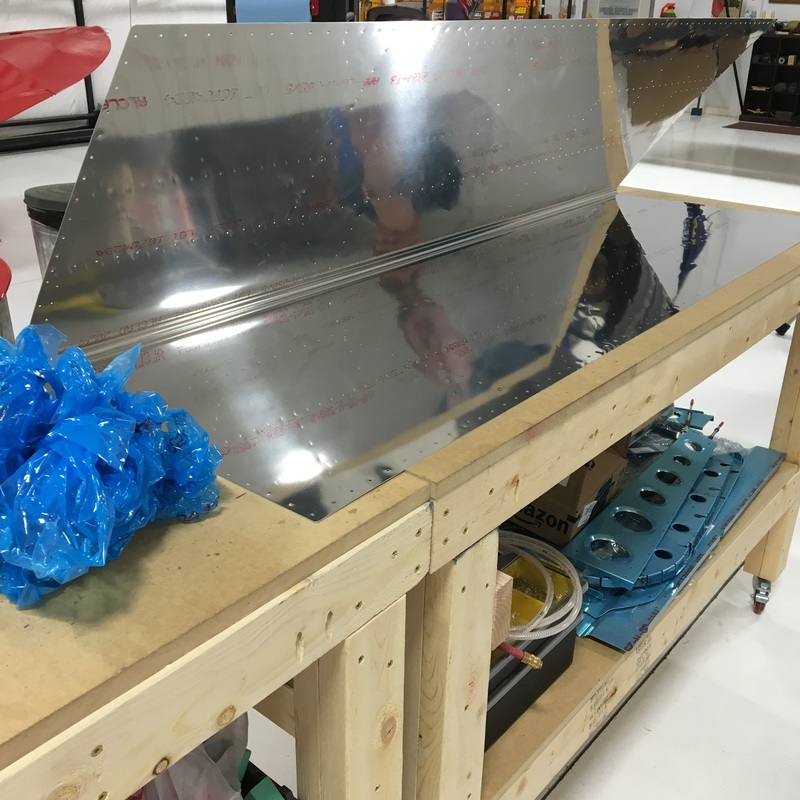
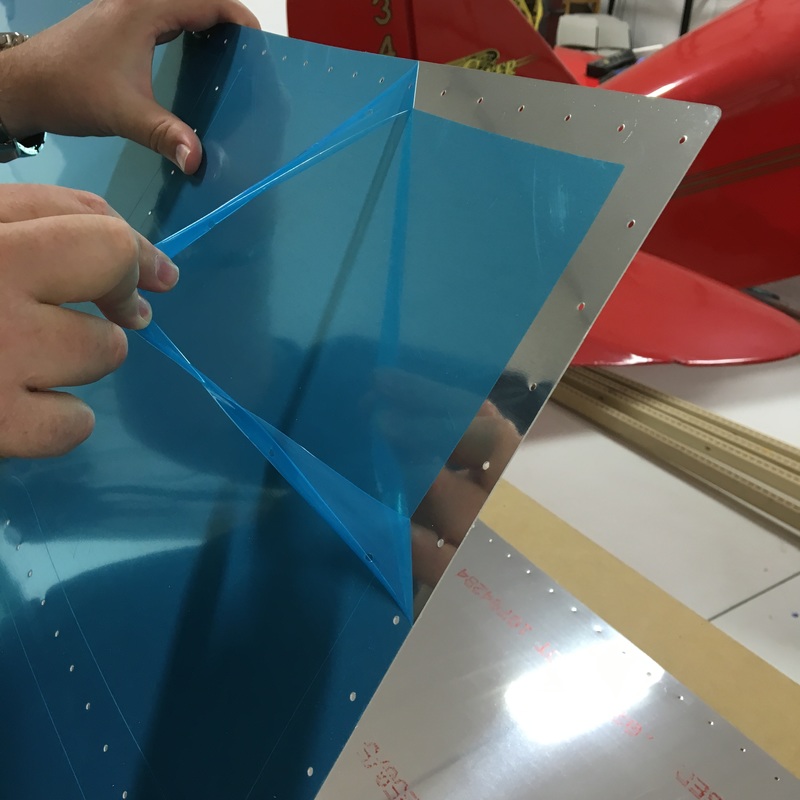
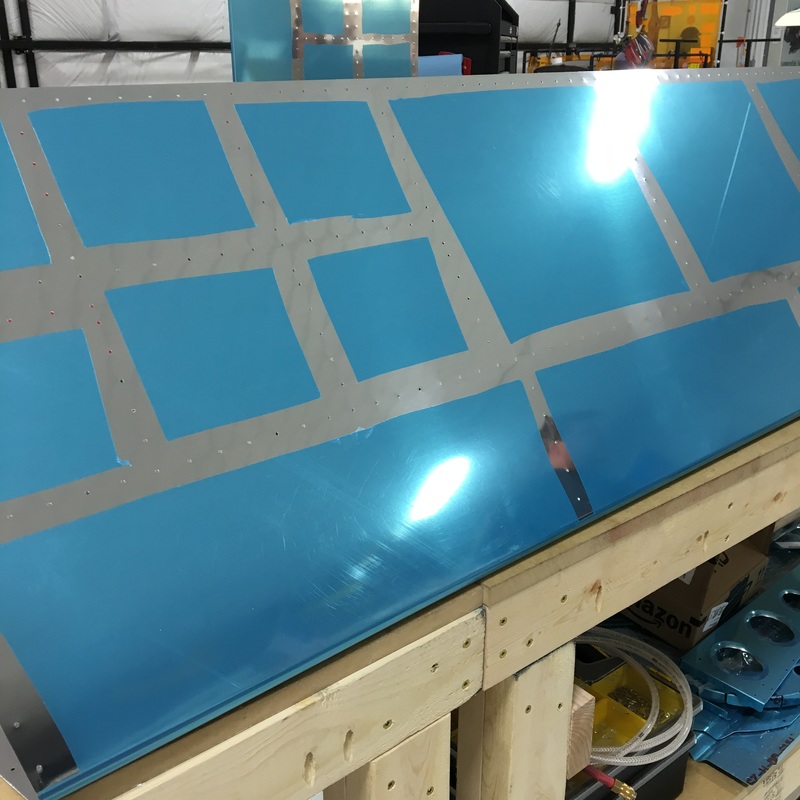
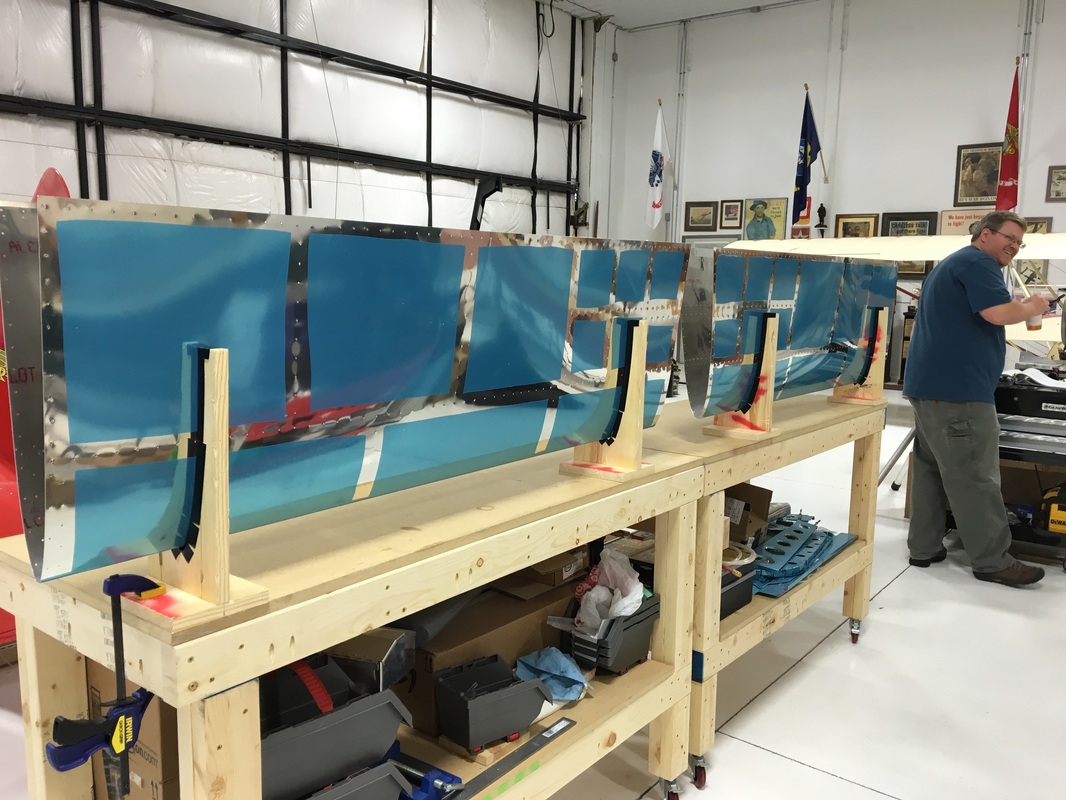
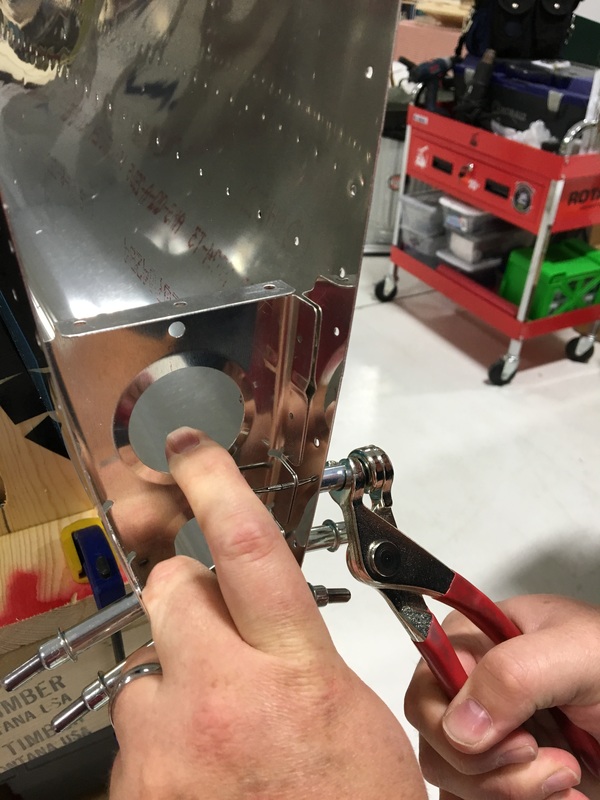
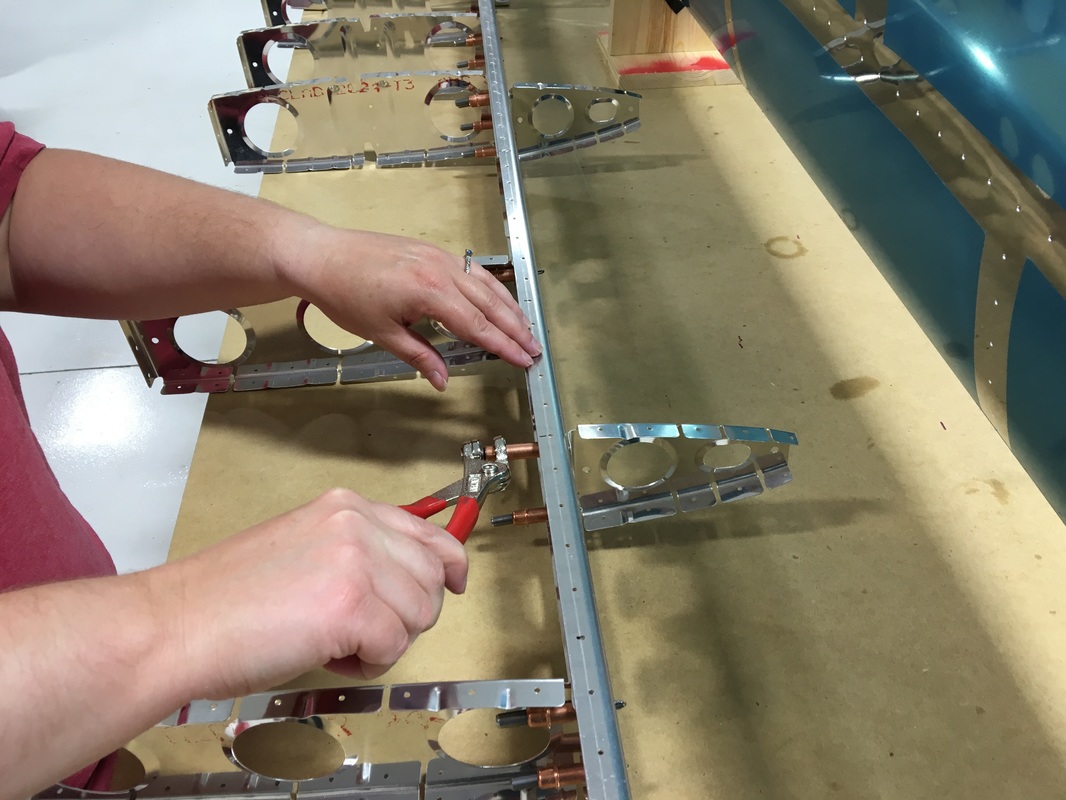
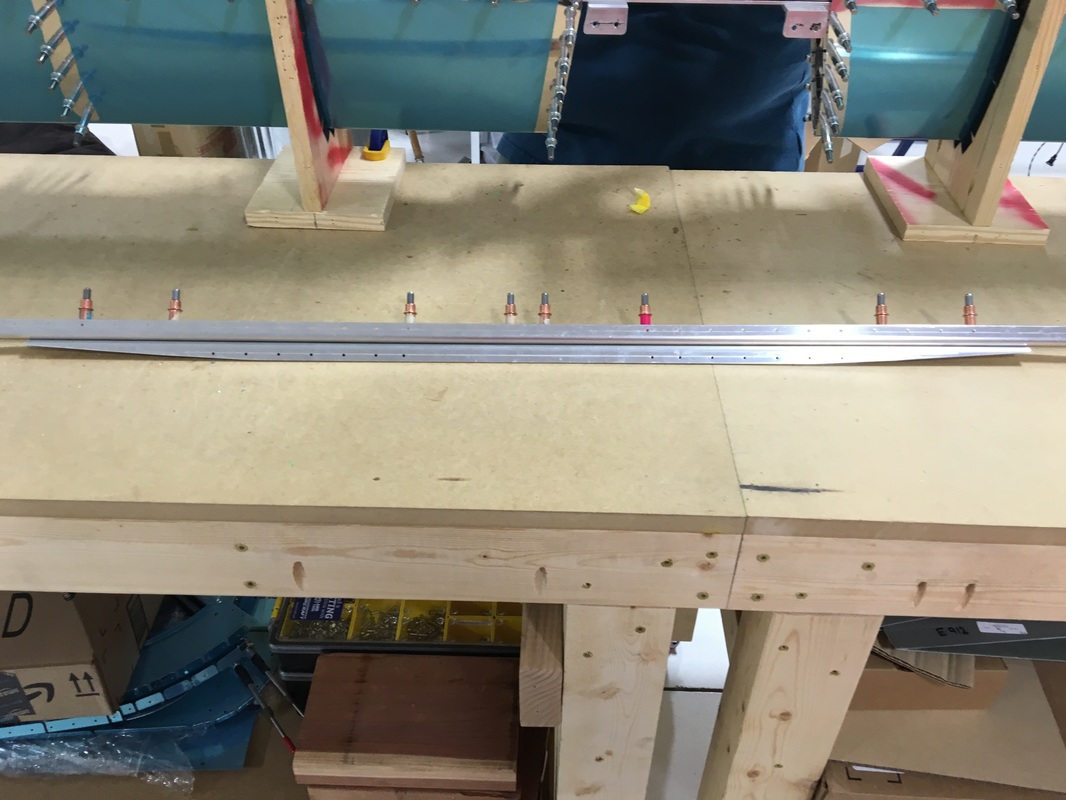
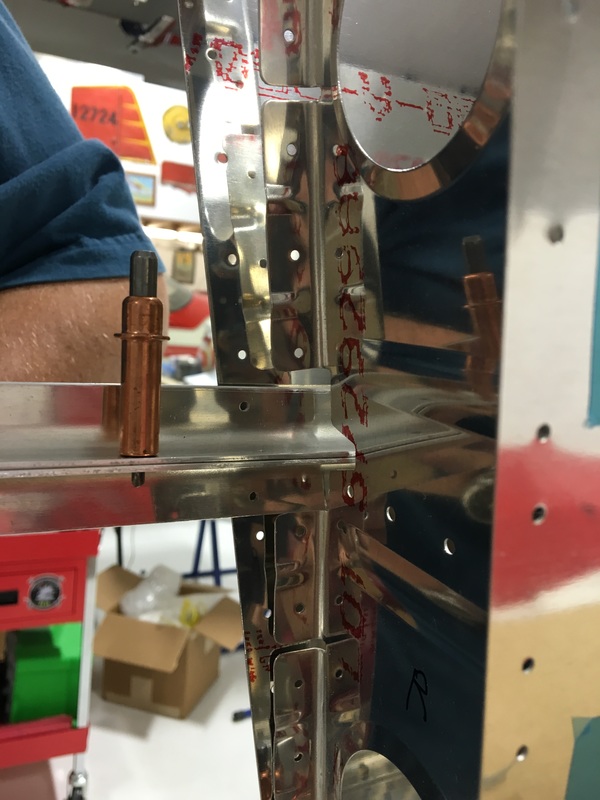
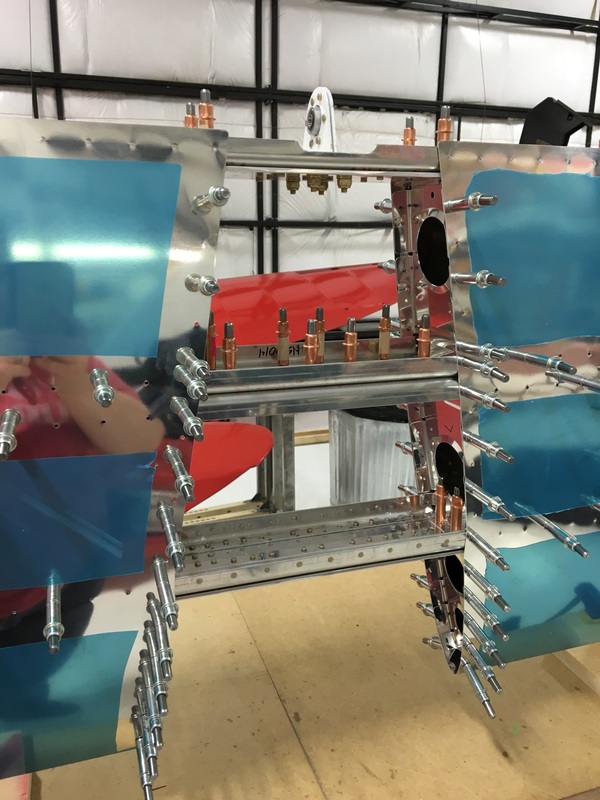
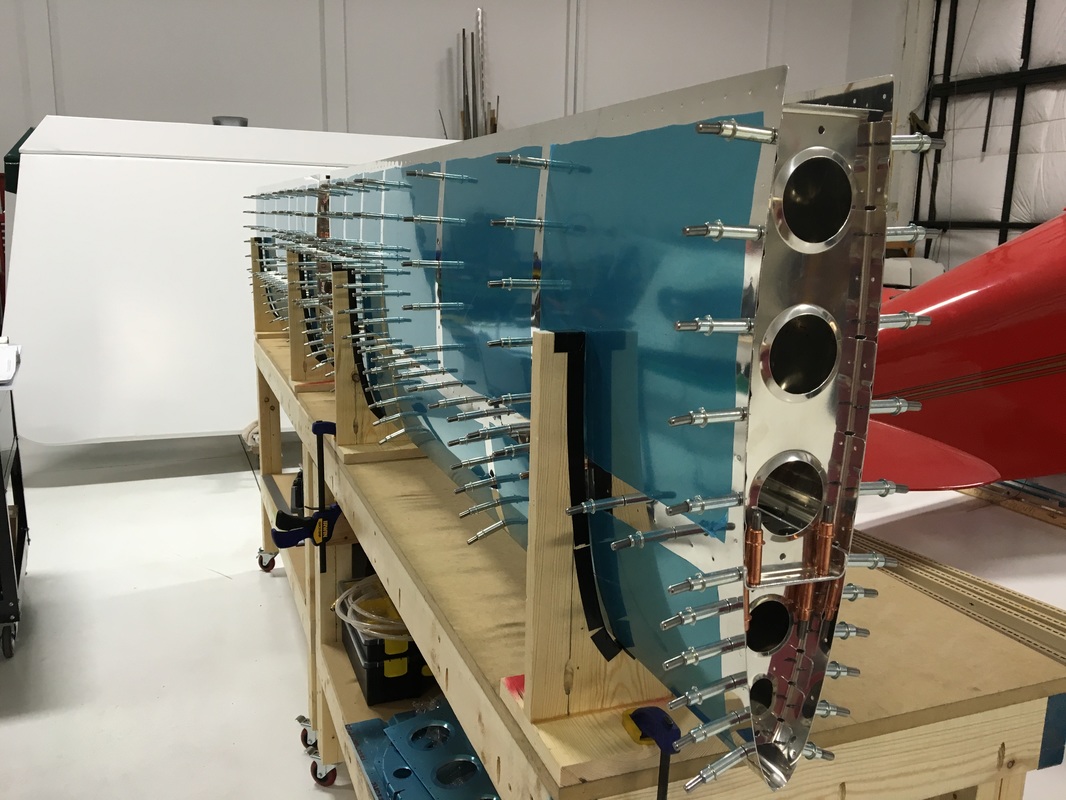
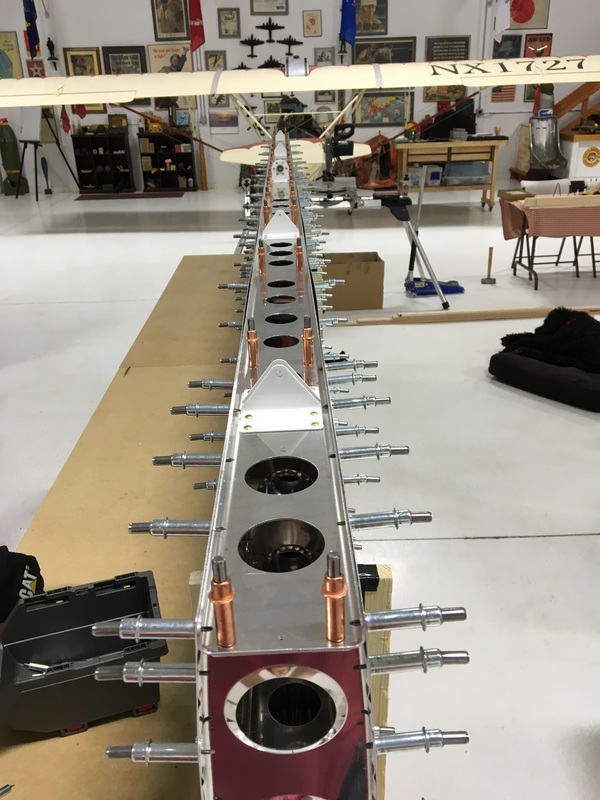
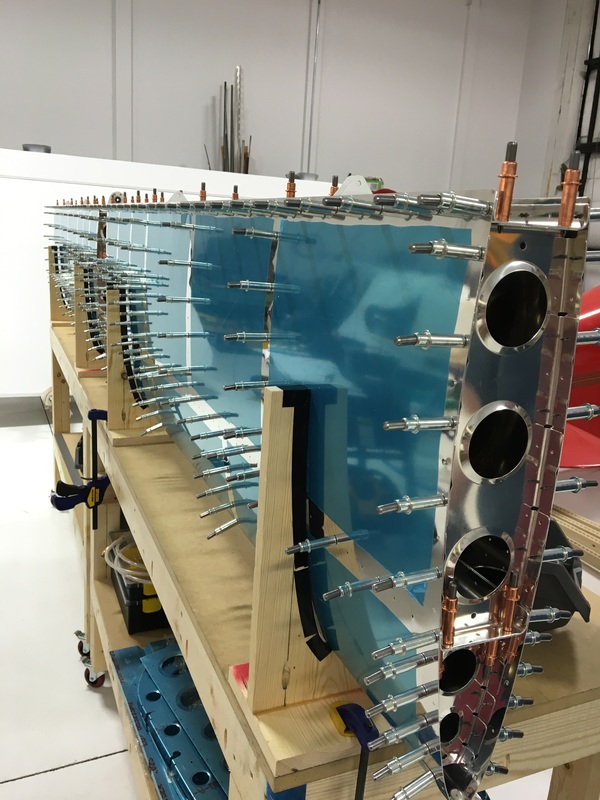
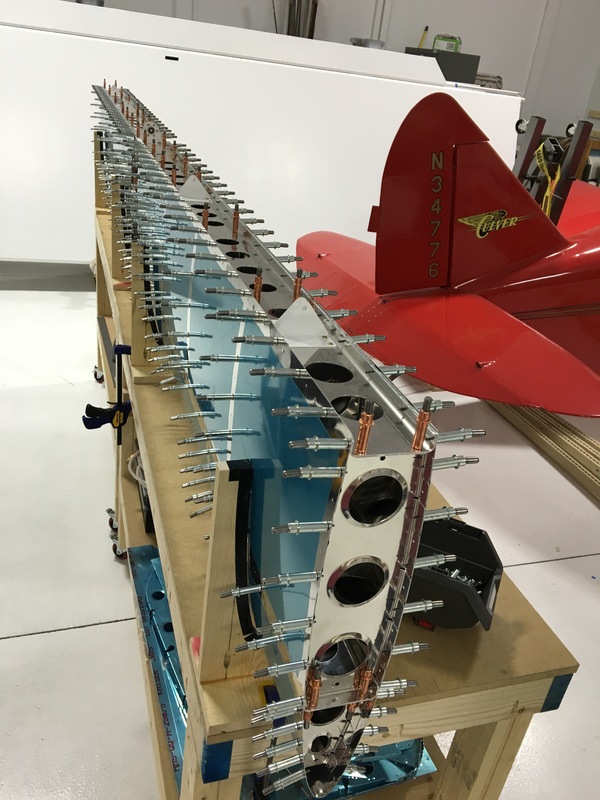
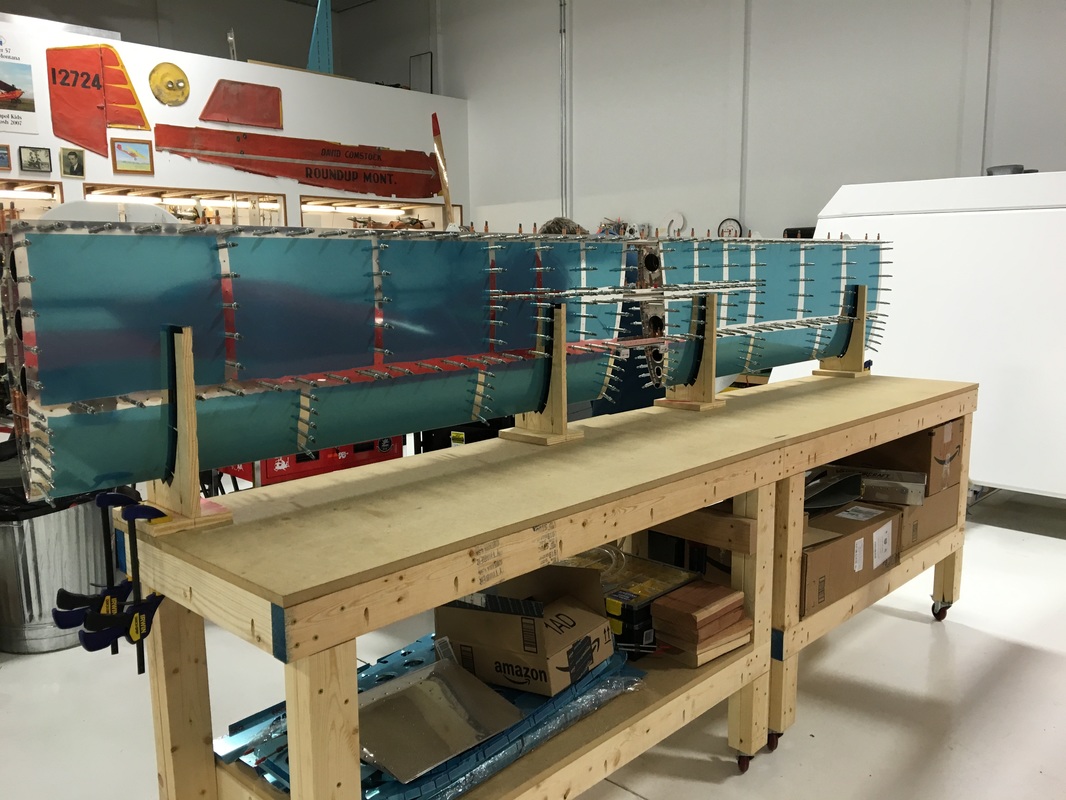
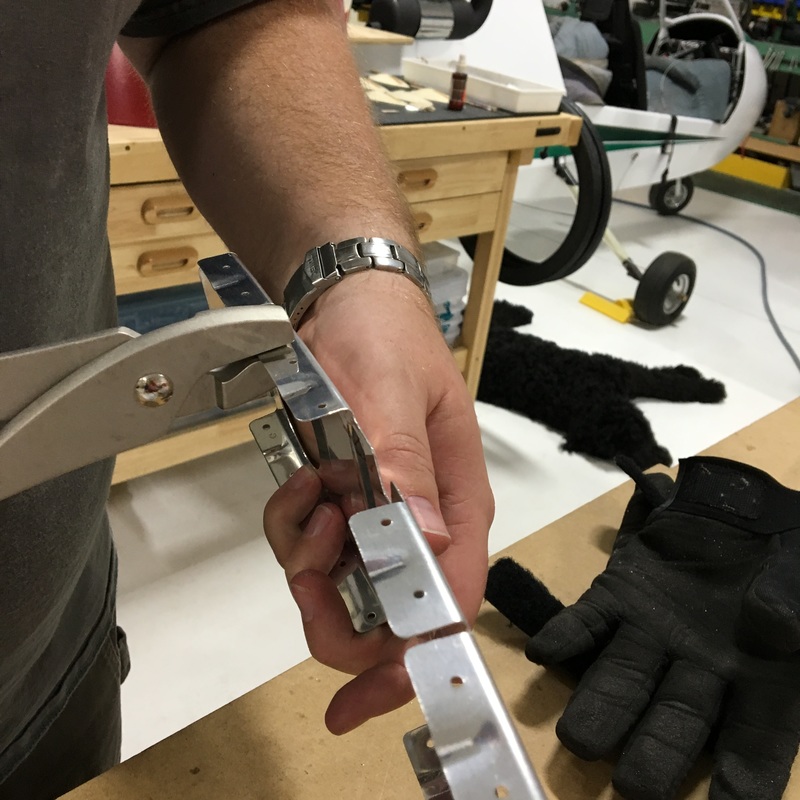
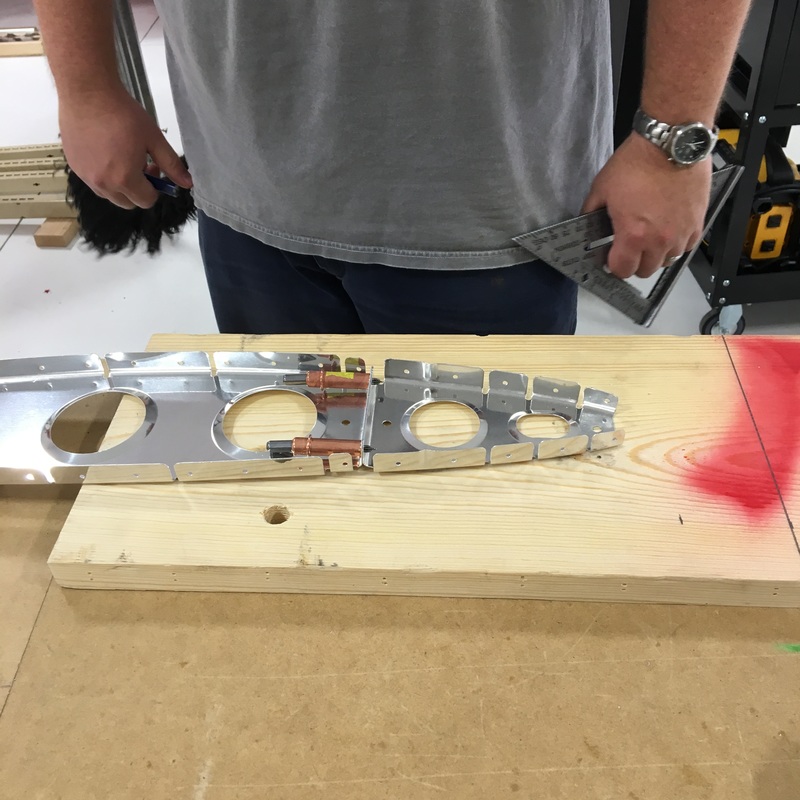
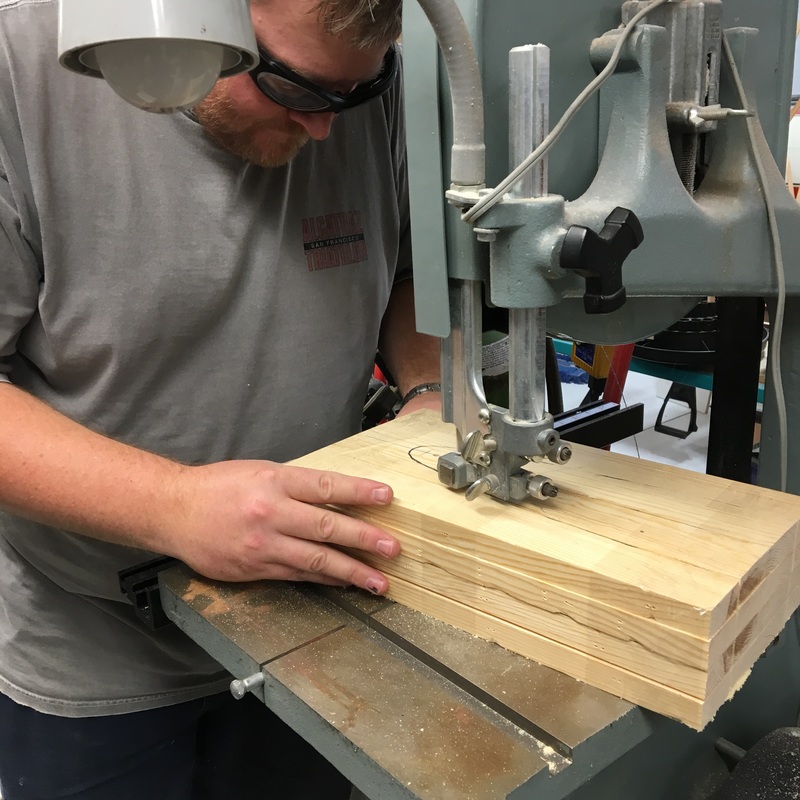
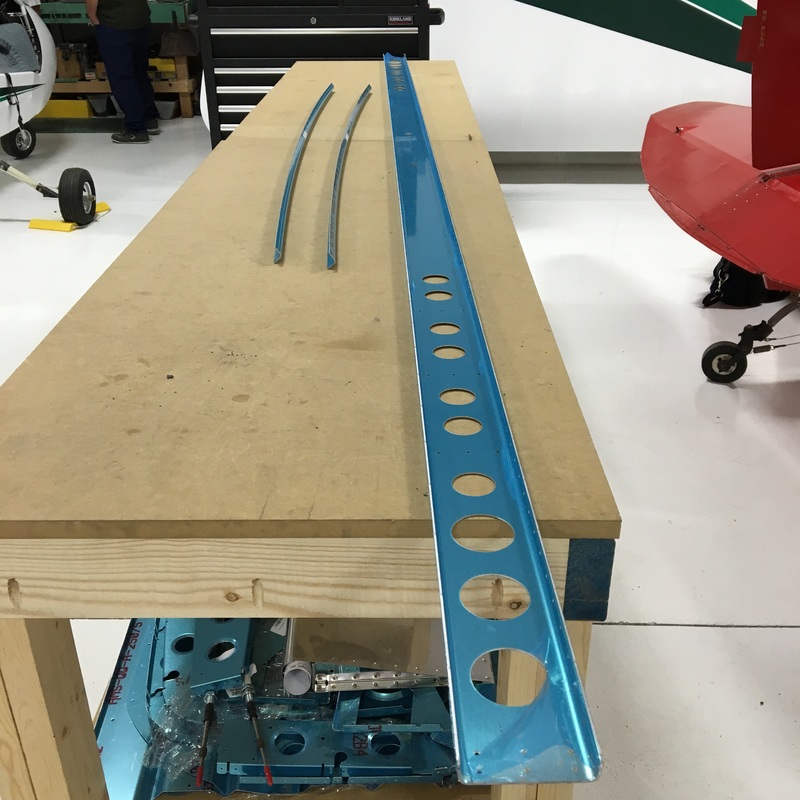
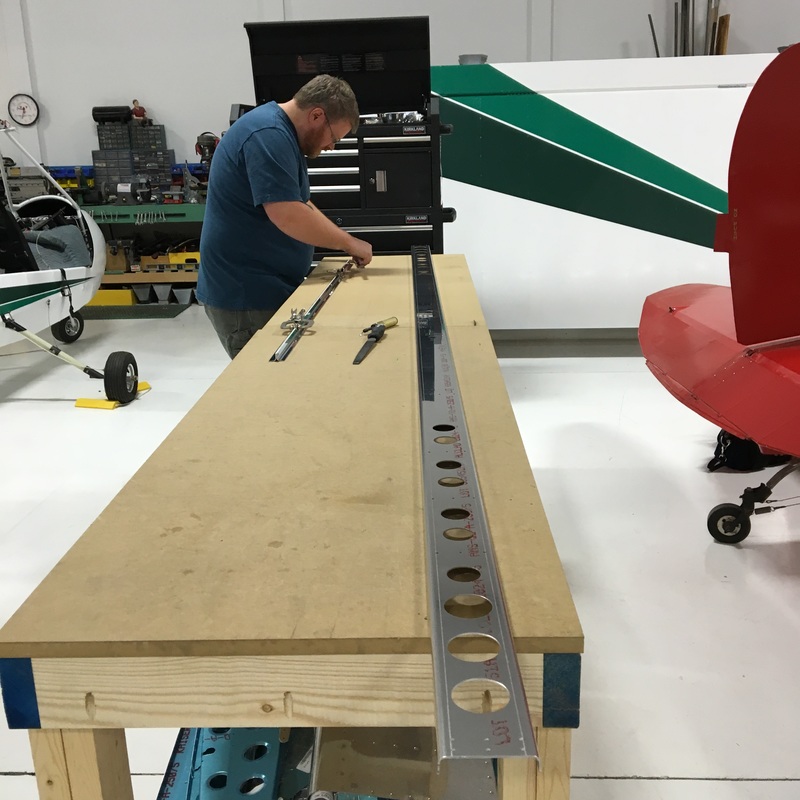
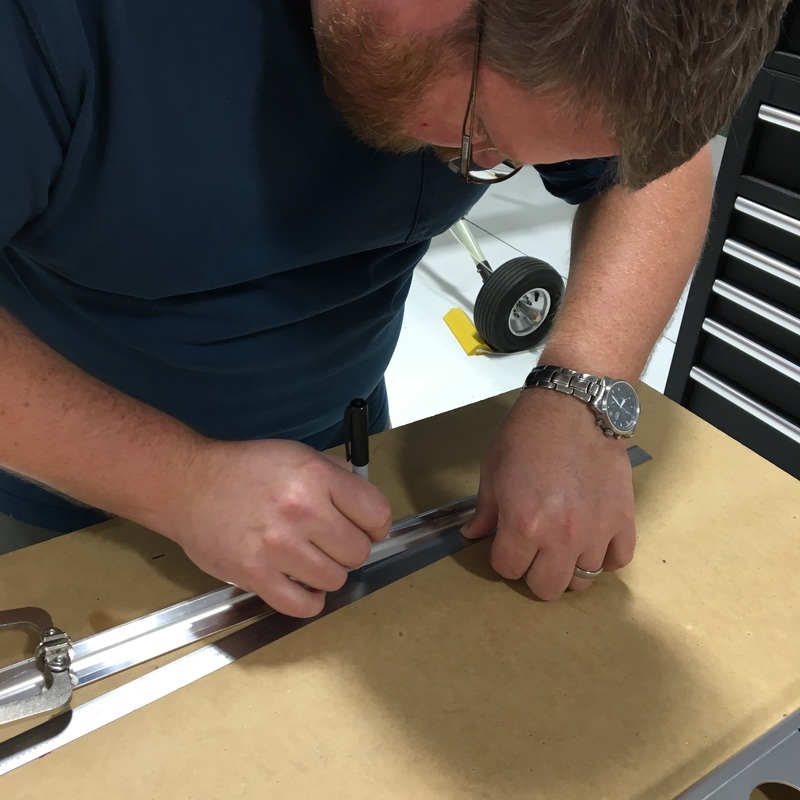
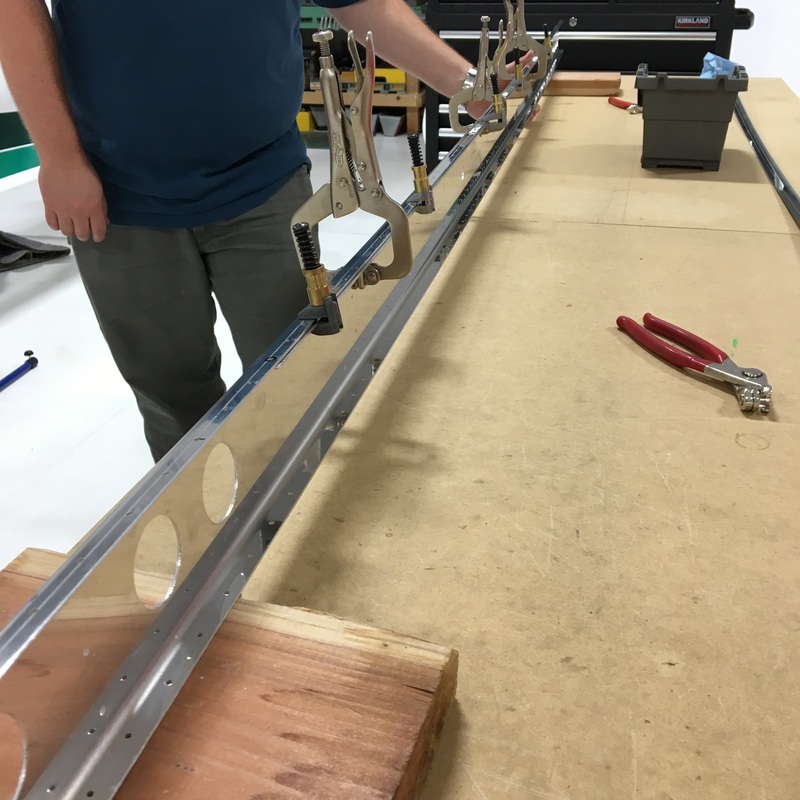
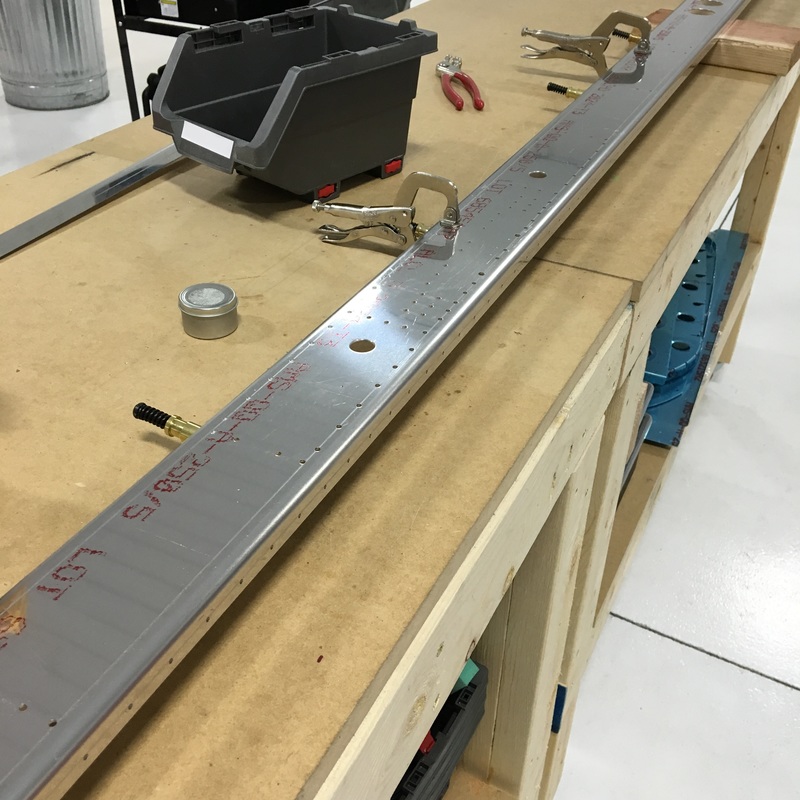
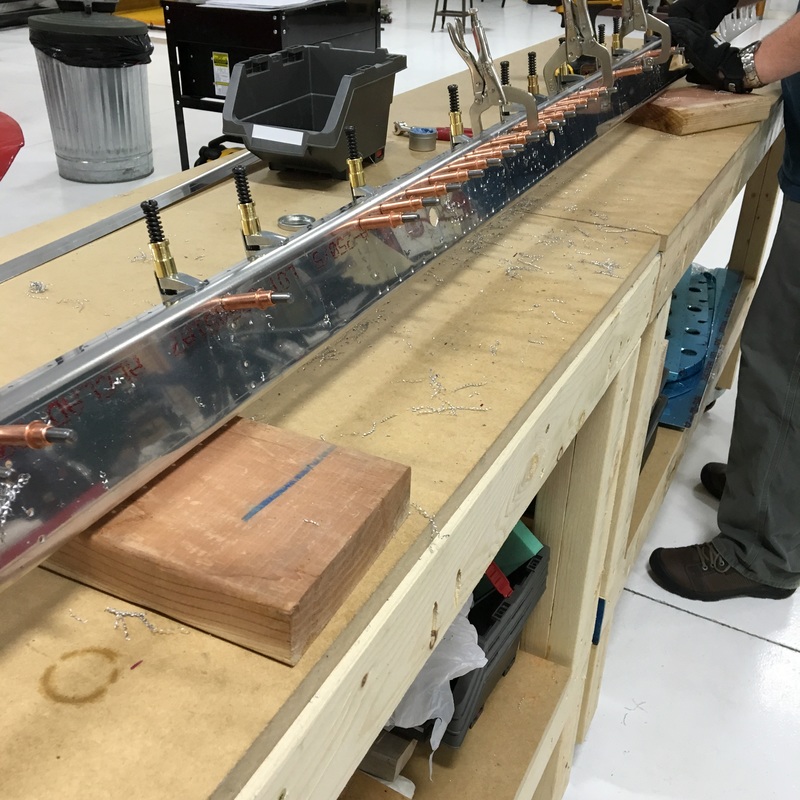
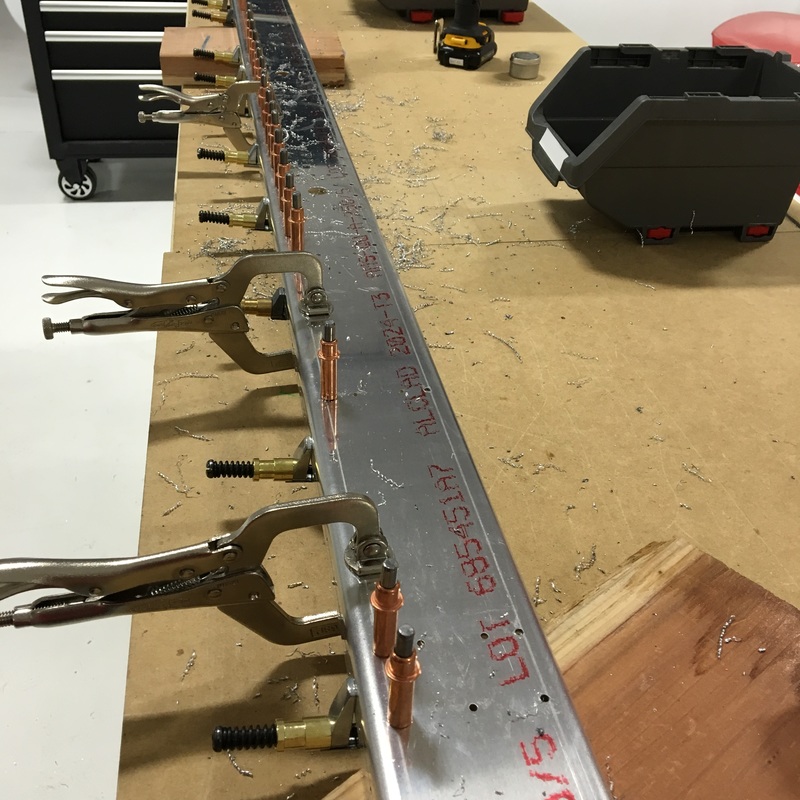
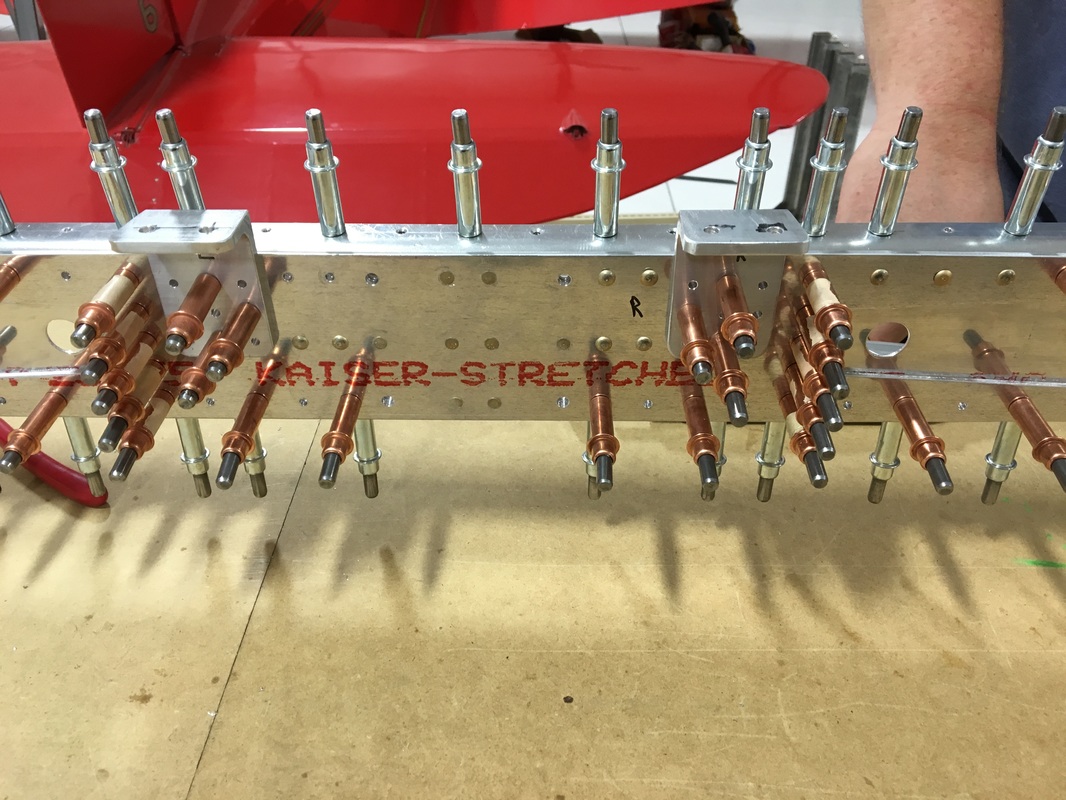
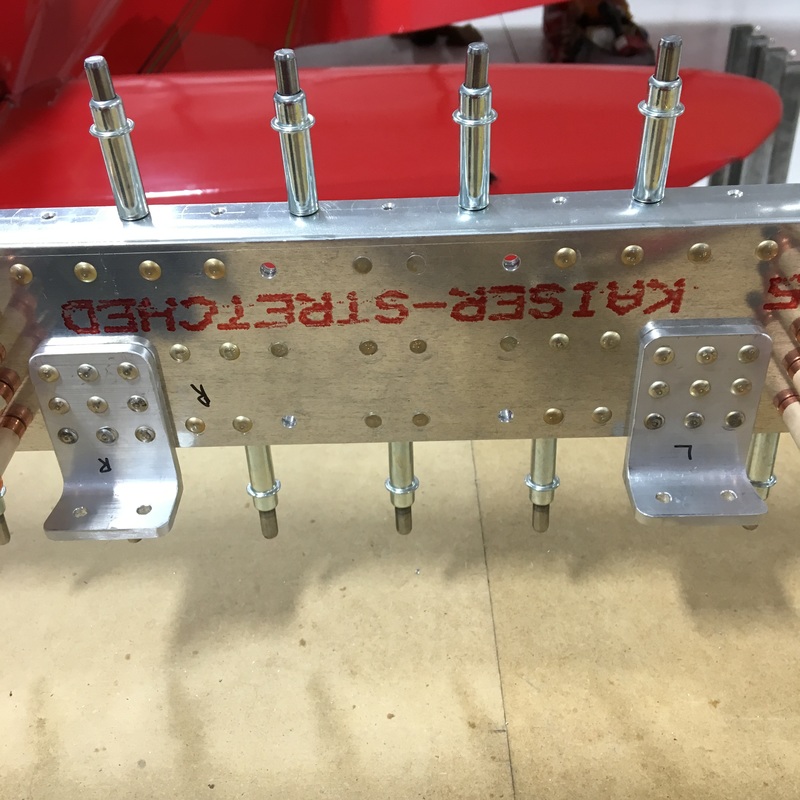
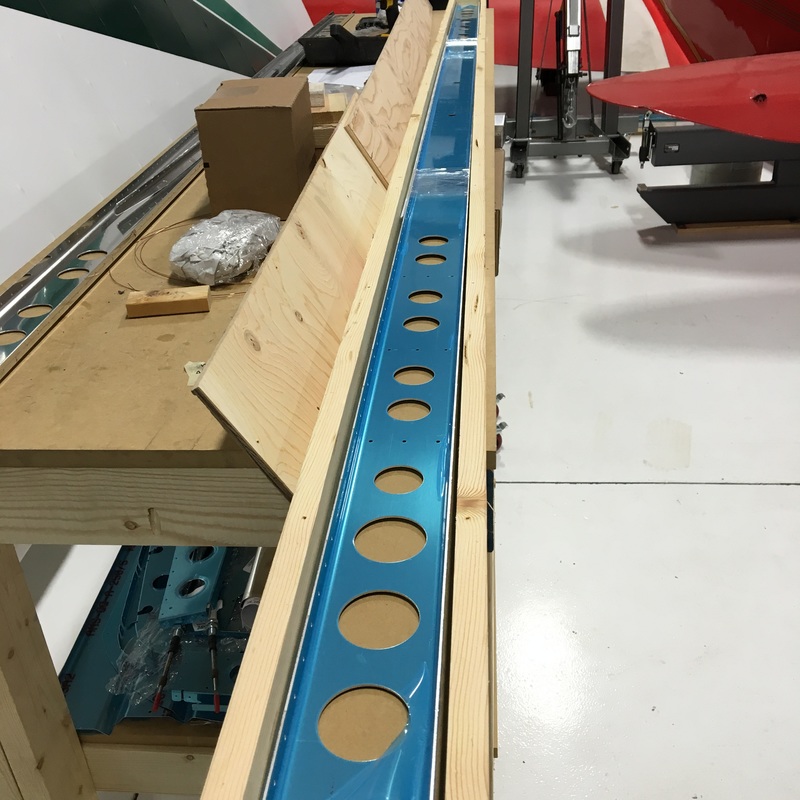
I'm really behind on blogging so I'm trying to get caught up. I'm writing multiple posts today, so if you've just joined me, be sure to scroll down and read Parts 1 and 2 first. Before we could continue, we had to get the horizontal stabilizer skins out of storage and get them prepped. That meant removing the vinyl from the inside of the skins and around the rivet holes on the outside of the skins. We used the same method as before where we scored the vinyl with a soldering iron so we could peel it off in smaller chunks. We experimented a little bit to figure out which soldering bit worked the best and it's definitely the angled bit rather than the pointed one. With all the spars completed, the skeleton and skins prepped, and the cradles fabricated, we could finally start putting everything together! This is always a really exciting part of the build. You spend the majority of your build time working on pieces that you don't know the purpose of and then set them aside for a couple of months. It's fun and surprising to finally see everything fit together. The fun is slightly tempered by the knowledge that this is just the pre-assembly. We will have to take everything apart at least one more time before we actually begin riveting. We started by setting the skins into the cradles. Then we removed the nose ribs one at a time and clecoed them into the skin. The aluminum skins are so shiny that you get these really amazing kaleidoscopic images during assembly. 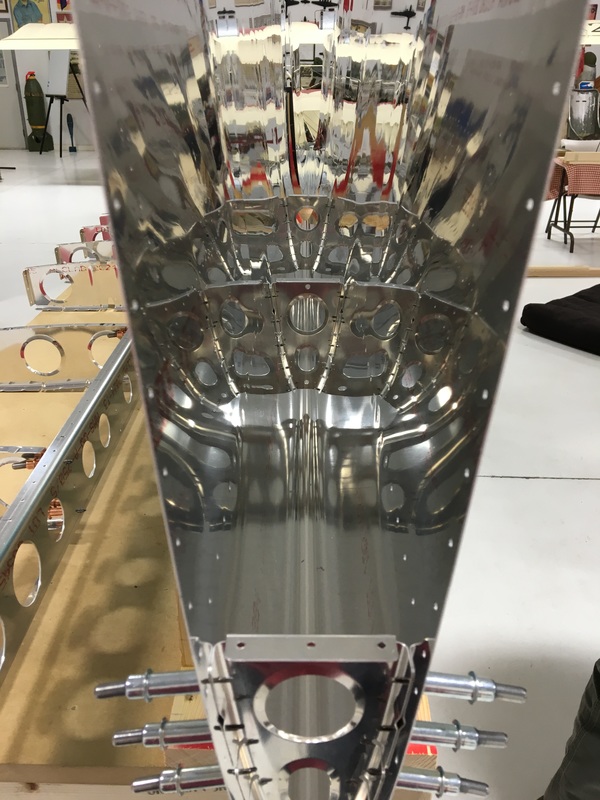 Next, we added the front spar with the attached inspar ribs and clecoed the spar to the skin and the nose ribs. Well, Mike clecoed the spar to the nose ribs because I couldn't reach. 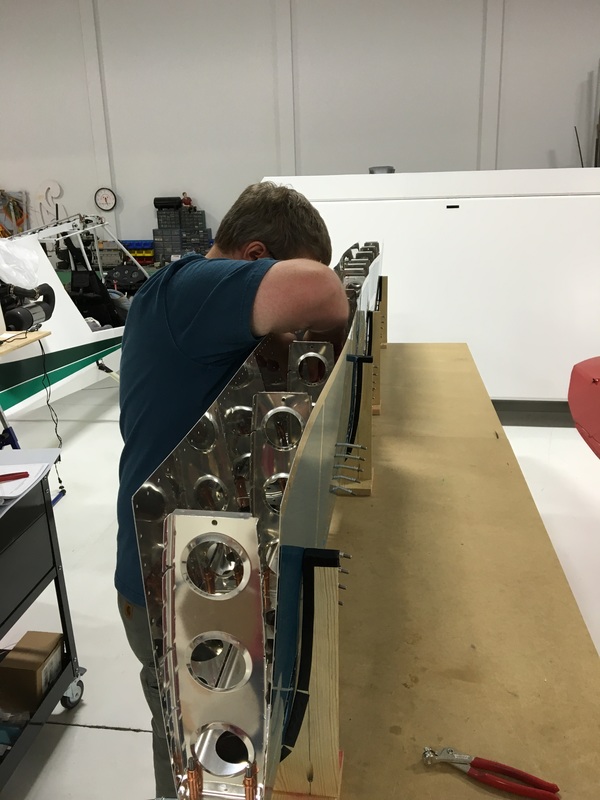 And we finally found out the answers to two mysteries - what is the purpose of the four extra pieces in this photo (which is from April) and why did we have to cut notches into some of the inspar ribs? 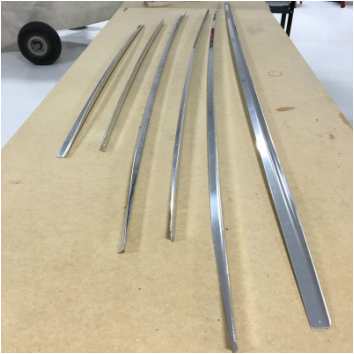 It turns out that those long pieces get put together into two "stringers" which are then inserted into the notches we cut. I have no idea why the stringers are necessary but it's always a relief when you don't have extra parts at the end of the day. Once the stringers were in place, we could finally cleco the skins and ribs together and add the rear spar. We had to open three additional bags of clecos before we were done and the whole thing looked like a porcupine by the end. But it also looks like something that belongs on an airplane. How cool is that!
1 Comment
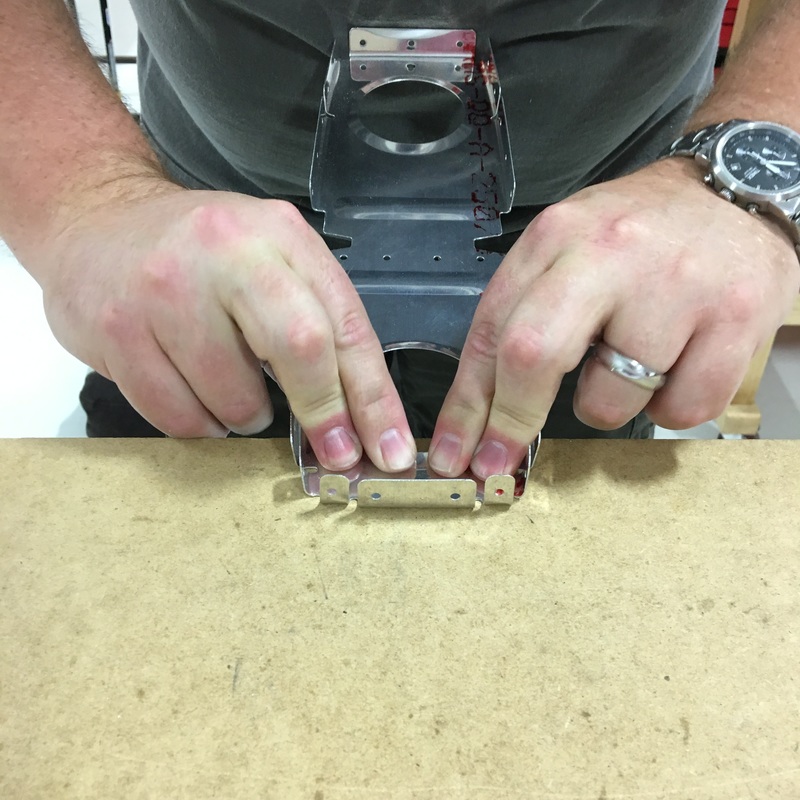
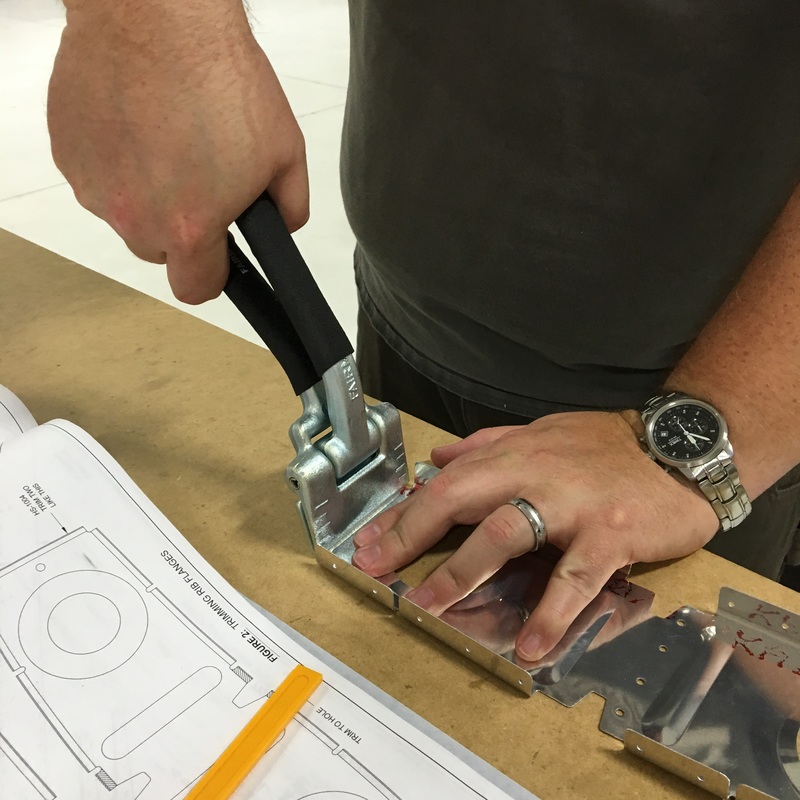
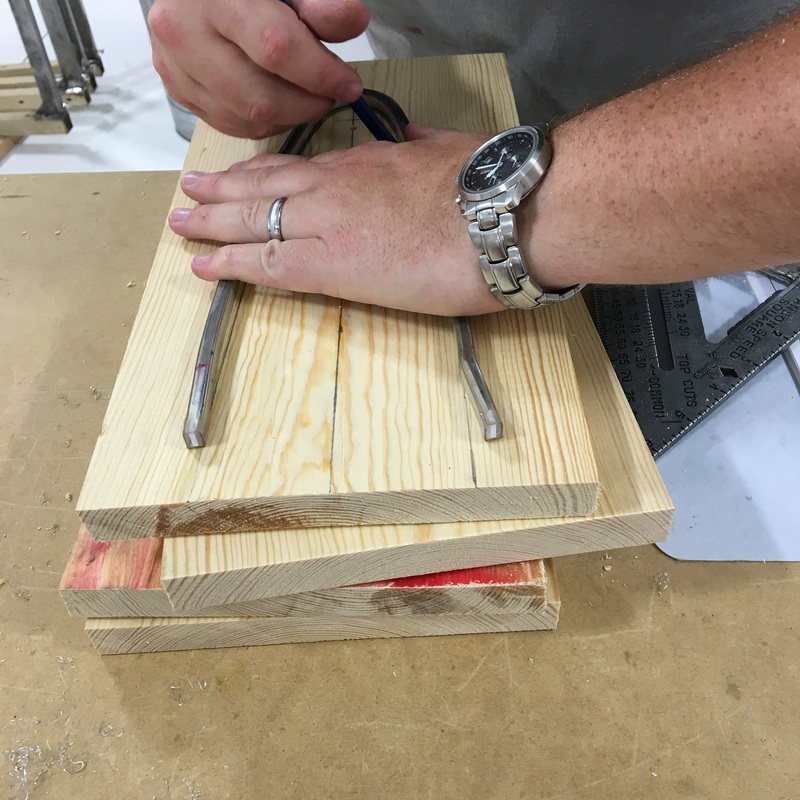
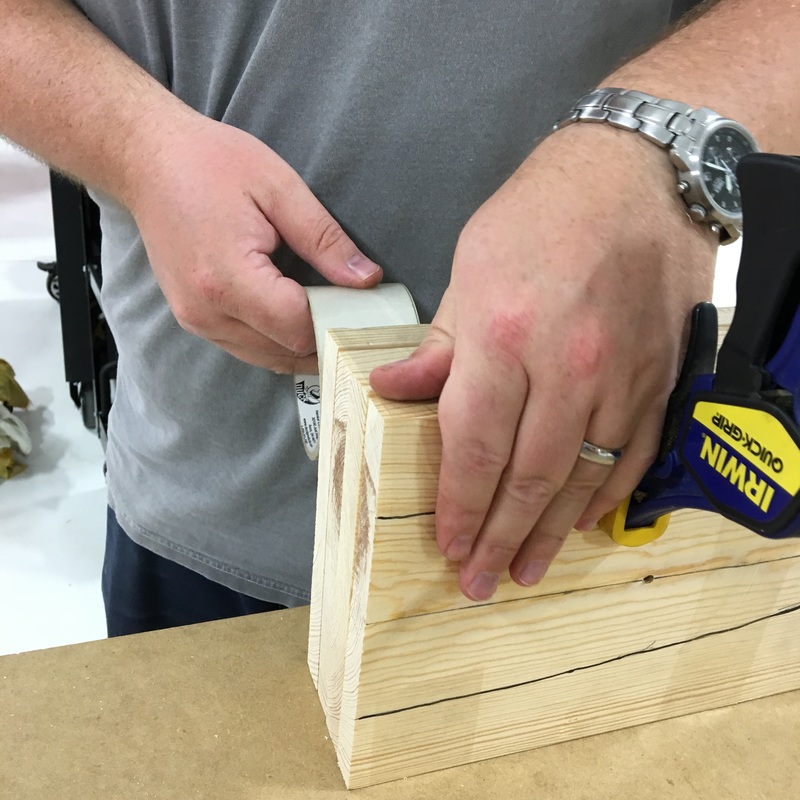
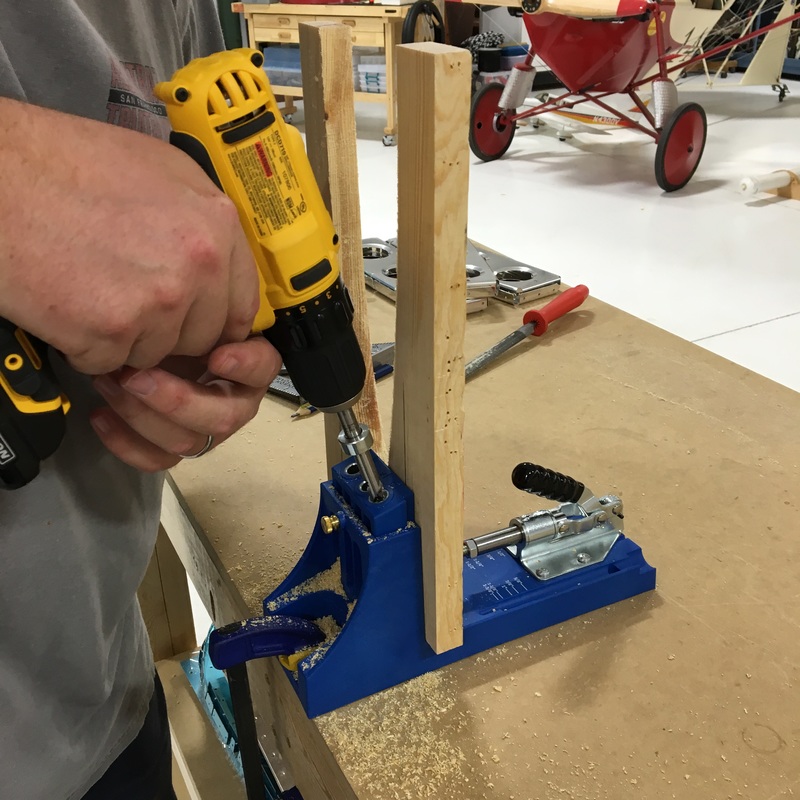
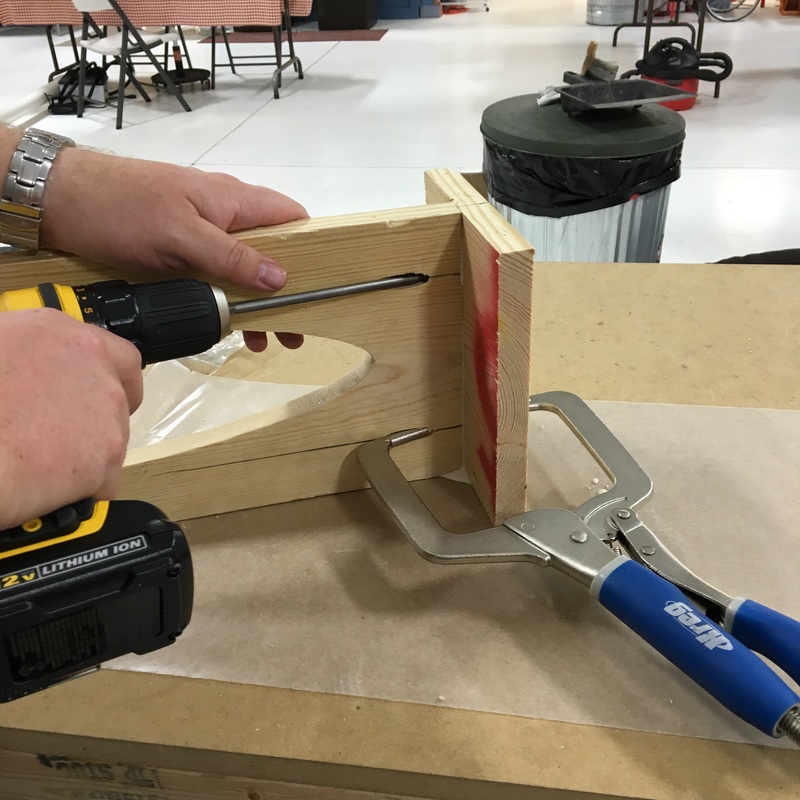
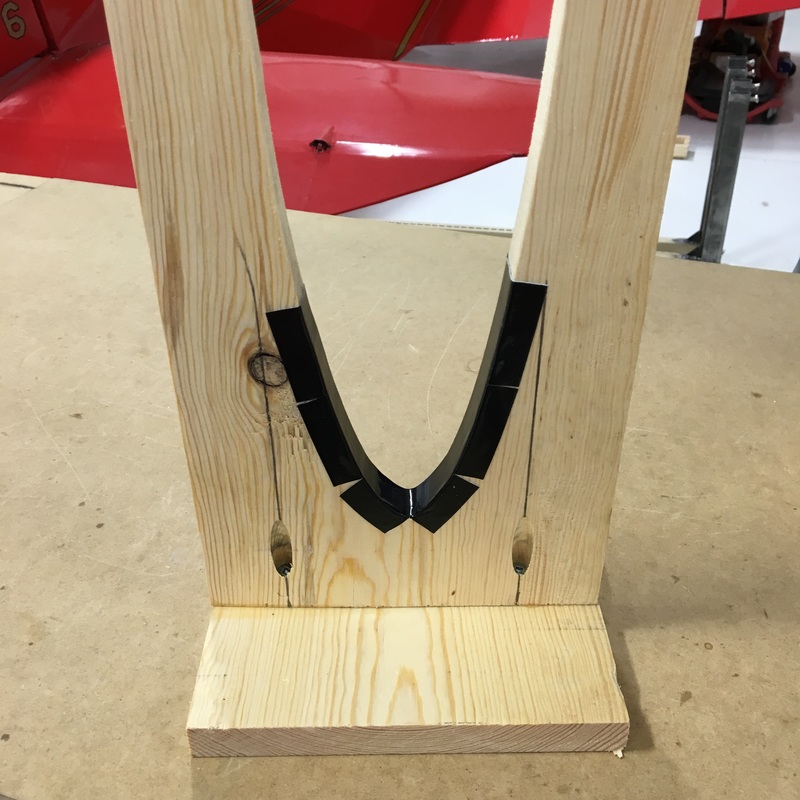
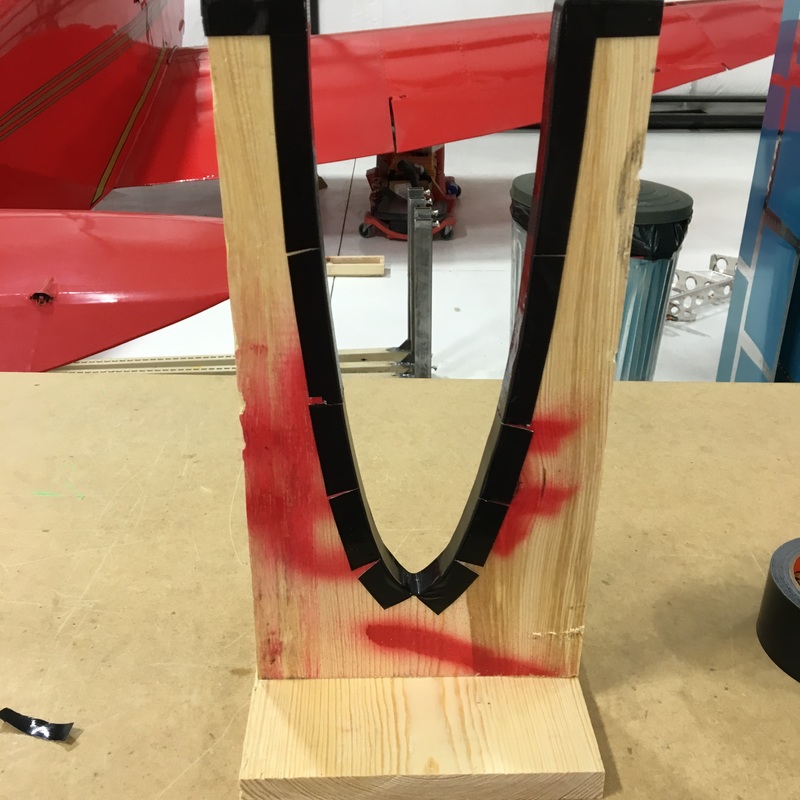
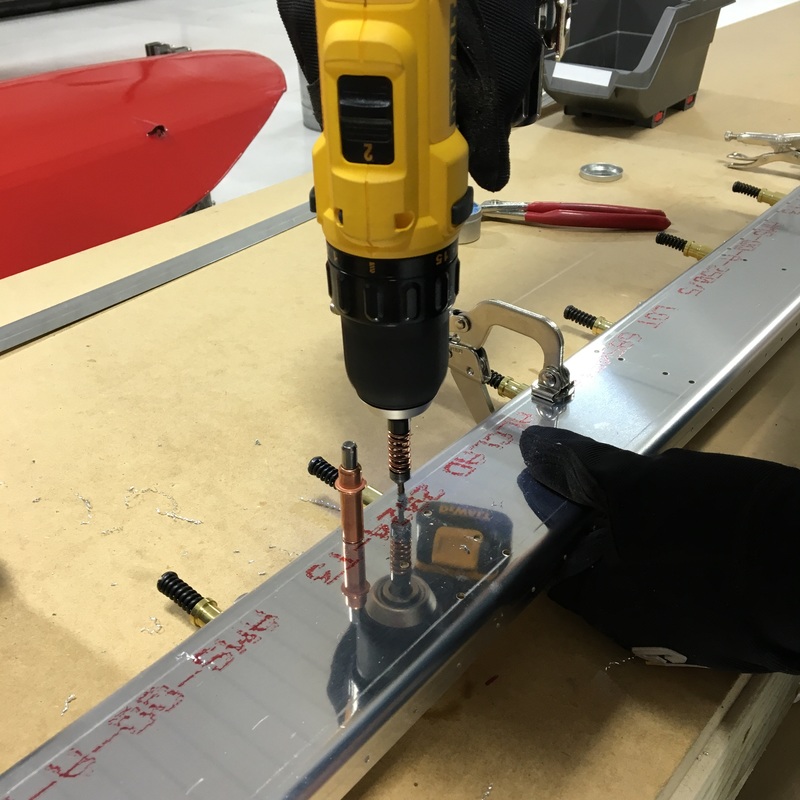
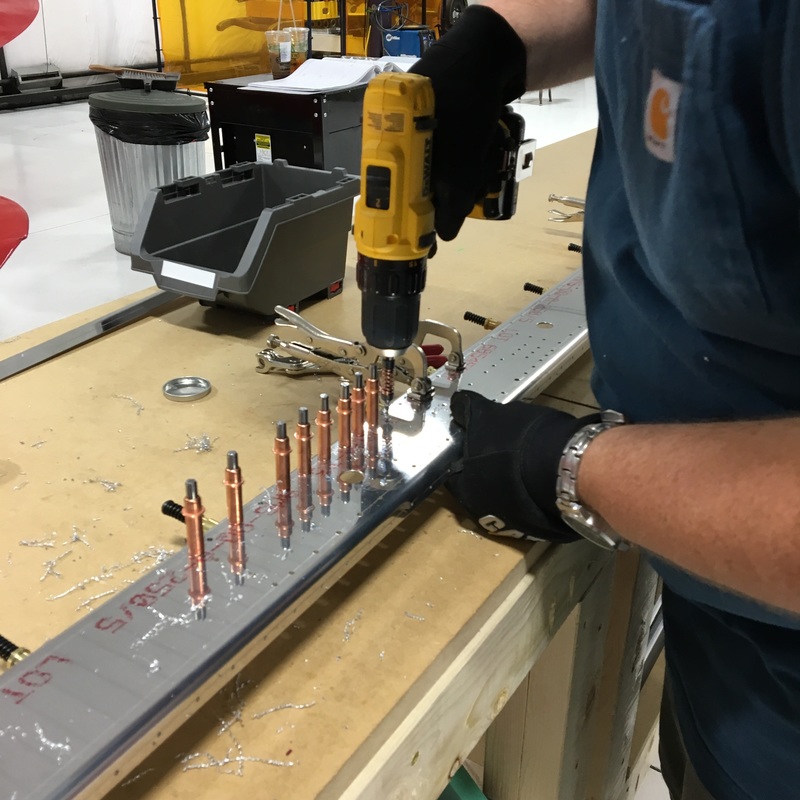
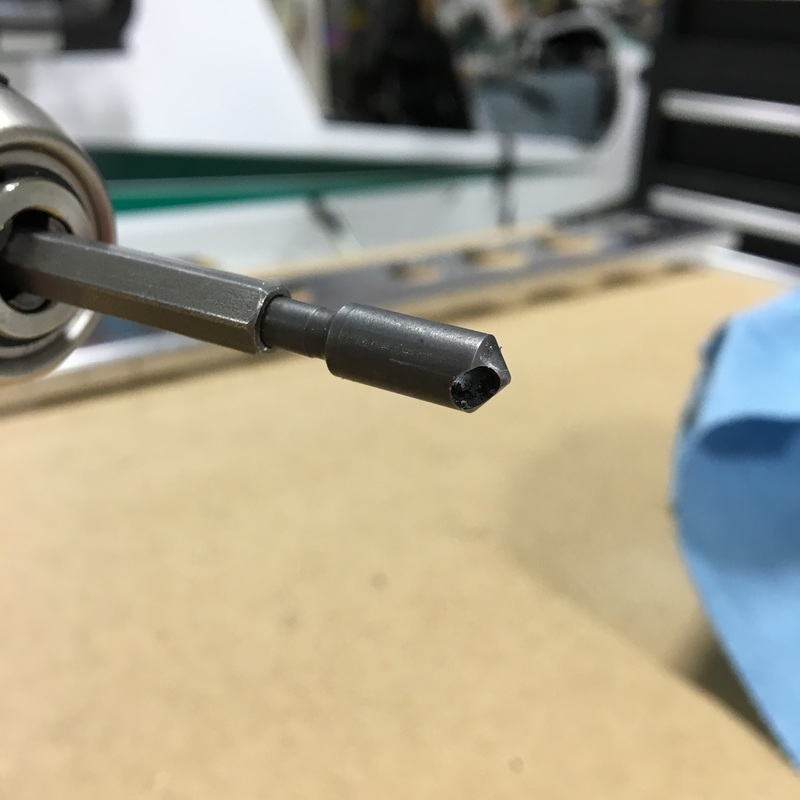
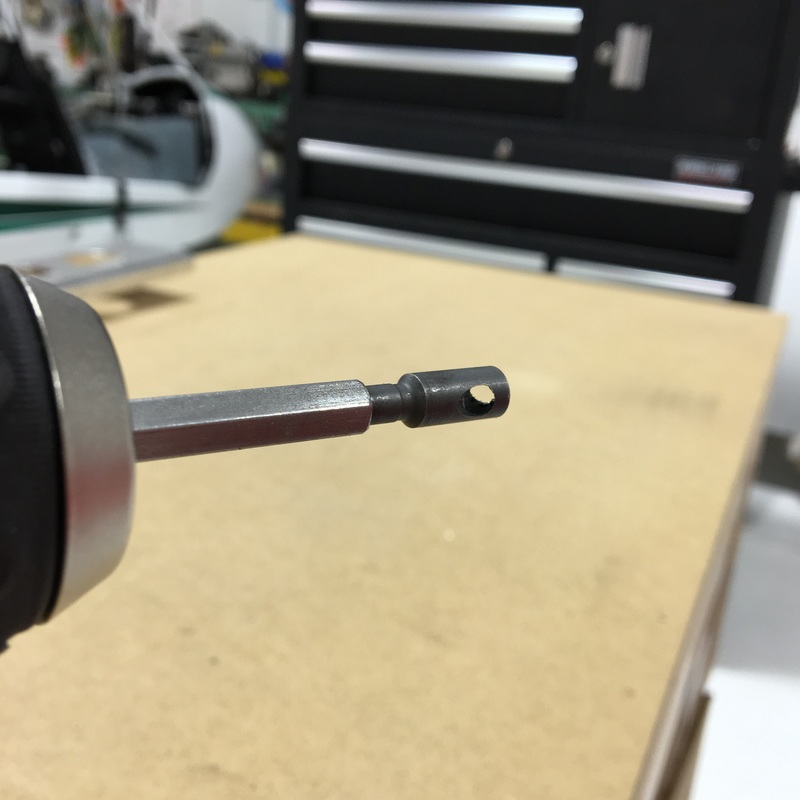
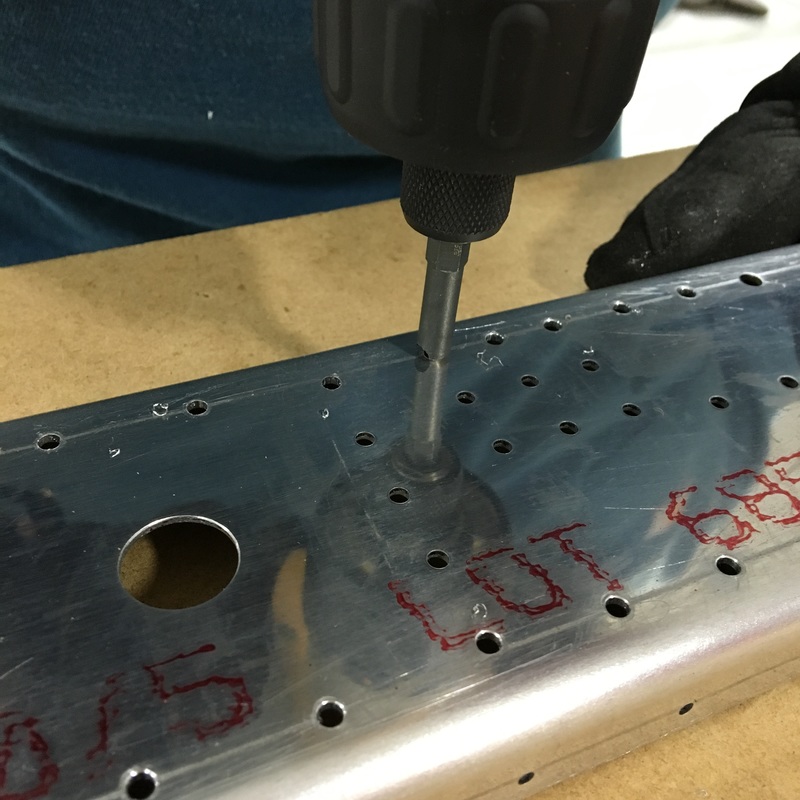
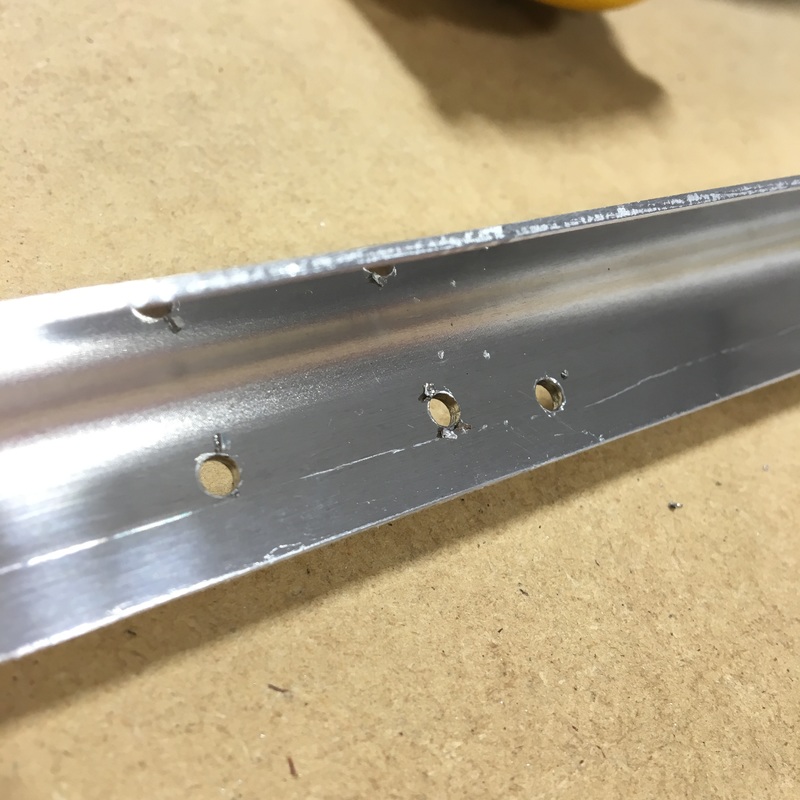
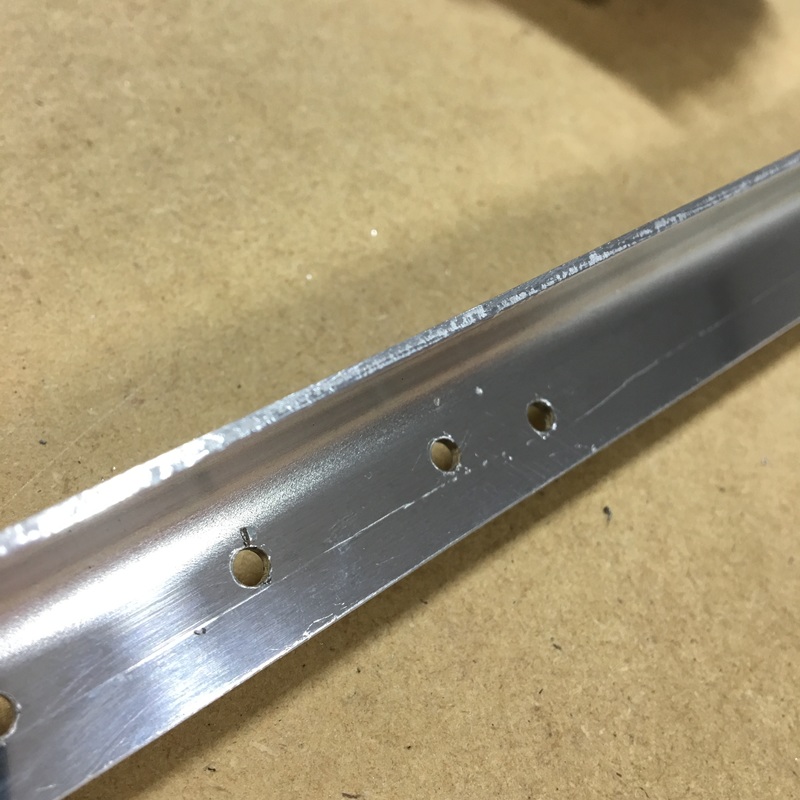
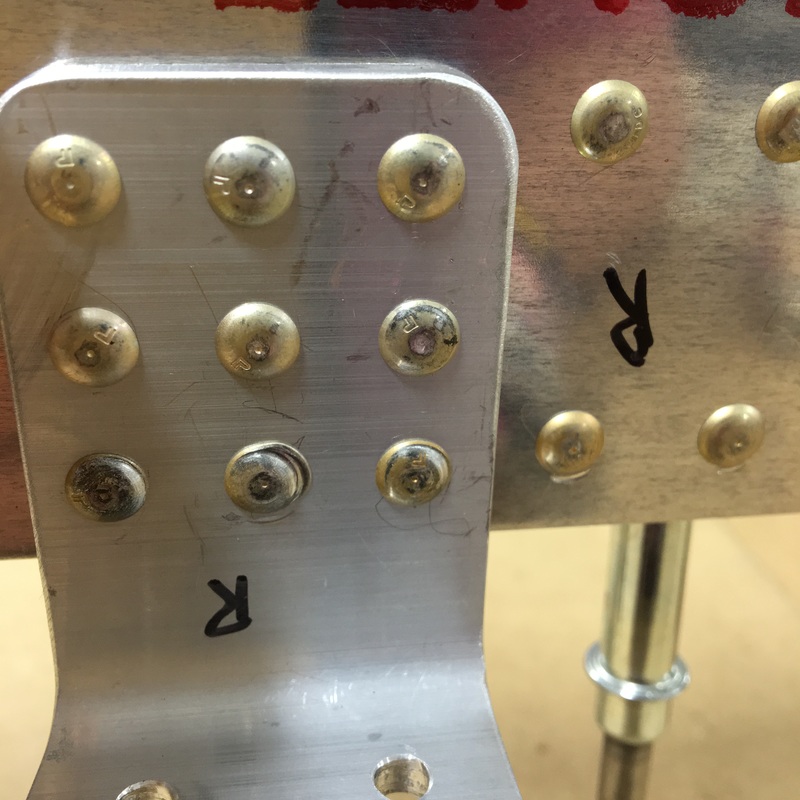
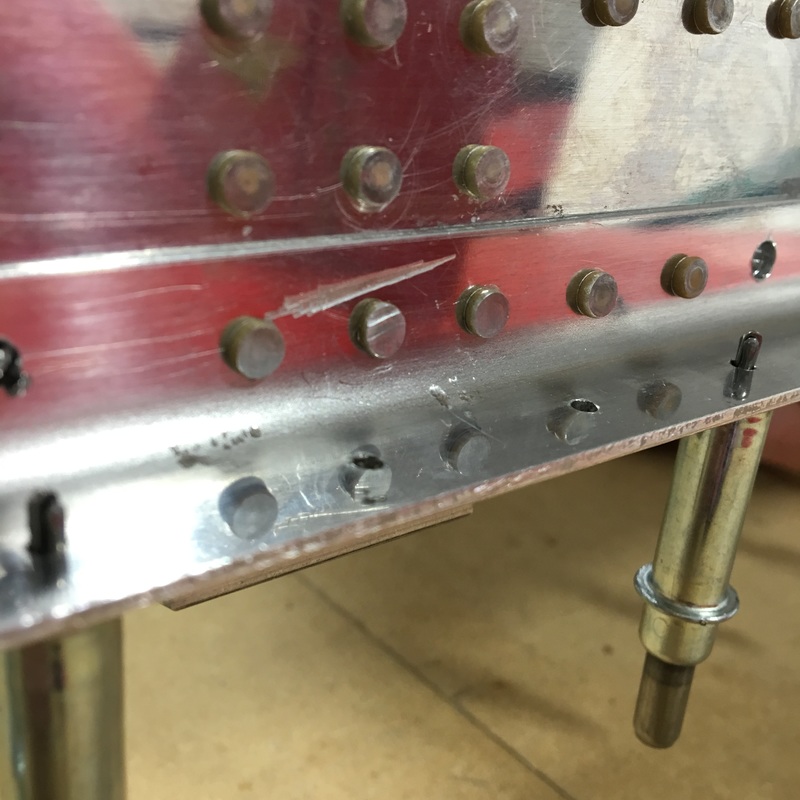
I'm really behind on blogging so I'm trying to get caught up. I'm writing multiple posts today, so if you've just joined me, be sure to scroll down and read Part 1 first. Once the front spar was finished, we started work on the inspar and nose ribs for the horizontal stabilizer - basically all the guts that go inside (The inspar ribs go in the middle between the front and rear spars that we've already completed. The nose ribs go up at the front.) I deburred ribs for two solid hours one day! I didn't take any pictures because you don't need to see every single pile of aluminum shavings I create. While I deburred, Mike had to notch and bend a couple of the ribs for some as yet unexplained reason. I was so busy deburring that I forgot to take pictures of Mike cutting the notches into the ribs. I think he did the cutting with his dremel tool. The instructions told us to bend sections of two inspar and two nose ribs precisely nine degrees. That sort of precision is kind of hilarious considering nothing is exactly straight in the first place. Here is Mike doing his best to create those 9 degree bends. Mike also had to flute some of the ribs so they would lay flat (obviously not the ribs he just painstakingly bent by 9 degrees). While I continued to deburr in the background, Mike fabricated some cradles that we will use when we put all these pieces together. He clecoed an inspar and nose rib together, traced their outline onto some scrap lumber and cut out four cradles. We're totally turning into hoarders on this project and save anything that might be of use later. We used the lumber from the crate the empennage kit came in to make the cradles. Mike also used a bendable ruler to make the template, which I thought was amazing. How have I lived my whole life without realizing that this was a thing? He taped all four pieces of lumber together and cut them out on the band saw. Once they were cut out, guess what I got to do? I got to deburr (also known as file) the edges of the cradles. 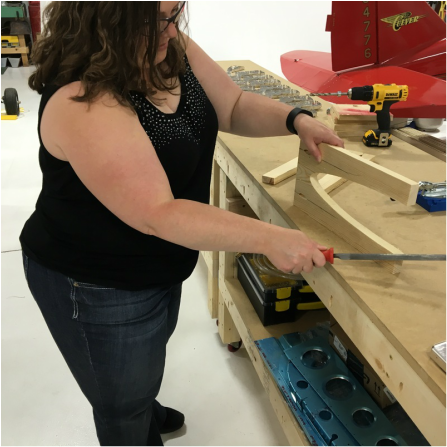 Don't I look thrilled in that picture. You should also admire the beautiful sunburn I got at work earlier in the week. You've may have noticed at this point that Mike has a tendency to make things fancier (i.e. more complicated) than necessary. There is a special tool for everything! With that in mind, you should not be surprised that Mike used his pocket screw jig to put together the cradles. To finish the cradles, we put tape on the edges to protect the skin later. An entire morning of work resulted in four cradles and a stack of ribs. 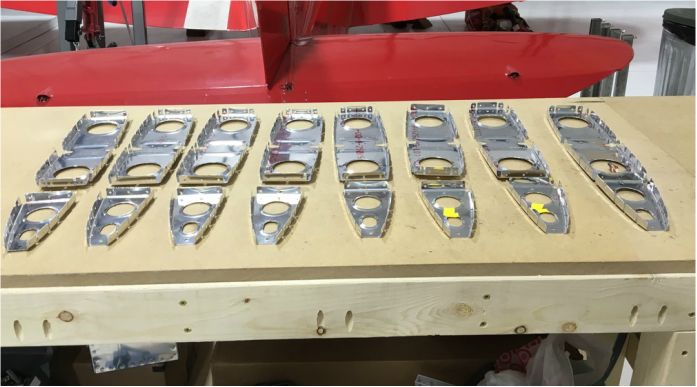 We started to assemble the spars and the ribs, which is when we realized that there were six more inspar ribs that weren't mentioned anywhere in the directions until they were referenced on a diagram. We dug those out, prepped them and finally ended up with a complete horizontal stabilizer skeleton. 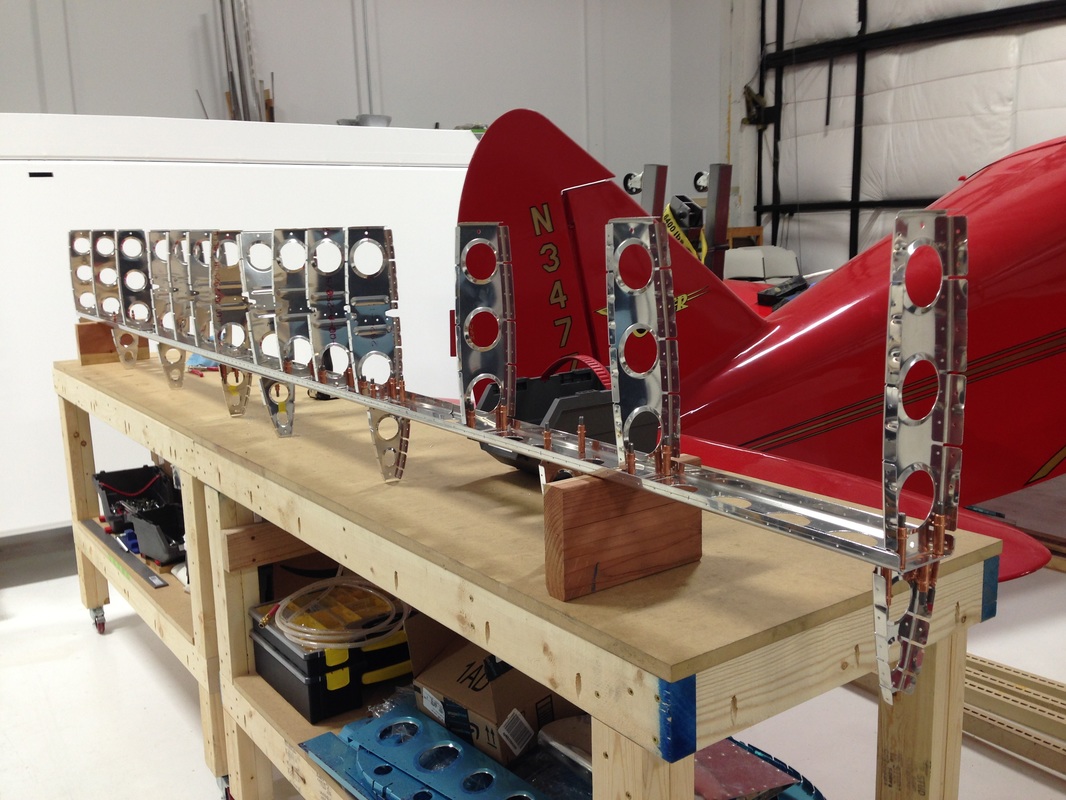 I'm just going to admit that I've been pretty terrible about blogging lately. Not to make excuses, but it's a pretty busy time of year for me at work and it's been hard to find the motivation to write. Even though I haven't posted lately, A LOT of work has happened on the plane. I think you'll be pretty amazed when you see what we've accomplished in the past few weeks. I'm going to try to get completely caught up today, but I'll probably have to break this into multiple posts. The last time we talked, we had just received the replacement parts from the mistake we made back in May when we drilled the wrong size holes in the wrong place. Our first step, obviously, was to repeat all the steps required to prepare the replacement parts. That meant more deburring (for me) and modifying the spar caps (for Mike). Once we got all the parts ready, we clamped the spar caps and spar together and drilled the right size holes into the web. In the last few pictures you can see the amount of metal shavings that accumulate when we drilled. Here's a better picture of what the bench looked like when we were done. 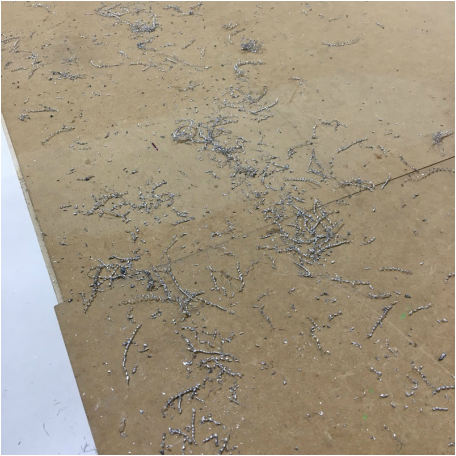 After we drilled the holes, we had to deburr them to remove any metal shavings that were still attached. To do that, we use a special deburring bit for the drill. The bit doesn't enlarge the hole, it just scrapes off any metal that shouldn't be there. Here are some great pictures of a hole (the hole in the middle) before and after deburring. At this point, we were finally where we would have been if we'd read the directions properly the first time. Next, we had to rivet on the doubler, which provides extra strength to the spar. This the diagram that we were using... 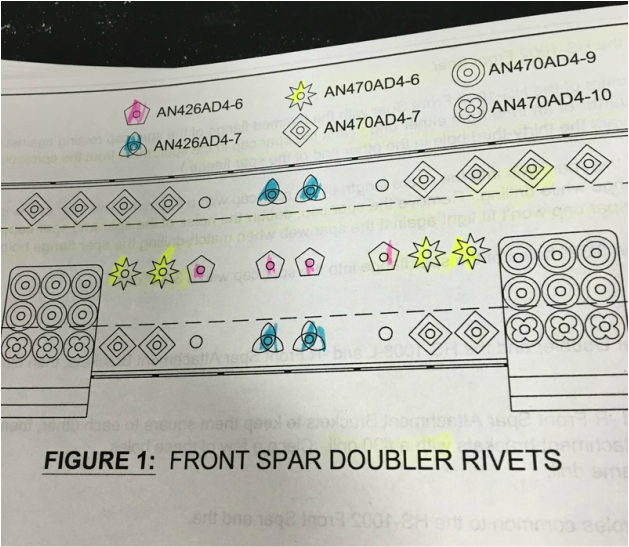 Yes, there are six different sizes of rivets on that diagram. You can see where I started to highlight each size so I could mark the clecos with tape. 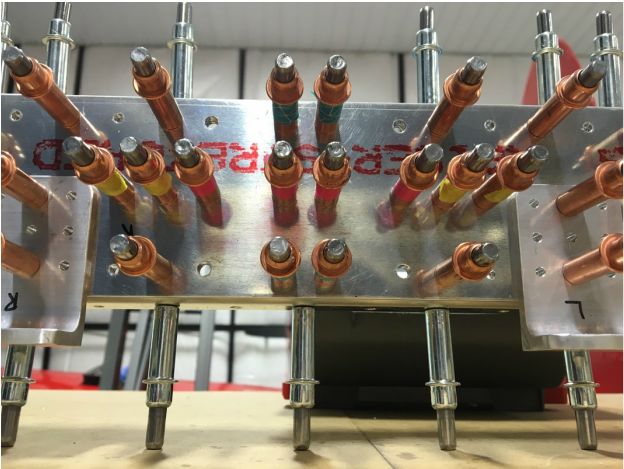 In the bottom corners you can see the brackets that Mike fabricated ages ago. Here's a better picture of the entire double clecoed to the spar. (Side note - can any of my English teacher friends help me figure out the verb conjugation for cleco? I'm totally making it up as I go.) 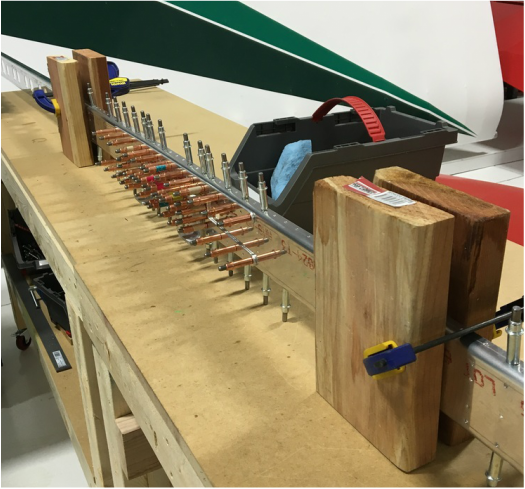 The silver clecos along the top are holding those spar caps in place, which made riveting the doubler in place more challenging. We clamped the spar in between some leftover chunks of wood so we could keep the whole piece upright and semi-stable. Then we just had to follow the diagram and use the right rivets in the right place. We mostly used the squeeze riveter but the squeezer couldn't reach some of the rivets on the brackets. We had to buck those and let's just say that we were a little bit rusty at that particular skill. We got them all done, but it wasn't always pretty. On the left, you can see where Mike slipped on the bottom middle rivet and one side got flattened. On the picture on the right, you can see where I slipped on the bottom middle rivet and gouged the heck out of things. One mistake per bracket, in exactly the same spot, so at least we have a matching set. And with that, we were done with the front spar, at least for the moment. 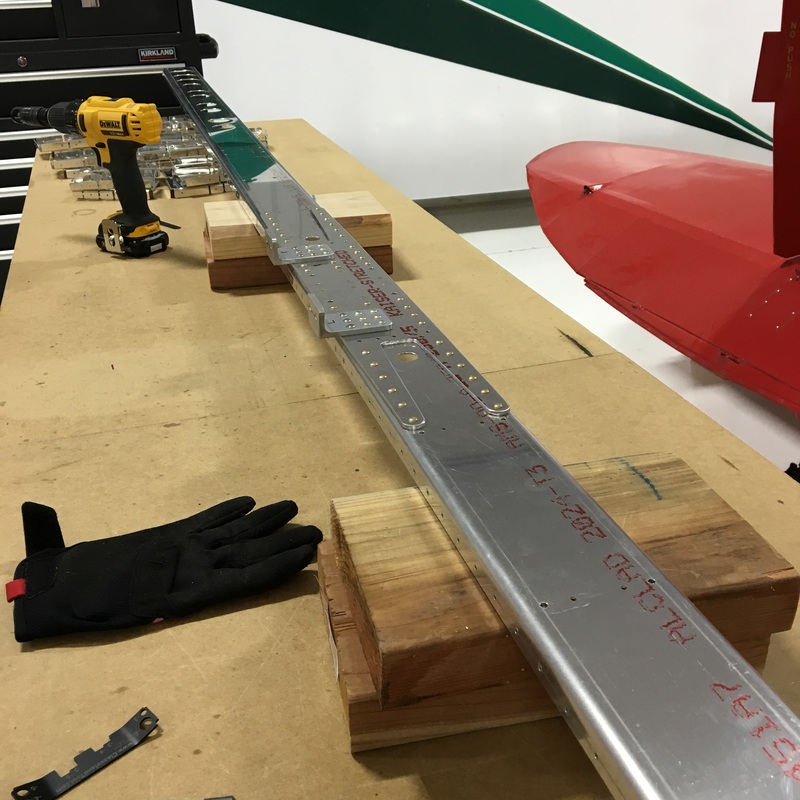 We finally received our replacement parts. Of course, they arrived the day before we left on vacation. All we managed to do before our trip was deliver the parts to the hangar and inspect them for damage. I really admired the beautiful crate that someone built to get them to us in one piece. And, thankfully, the freight didn't cost as much as expected. Now, we can get back to work! |
AuthorThe supportive spouse's guide to building an airplane. Archives
May 2017
Categories |


 RSS Feed
