|
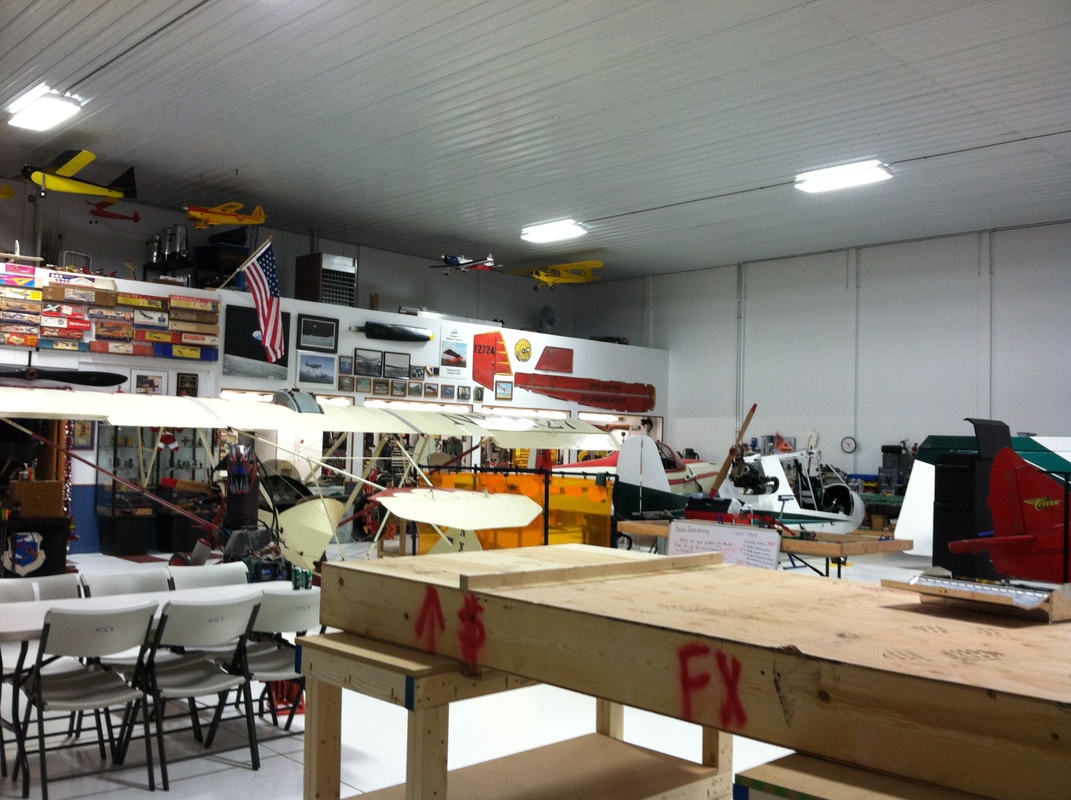
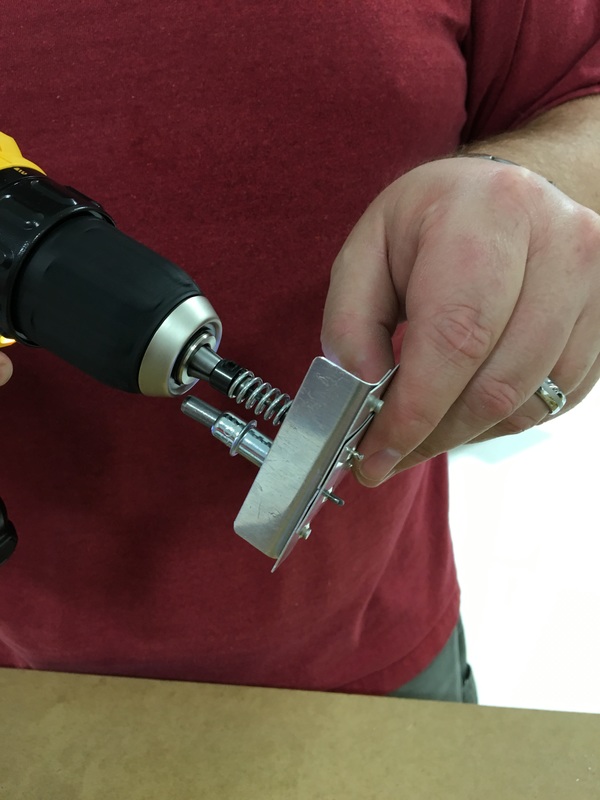
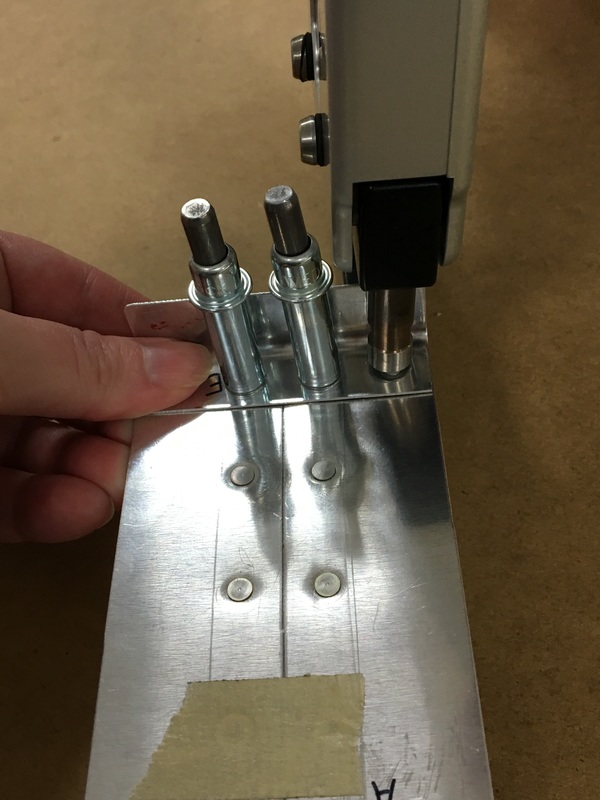
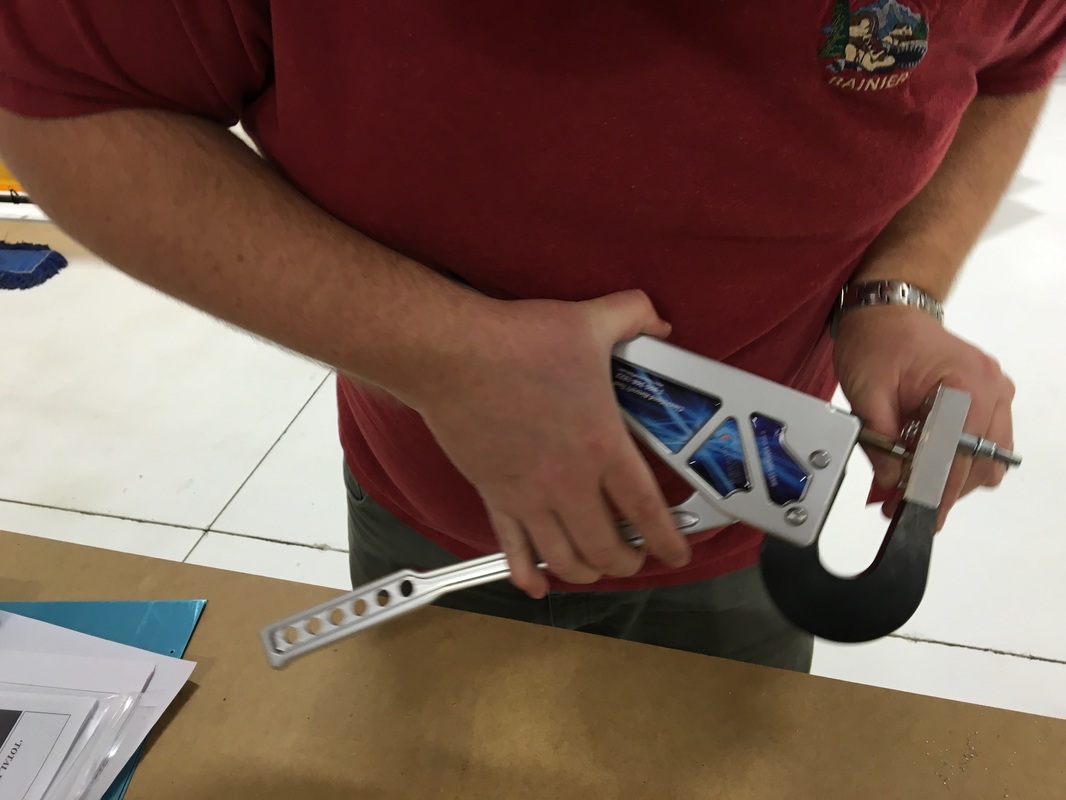
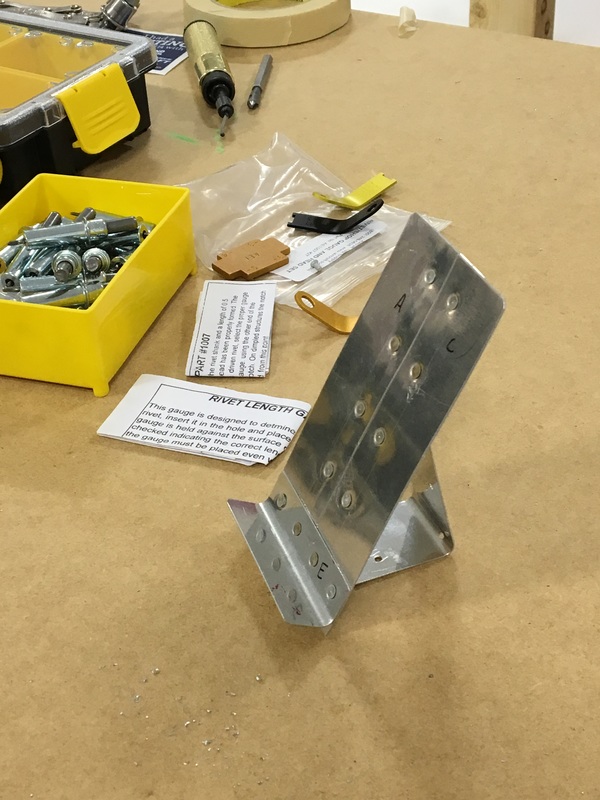
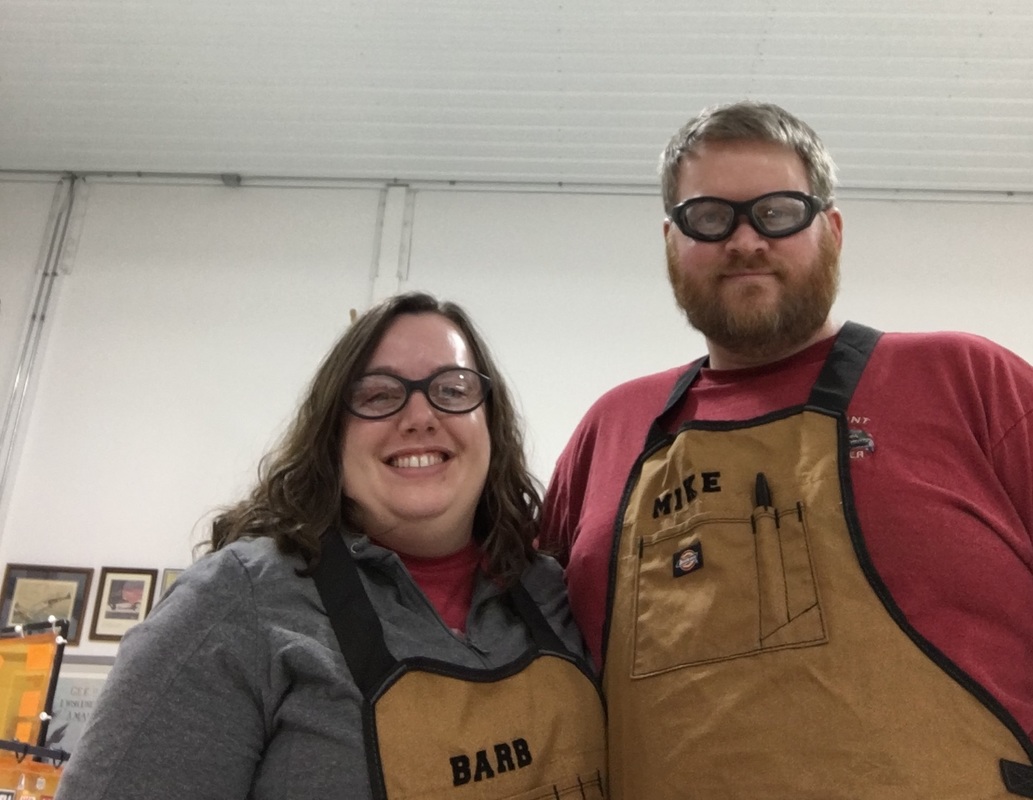
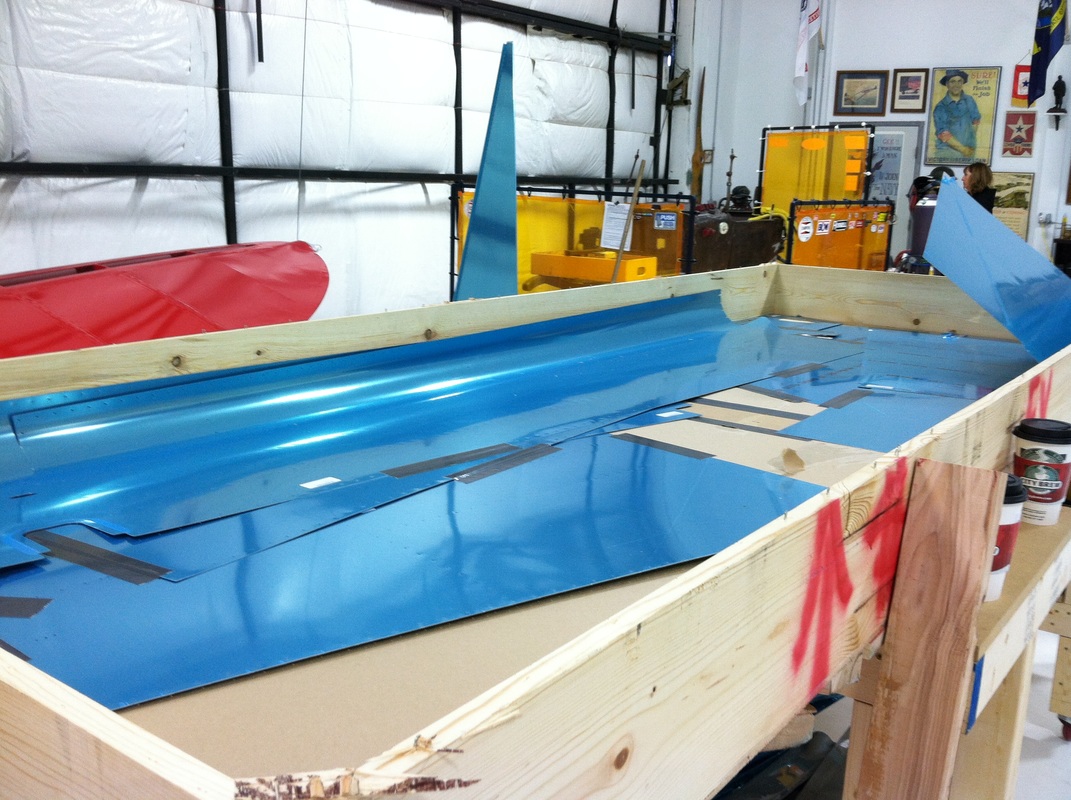
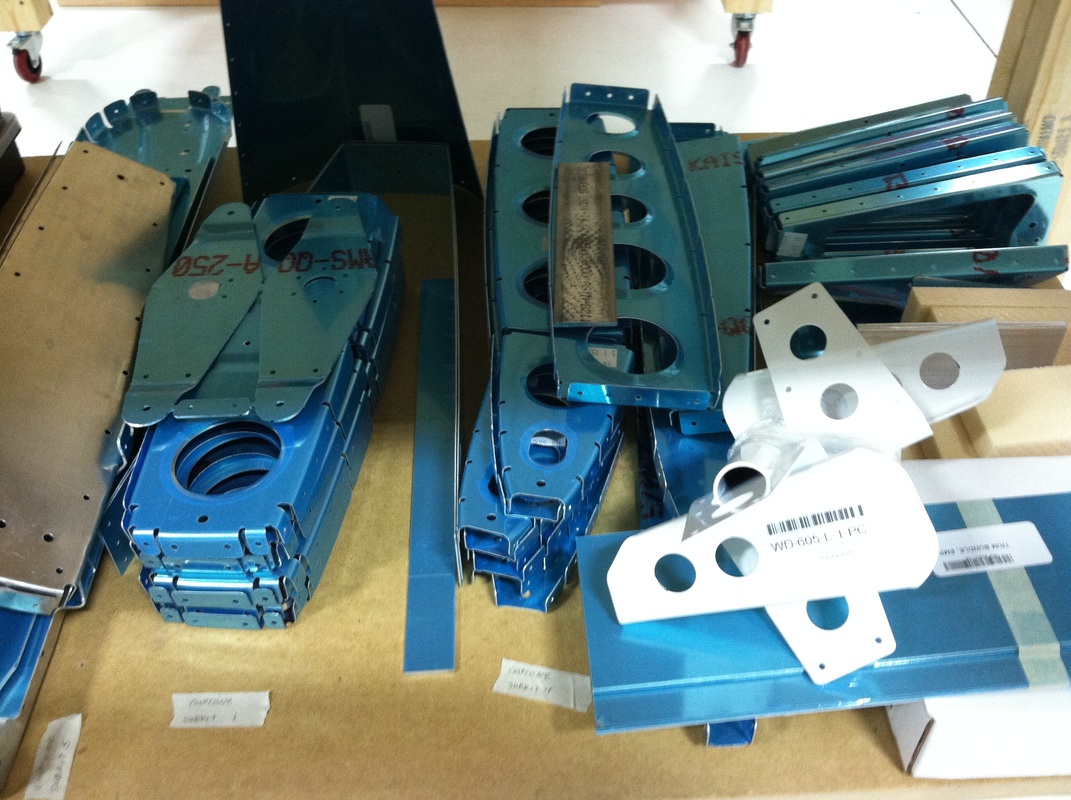
It's been a pretty slow week without much visible progress on the airplane. Eight inches of snow on Monday night and colder weather didn't exactly motivate us to spend time at the hangar. The other problem is that we needed to figure out how to store all the pieces we unpacked last weekend. The smaller structural pieces were easily put into boxes and labeled. The skins (those are the big pieces of aluminum that make up the outside surface of the plane) won't be needed for a while and take up a lot of space. The hangar where we are building is big, but as you can see it's pretty full at the moment. The best place to store the skins was up on the mezzanine (which you can kind of see in the right picture below). That required moving a bunch of other random stuff that is also being stored up there. Mike has also spent a lot of time this week reading the instruction manual that came with the kit. There are 40+ pages with directions like this:  Not exactly riveting reading (oh dear, now I'm using airplane puns) and the manufacturer suggests reading the instructions 3 or 4 times before you start building. Last night, we finally got to use some of the tools that arrived a few weeks ago. Mike and I put together a small practice kit that showed up in one of the boxes of tools. Mike has done some other practice kits in the past so I've heard him talk about the steps required to fasten two pieces of metal together. I just didn't realize how many (kind of tedious) steps were involved. 1. Prepare the parts you will be using. This includes peeling off the protective blue film that you can see in many of the pictures I posted last week. Most parts are labeled with a paper sticker that lists the part number. This sticker is attached to the blue film so you have to be sure to transfer the part number onto the aluminum with a sharpie. I can't even imagine how horrible it would be if you forgot to transfer the part number since most of the pieces look nearly identical. 2. Deburr the edges of each piece. Deburring is the process of removing tiny pieces of metal that are left over from the manufacturing process. These tiny metal pieces make any cut (or drilled) edges sharp and can cause problems later. 3. Drill the rivet holes to the appropriate size. The pieces come predrilled, but the holes aren't quite big enough (for reasons I really don't understand). (Picture 1) 4. Deburr the holes that you just drilled. 5. Repeat this process for every single piece you are going to be using. 6. Dimple all those holes that you just drilled. You use flush rivets when you build an airplane so you have to create a little hole for the rivet head to sit in. That's what the dimpling tool does. 7. Join the appropriate pieces together using clekos. Clekos are special fasteners that are used in airplane manufacturing. There are several types of clekos but the most common seems to be a metal cylinder with two pins inside. As you press down on the top plunger, those pins extend and come together so they will fit through the hole you just drilled. When you release the plunger, the pins retract and spread apart to hold the pieces of metal together. You have to use special pliers to install and remove clekos. (Picture 2) 8. Remove the appropriate clekos and install a rivet to hold the pieces together. There are several ways to rivet but last night we used a squeeze riveter because we didn't feel like dealing with the air compressor. The squeeze riveter is kind of fun and was my favorite part of the process. You put the rivet into the hole and then use the tool to squish the rivet into the right shape and thickness. You can actually see the metal in the rivet deform and squish to form the end that holds the pieces together. (Picture 3, 4 & 5) I can see the squeeze riveter being finger smasher because those handles come together with absolutely no room between them. There is even a little tool that you can use to make sure you've squeezed the rivet to the appropriate dimension. (Picture 6) 9. Repeat the two previous steps over and over. I would say that it took us about an hour to put the project together, mostly because we had to figure out how to use each tool. At the end of the night, I had a fancy new stand for my phone. We used it to take our first hangar selfie. The matching aprons were a Christmas gift from Mike's dad last year. (Hi, Leroy!)
1 Comment
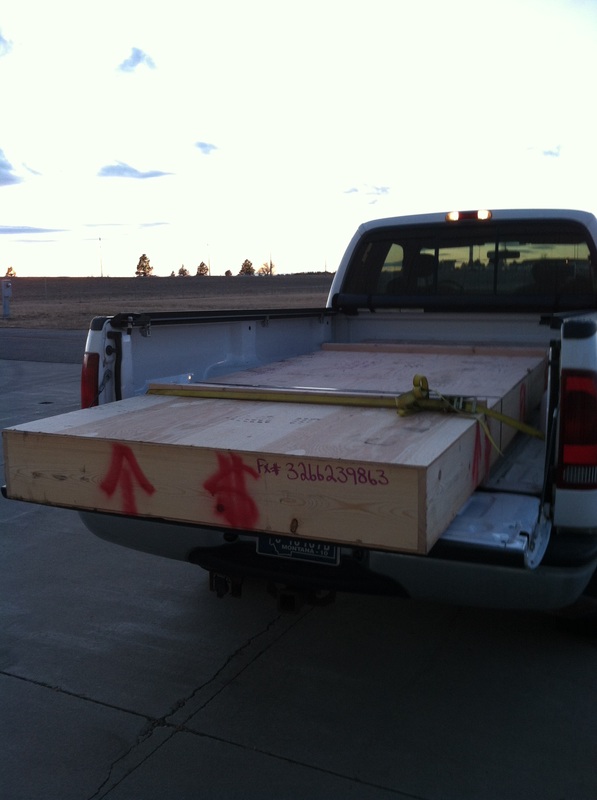
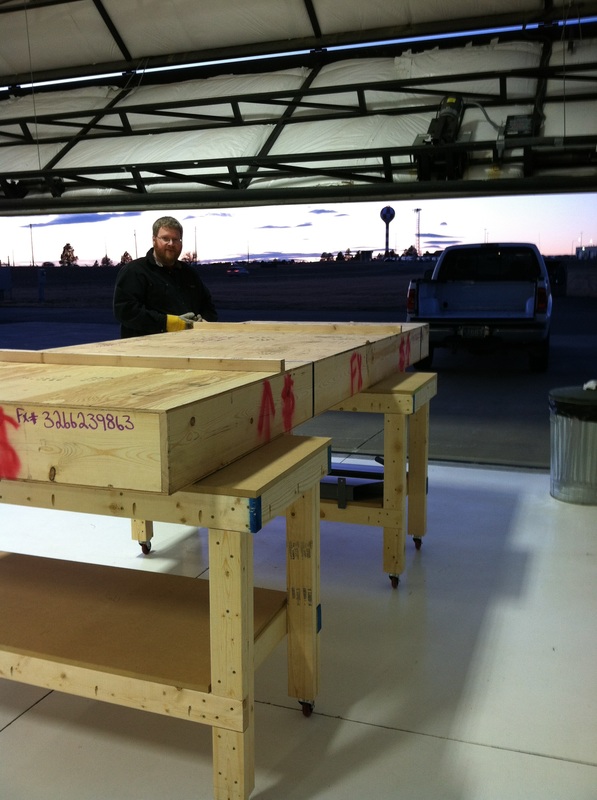
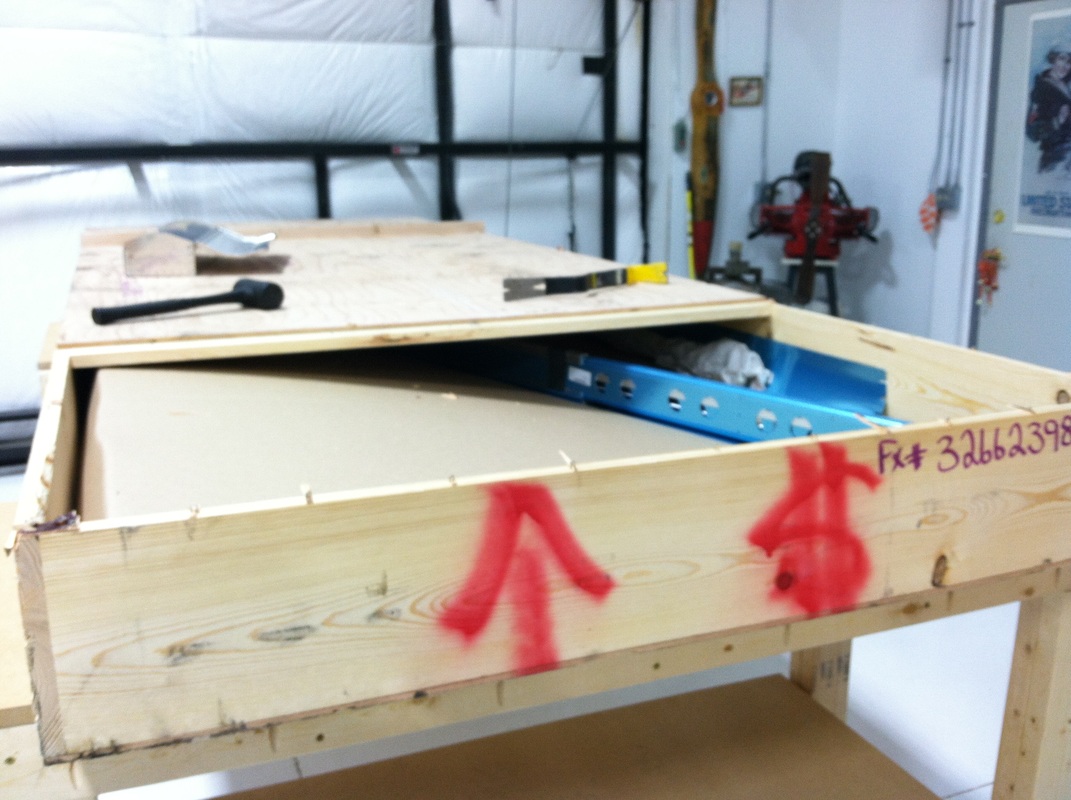
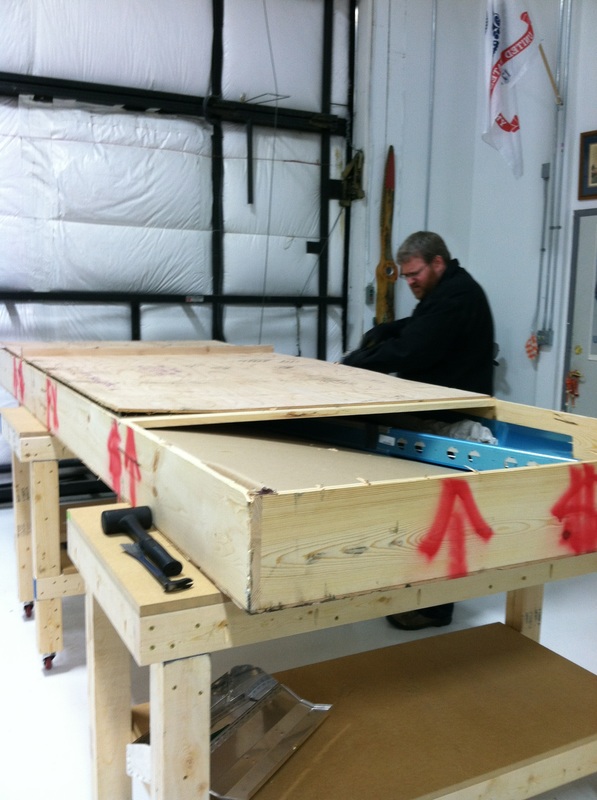
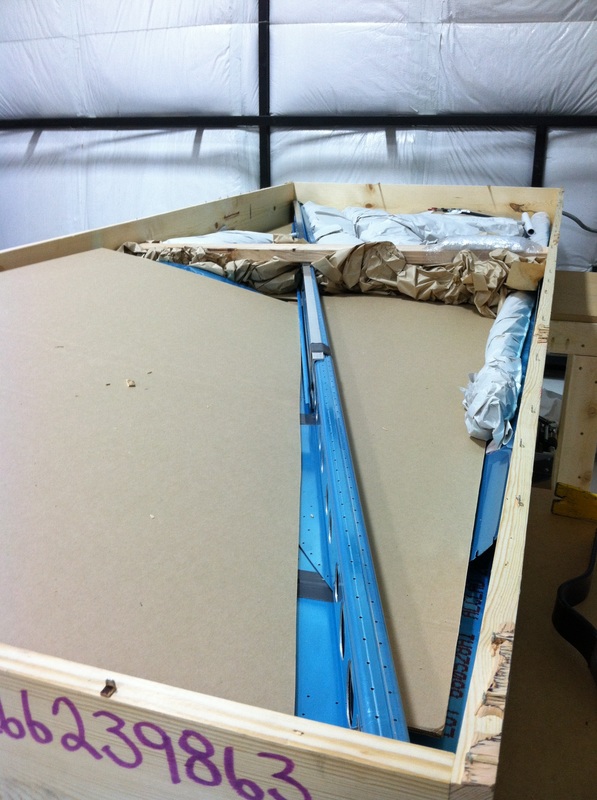
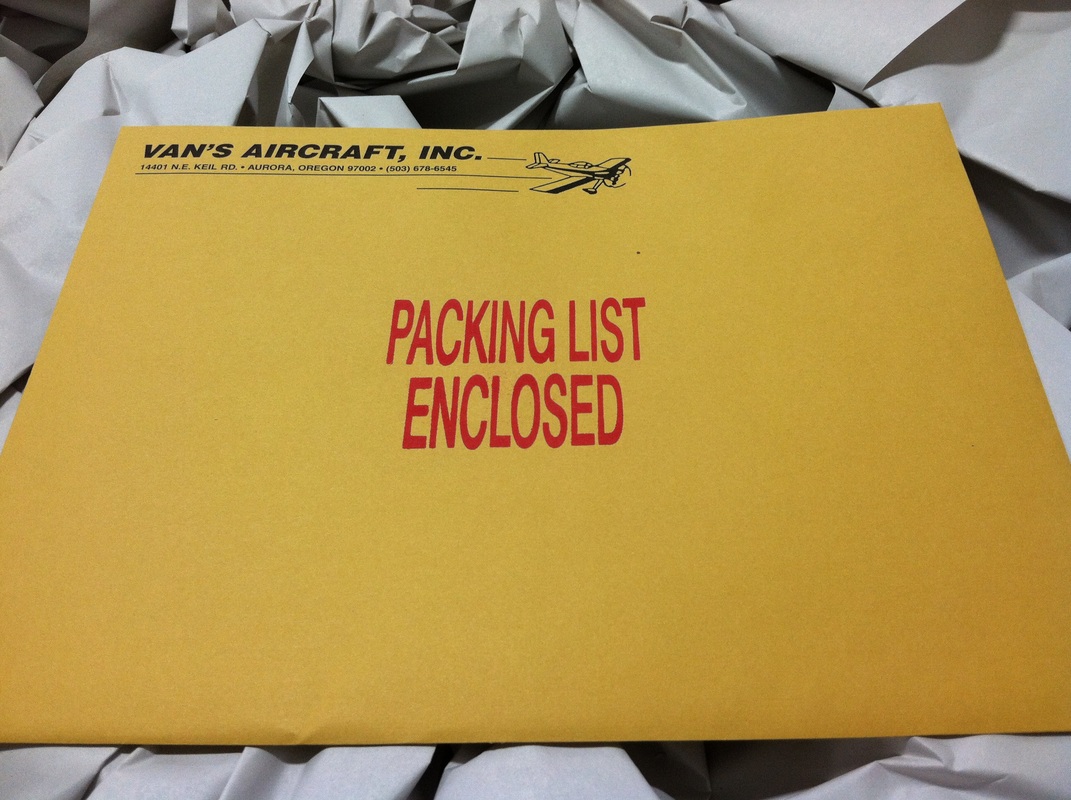
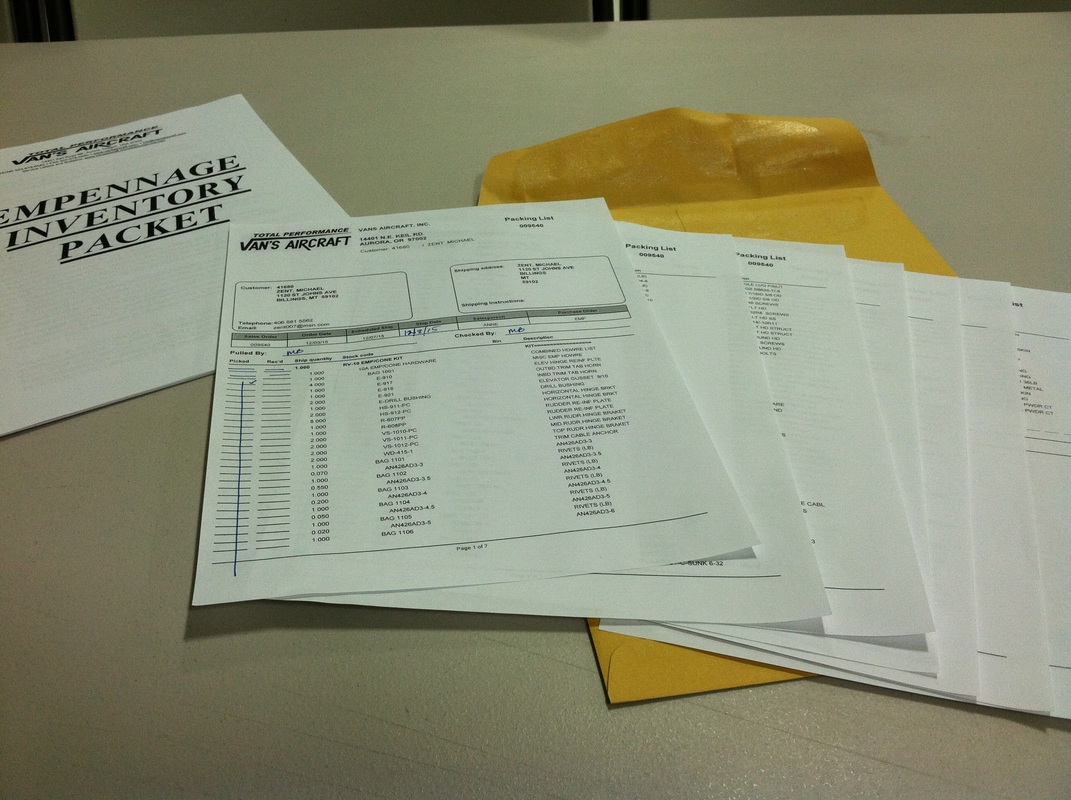
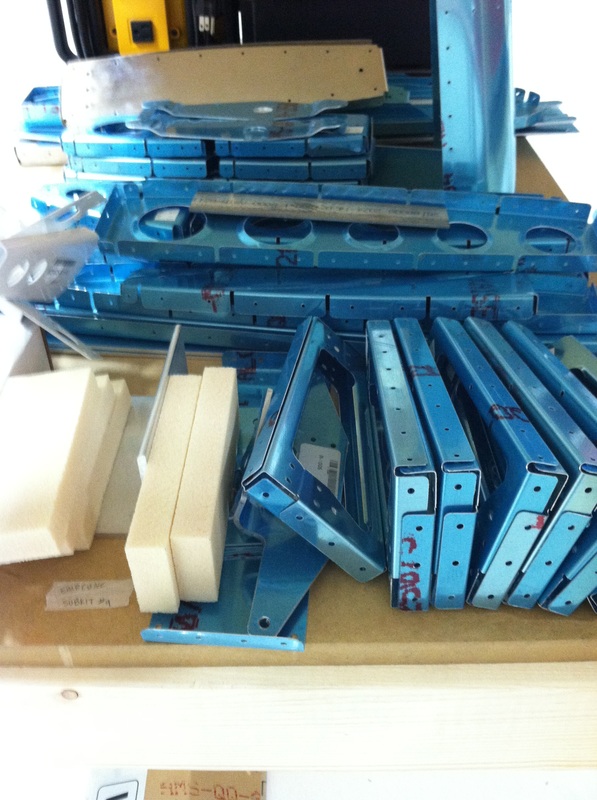
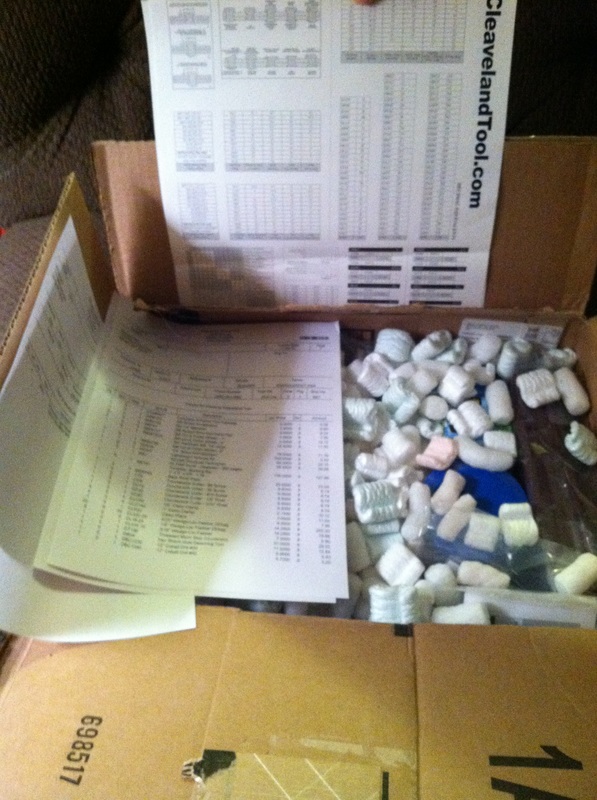
This is a BIG week for our household...the first airplane kit has arrived. For those who are interested, we are building an RV-10 from Van's Aircraft (http://www.vansaircraft.com/public/rv10.htm). When Mike and I were in Oregon last fall we visited the Van's factor and I got my first taste of what kit building actually means. Mike also had the opportunity to take a test flight in RV-14, which is what he originally intended to build (before I convinced him to go for the bigger RV-10). Here is a picture of us sitting in the RV-14. The RV-10 has DeLorean style doors (I'm sure there's a technical term, but you know what I mean. Mike was just reading over my shoulder and informed me that they are called gullwing doors.) and 4 seats. 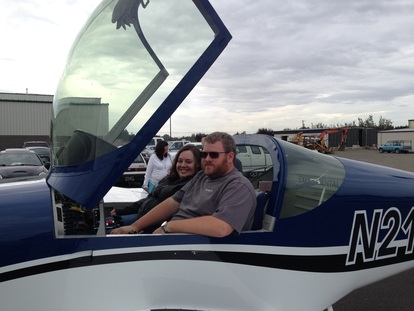 This is not the plane we are building. The empennage kit arrived in a really long, flat crate that Mike had to pick up and haul to the airport. The hangar where we are building is inside the security perimeter of the airport and Mike didn't want to deal with the hassle of getting the crate delivered directly there. The crate fit in the back of the pickup, barely. It also weighed about 300 pounds. One of Mike's friends had the brilliant idea of using our fancy new workbenches to wheel the crate from the pickup to the hangar, which worked like a charm. Then the uncrating began. Once we had the crate open, it was time to inventory all of the parts. In the lower right picture above, you can just see a bunch of paper wrapped bundles at the back of the crate. Each of these was full of parts. The people who pack up these kits must be awesome at Tetris because you would not believe how many parts they could fit into this box. The packing list was 7 pages long and actually came with instructions to explain what all the letters and numbers mean. The first three and a half pages contained all the rivets and bolts and tiny pieces of hardware that we will be using. It took us about 6 hours to inventory all the parts. Mike spent two of those hours going through the bag of hardware. Each bundle had to be unwrapped and then the pieces had to be separated and identified. Most of the parts were tagged with a number, but you had to be careful not to confuse VS-1011-PC and VS-1001-PC. The bigger pieces were taped into the bottom of the crate with some sort of industrial strength duct tape. We don't really have a storage system set up for parts yet, so everything is currently stacked up on the workbenches. At the moment, this is what our plane looks like. New vocabulary:
Gullwing doors - doors that open up, like on a DeLorean. I'd like to preemptively explain the title "Knots per hour" before someone points out that I'm using the wrong unit of measurement for airspeed and am therefore totally ignorant about all things airplane. I admit that I'm clueless when it comes to airplanes, but I have learned that airspeed is measured in knots. A knot actually means one nautical mile per hour, and is how you measure speed and distance when you're talking about airplanes (or ships). Saying "knots per hour" would be like saying "one nautical mile per hour per hour" which would be a unit of acceleration (according to Mike. I may be a bit of a math nerd, but that's not something I would ever know on my own). If you want to appear knowledgeable in the world of aviation, you always have to use the term "knots" correctly. It seems that the types of people who are into airplanes are also the type of people who really care of expressing things in the appropriate units. So, now that we all know that we should be saying knots, let me explain why I decided to use the wrong term so prominently on this website. The first reason is that "knots per hour" is an inside joke in our house. The first several years that Mike and I were together, my life was a little bit crazy. I spent our first year together planning a regional conference for a professional organization that I'm part of. Months before the conference actually happened, I also decided that it was a really great time to start grad school. During all of this I was also working full time at a stressful job, so needless to say the next few years were a wee bit busy for me. When I finally finished my master's degree, I really wanted to show Mike how much I appreciated all of his support, so I bought us tickets to see the Red Bull Air Races in Las Vegas. Let me just say that the Air Races are an amazing experience. Even with my limited understanding of flying, it's easy to appreciate just how skilled the pilots are. Now, as with any live sporting event, there can be a lot of downtime while you're sitting in the stands so there are some commentators on hand to provide information and entertainment. Two gentlemen were providing commentary that weekend. The first was very knowledgeable about aviation and the second, not so much. In the Air Races, pilots must enter the course under a certain speed (200 knots) or receive a time penalty. As each race takes around 55 seconds, a 2 second penalty can be the difference between progressing to the next round and being eliminated. The pilots are so skilled that they often enter the track at 198 or 199 knots, and for the novice spectator it's one aspect of the race that's easy to appreciate. Throughout the race, the second (less knowledgeable) commentator repeatedly (and incorrectly) used the phrase "knots per hour" to describe the pilot's entry speed. Even though the mistake had been pointed out and explained by the more knowledgeable commentator, the second commentator never did get it right. After two days of the same mistake, it became a running joke and when I was naming the blog, it seemed like "knots per hour" was the obvious choice. The second reason I think "knots per hour" is a good name is because it reflects my ignorance as we begin this endeavor. Aviation people have their own lingo and a saying something like knots per hour is the kind of mistake that identifies you as a rookie outsider. The world of aviation is full of words and phrases that I don't understand. What the heck is an "empennage"? (Thanks to Google for helping me figure out how to spell that word. This whole time I have been thinking it was epinage.) Glad you asked - that would be the tail section of the airplane. Did you know that it had its own special name? Me either! Since this blog is about an outsider's perspective on the building process, I thought it was appropriate to acknowledge my novice status. The point isn't that I appear knowledgeable about what's going on, it's that I'm learning as I go and I'm going to make lots of mistakes. For the vast majority of us who haven't been reading airplane magazines since we were kids, we can figure this whole thing out together as we go. New vocabulary:
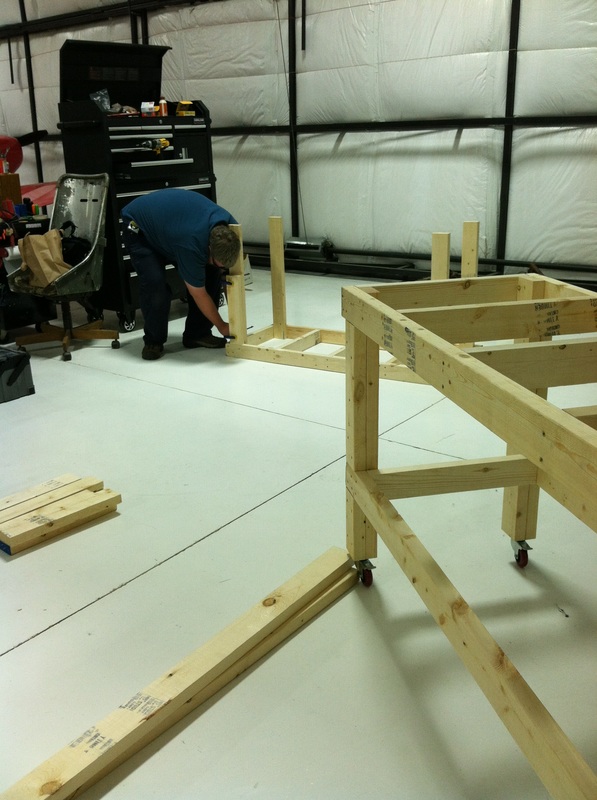
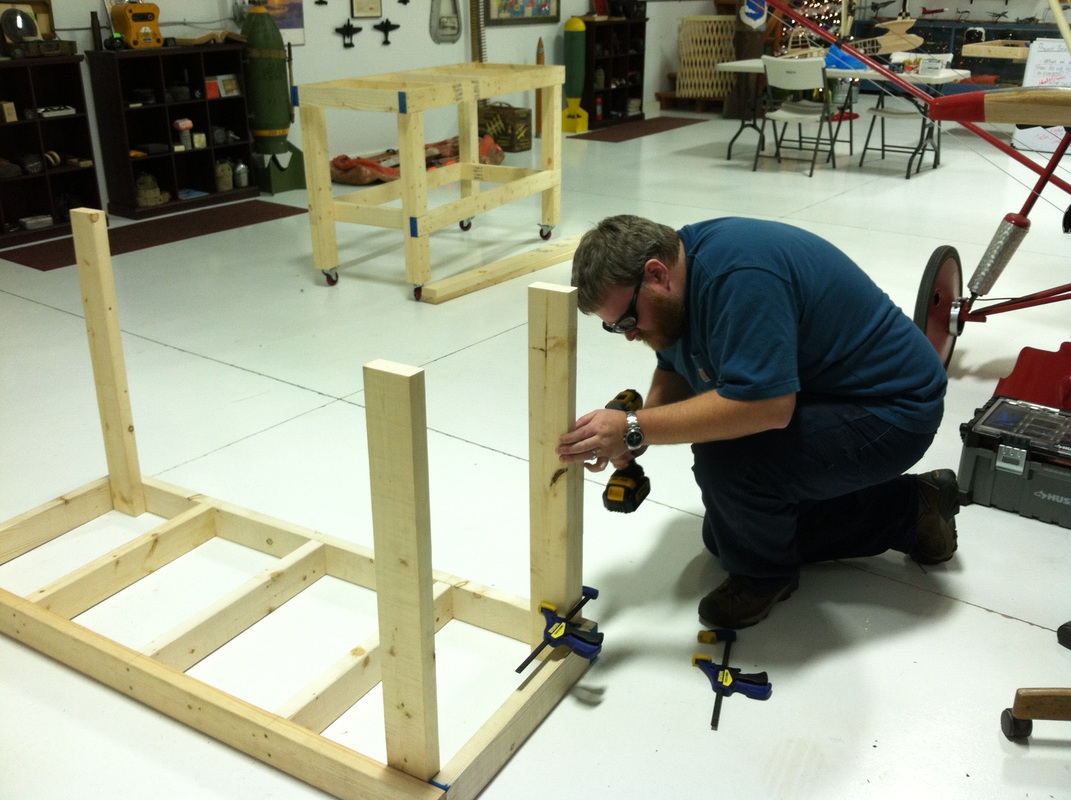
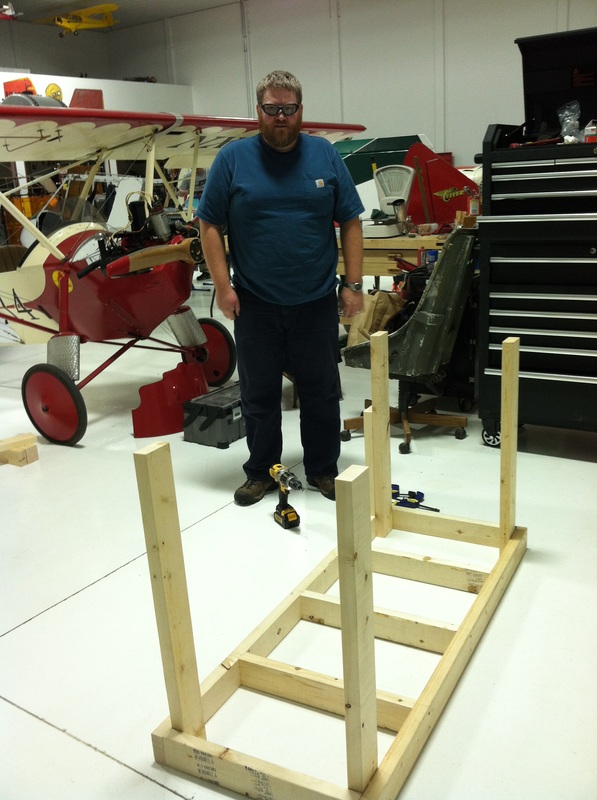
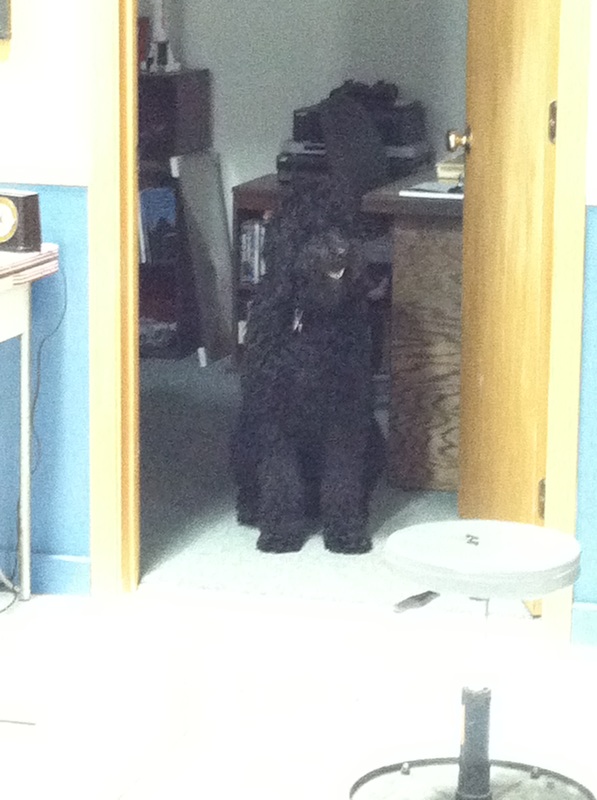
Empennage - the tail section, or rear section of the body, of an airplane. I can always tell when Mike is thinking about airplanes. His eyes become distant and he gets quieter than usual. If we are taking a walk, his pace quickens and he won't even realize that he's left me in the dust. I once asked Mike how old he was when he became interested in airplanes and it turns out that this is a life-long obsession. I, on the other hand, know almost nothing about airplanes. I've spent many hours on commercial planes and have a vague understanding of some basic principles of flight, but for the most part, aviation is a foreign language to me. Until I met Mike, I had no idea that you could actually build your own airplane. Who does that kind of thing? Apparently, lots of people build their own planes. I know this because every month we receive several magazines about home building, Mike religiously reads message boards where builders congregate, and there's even an international organization for aviation enthusiasts. I've known for years that we would build a plane someday, and now it seems that day has come. The tools have arrived, the work benches have been built, and the first kit is ordered. Mike is excited (if a little nervous about such a big undertaking) and I'm supportive but pretty unsure about what's actually going to happen. That's one of the reasons I decide to start this blog. What is it actually like to help someone build an airplane? What do I need to learn? How can I be a help, rather than a hindrance, during this process? My second reason for documenting this process is that Mike and I have friends and family scattered across the world who might be interested in watching Mike realize one of his biggest dreams. I hope that I can provide a layman's perspective during this process so we can all understand what's happening. I've posted the first round of photos below. Since these photos were taken, Mike has finished the work benches and moved all of his tools up to the hangar. We will be spending a lot of time at the hangar over the next several years, so we are getting Zoey used to be up there. She loves it when some of the other guys are there working on projects and she gets lots of attention. She's less excited when people are using power tools and likes to hide in the office to escape the noise. |
AuthorThe supportive spouse's guide to building an airplane. Archives
May 2017
Categories |


 RSS Feed
