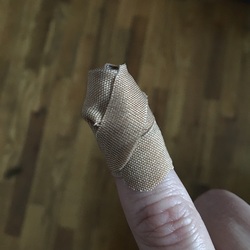
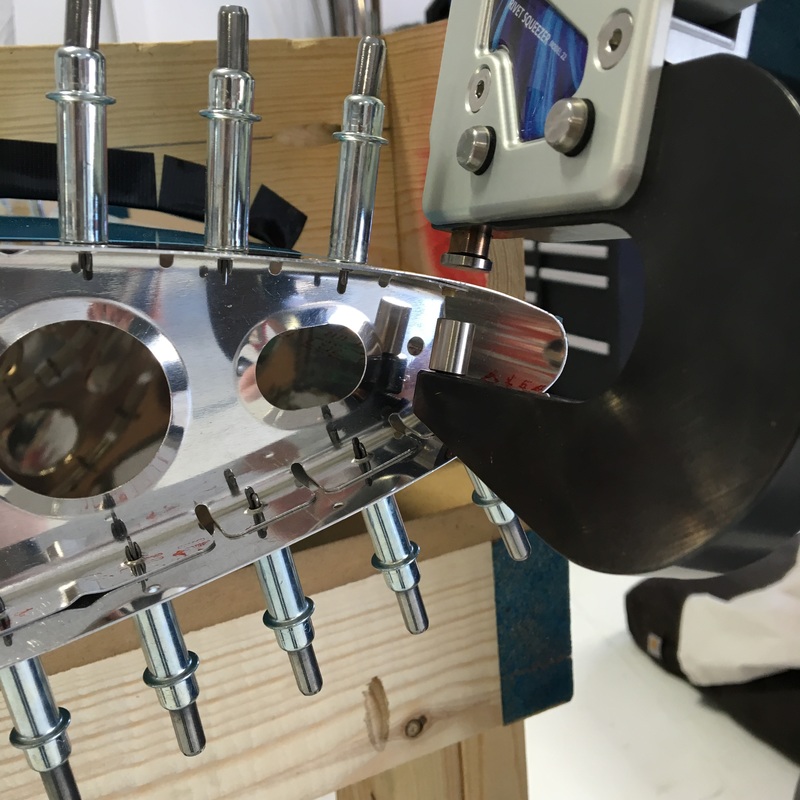
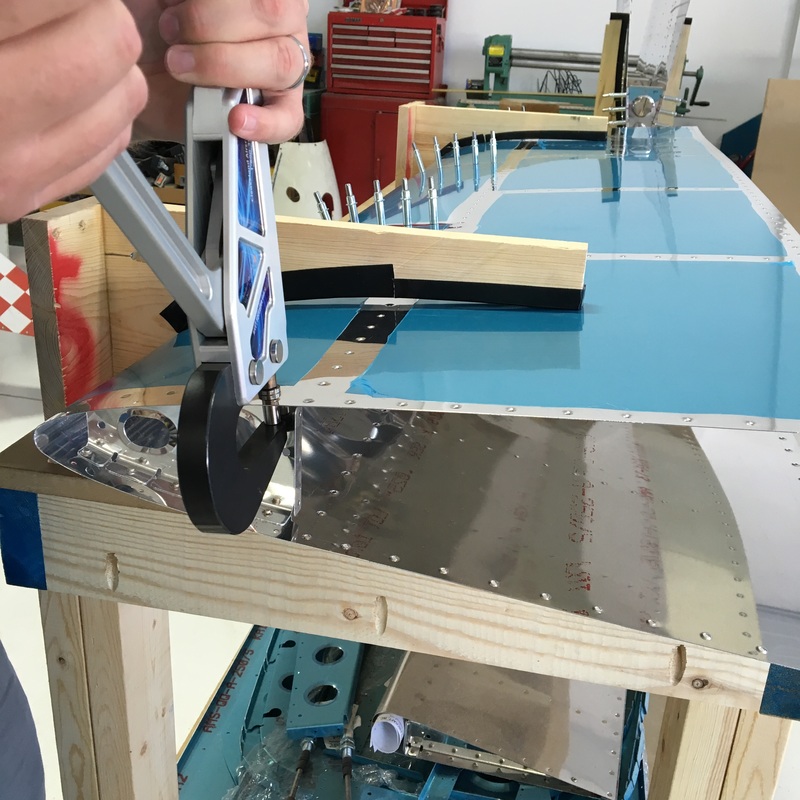
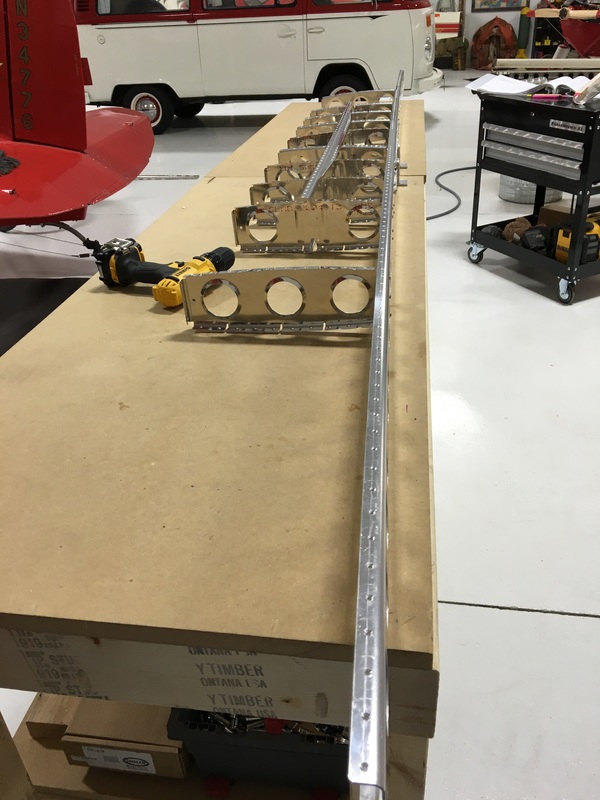
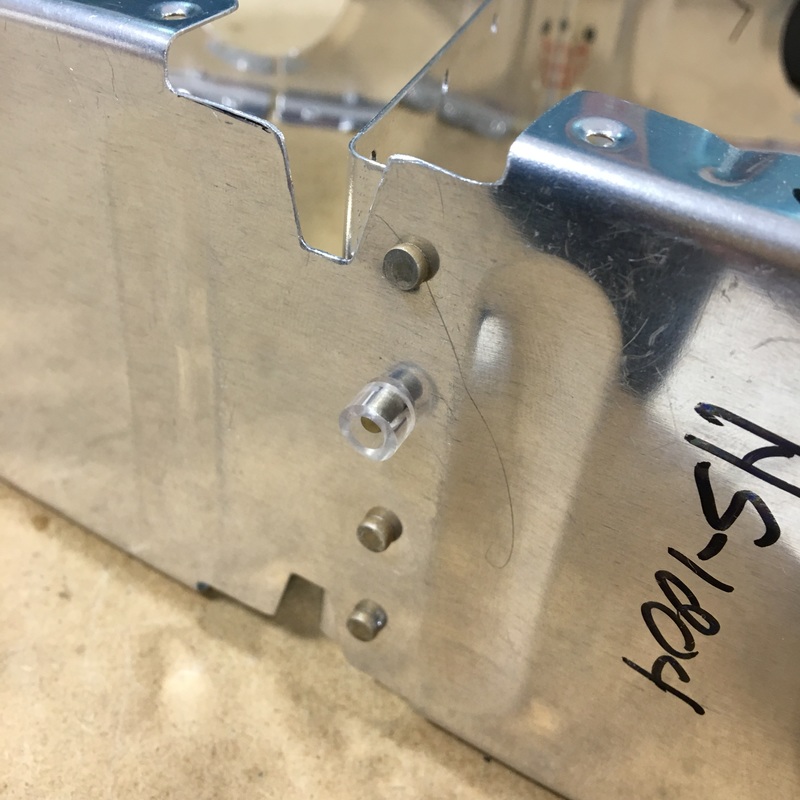
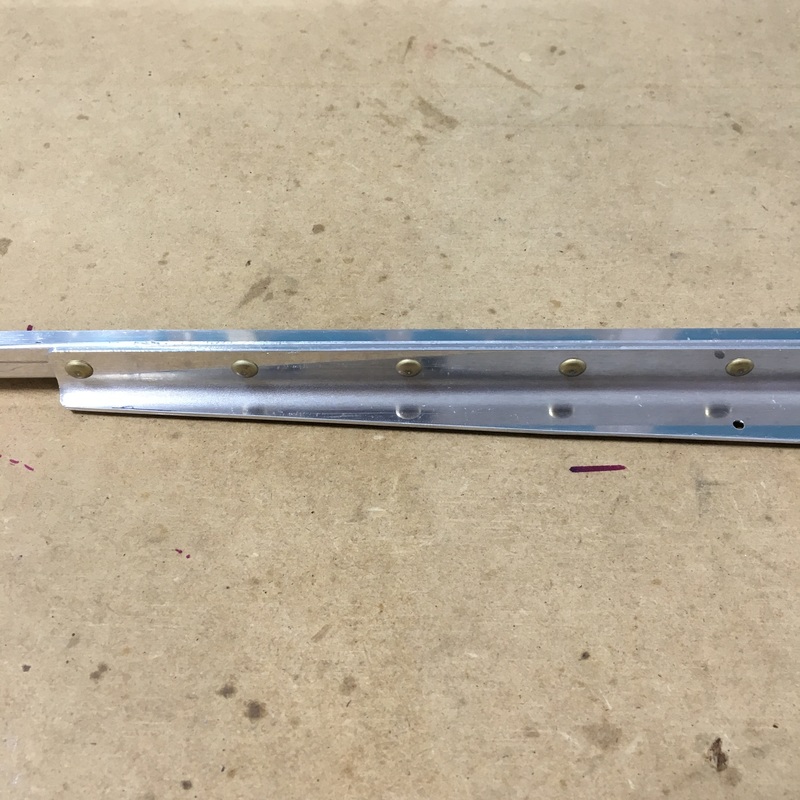
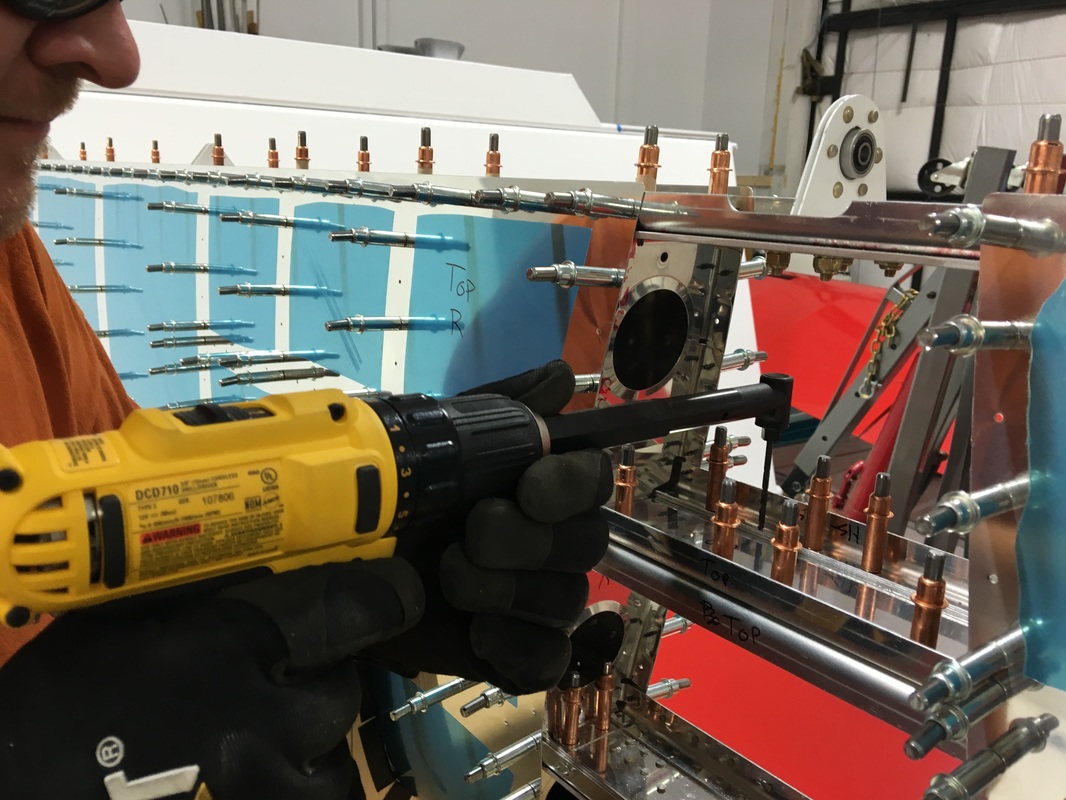
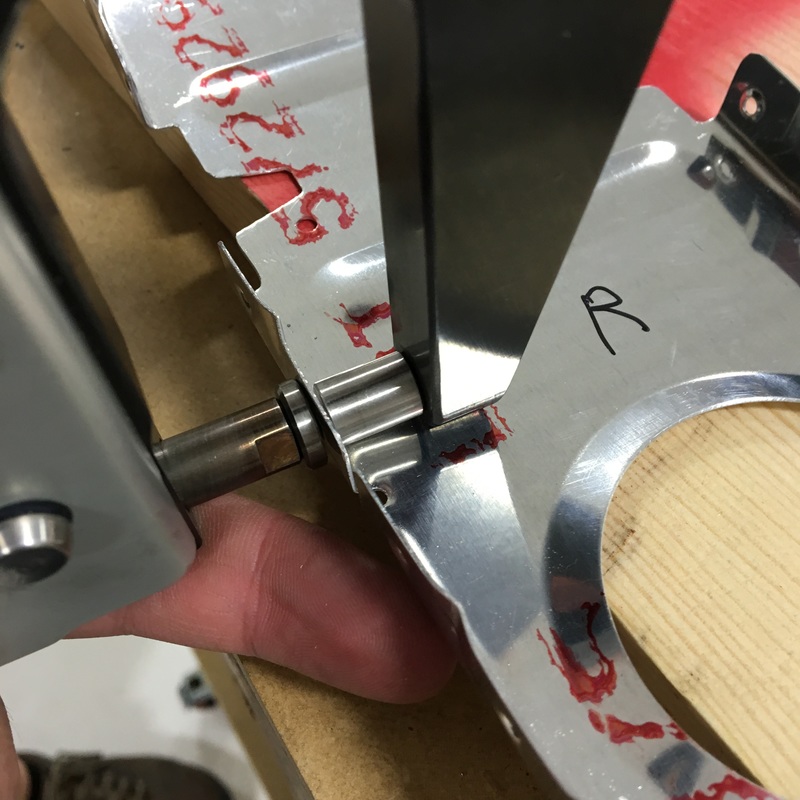
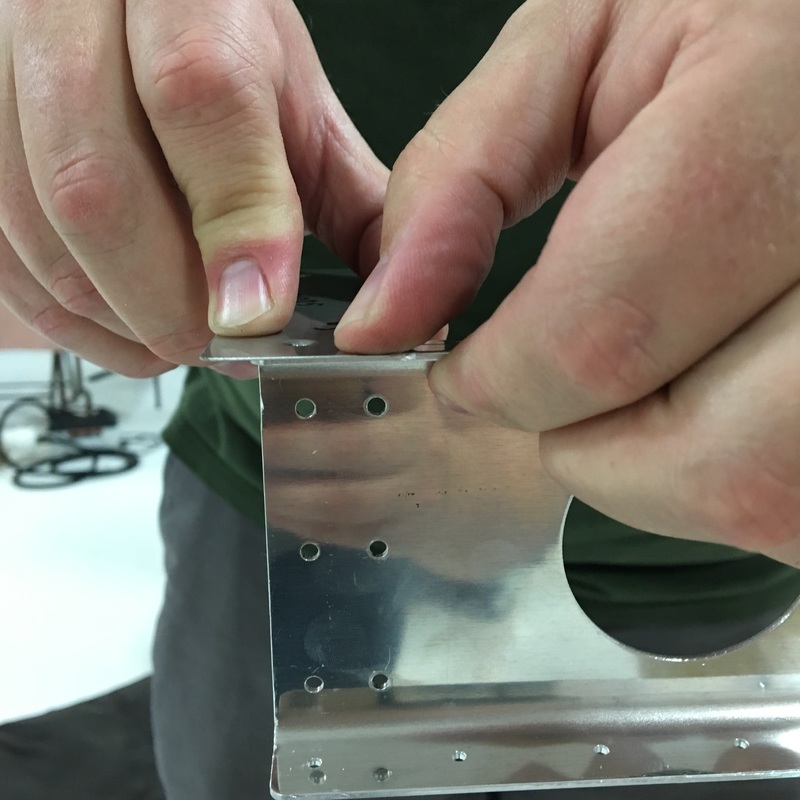
 After a week off due to a tragic cheese grater incident, we are back to work and ready to rivet. It was surprisingly hard to convince Mike that I couldn't hold a bucking bar without using my right index finger. In retrospect, we could have kept working because I had to buck half the rivets with my left hand (don't tell Mike I said that) but it was also nice to have a little time off from the build. We are continuing the final assembly process for the horizontal stabilizer and I'm very excited to report that we only have three pages left in this section of the construction manual. It may take us a couple of months to finish those three pages, but it feels like we can see the finish line. After the challenges we had last week while riveting the skeleton structure together, I was a little nervous that we were working with the skins this week. Our first task was to rivet the nose ribs into the skins.  There are four nose ribs on each side of the horizontal stabilizer. The two ribs on each end are obviously very accessible so we used the rivet squeezer on those. The most challenging part was dealing with the odd angles of each rivet. I would line up the squeezer so it was square with the rivet and monitor everything while Mike provided the muscle. The interior ribs were quite a bit more challenging. There's no way the rivet squeezer could possibly reach so we had to use the rivet gun and bucking bar. As usual, Mike ran the gun while I handled the bucking bar. The front crease of the horizontal stab is quite small and it was really hard to get the bucking bar into that small space. I also didn't have a good line of sight to see if the bucking bar was square to the rivet. The rivets closest to the front crease were hardest because the angle is pretty sharp and I barely had enough room by my hand and our smallest bucking bar. We managed pretty well by setting those rivets in small increments. Mike would give the rivet a short series of taps with the gun and then I would peek at our work and adjust the bucking bar as needed to make sure we were getting a nice even shop head. Another challenge was dealing with the reflections caused by the shiny surface of the skin. I've shown you pictures where the inside of the stabilizers looks like a kaleidoscope... 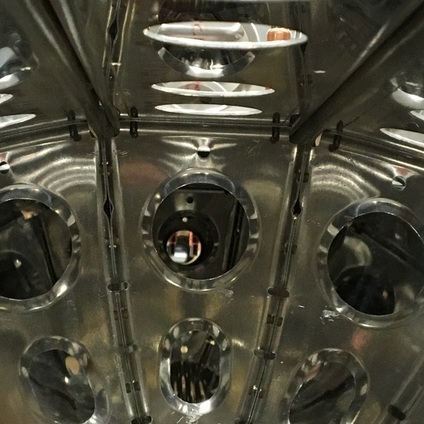 It was very hard to get a good look at each rivet to tell if everything was square or if I needed to adjust the bucking bar. In the end, I think we did a pretty great job and I think we were both happy that we didn't have even any minor catastrophes. Once we had the nose ribs riveted in place, it was time to add the front spar and attached ribs. We clecoed the front spar assembly to the nose ribs (the copper clecos in the picture on the right) and to the skin (the silver clecos). Once we got everything put together, we were ready to rivet the spar assembly into place...or so we thought. Before we started riveting (luckily) Mike noticed that the skin was not sitting flush against the spar. It turned out that none of the countersinks we had put into the spar were deep enough to accept the dimples on the skin. So, we took everything apart so Mike could redrill all of the countersinks. 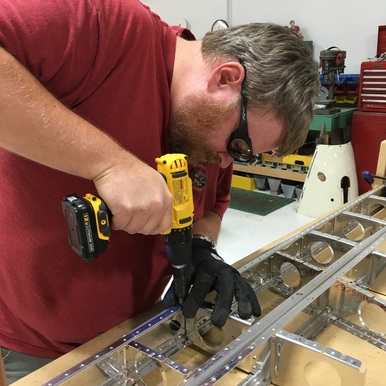 Then, we put the whole thing back together and clecoed everything into place...only to realize that while Mike had enlarged the countersinks on the spar, he hadn't enlarged the countersinks on the stringers. So, we took the whole thing apart again, so he could redrill those countersinks. 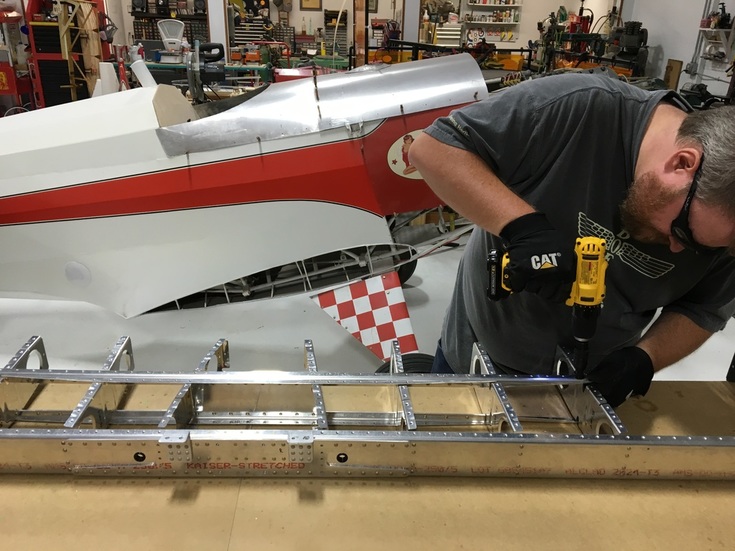 While Mike redrilled holes, I read my book and Zoey provided emotional support. 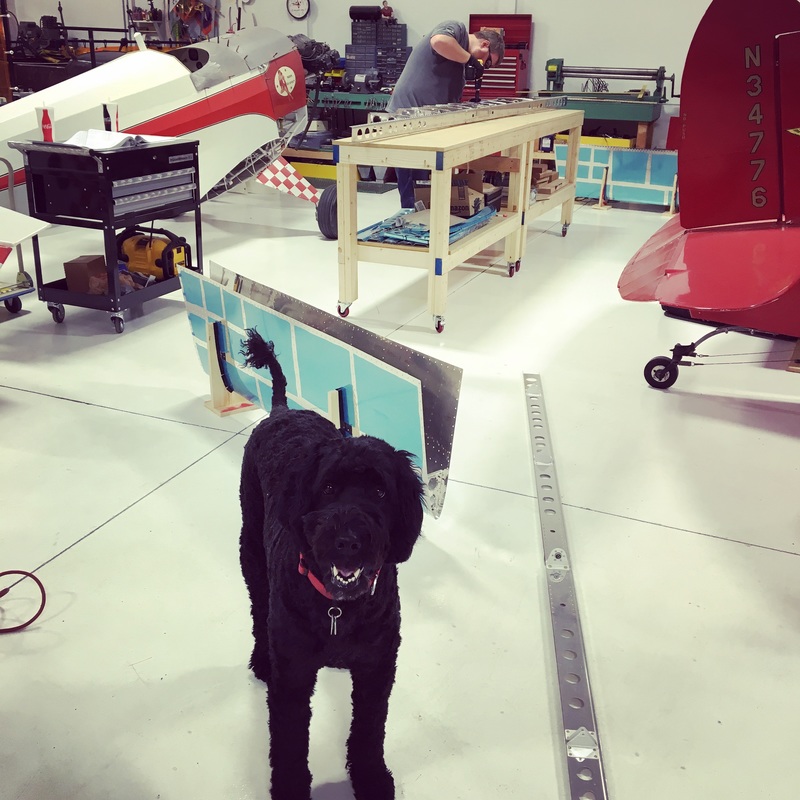 Finally, we were able to put everything together for the third (and hopefully final) time. 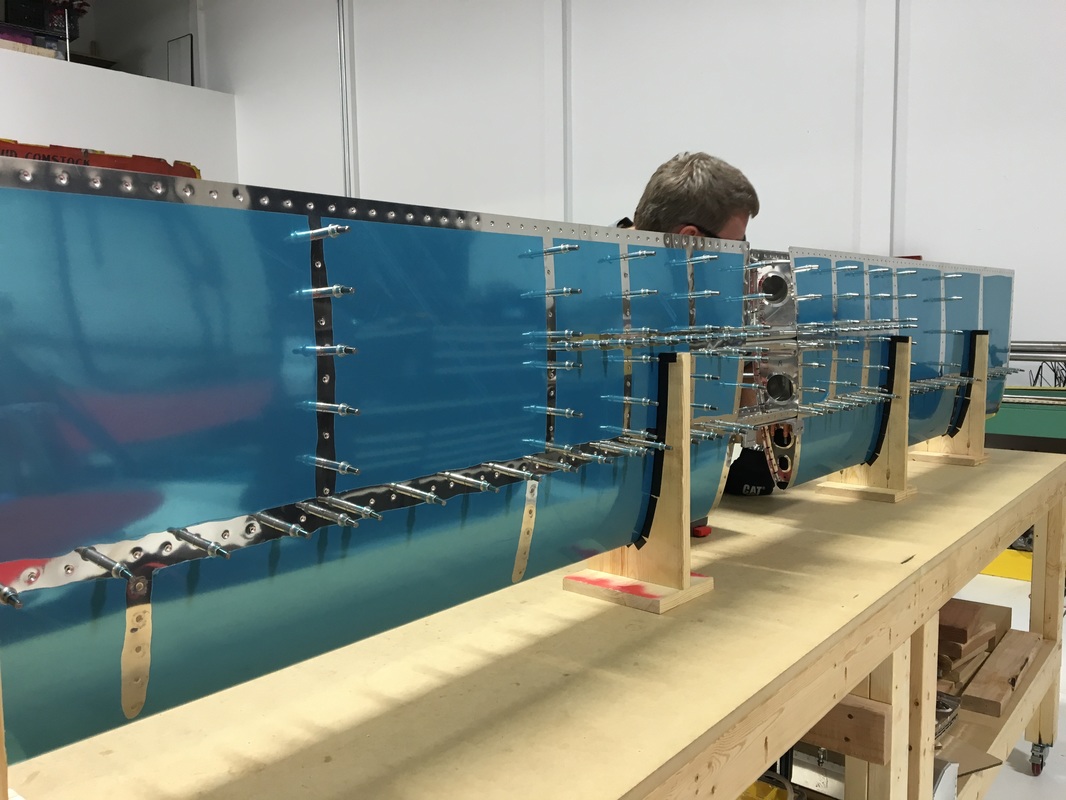
1 Comment
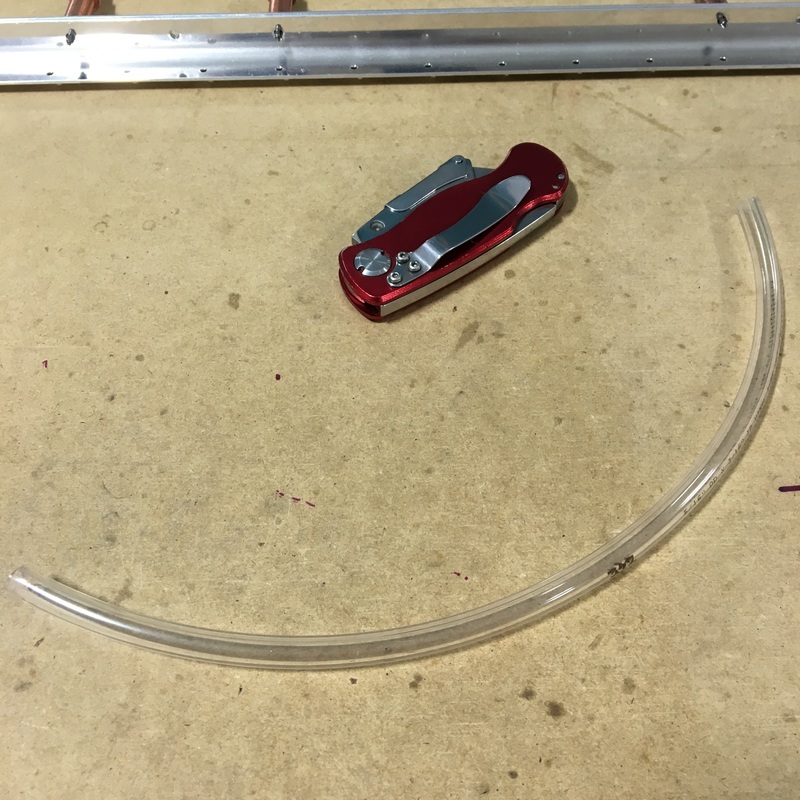
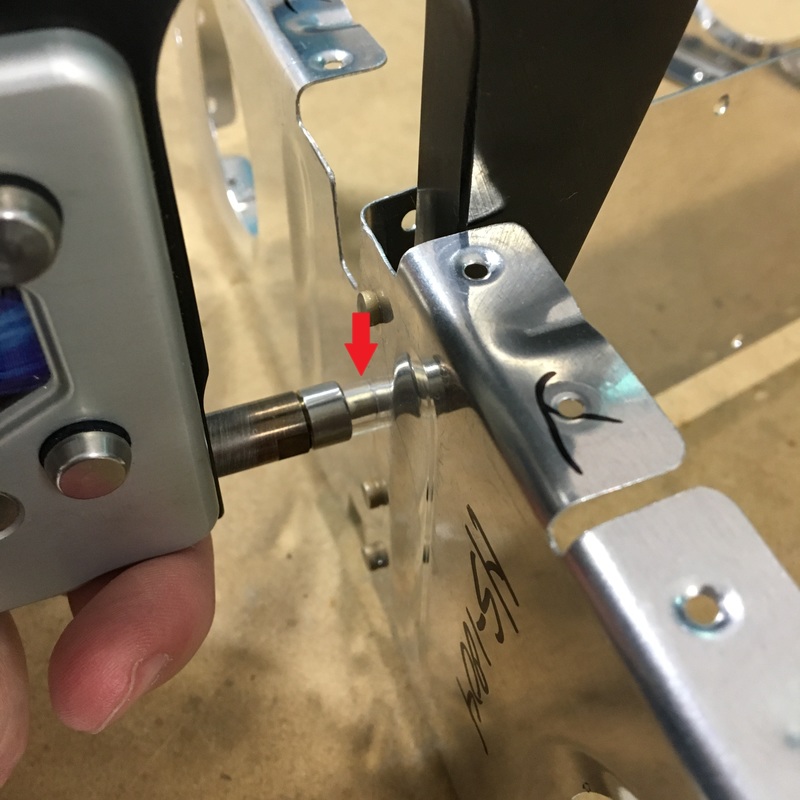
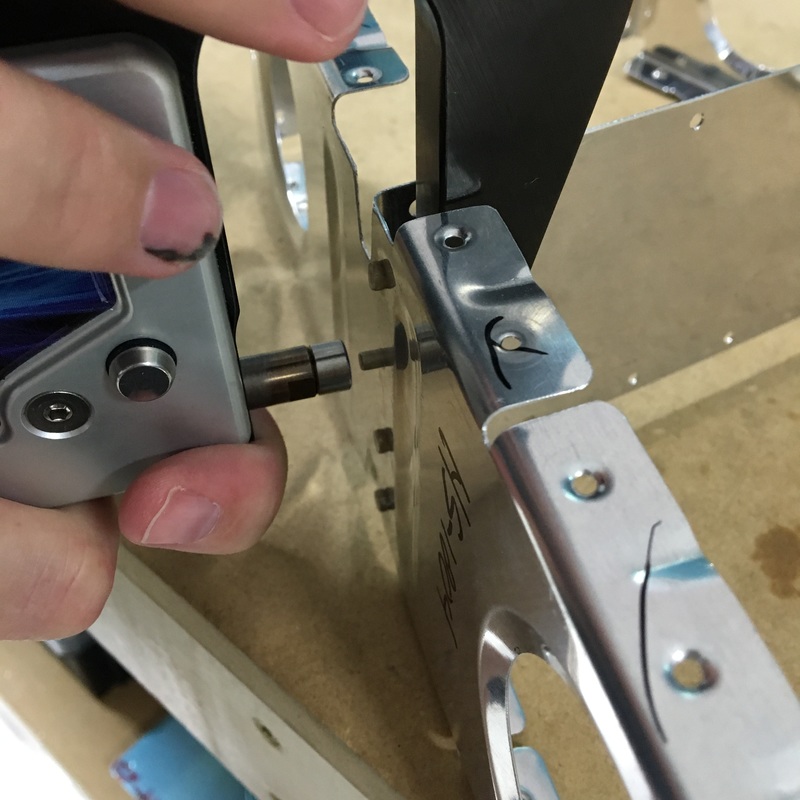
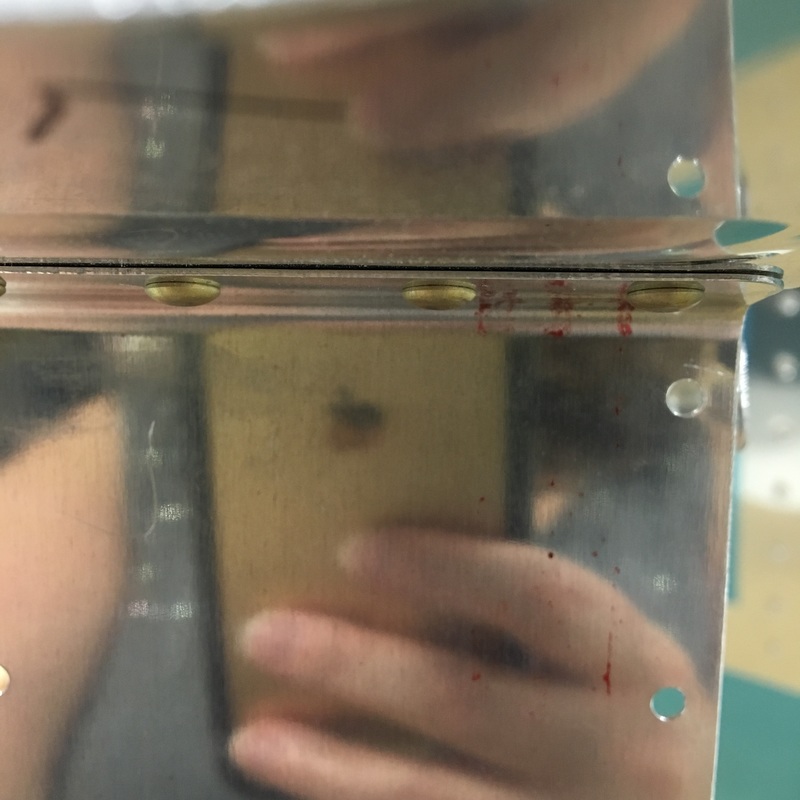
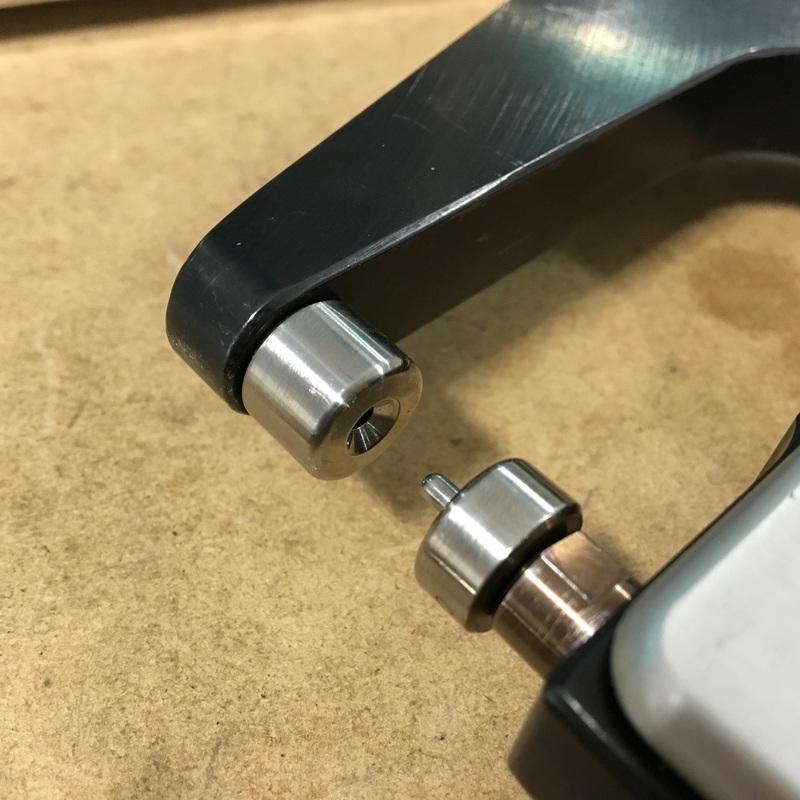
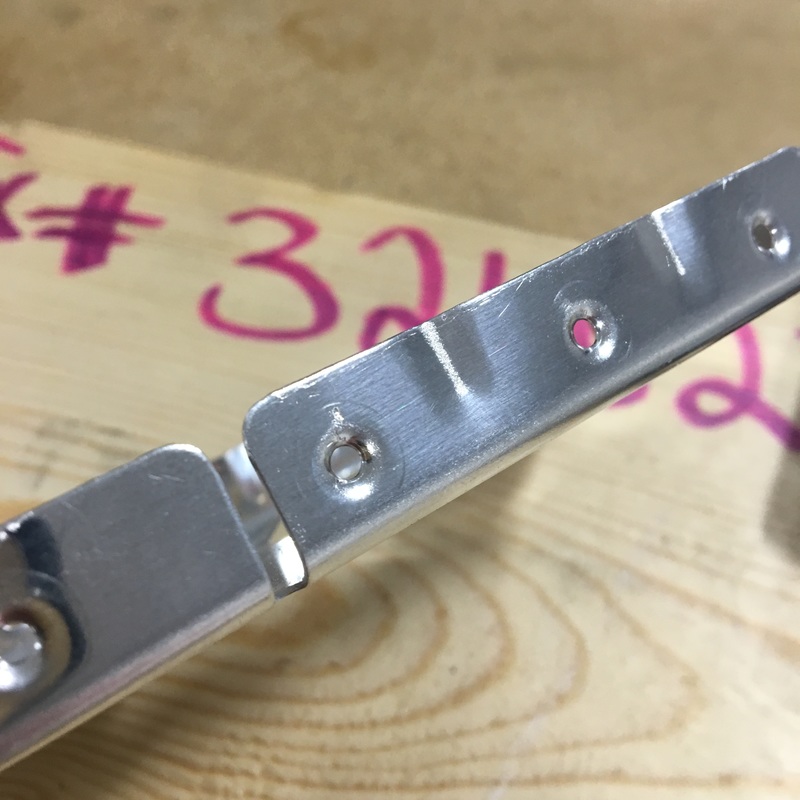
We've started riveting the horizontal stabilizer! What a wonderful feeling to be done with all the prep work on this part of the plane. I don't know that I could have faced drilling, deburring, and dimpling another hole. Finally getting to permanently attach pieces if both very exciting and very nerve wracking. We haven't done much riveting lately and let's just say that those skills were a little rusty. Things started out smoothly enough as we put together our first pieces of the skeleton.  When we rivet small pieces like this, there are often visible gaps between the flange of one piece and the web of the other. As we started riveting these pieces, we noticed the gaps and, while they aren't necessarily a problem, Mike wanted to test out a new technique he had read about online. Mike cut a very small piece of clear rubber tubing just slightly longer than the rivet shaft. The theory is that the rivet squeeze first applies pressure to the rubber tube, helping to cinch everything together before you actually begin squeezing the rivet. I was kind of skeptical that there would be much change, but there was a small but noticeable difference when we compared the two sides. Next we riveted the stringers together and attached them to the skeleton assembly. We used the squeeze riveter as much as possible but had to buck a few rivets that we just couldn't reach. Our skills with the rivet gun and bucking bar were really rusty and some of our work wasn't very good. 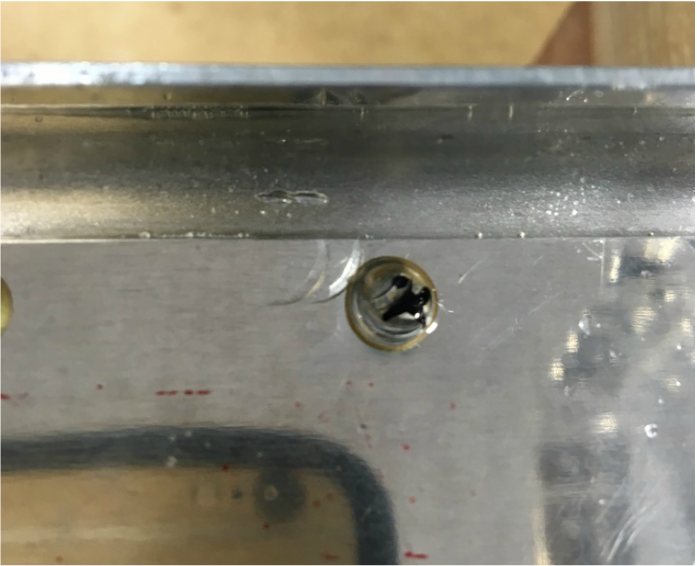 You can see the parentheses where the head of the rivet gun hit the rivet head and the metal next to it. This usually happens when the bucking bar slips and the whole thing moves before Mike can stop the rivet gun. The black "x" shows that Mike marked it for replacement. He used the rivet remover bit for the drill to take out the damaged rivet so we could try again. I still haven't gotten over my anxiety with drilling out rivets (you may remember the trouble we had the first time we drilled out a rivet and the broken drill bit caused so much damage). Everything went smoothly this time but it is still stressful for me. Part of our problem was that everything was very wobbly at this point and I was trying to simultaneously hold the bucking bar and keep the skeleton still. We figured out a way to secure the pieces to the workbench so we could focus on riveting rather than on keeping the pieces steady. 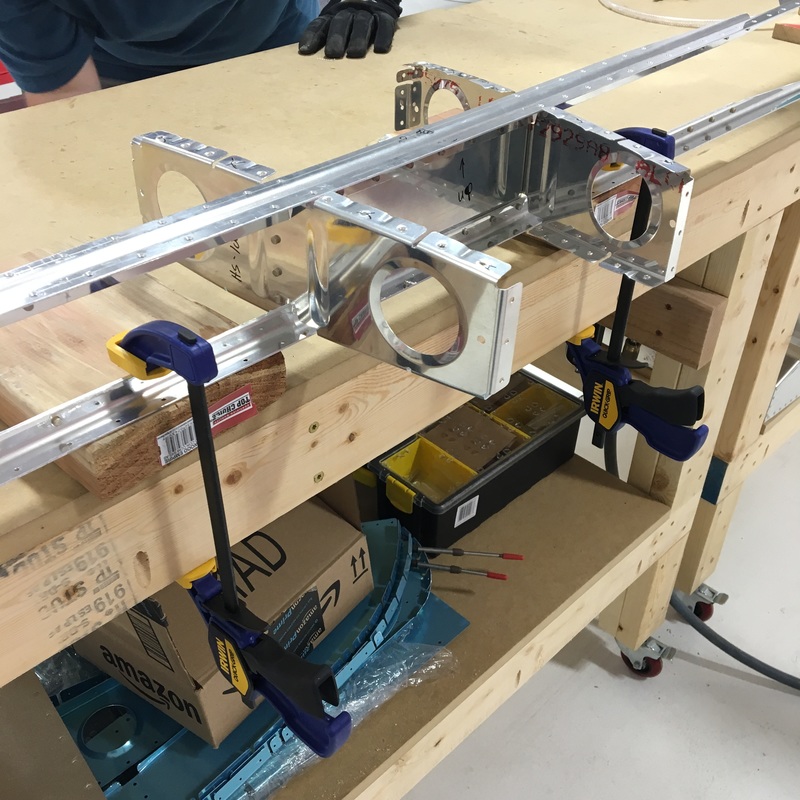 We also worked on solving another annoyance and potential problem we have encountered while riveting - scratching the surrounding metal with the bucking bar. 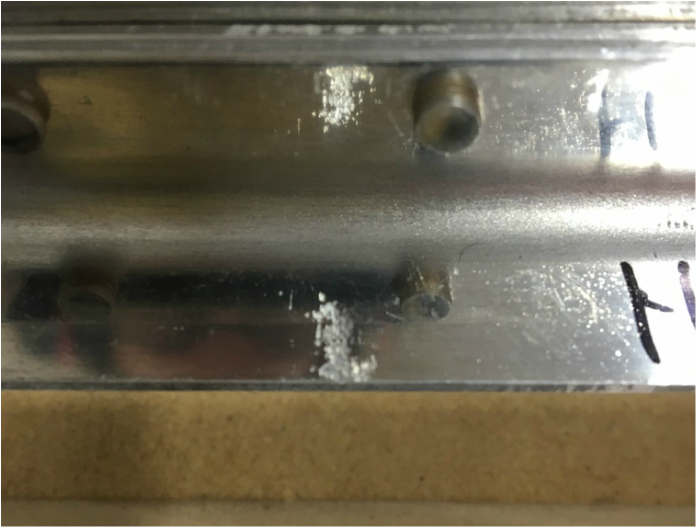 There is very little leeway when you're working with the bucking bar in these tight spaces. It's very hard to see in the picture, but that rivet is less than half an inch above the 90 degree bend. It can be quite challenging to hold the bucking bar so there is enough flat surface to hit the rivet squarely without bumping into anything else. We tried another tip that Mike read online and wrapped the bucking bar with some tape. 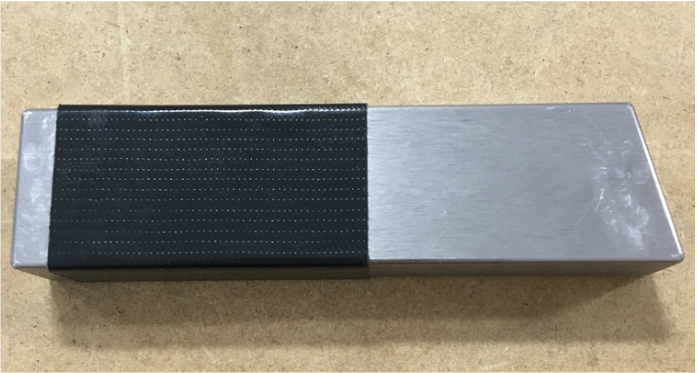 It seems to work very well and let's me position the bucking bar in the most comfortable place without worrying about scratches.
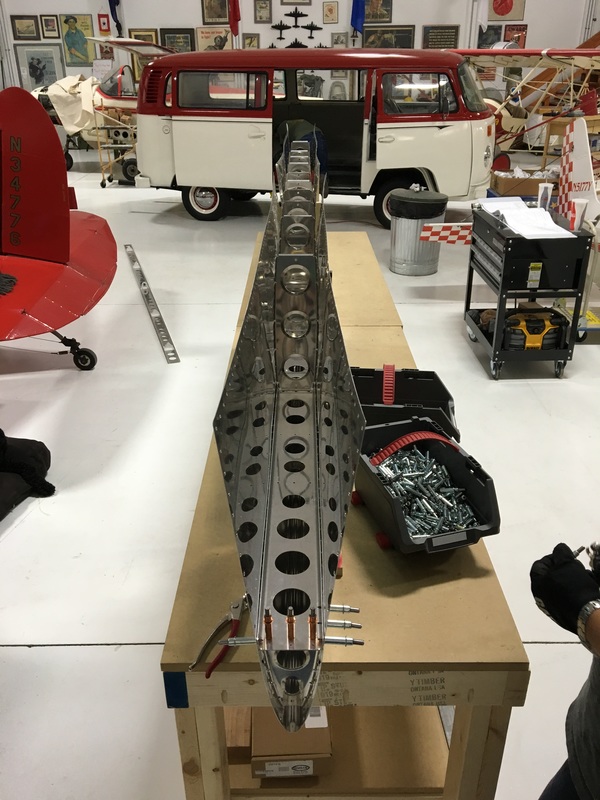
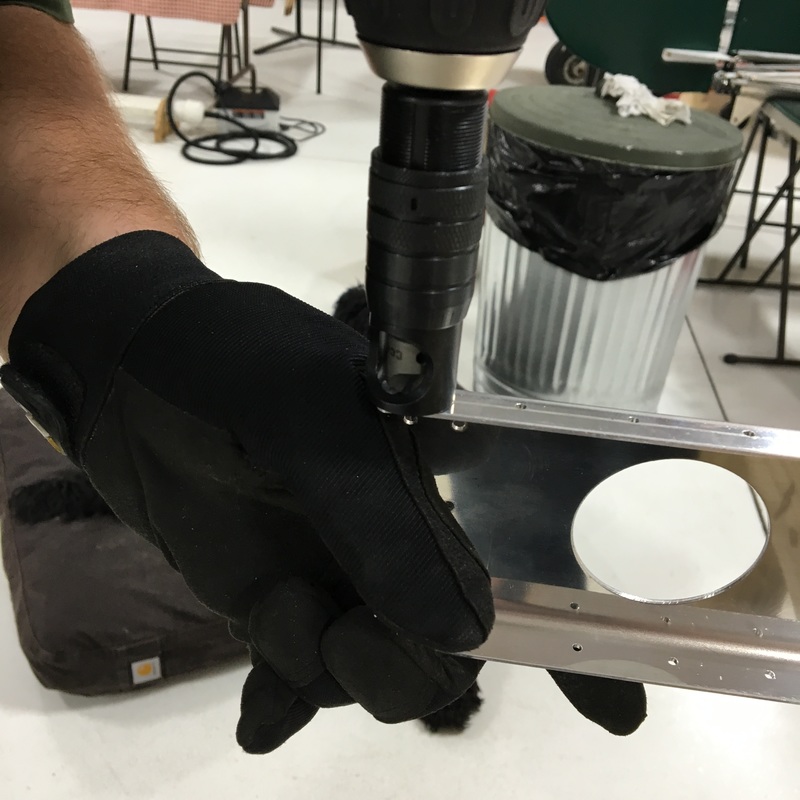
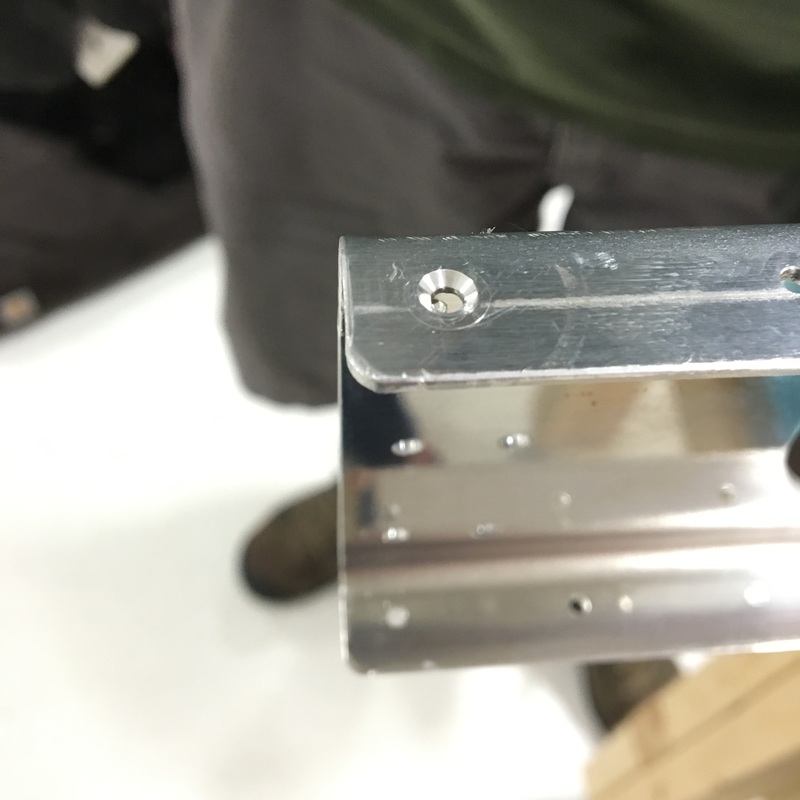
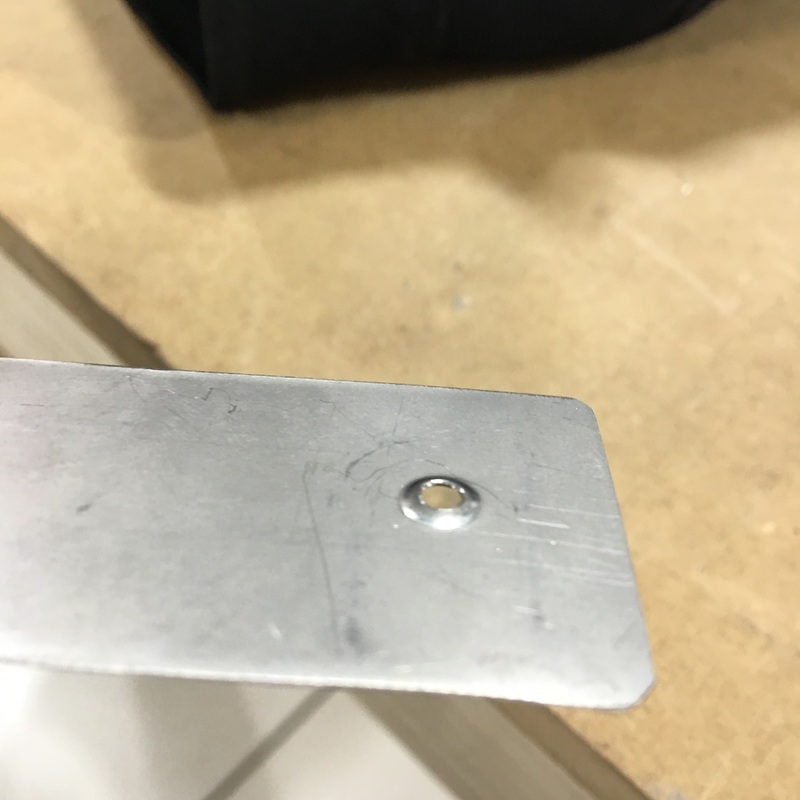
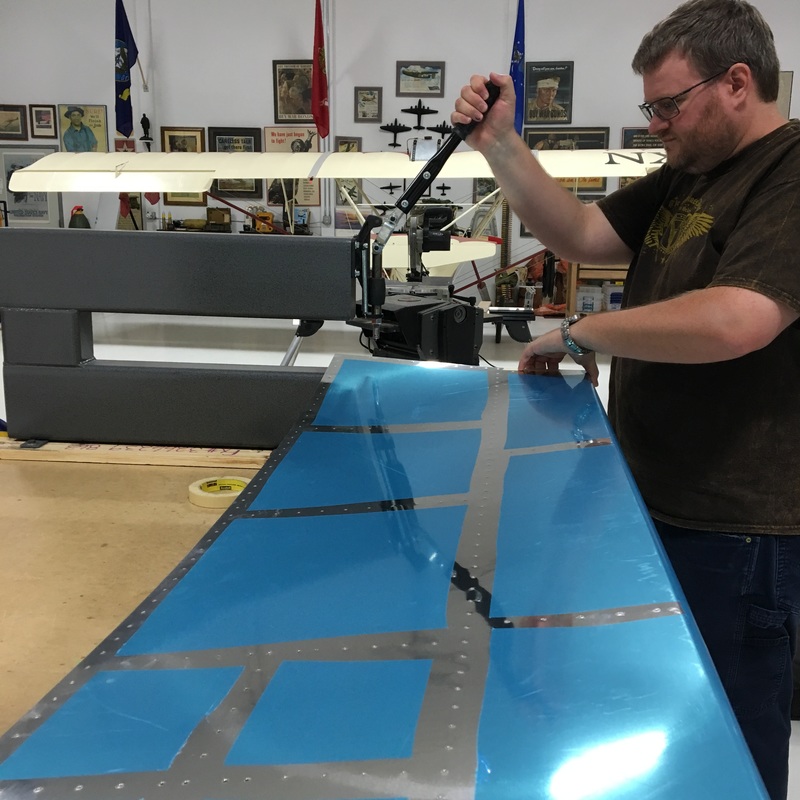
Exciting is not a word I would use to describe the last month of working on the plane. There is always a huge sense of elation when you get to fit everything together...until you remember that you have to drill, deburr, dimple and countersink every single hole in every single piece. The weekend after we got everything put together, Mike spent hours final drilling all of the holes in the horizontal stabilizer skin and a few other random pieces. Some of those pieces were quite difficult to get to, so he got to order a new tool - an angle drill. 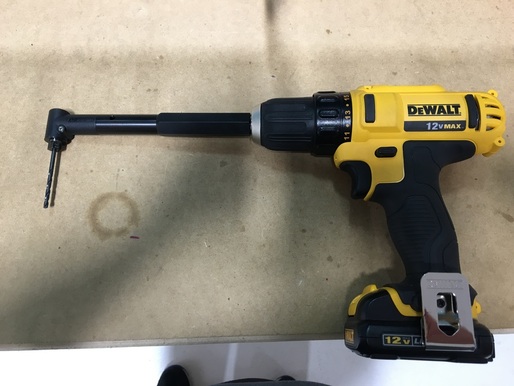 I talked Mike out of the model that cost several hundred dollars and convinced him to get something that fit his existing drill. Considering we used it for about five minutes, I'm glad we were able to reach that compromise. We needed to drill holes into a small plate that connects the two horizontal stringers. The front and rear horizontal spars are directly above and below this plate so there is absolutely no way to get a regular drill into that tight space. After Mike finished drilling all the holes in the skin, we took the whole thing apart. After the excitement of getting the entire horizontal stabilizer fitted together, there is nothing more disheartening than taking everything apart again. When we put the parts together, we grabbed extra bags of clecos as we needed them. Once we took them all out, you could really appreciate the number of clecos we used to put the whole thing together. 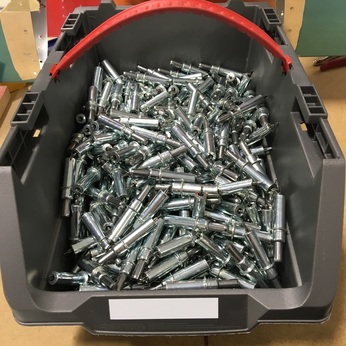 In fact, there were so many clecos that the handle on our cheap plastic bin couldn't handle the weight. 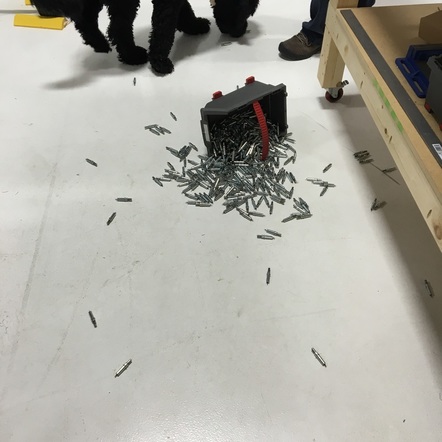 We spent the next three weeks completing three steps in the instruction manual.  Actually, it took us an entire weekend to complete Step 6. A weekend consisting of three trips to the hangar and 10 man hours of effort. Drudgery is the only word I can use to describe deburring all of those holes. Both sides of each hole had to be deburred, which obviously doubles the amount of work you think you have to do. The ribs are the most annoying because, while you can use the drill to deburr the holes on the outside, you have to deburr the holes on the inside of the flanges by hand. 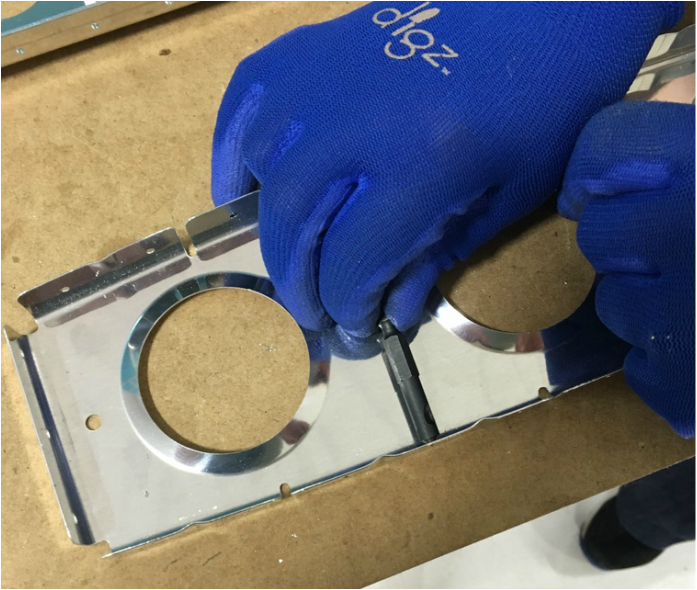 Before you ask, yes we tried the fancy new angle drill attachment, but the diameter of the drill head was too large. That deburring bit is pretty much flat against the web of the rib. It was hard enough to grab onto with the tips of your fingers. After deburring several hundred holes by spinning that bit, your fingers get pretty sore. The skins were much easier to deburr. 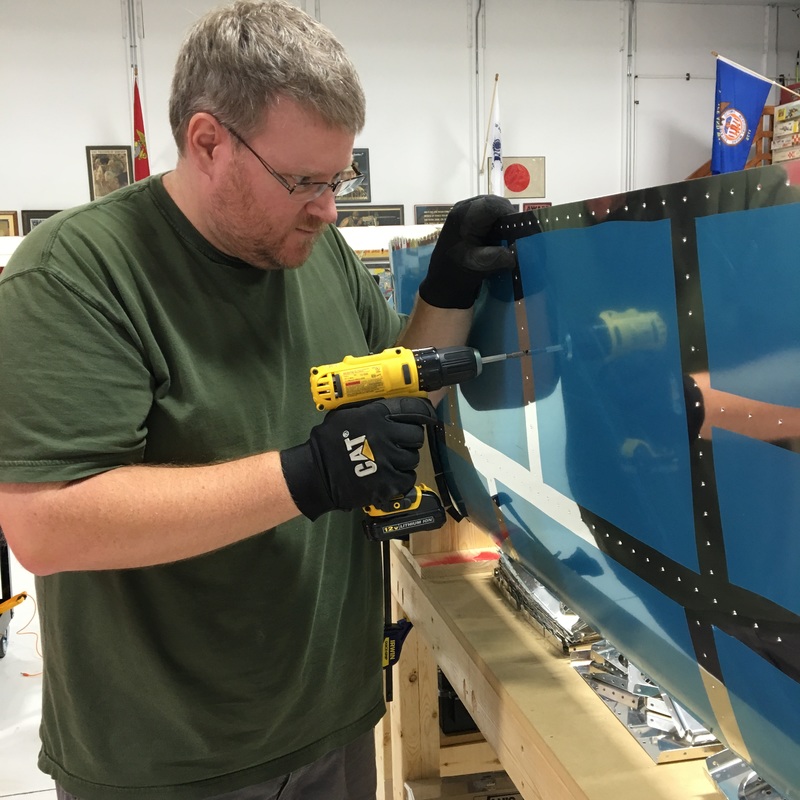 Even so, note the slightly crazed look on Mike's face. This picture was probably taken eight hours into our marathon deburring weekend. I deburred the other skin and figured I might as well count the number of holes in each skin - 250. That's 250 per side, so there were actually 500 holes in each skin. Multiply that by two because there are two skins = 1000 holes. And of course there are all of the holes in the underlying structure, approximately 1000 additional holes. Each of the holes in the skin and skeleton has to be deburred on both sides, so that's 4000 deburred holes. What a way to spend a weekend. The next weekend, we had to dimple all of the holes in the skin and most of the skeleton as well. We used a dimpling die for our hand riveter to dimple the ribs. There are about eight holes on the horizontal stabilizer that don't get dimpled (for some secret reason that's not revealed in this section of the instruction manual) and while we marked those on the skin, we forgot to mark them on the ribs. So, we had to undimple a few holes, which we did by using a flat die that we normally use for riveting. It's not perfect, but it should work. While I dimpled, Mike worked on countersinking the holes in the front and rear spar. This metal is too thick to dimple, but there has to be a recessed area for the skin dimples. Countersinking can be challenging because we don't have any sort of gauge to make sure the countersinks are the right size. Mike dimpled a scrap piece of aluminum that is the same thickness as the skin to use as a gauge. It's not an ideal situation but it's better than nothing. We used the big C-frame dimpler to dimple the skin. It's definitely a two person job so I only got one picture (while balancing my end of the skin - Mike is a good sport when I want a picture). That took another weekend at the hangar. We are finally ready to start riveting pieces together. That's a skill we haven't practiced in several months, so we'll see how it goes.
|
AuthorThe supportive spouse's guide to building an airplane. Archives
May 2017
Categories |


 RSS Feed
