|
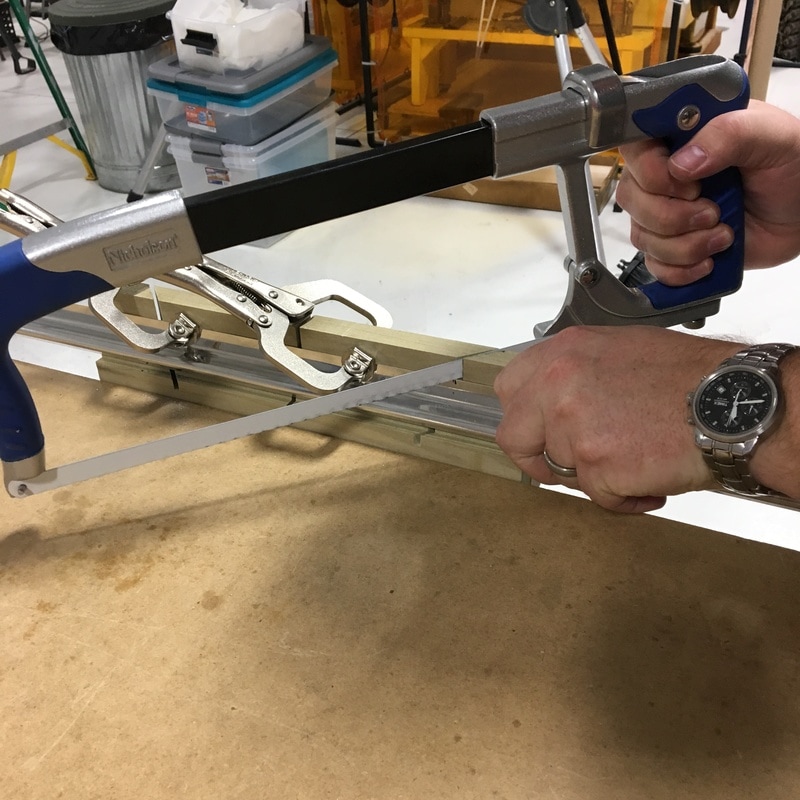
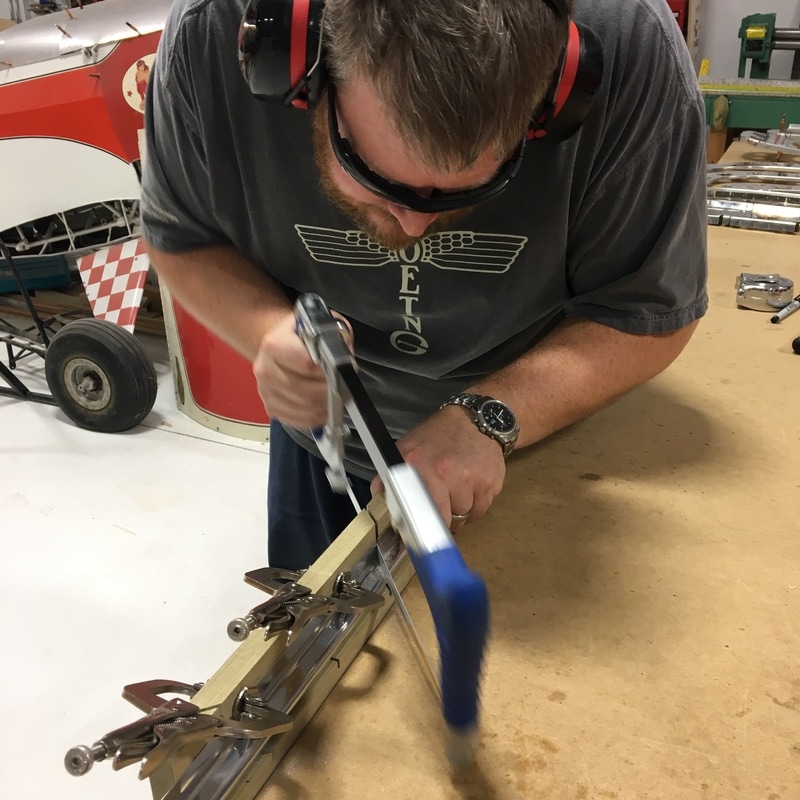
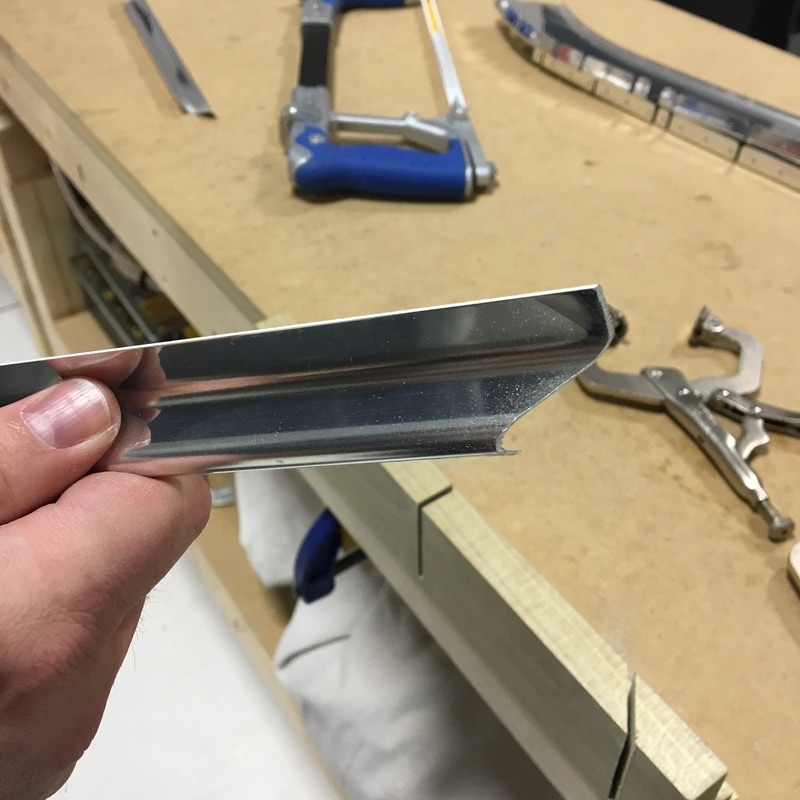
We've been prepping more parts for the tail cone and most of the work has been very tedious. There have been more hours of deburring than I care to think about. Occasionally we get to figure out some new skill, like how to remove the bow from some very thick pieces of aluminum. There are two heavy aluminum bars that will eventually attach the horizontal stabilizer to the tail cone. At least, that's my educated guess based on the fact that the pieces are called "horizontal stabilizer attachment bars." They are pretty badly bowed from the manufacturing process and we had to straighten them out. 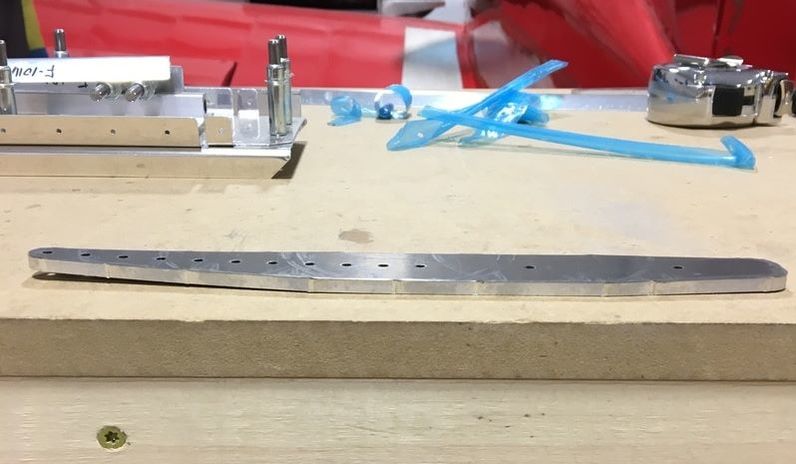 You can really see how much room there is between the left side of the piece and the workbench. It's not as noticeable on the right side, but the whole thing is curved like a dish at this point. The instructions make the process sound much more technical than it really is. To remove the bow, we "pre load the free end of the attachment bar in the direction required to straighten it and, using a rubber mallet, firmly strike the bar one time near the vice." In laymen's terms, you put the bar in a vice, push against the end (that's what they mean by "preload") and whack it with a rubber hammer.  You do that over and over again, moving the bar as you go, until it is straight. Here is a comparison between the bar that has been straightened (on the right) and the one that hasn't (on the left). 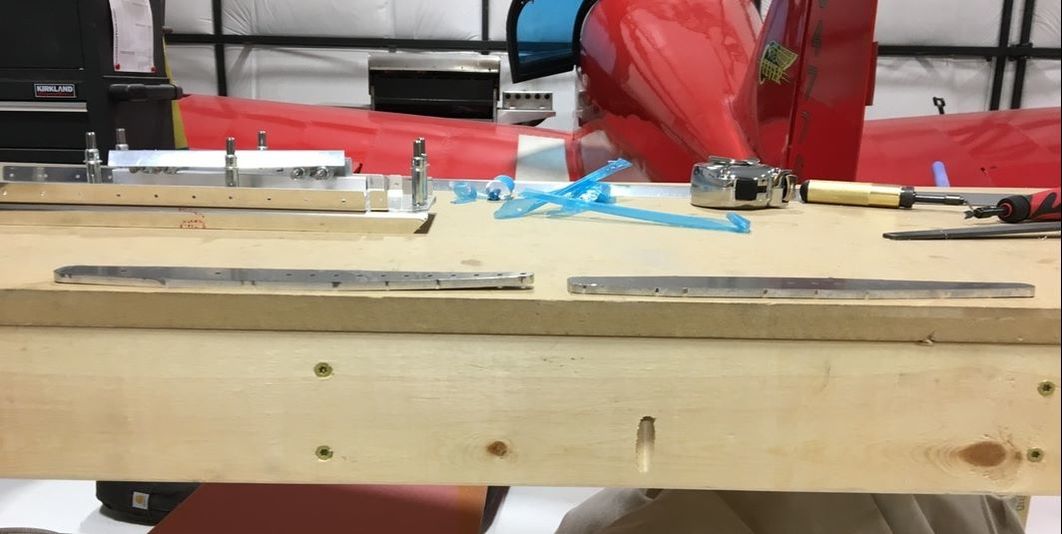 Mike has also been cutting varying lengths of J-channel, which is a long stick of aluminum with a profile that's roughly shaped like the letter "j". 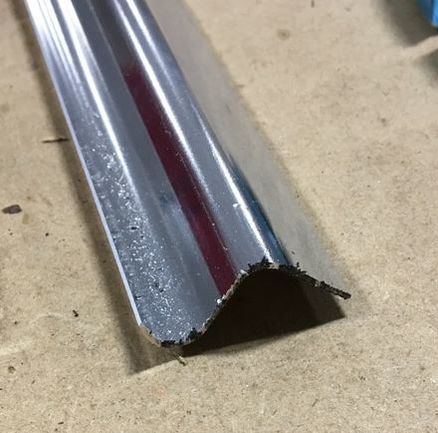 These pieces of J-channel will run the length of the tail cone and act as stiffeners. Mike cuts the 90° angles on the bandsaw and smoothes the edges with a bench grinder. Some of these stiffeners have be cut on a 45° angle. Because of the orientation of the 45° cut, the bandsaw won't work for these pieces. We don't have many saw blades that will cut aluminum and instead of buying a $50 saw blade, Mike came up with an inexpensive solution. (I know, I'm as shocked as you are! Mike actually resisted buying a new tool!) He built a mitre box out of some scrap lumber and bought some $10 metal blades for his hacksaw. He smoothed the ends of the shorter lengths using the bench grinder, but some pieces are nearly 8 feet long and he used a pneumatic hand grinder for those. While Mike was manufacturing various parts, I deburred my little heart out. We are almost ready to get out some tail cone skins and start fitting things together. I can't believe how quickly things have gone so far...but that could be because I skipped several work sessions at the hangar while Mike either worked alone or got help from his buddy, Keith. It's always amazing how fast work gets done when you're not the one doing it. I've still put in about 6 hours of deburring but easily missed out on just as much. Here is a portion of the parts that have been assembled so far. 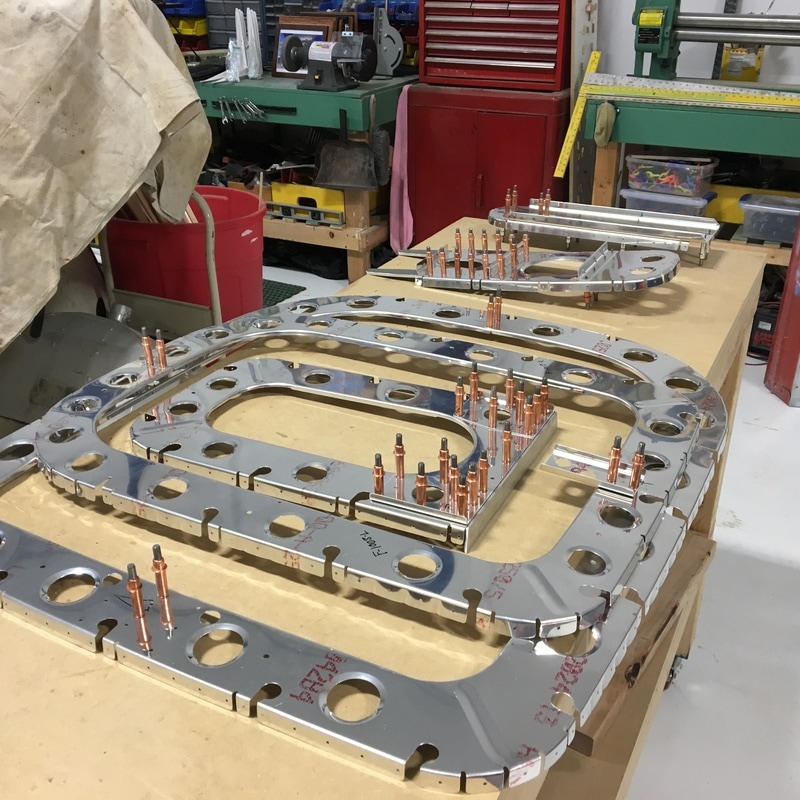
1 Comment
The Man in O Man
3/13/2017 09:00:33 am
Keith helping and you spending time not in the hangar....hmmm....I thought the victory post was a couple of months ago. Kidding aside, I love the progress and the idea that straightening a piece of aluminum is done with a vice, elbow grease, and a rubber mallet. Gives the plane a sense of get it done. Leave a Reply. |
AuthorThe supportive spouse's guide to building an airplane. Archives
May 2017
Categories |

 RSS Feed
