|
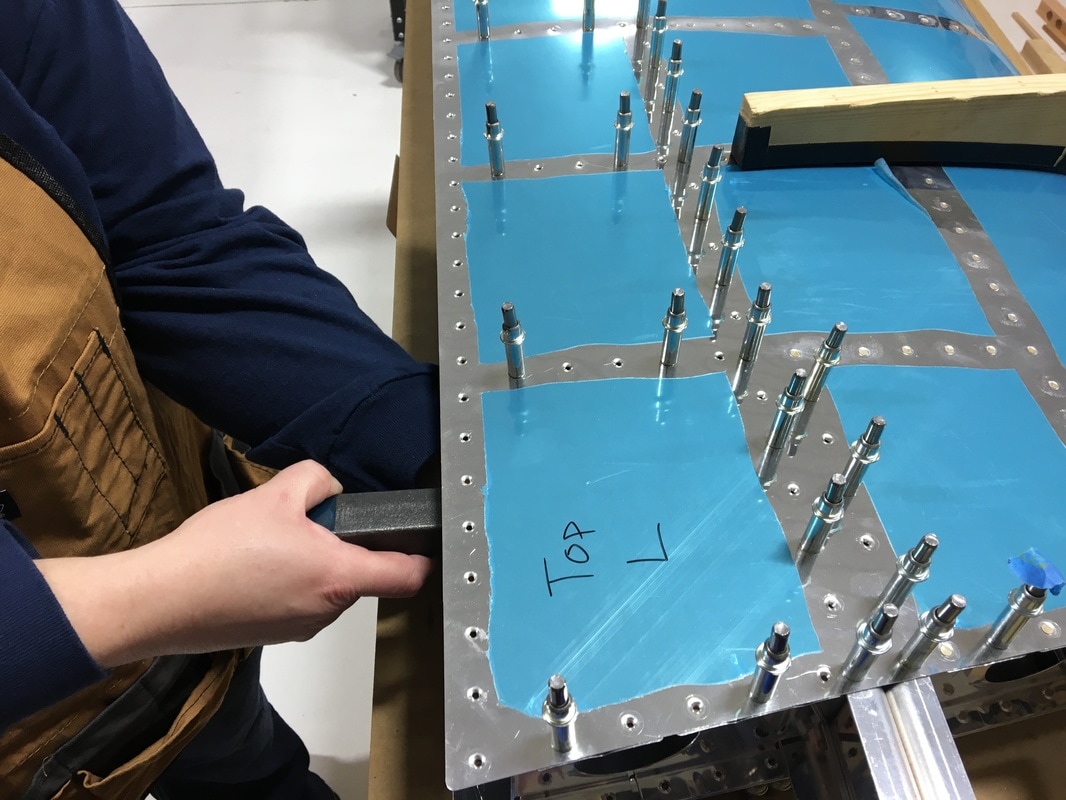
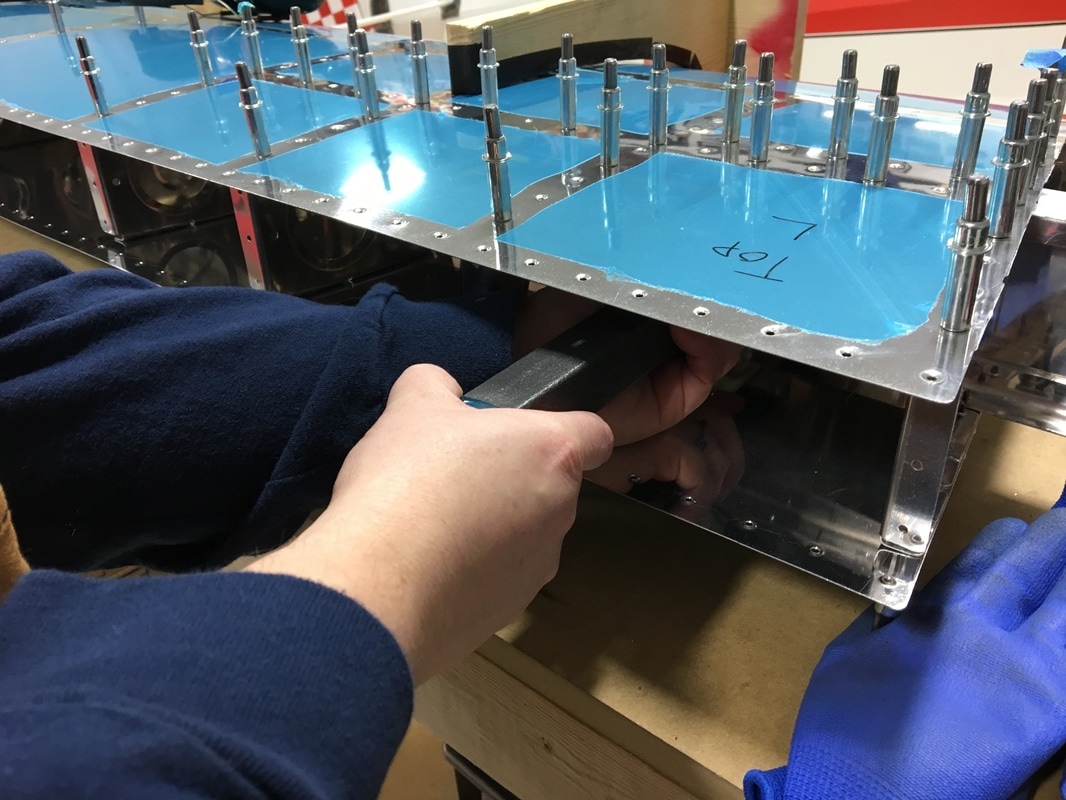
We've officially entered the second year of the build. I think that Mike and I both wish we had made a little more progress over the past year, but it still amazes me to think of everything we've accomplished. Mike also informed me that we've been working on the horizontal stabilizer for 9 months! No wonder it feels like we've been doing this forever. Our work on the plane has been sporadic between the holidays and the winter weather. It's been pretty cold this last month and that hasn't really motivated us to spend time at the hangar. The hangar is heated, but the first 30 minutes up there are pretty chilly. I can wear gloves and a sweathshirt while we work, but my safety gear lives at the hangar is is a chilly 55 degrees when we arrive. I've worked out a system where I put my safety glasses in my pants pocket and wrap my hearing protectors around my bicep. Then they can warm up a little bit while we get set up. We are continuing to refine our workspace at the airport. The biggest challenge we've had to make over the past few months is dealing with dust. A group of middle and high school students are building a Northrop primary glider at the hangar. The whole thing is made out of wood and the sawdust they generate gets on everything. We don't want to seal a bunch of dust into the horizontal stabilizer so we've been covering our workbenches. We started with a cheap plastic drop cloth, but that was quickly filled with holes as (we assume) people pulled back the plastic to check on our work. Once a little hole started, it easily got caught on the hundreds of clecos until the whole things was more hole than plastic. We've graduated to a canvas drop cloth and that has been working better. It also make it look like we're working on something top secret which I kind of enjoy. 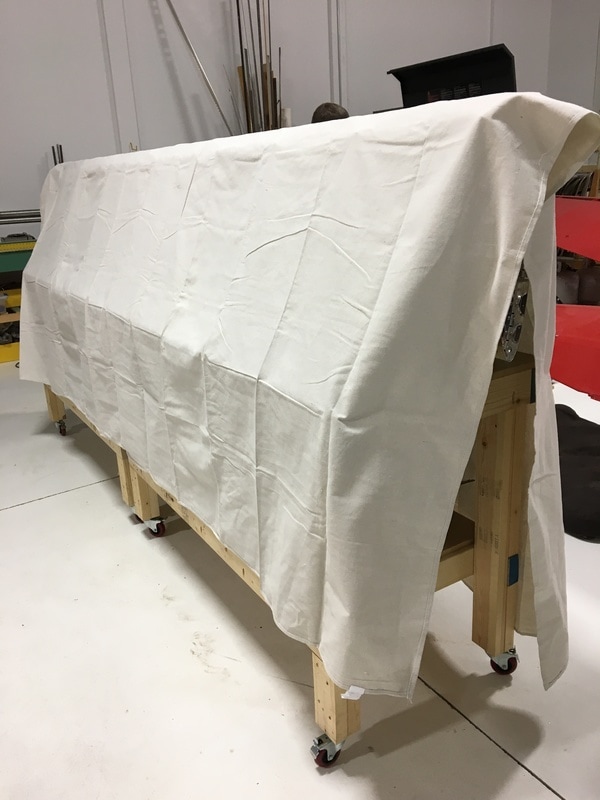 In my last post (over two months ago!) I was complaining about riveting the front spar of the horizontal stabilizer. I estimated that we had about two hours of riveting to go and my estimate was exactly right. We got a roll one day and managed to finish the whole thing in one more session. The remainder of the riveting was uneventful (thank god!) and there was a fair bit of celebrating when we finished. Our next step was to tackle this mess... 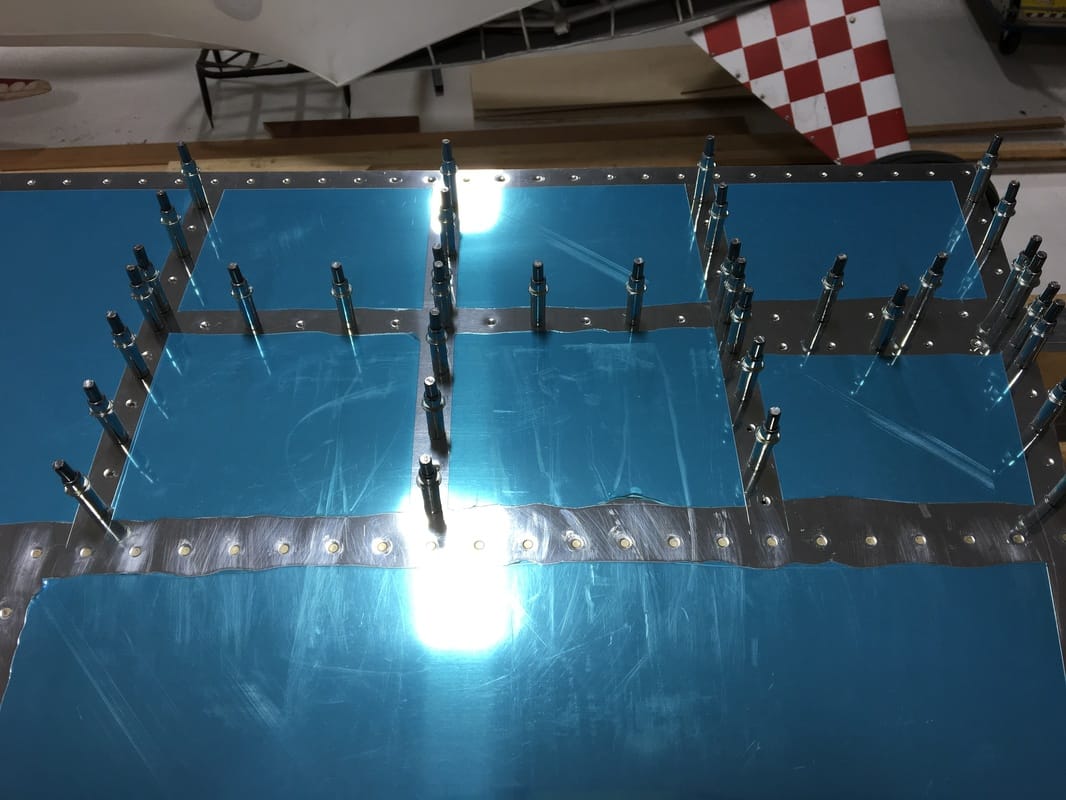 The ribs in this area are interrupted by horizontal stringers that (I assume) reinforce this part of the tail. It's a challenging area to work in because there's not much room for hands and tools in between all those pieces. We started by riveting the lower section of the ribs, below the stringers. The rib that is exposed at the edge was the easiest and we were able to squeeze those rivets. 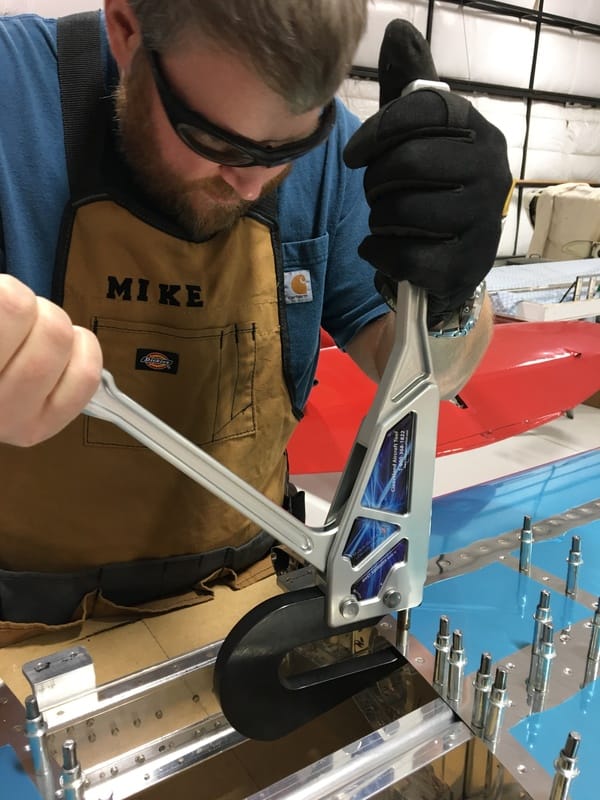 We had to remember to leave a few of the holes open so they can be used for some other purpose down the line. The instructions refer to some sort of horizontal stabilizer fairings. I don't know what a fairing is, but I guess we'll figure it out when we get there. Riveting the ribs behind the stringers was one of the most challenging tasks we've had to do. In addition to the cramped space, I had to be very careful not to damage any of the existing rivets (the rivets that hold the two pieces of the stringer together) with my bucking bar. The stringers also taper at the ends, which caused a problem when my bucking bar slipped. 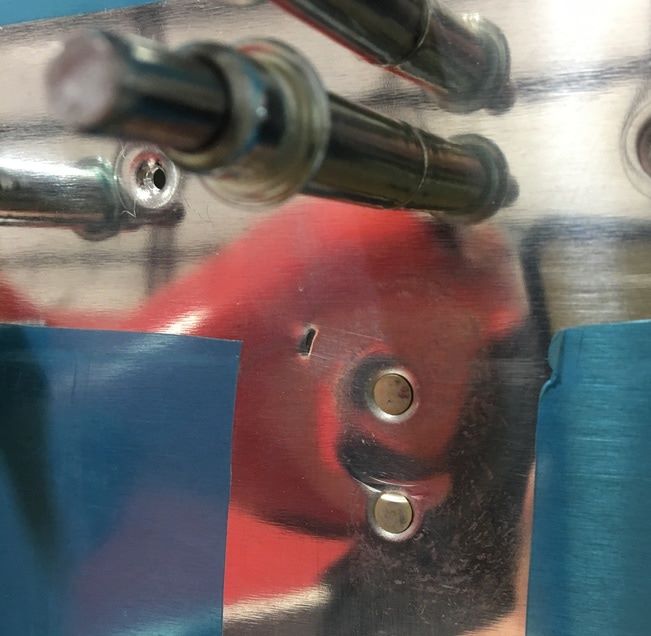 That picture actually make it look much worse than it is...there's not actually a puncture in the skin. We think that at some point my bucking bar bounced and got caught on the very end of the stringer (it's probably only about an 1/8" wide at the very end). Mike was still running the rivet gun and for that second, the rivet gun was hitting the rivet and skin with nothing on the other side. You can see where the rivet below is was bent a little bit on the edge and there's a shallow depression from the gun. The dent (that looks like a puncture) is the very end of the stringer. We decided that we would cause more damage if we tried to fix anything and decided to just let it be. We were more careful after that and didn't have any more mishaps. Our next step was to rivet the stringers to the skin. The stringers are made from two "L" shaped pieces that are riveted together to make "T" shape. There is a row of rivets that runs down each side of the cross stroke that make up the top of the "T". The main stem of the "T" blocks your view of one side. Here, maybe some pictures will help explain this better... 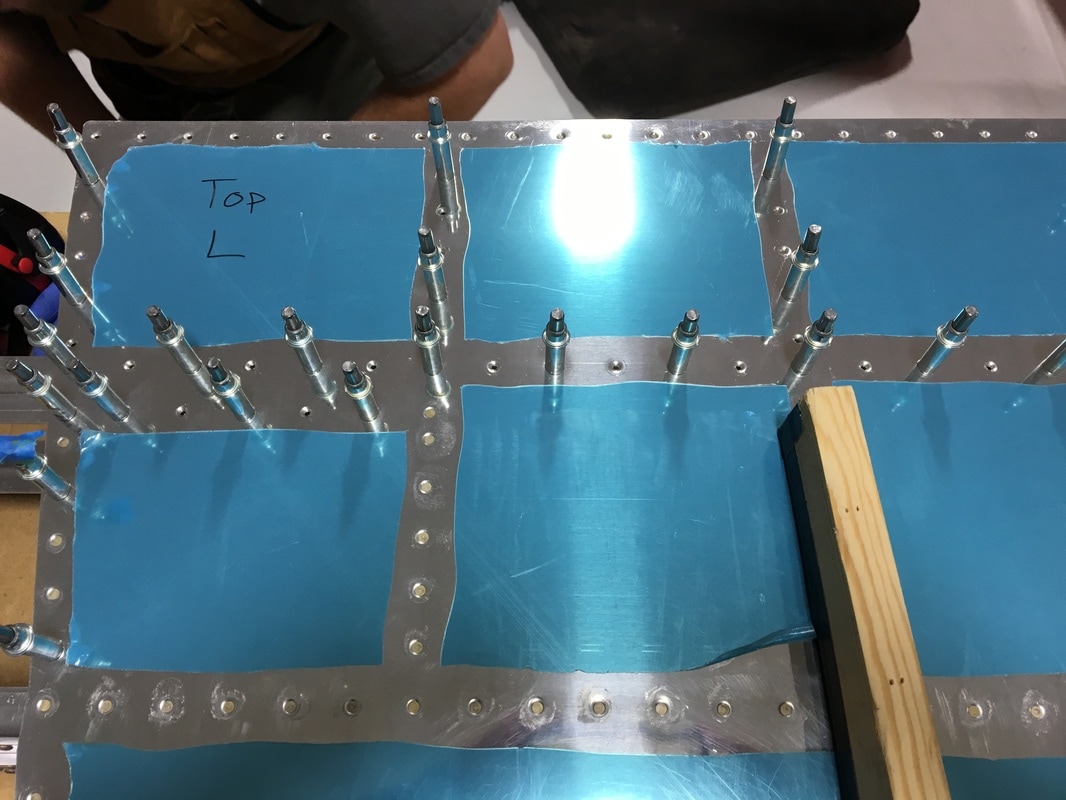 On the left, you can see that there is a double row of horizontal rivets that run between the first and second rib. 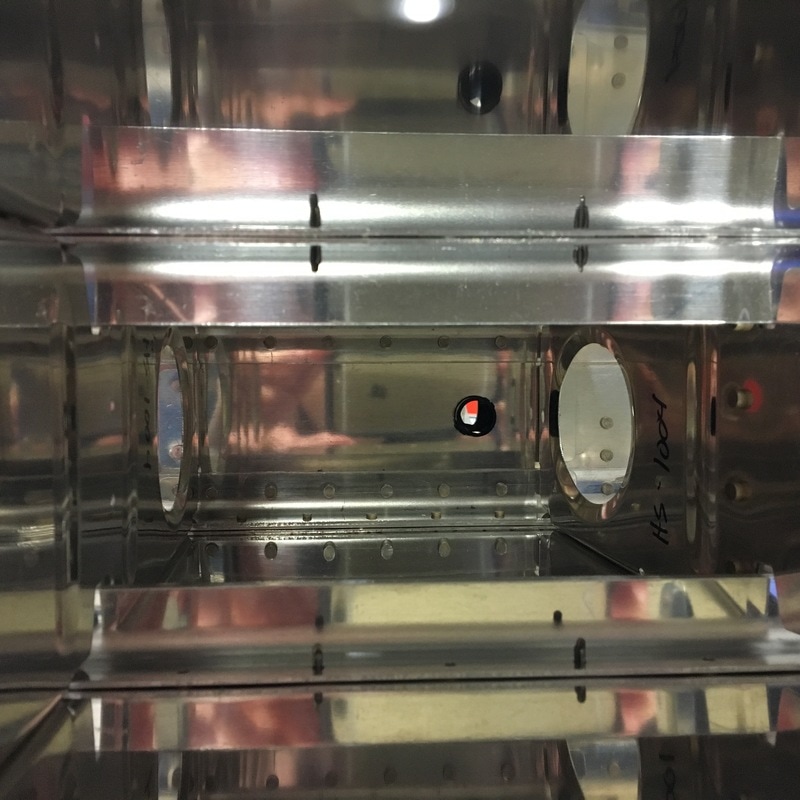 When you look inside, you can only see one row of clecos because the others are hidden on the other side of the stringer. How do you rivet something that you can't see and can't reach? You use a special bucking bar! 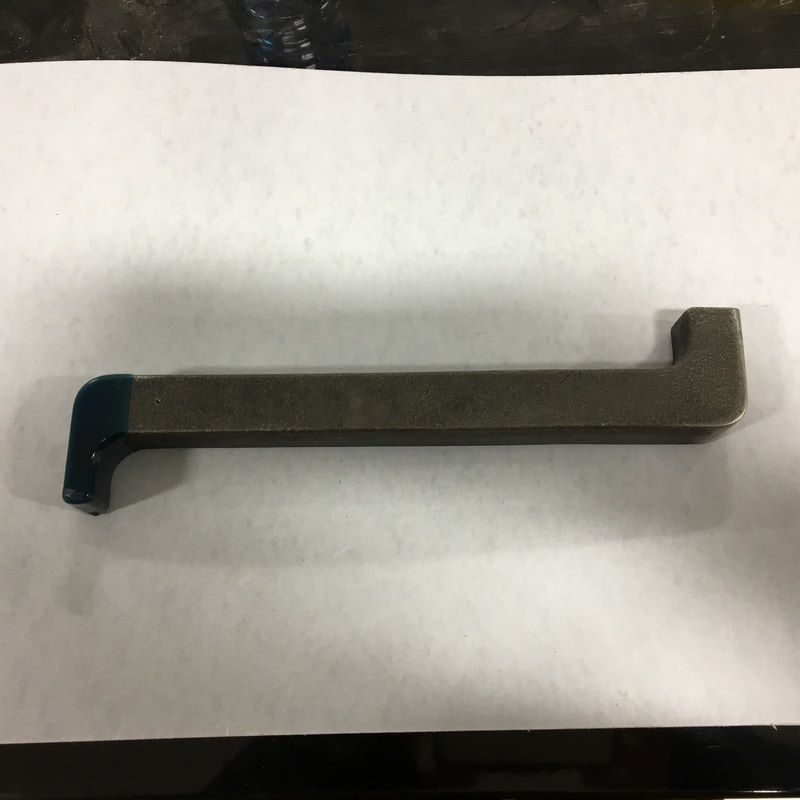 That 90 degree angle at the end lets you reach the far side of the stringer, like so... 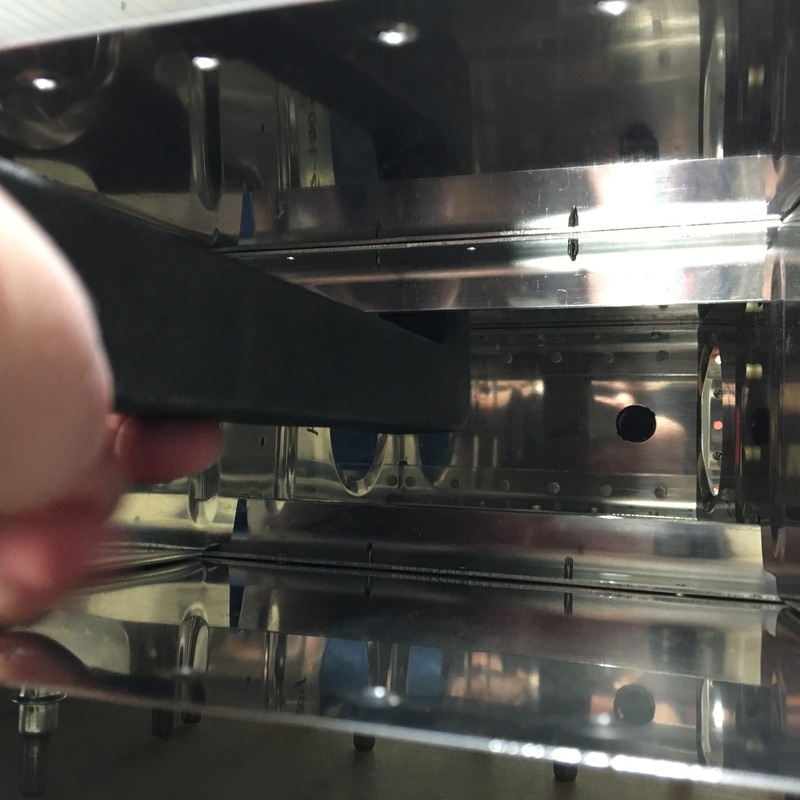 I don't even have to stick my entire arm inside! It was some of the easiest riveting we've done on the whole plane and this is where I had a major plane building epiphany. A heavier bucking bar makes all the difference! I've almost exclusively been using our small tungsten bucking bar and while it's dense, it's too small to be very heavy. That means it bounces all over the place while we are riveting. The angled bucking bar I used for the stringers is made out of steel and that thing barely moves when we rivet. You don't want to drop it on your toe, but the decreased movement means my hands don't take such a beating as they get bounced around. It has also increased my confidence because I'm able to hold the bar in place more easily. That didn't stop me from completely mangling a rivet, but it's the only one that I've messed up in several weeks. Mike made me take a picture of it because it truly was a magnificent mistake. 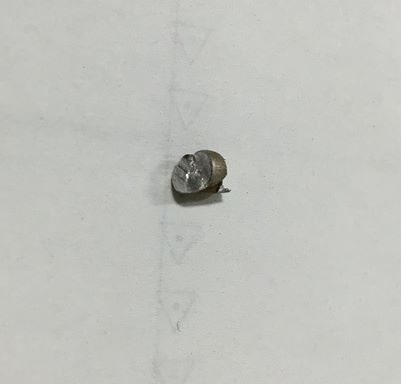 Next, we'll finish riveting the ribs to the skin. I counted, and that will take another 140 rivets, easily 2 or 3 work sessions.
0 Comments
Leave a Reply. |
AuthorThe supportive spouse's guide to building an airplane. Archives
May 2017
Categories |
 RSS Feed
