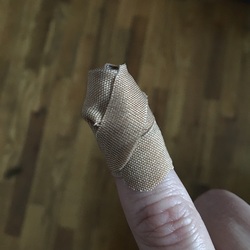
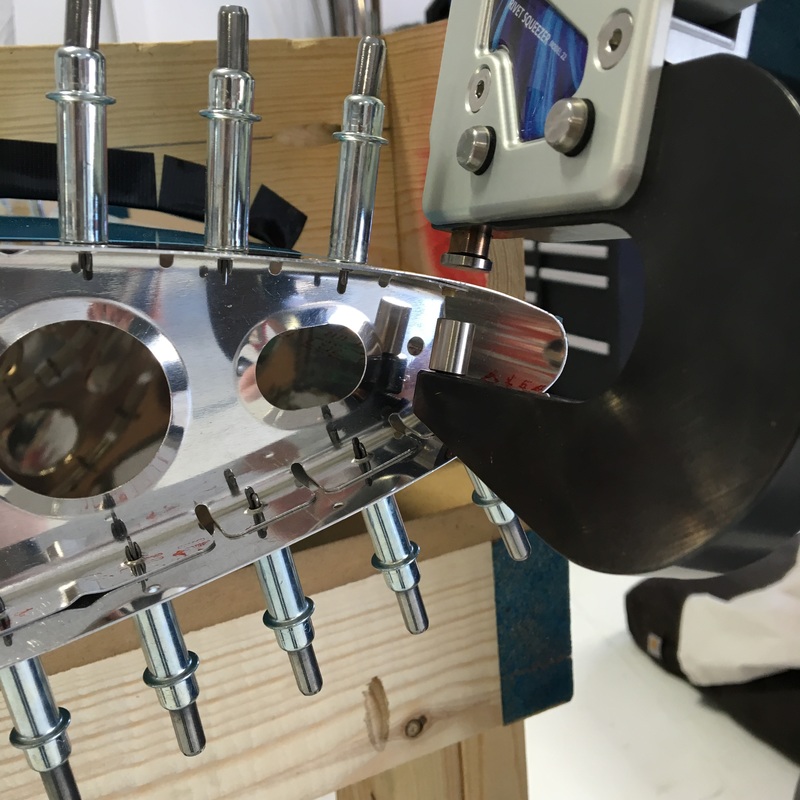
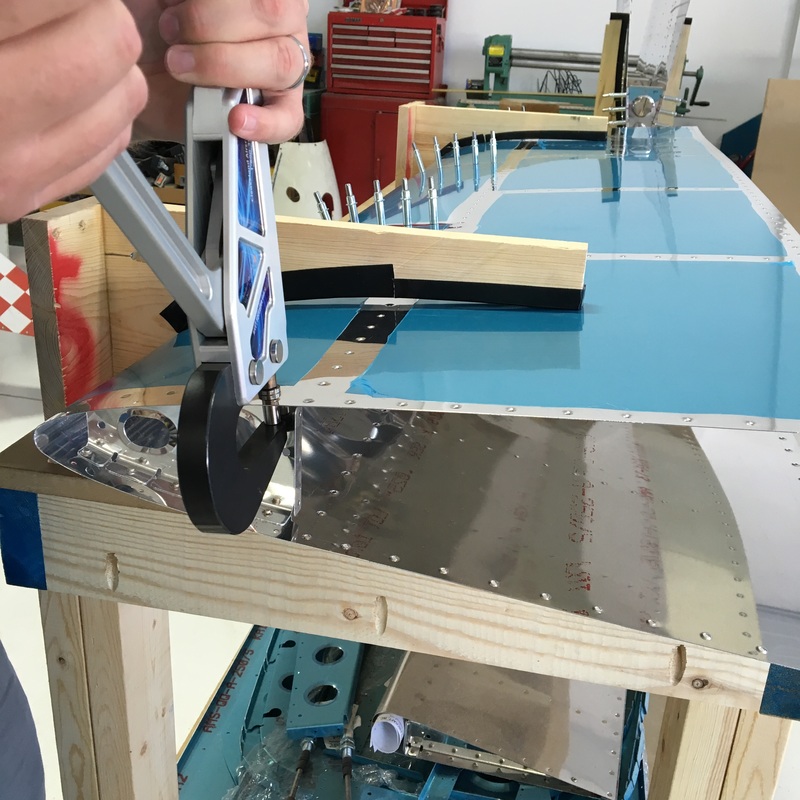
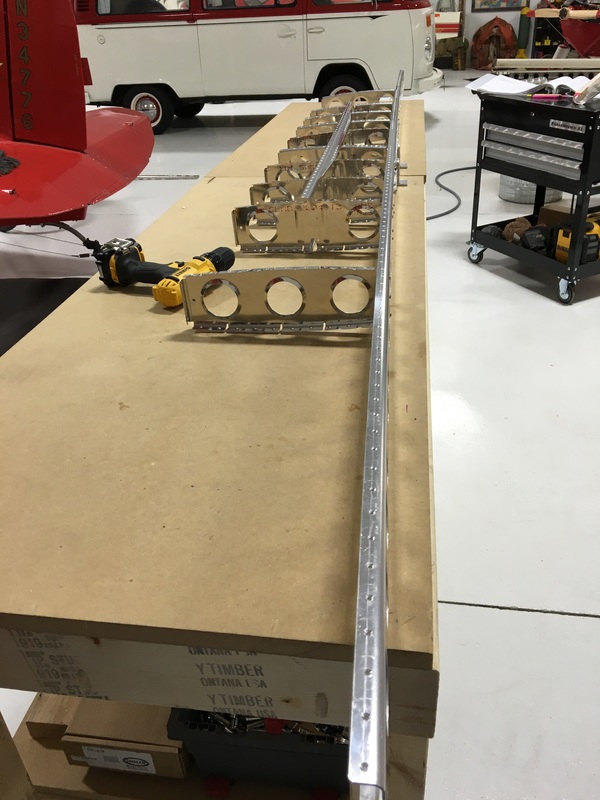
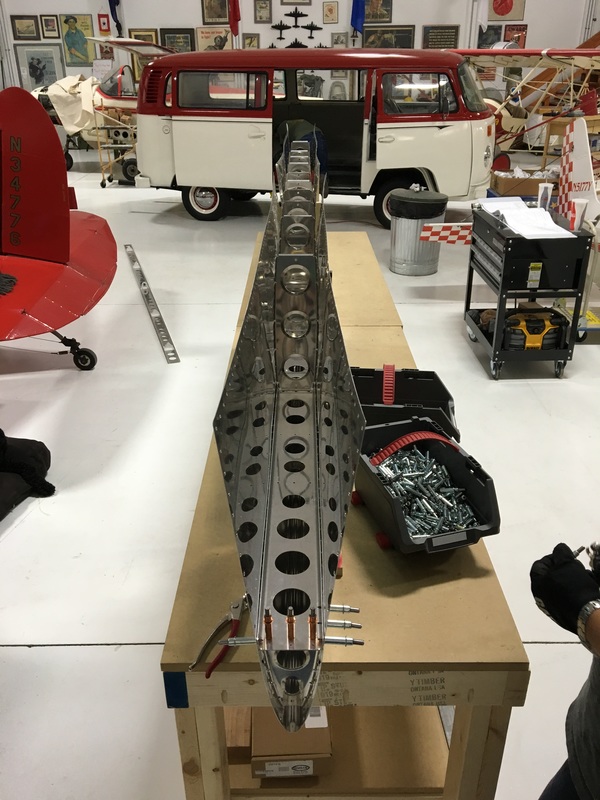
 After a week off due to a tragic cheese grater incident, we are back to work and ready to rivet. It was surprisingly hard to convince Mike that I couldn't hold a bucking bar without using my right index finger. In retrospect, we could have kept working because I had to buck half the rivets with my left hand (don't tell Mike I said that) but it was also nice to have a little time off from the build. We are continuing the final assembly process for the horizontal stabilizer and I'm very excited to report that we only have three pages left in this section of the construction manual. It may take us a couple of months to finish those three pages, but it feels like we can see the finish line. After the challenges we had last week while riveting the skeleton structure together, I was a little nervous that we were working with the skins this week. Our first task was to rivet the nose ribs into the skins.  There are four nose ribs on each side of the horizontal stabilizer. The two ribs on each end are obviously very accessible so we used the rivet squeezer on those. The most challenging part was dealing with the odd angles of each rivet. I would line up the squeezer so it was square with the rivet and monitor everything while Mike provided the muscle. The interior ribs were quite a bit more challenging. There's no way the rivet squeezer could possibly reach so we had to use the rivet gun and bucking bar. As usual, Mike ran the gun while I handled the bucking bar. The front crease of the horizontal stab is quite small and it was really hard to get the bucking bar into that small space. I also didn't have a good line of sight to see if the bucking bar was square to the rivet. The rivets closest to the front crease were hardest because the angle is pretty sharp and I barely had enough room by my hand and our smallest bucking bar. We managed pretty well by setting those rivets in small increments. Mike would give the rivet a short series of taps with the gun and then I would peek at our work and adjust the bucking bar as needed to make sure we were getting a nice even shop head. Another challenge was dealing with the reflections caused by the shiny surface of the skin. I've shown you pictures where the inside of the stabilizers looks like a kaleidoscope... 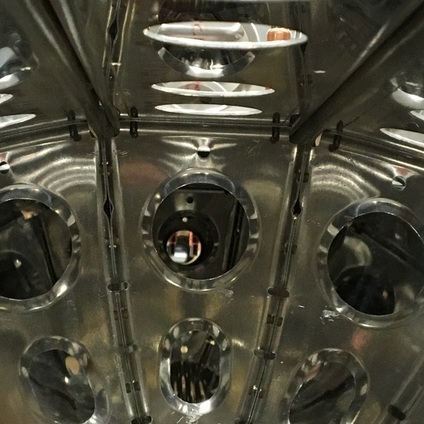 It was very hard to get a good look at each rivet to tell if everything was square or if I needed to adjust the bucking bar. In the end, I think we did a pretty great job and I think we were both happy that we didn't have even any minor catastrophes. Once we had the nose ribs riveted in place, it was time to add the front spar and attached ribs. We clecoed the front spar assembly to the nose ribs (the copper clecos in the picture on the right) and to the skin (the silver clecos). Once we got everything put together, we were ready to rivet the spar assembly into place...or so we thought. Before we started riveting (luckily) Mike noticed that the skin was not sitting flush against the spar. It turned out that none of the countersinks we had put into the spar were deep enough to accept the dimples on the skin. So, we took everything apart so Mike could redrill all of the countersinks. 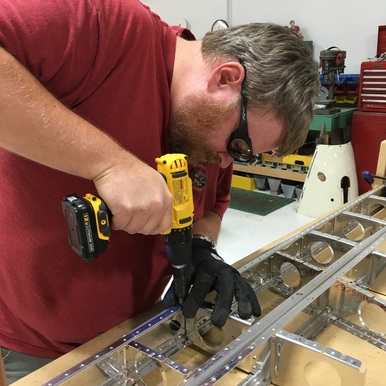 Then, we put the whole thing back together and clecoed everything into place...only to realize that while Mike had enlarged the countersinks on the spar, he hadn't enlarged the countersinks on the stringers. So, we took the whole thing apart again, so he could redrill those countersinks. 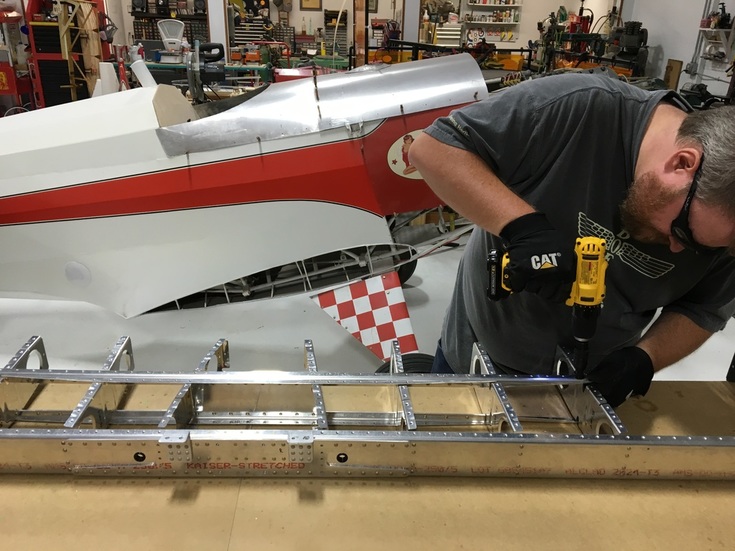 While Mike redrilled holes, I read my book and Zoey provided emotional support. 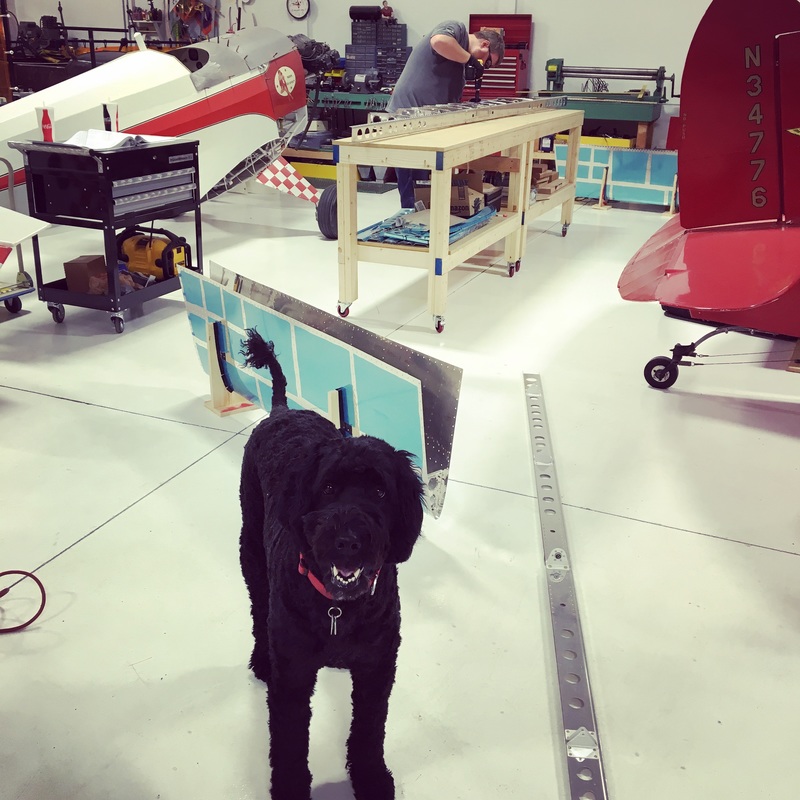 Finally, we were able to put everything together for the third (and hopefully final) time. 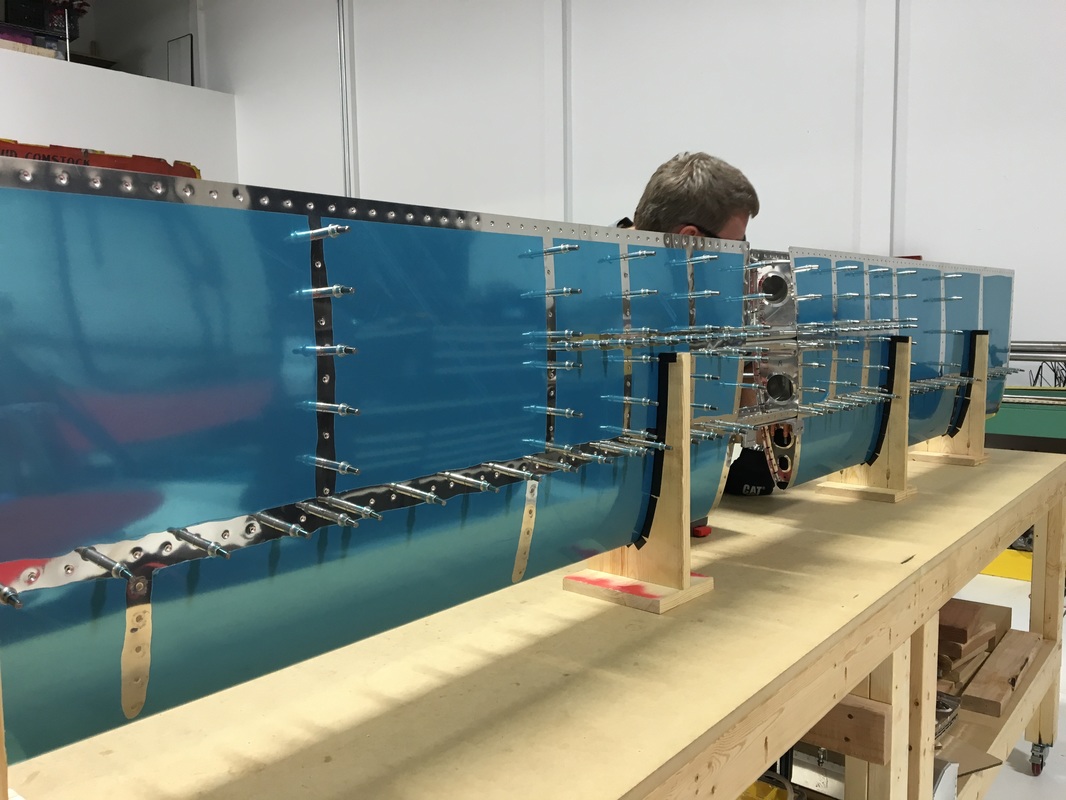
1 Comment
Karen Zent
8/23/2016 05:20:51 pm
Looking good!!!!!! Leave a Reply. |
AuthorThe supportive spouse's guide to building an airplane. Archives
May 2017
Categories |
 RSS Feed
