|
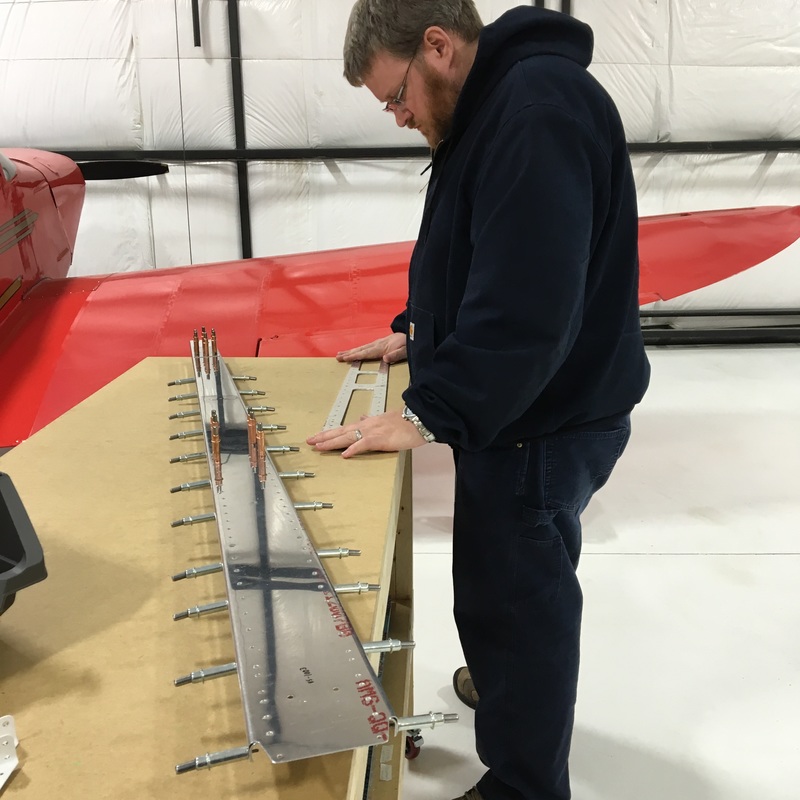
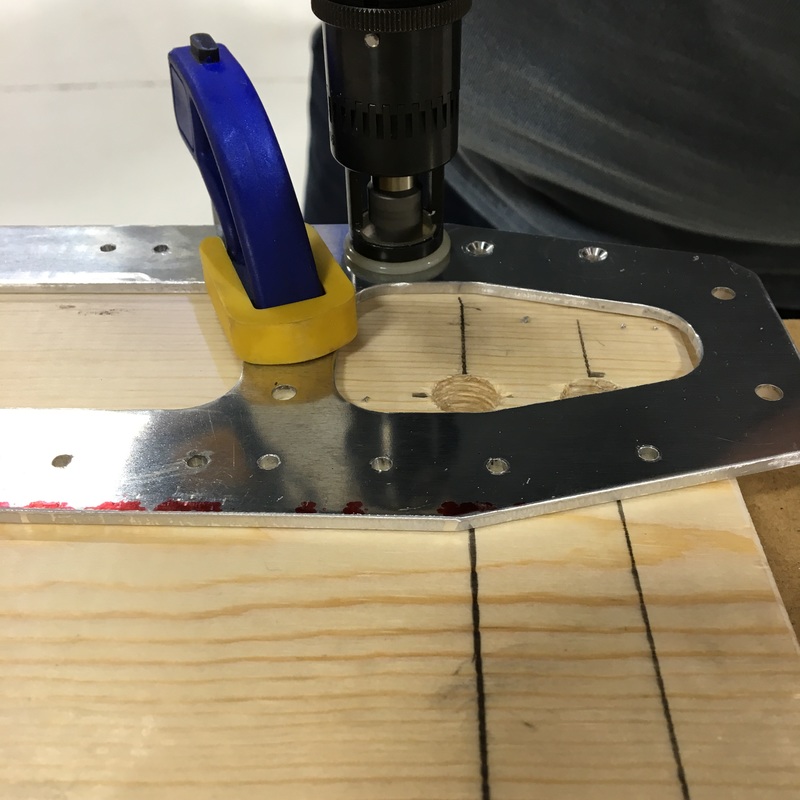
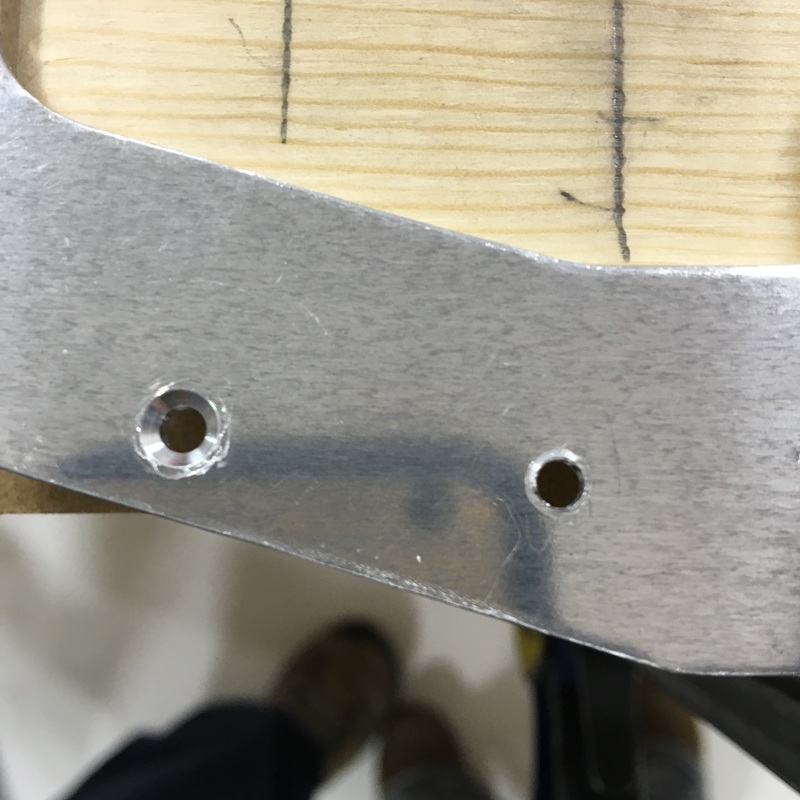
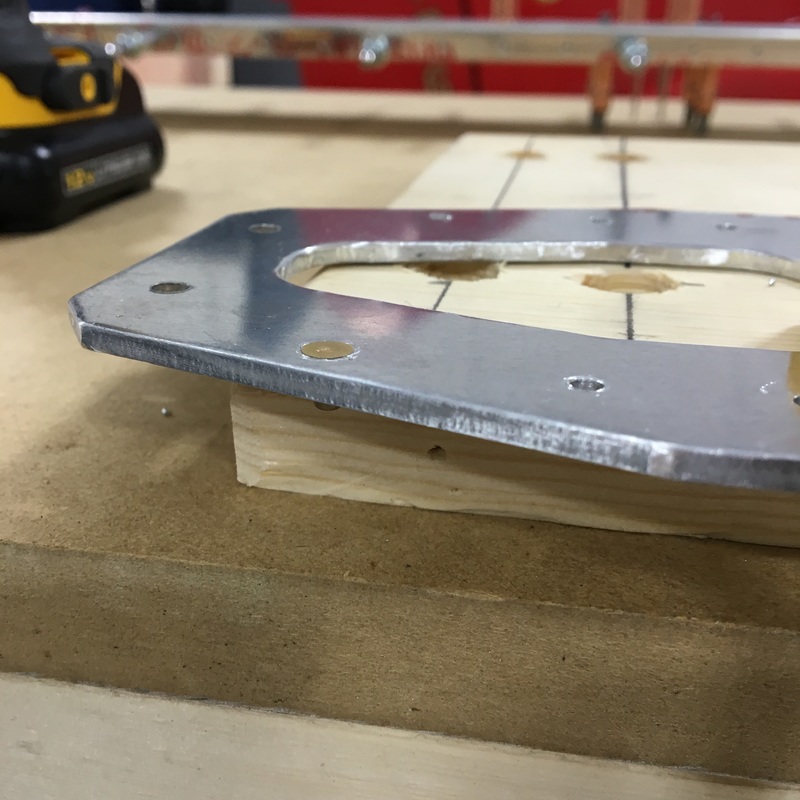
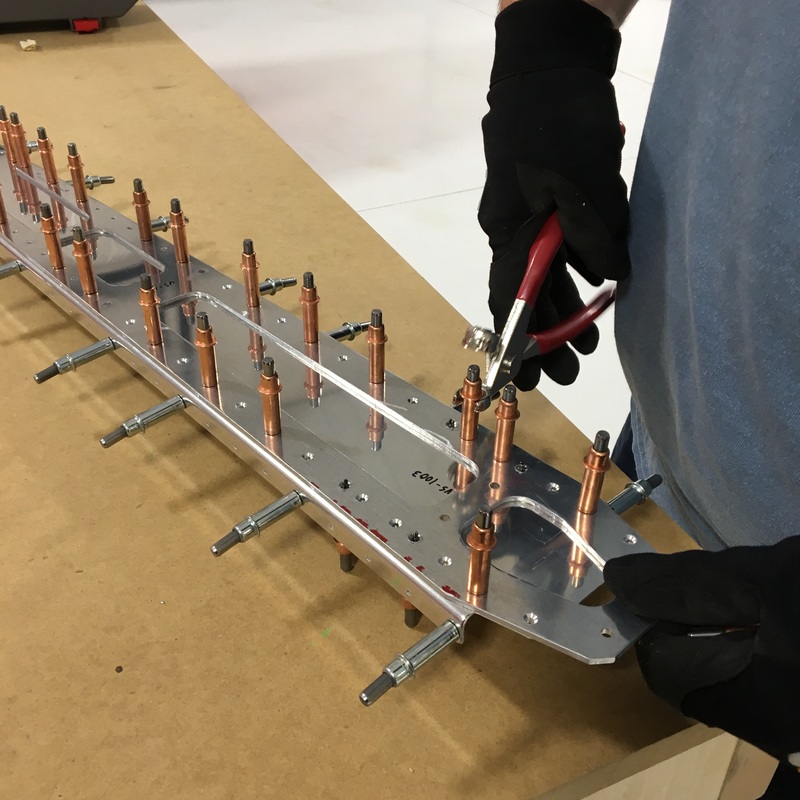
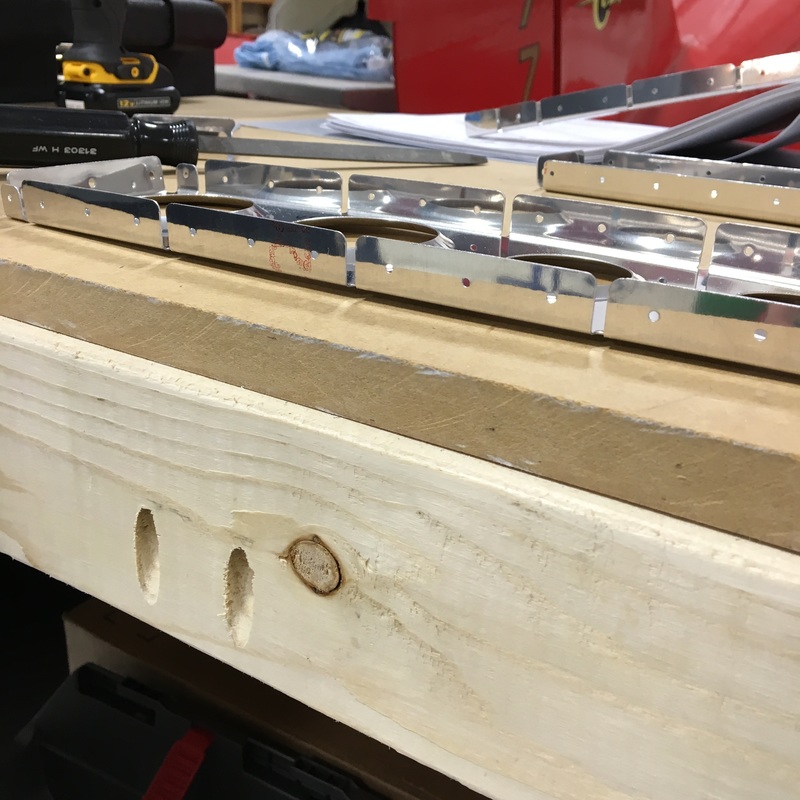
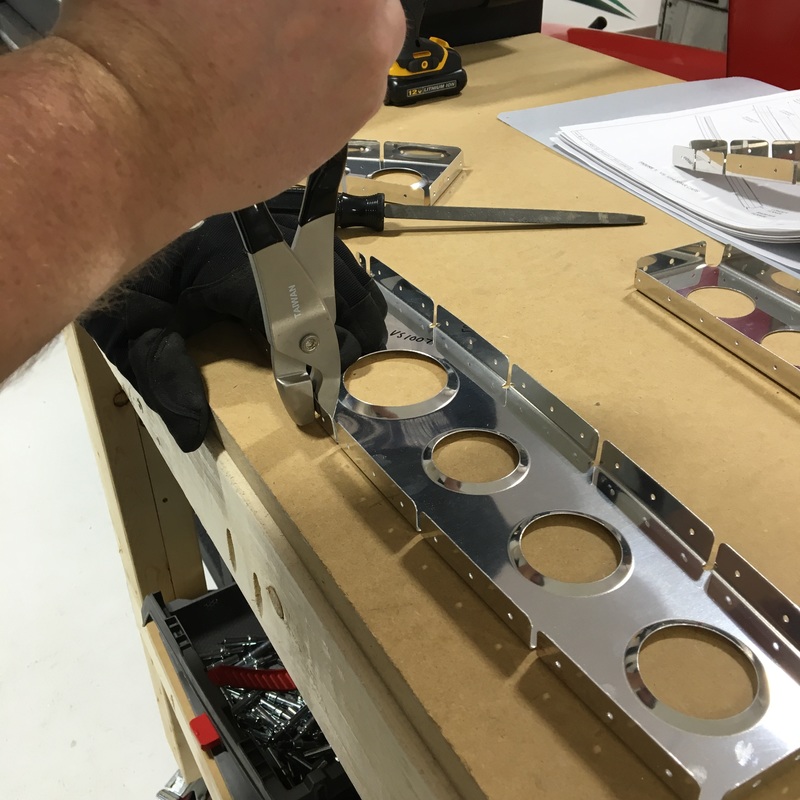
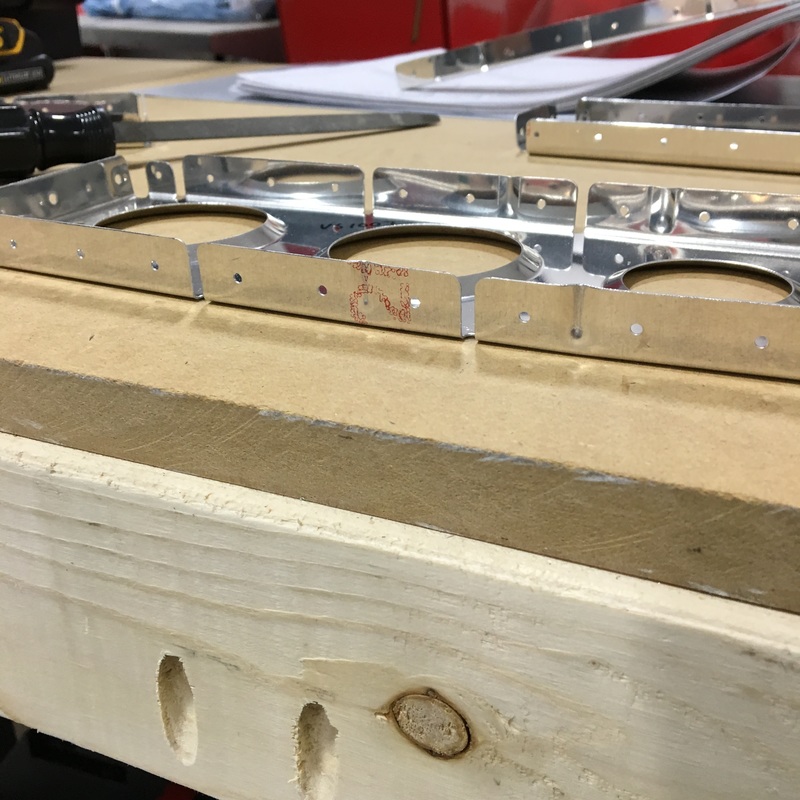
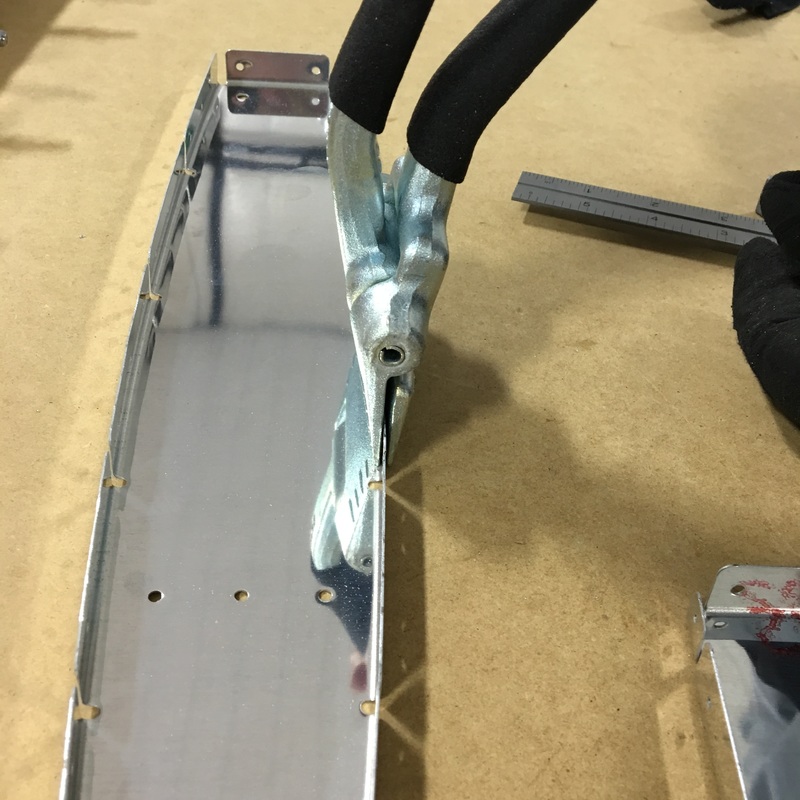
This week we started building the airplane! Just typing that sentence is exciting (and a little bit scary). Mike has been dreaming of this project for years but this is still pretty new for me. It completely astounds me that you can build an airplane from scratch. The building starts with the vertical stabilizer, which is part of the empennage (or tail section) of the plane. (I'm so proud right now that I spelled empennage right on the first try!) The vertical stabilizer (or vertical stab if you want to sound knowledgeable) is the fin that sticks up on the tail. The instruction manual calls this section 6, which I don't understand because it's the first part of the airplane that you build. 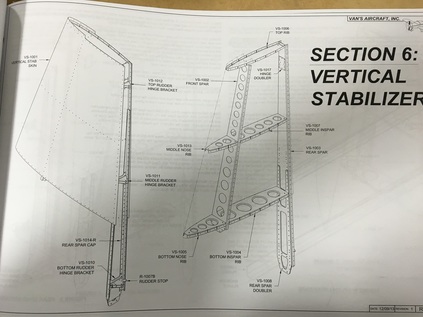 We started by putting together the rear spar - the straight upright section you see in the picture above. A spar is the load bearing portion of the aircraft, so the rear spar is made up of a bunch of different parts including a thick reinforcing piece of aluminum. This reinforcing piece was a lot harder to deal with than the other parts. In the picture below (upper left), you can see Mike trying to remove a bow that was left over from the manufacturing process. The spar is the long piece on the bench with all the clecos in it. Eventually, the spar will abut another section of the tail, so all of the holes need a countersink so the rivets sit flush to the surface and don't rub against the other pieces. Mike used a special drill bit (also called a countersink) to remove some of the aluminum and create a hole for the head of the rivet to sit in. Below (upper right) you can see the countersink Mike drilled out on the left hole. In the bottom left picture you can see how the head of the rivet sits flush with the surface of the metal. Once that was done, that reinforcing pieces is held in place with clecos. FYI - the different color clecos indicate different size holes. Holes with copper clecos are bigger than holes with silver clecos. (I would also like to acknowledge that I have no idea if I'm using the word "countersink" correctly. It seems to be a noun, a verb, and a tool all at the same time.) Once that was done, we spent the rest of our evening prepping the other pieces for assembly. Prepping pieces involves lots of steps: 1. Locate all the pieces that you will need for the next step. This involves digging through boxes and piles of pieces trying to find something labeled VS-1005. You might remember that when we unloaded the crate and inventoried the empennage pieces, there were some groups of parts that were labeled as subkits. During the process of pulling pieces for the vertical stab I realized that those subkits mean absolutely nothing! The parts that you need for a single step are likely found in 2 or 3 different subkits. I even had to pull out the inventory list again to locate where we had stored some of the pieces. This was the point when I realized that the VS I read over and over on the inventory list indicates pieces of the Vertical Stabilizer. 2. Remove the protective plastic film from the pieces. The label that identifies each piece is stuck to the plastic so you have to be write the number of the pieces with a marker. 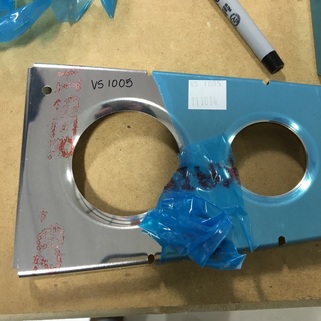 3. Deburr all the edges. We are still experimenting with methods of deburring - so far we've tried three. My favorite so far is using a regular old file to smooth the edges. That seems to work best with long, straight edges. The other method I've personally tried involves using a special deburring tool. The tool has a sharpened blade that you use to shave off a very small sliver of metal. This head swivels so it's really good for curved or oddly shaped edges. Mike has also used a deburring wheel that he attaches to a angle grinder. It's basically just a tiny, fancy grinding wheel. We refer to the deburring process as "making glitter" because you end up creating a small, sparkly pile of aluminum shavings. 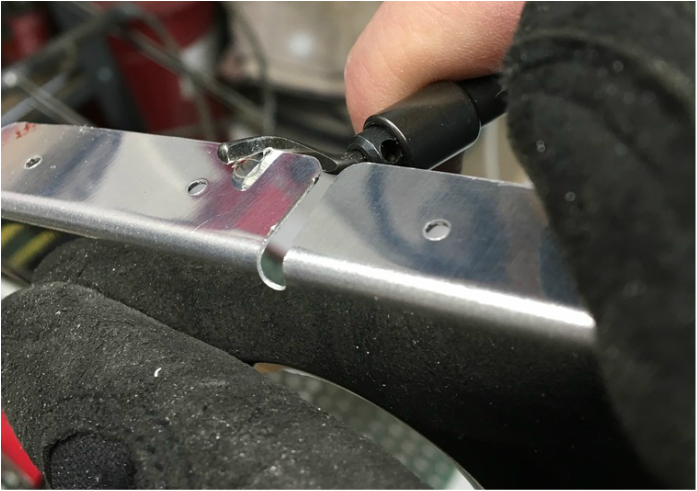 4. Straighten the piece. When they form the sheets of aluminum in the parts, things can get a little wonky. The most common thing we had to do on these pieces is flute some of the edges. You use special fluting plier to put little bends into the flange (the short parts that stick out at a 90 degree angle) so that everything sits flat again. In the series of pictures below you can see the process. Sometimes you also have to bend the flange and return it to the proper 90 degree angle. 5. Put the pieces together with clecos. This is the best part because you can actually see that you're making progress. 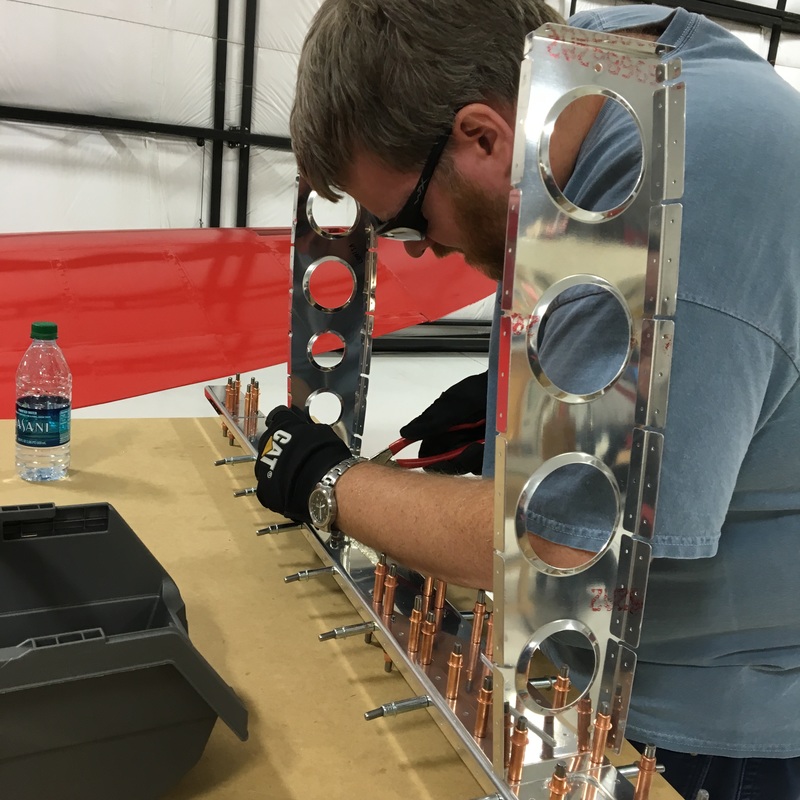 At the end of the night, we actually have something that looks like it belongs on an airplane! 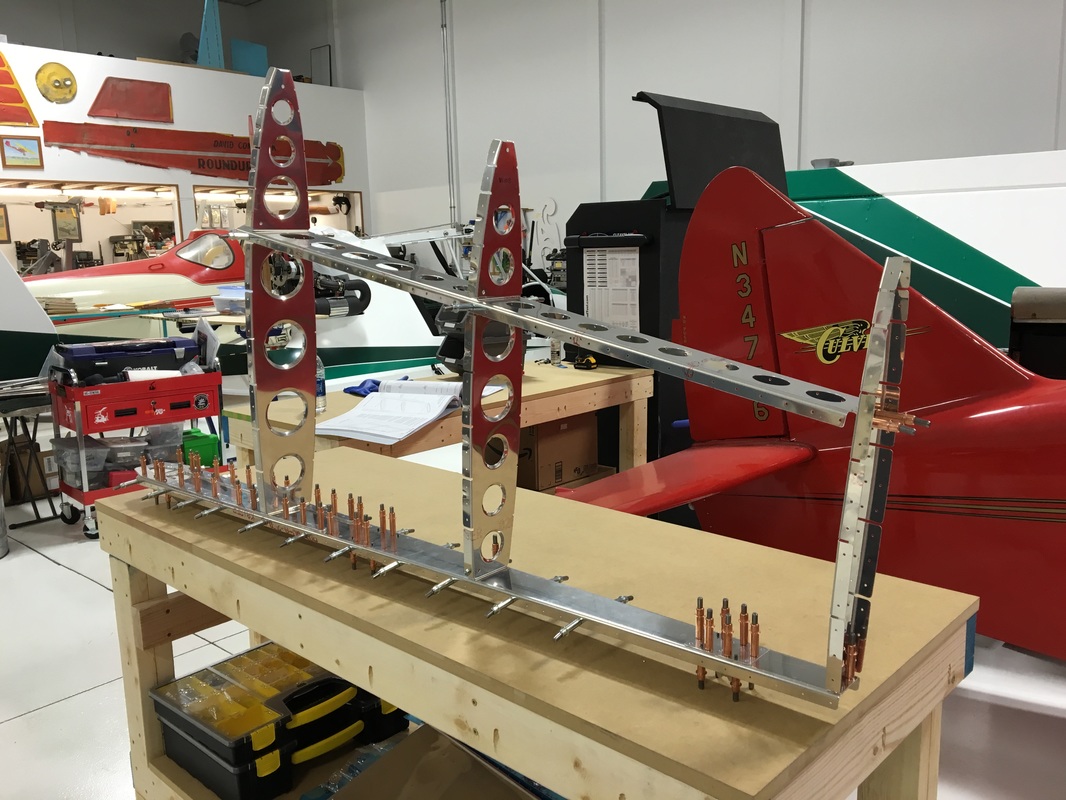 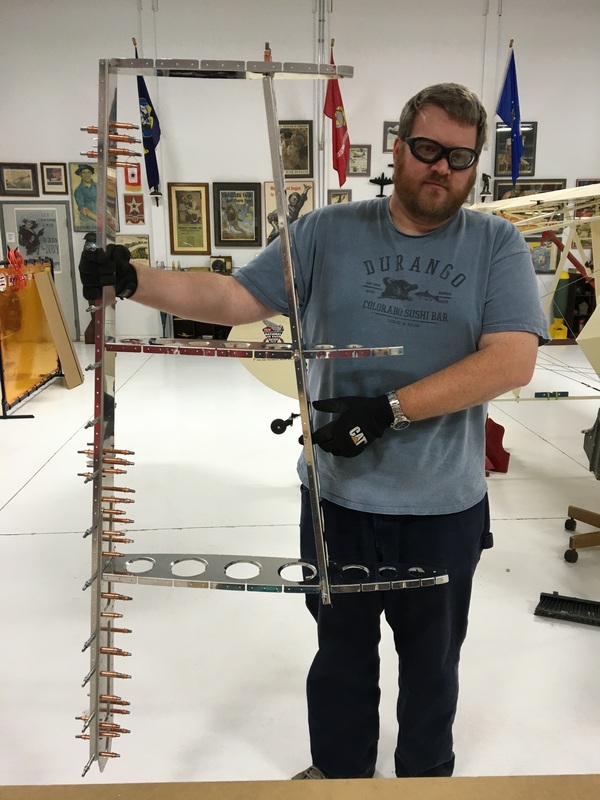 New Vocabulary:
Vertical Stabilizer - the fin that sticks up on the tail of the airplane Spar - a load bearing part of the plane Countersink - making a funnel-shaped opening at the end of a hole; allows the head of the rivet to sit flush with the surface Fluting - making little bends (flutes) in a material; subtly alters the shape of the part to remove bows from the manufacturing process Flange - small section that sticks out and is used to fasten pieces together
1 Comment
Random Thoughts From Afar
1/17/2016 05:41:53 am
Yeah for the return of the vocabulary! Leave a Reply. |
AuthorThe supportive spouse's guide to building an airplane. Archives
May 2017
Categories |


 RSS Feed
