|
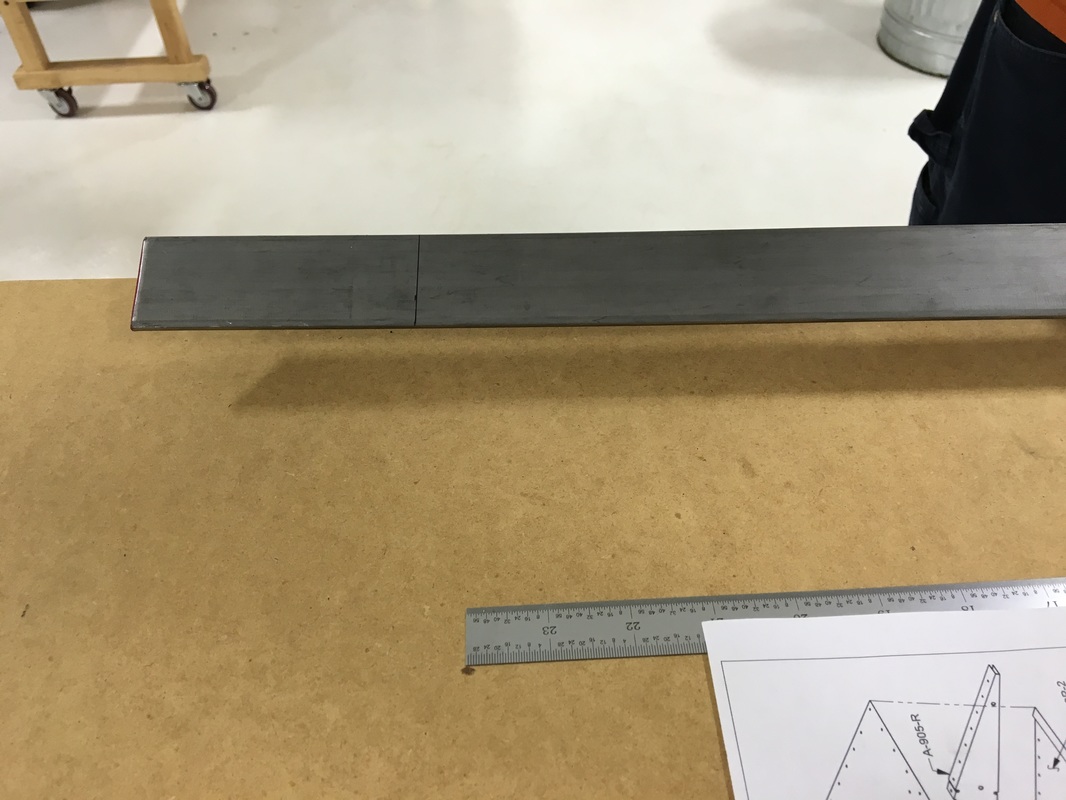
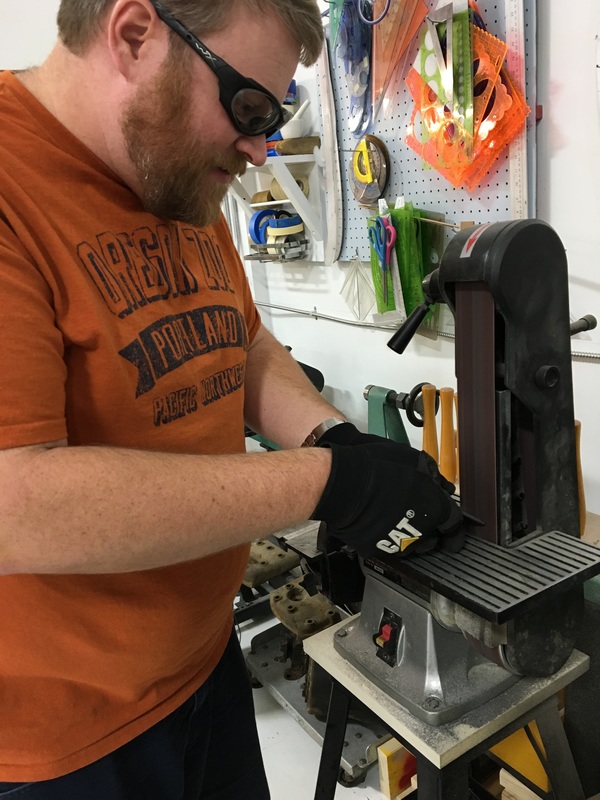
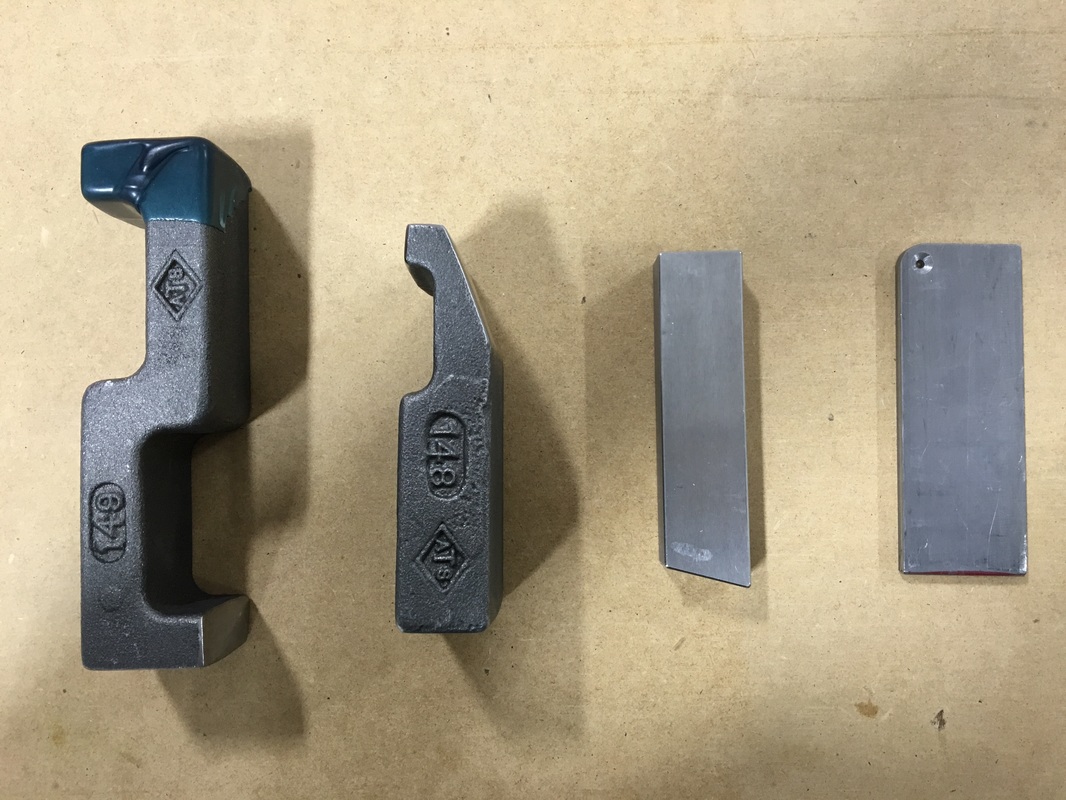
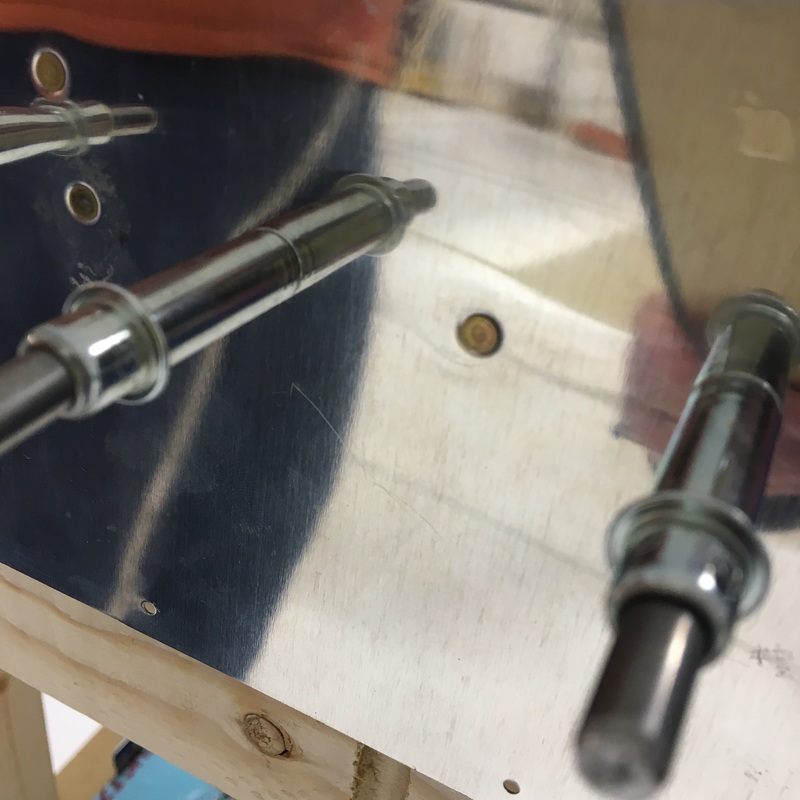
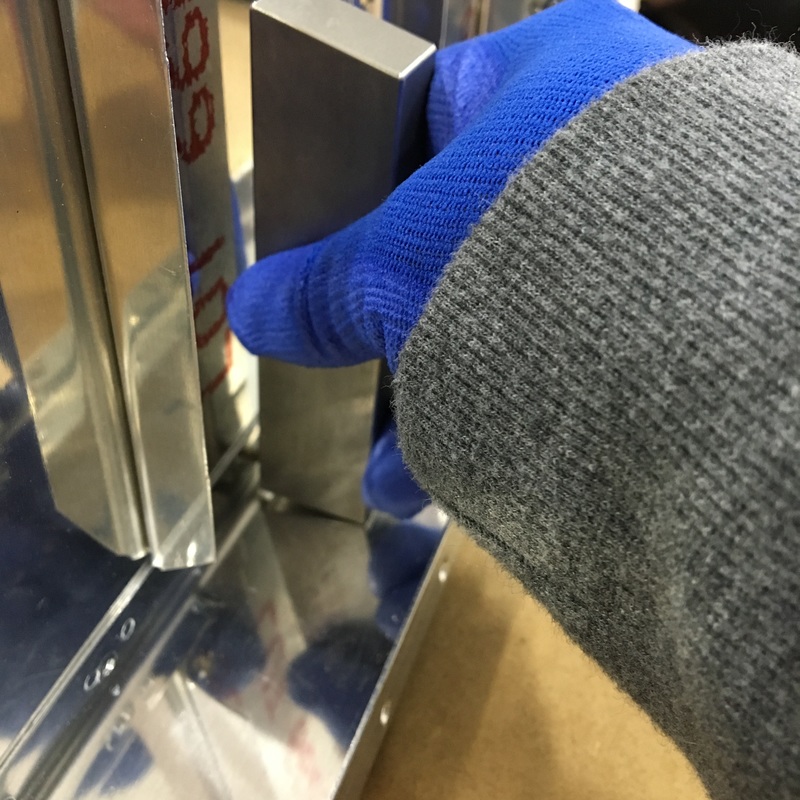
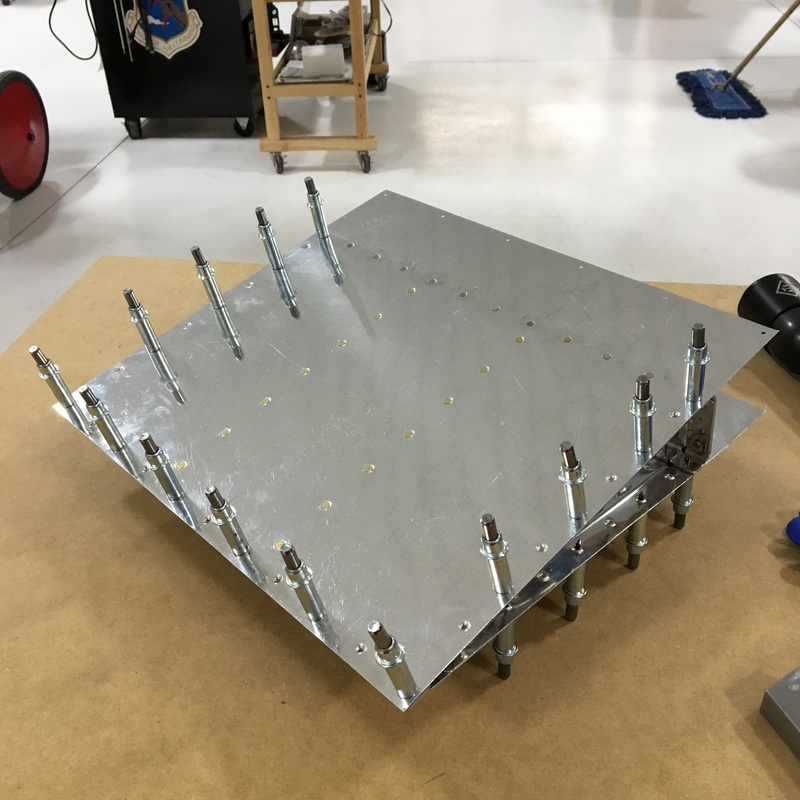
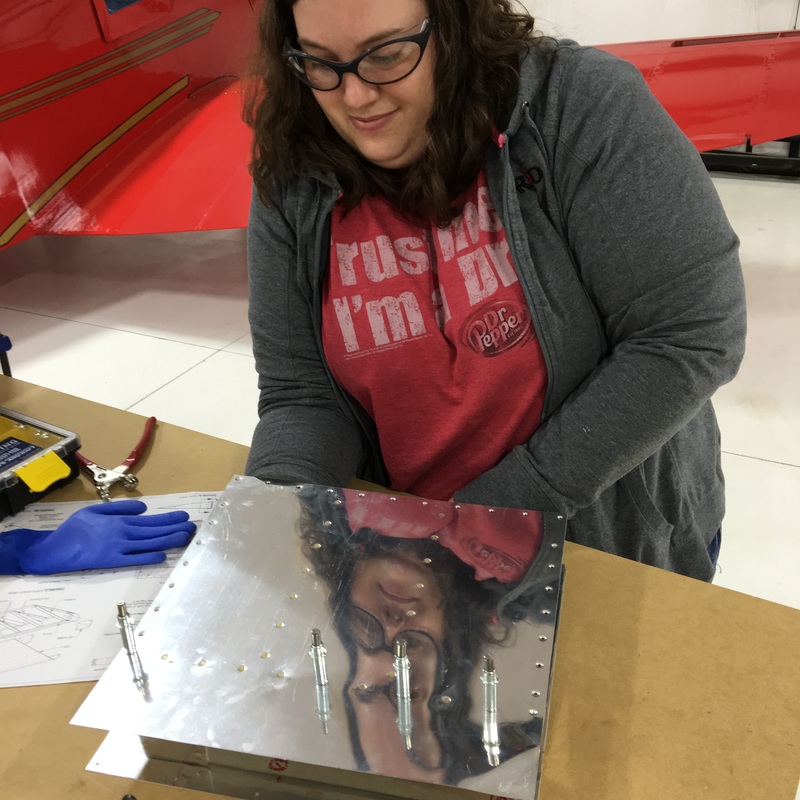
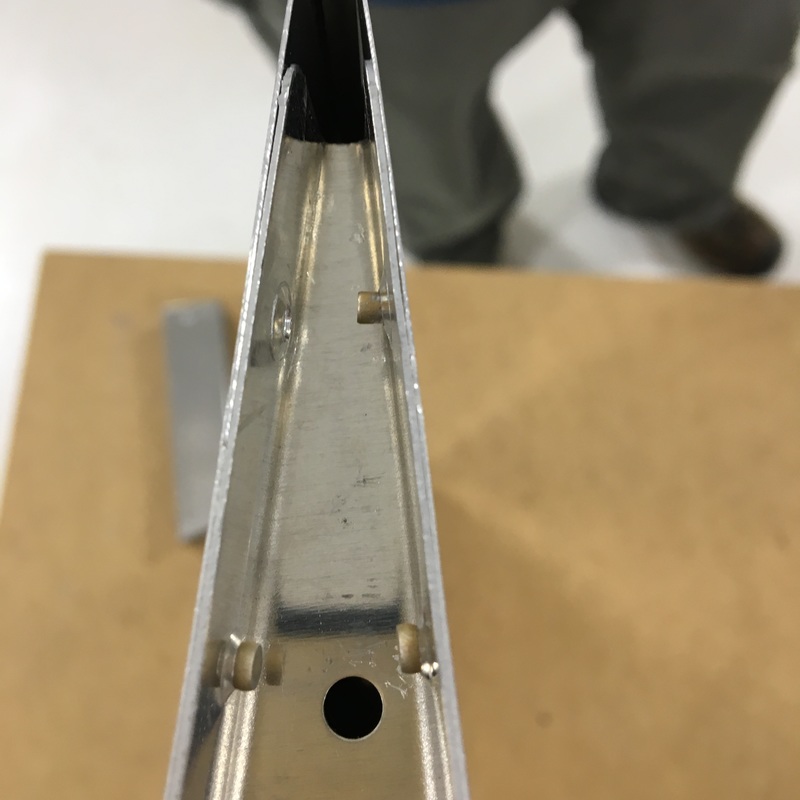
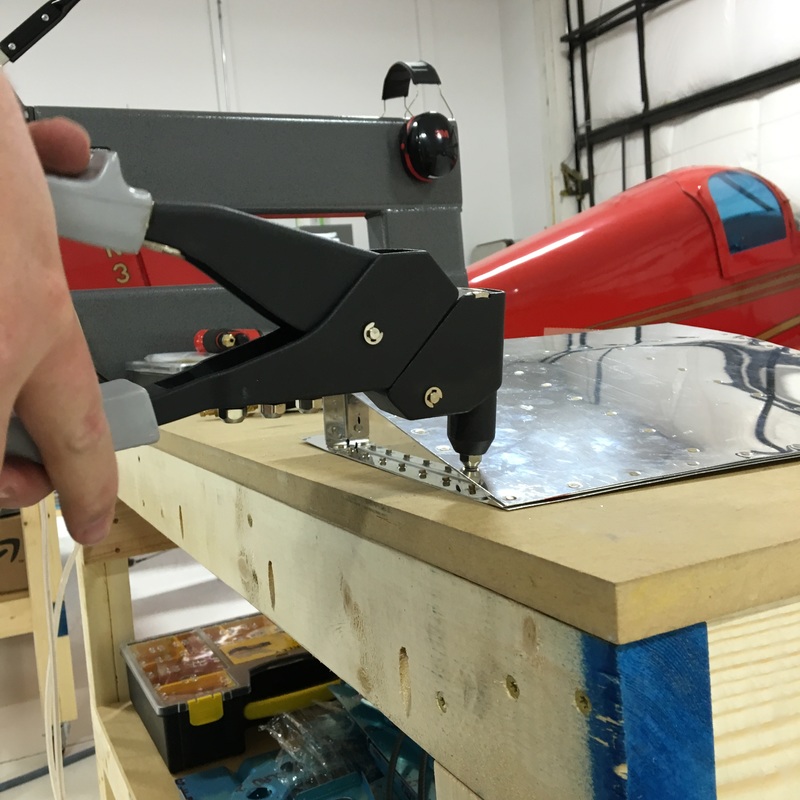
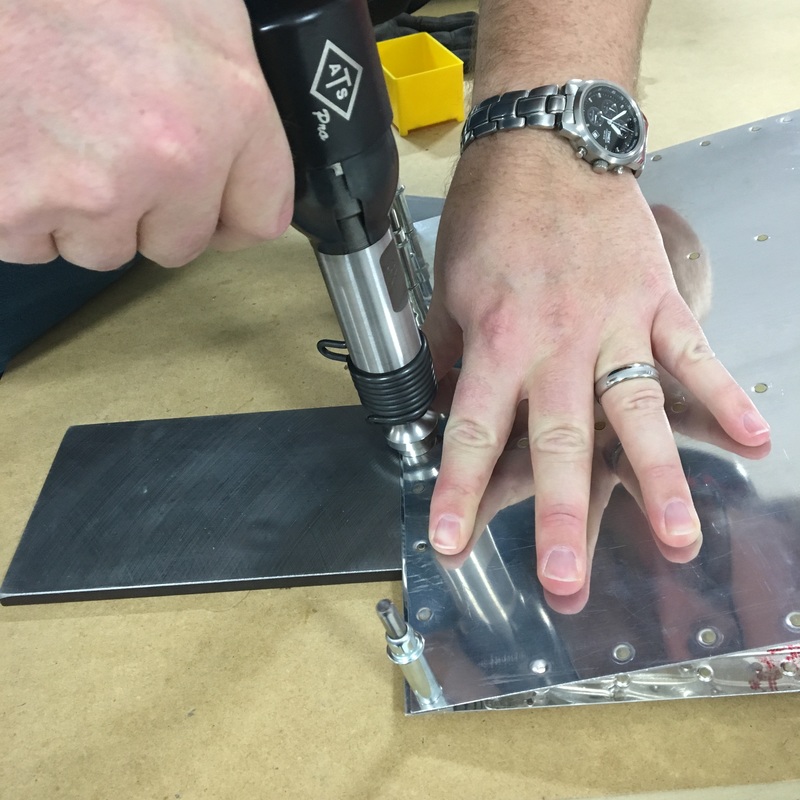
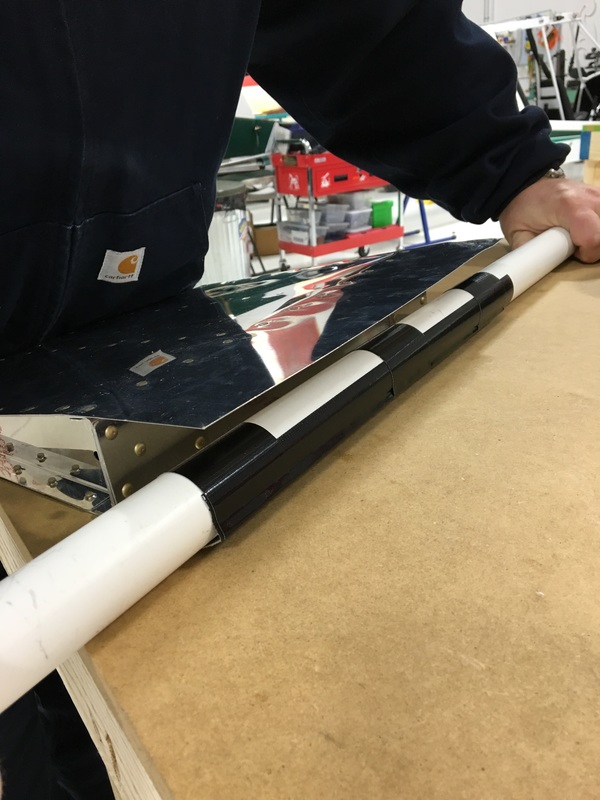
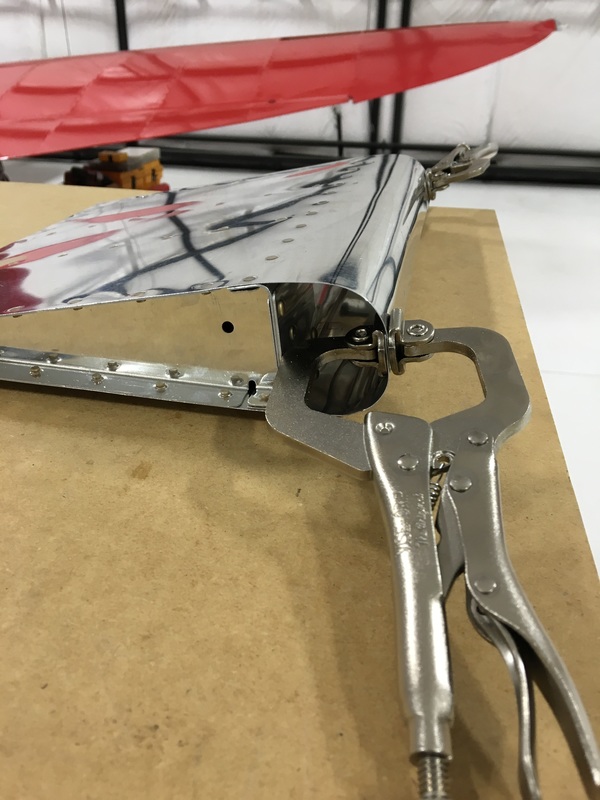
Progress on the plane has been slow over the holidays. Mike is really eager to get started on the plane but we spent a couple of weeks working on one final practice kit. There are about a thousand different skills that we'll be using when we start our actual build. These kits help us figure out how to use the tools and work out any kinks in our process before we touch the actual (expensive) airplane parts. This time we were practicing a section of control surface, which is a fancy way of describing the moving flaps on the wings and tail. I think we were working on an aileron (the section on the back side of the wings that moves up and down). When we worked on the phone stand kit, we did squeeze riveting where we used big pliers to manually squish a rivet into the shape we want. On this kit, we also got to buck rivets and use pop rivets. Bucking rivets is kind of fun but also more challenging than I expected. It requires using a pneumatic rivet gun smash a rivet into a bucking bar (basically a big, solid piece of metal). If you've done it right, the manufactured flat head of the rivet will sit flush against the metal and the shop head (the part of the rivet you smashed) will be the right shape to hold the two pieces of metal together. You can see an example of a perfect shop head in the picture. You can also see why we have to dimple the metal before riveting so that everything fits together correctly. 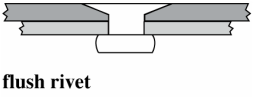 Mike did most of the prep work on this project so I got to miss out on the super exciting process of drilling and deburring holes. I'm going to have to figure out a way to make all that prep work more enjoyable because it probably takes twice as long to prep the pieces as it does to actually put things together. Mike also had to fabricate a special modified bucking bar that is narrow enough to fit into tight spaces. It also has a hole drilled into it that you can use to dimple metal if you're working in tight spaces where you don't actually have enough space to use a dimpling tool. Mike says this is called a countersink. We used clecos to hold the pieces together and then bucked a bunch of rivets. For the most part, Mike ran the rivet gun and I held the bucking bar. I like bucking rivets because it's kind of an art. You have a bunch of different bucking bars to choose from and you have to try to find one that will fit into the space where you are working and hold it just right so you smash the rivet evenly. The bucking bars are pretty heavy so they will smash the rivet as they rebound and hit the rivet. We remove one cleco at a time and put a rivet in every other hole. Then we can go back and make a second pass to finish riveting all the holes. The aileron is shaped kind of like a sideways tear drop. It's curved at the front and comes to a point at the back. Putting everything together was kind of like making a sandwich where the metal skins make up the bread and the filling is air and other support structure. The first side we riveted was pretty easy but once we put the second skin on things got really cramped. The space between the two skins is only a few inches at the widest point and I had to try to hold a bucking bar up against a rivet I couldn't see. Below you can see me with my arm wedged inside the structure. On the trailing edge (the tip of the tear drop) we only had about a quarter inch between the two sides. We tried to use the thin bucking bar that Mike made earlier but it just didn't have enough heft to smash the rivet...so we improvised. We ended up using the rest of the 3 foot steel bar that was left over earlier. I was able to press on the end of the bar and we could get enough leverage to create a shop head, although it wasn't very good. We tried the same approach with the rivet on the opposite skin but there was just no room (see the upper right picture below). After trying several different approaches we decided to just use a pop rivet in that corner. It wasn't the greatest solution but we were pretty frustrated at that point. Once the sides were riveted, Mike was able to finish the trailing edge. The final step was to finish the leading edge (the curved part of the tear drop). You can see in the picture above that the two skins are completely flat. We had to bend the front edges so we could join them together. This was a very high tech process involving a length of pipe and some duct tape. Basically, you tape a pipe to the edge of the skin and roll everything up to create a curve. It was really easy to bend the skins using this technique. Actually, this fact is kind of scary because I can see how easy it would be to accidentally bend a really expensive pieces of aluminum. Once the two skins were bent, we were able to pop rivet the two edges together. 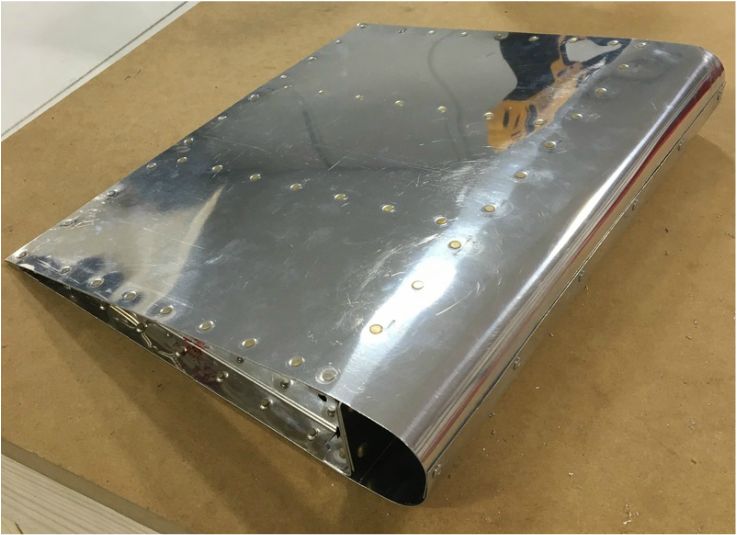 The finished project. It was exciting to see a finished product that actually looks like it belongs on an airplane. It also means that practice is over and it's time to start work on the actual plane. We pulled the pieces that Mike will need first and now the building can begin!
3 Comments
Mark
1/10/2016 02:24:22 pm
Very cool! I can't wait to read about how the first parts of the plane go.
Mark
1/10/2016 02:47:26 pm
Hey, I also got thinking. You probably have all the parts you need, but the website www.airpartsinc.com seems to have the best prices on all of the aluminum and parts that they carry for Airstreams. They are really an airplane parts shop.
Avid Reading Inquistor
1/12/2016 11:10:13 am
I hope you will continue with the new vocabulary section....'Cause it sounds like your vocabulary during the work is increasing faster than ours. :-) Leave a Reply. |
AuthorThe supportive spouse's guide to building an airplane. Archives
May 2017
Categories |


 RSS Feed
