|
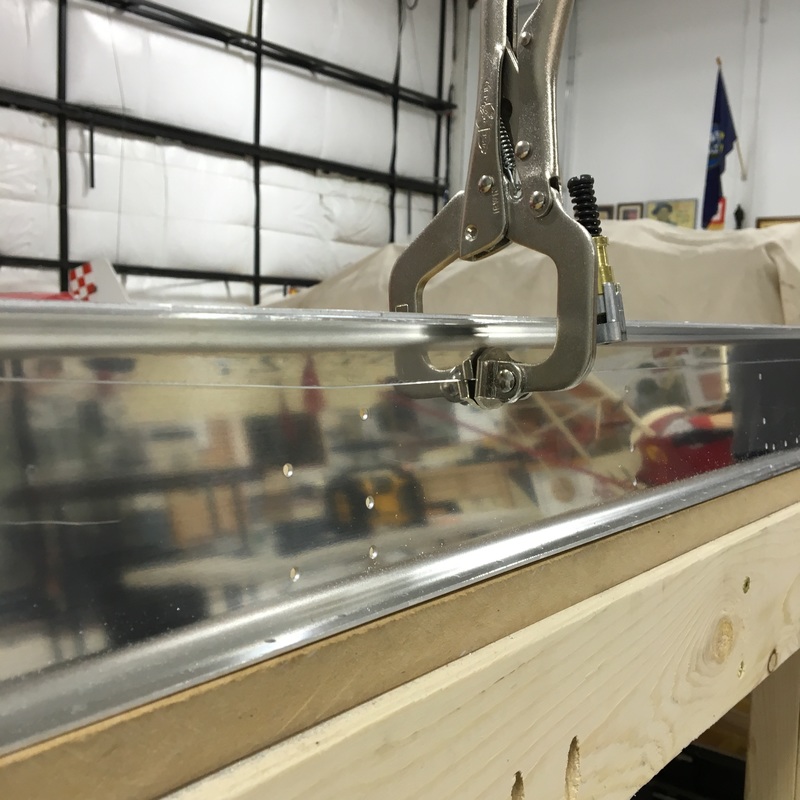
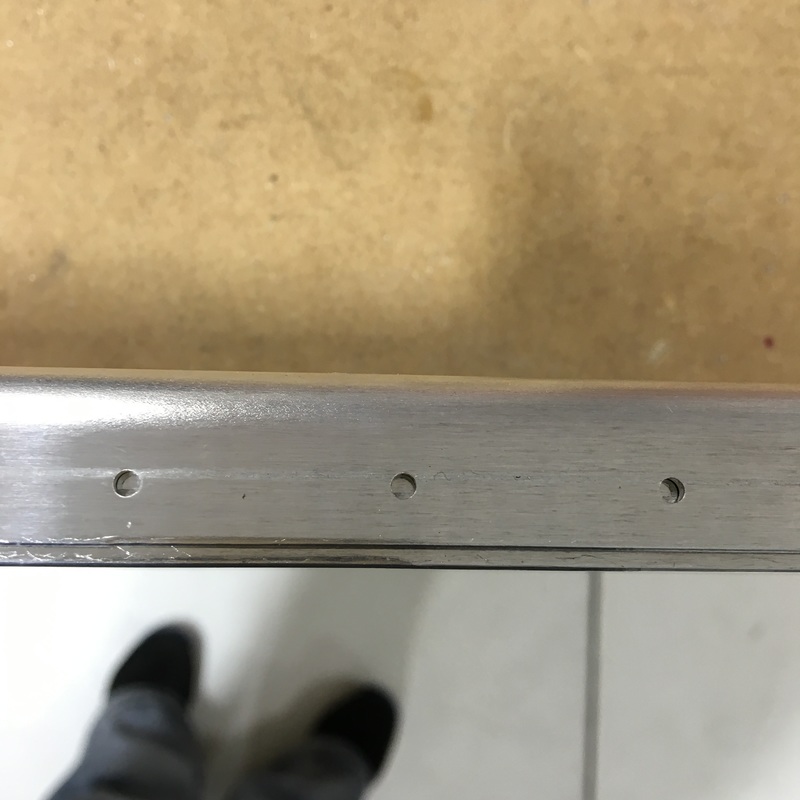
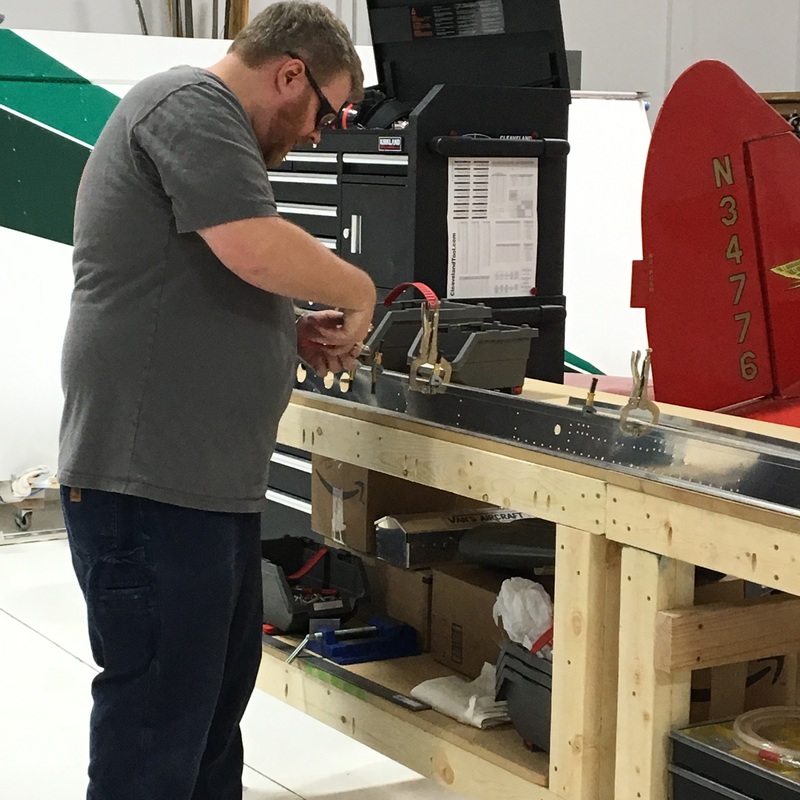
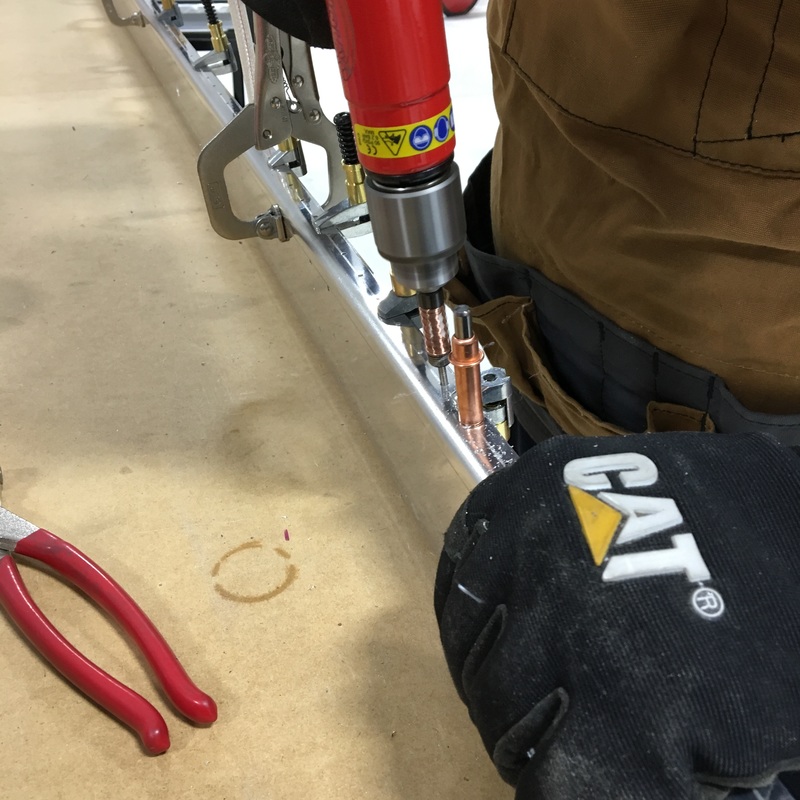
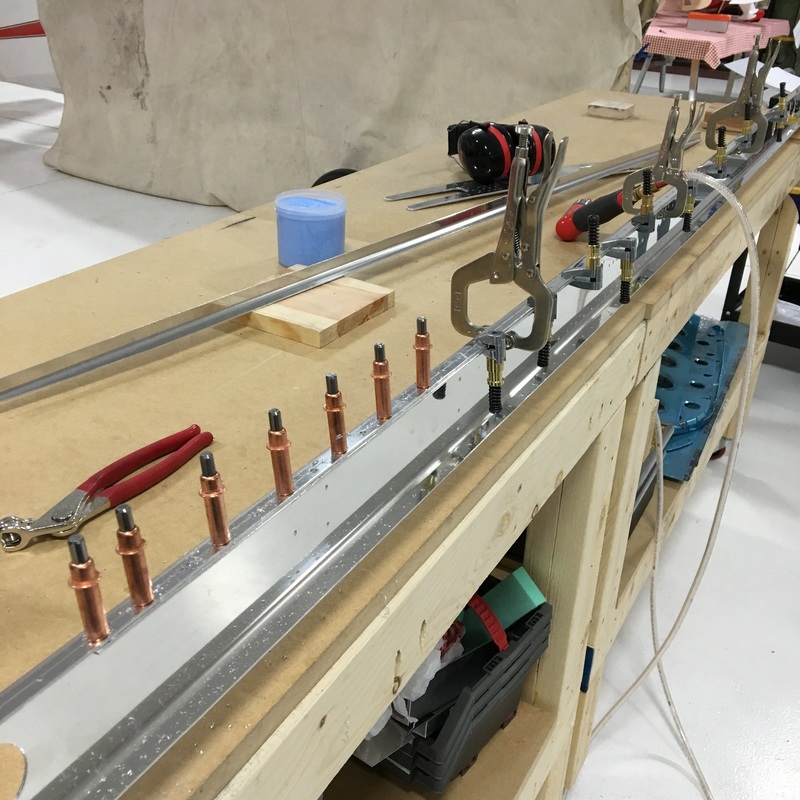
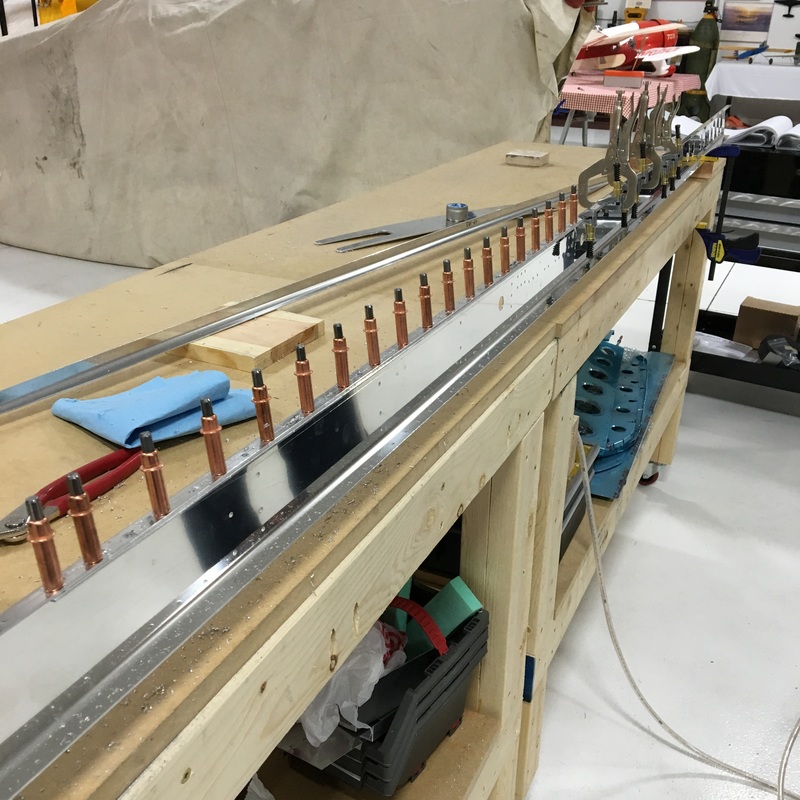
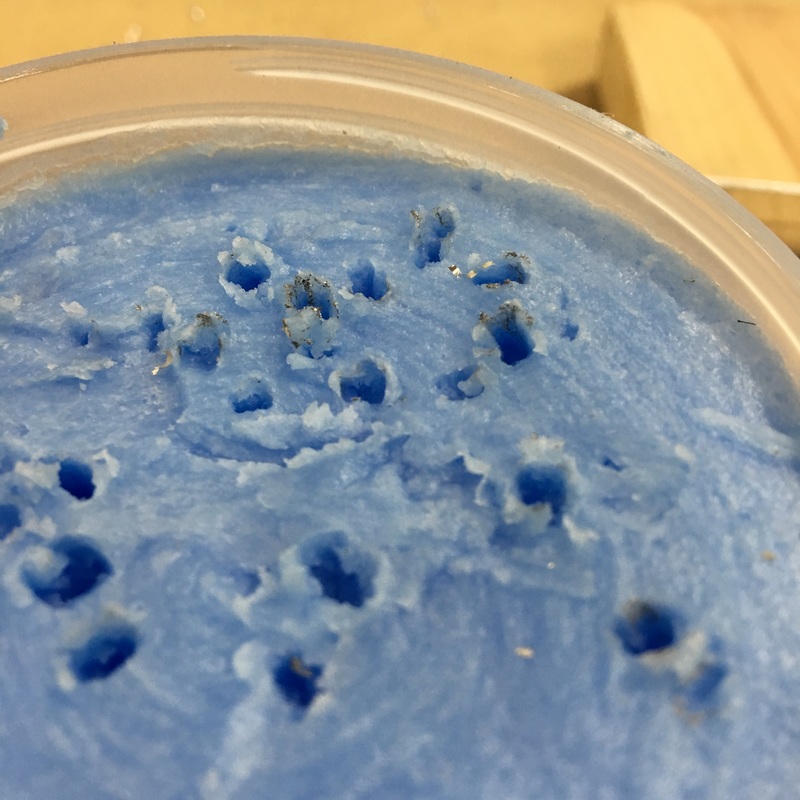
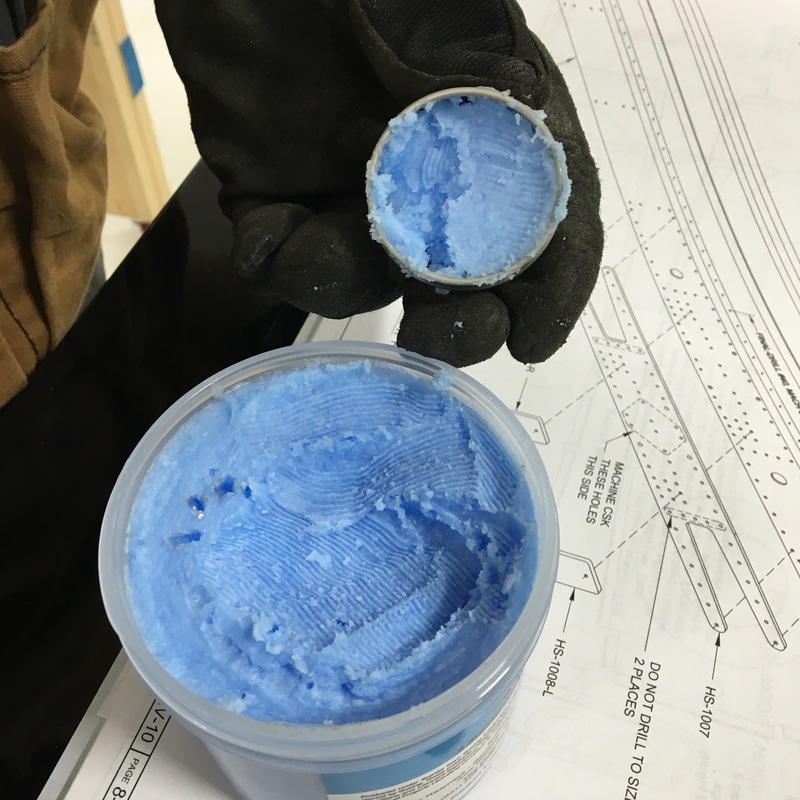
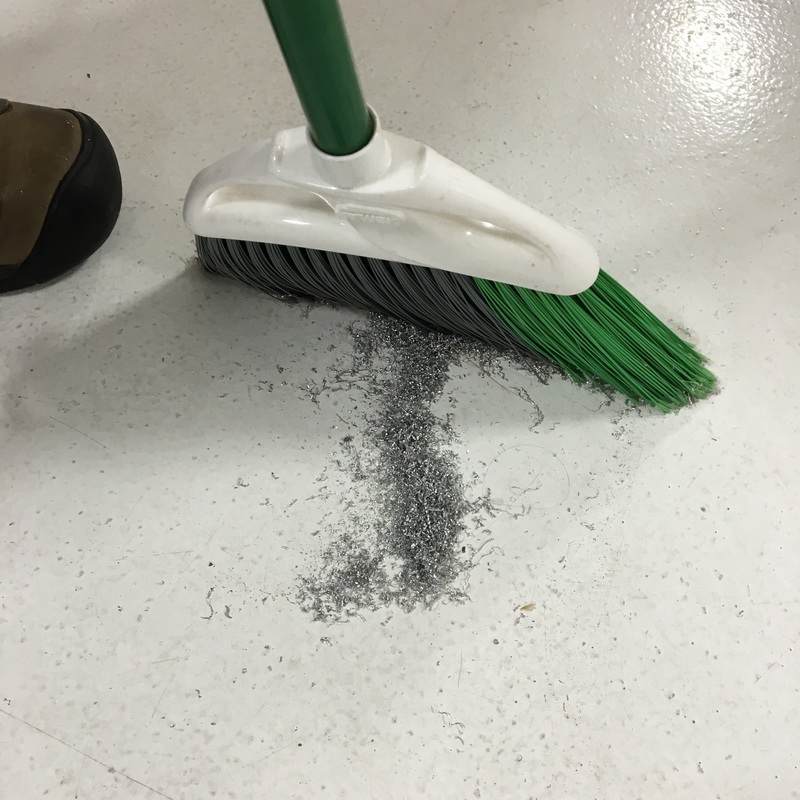
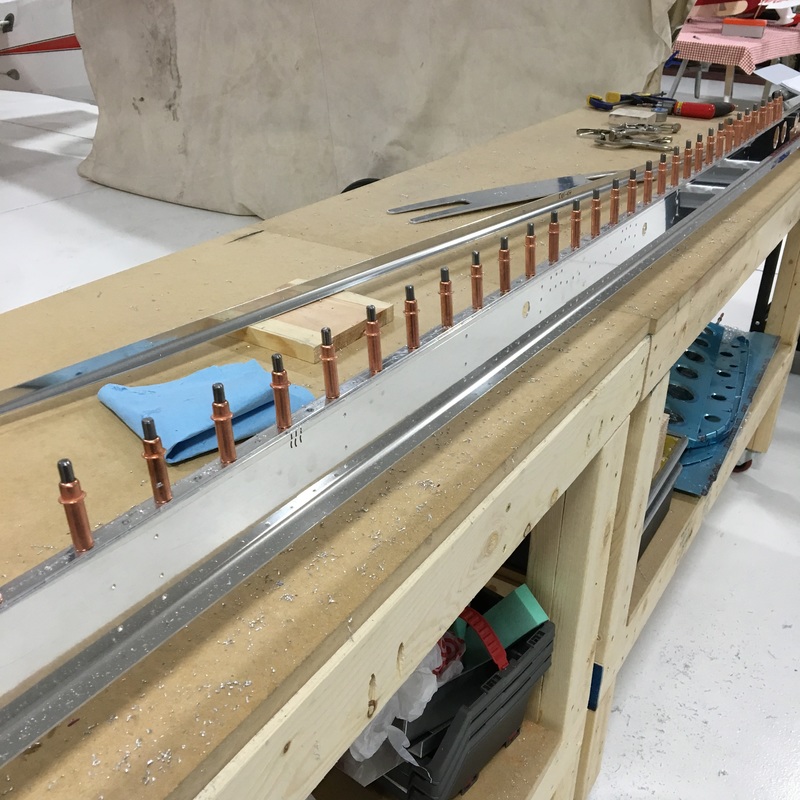
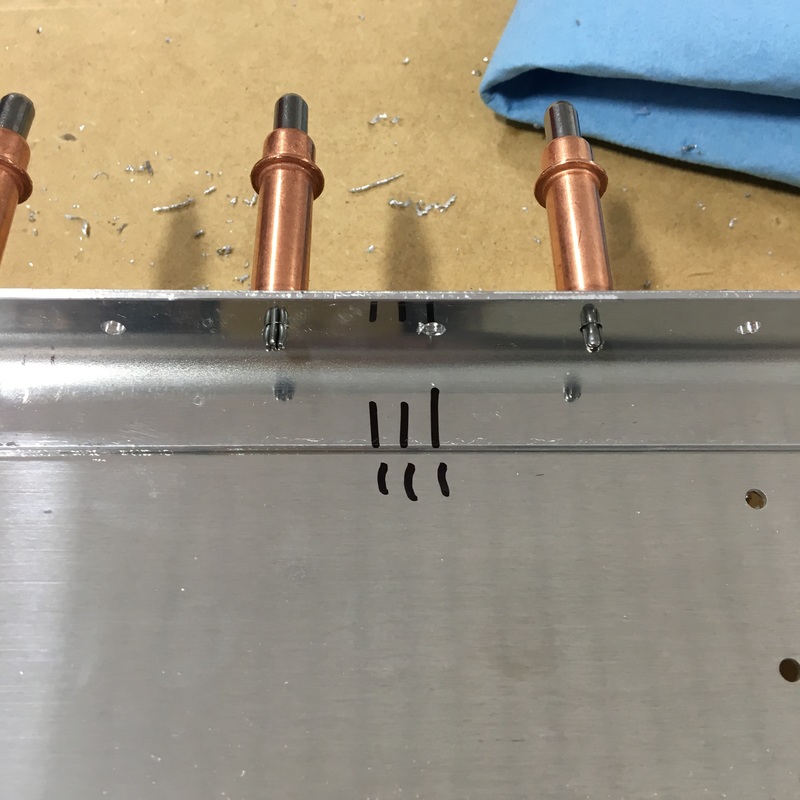
I spent the first part of today doing something that I've accepted is a big part of airplane building - deburring. We call it making glitter because you end up with a nice little pile of aluminum shavings that looks something like this... 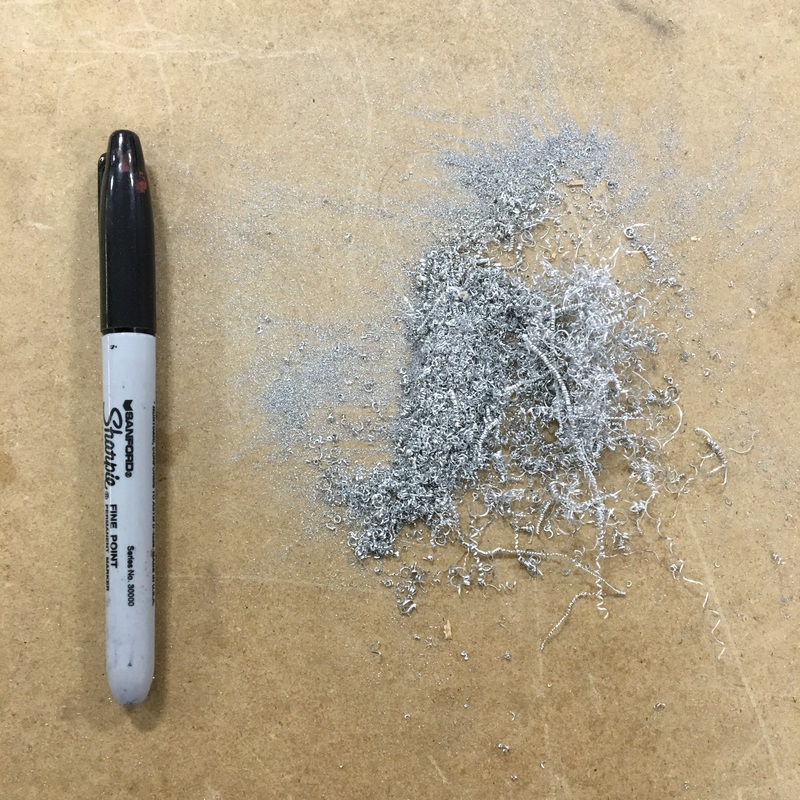 I'm getting much better at deburring. Mike says those tight spirals (like the long one on top of the pile) are a sign that I'm doing something right. (The sharpie has no significance, it was just the first thing I could find to provide a sense of scale). I've figured out how to use the different deburring tools and I have my own little system that I work through on each piece. I'm also getting very good at removing tiny aluminum slivers from my fingers. When you deburr, you run your finger down the edge to make sure that it's smooth and I usually pick up half a dozen slivers over the course of a day. I've tried wearing gloves with mixed success when I deburr. The gloves protect me from tiny metal shavings but can also make it harder to tell if I've done a good job. Some gloves also leave lots of fuzz on the edge of the pieces that I then have to clean off. I'm experimenting with different types of gloves to find something that will work. So far, rubber coated gardening gloves seem to work pretty well. I only wear the left glove while I work, and since my gloves are blue I feel like a smurfy Michael Jackson. By the way, all those shavings came off these six parts. 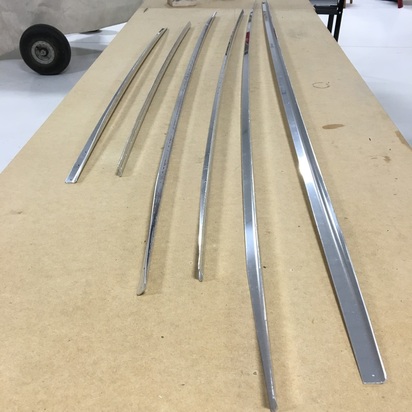 These parts are called caps, although I'm not sure why, because they don't go on top of anything. They actually fit inside some of the long aluminum spars, I suppose to provide extra strength. It's very hard to see in this picture, but Mike had to very carefully cut a small angle off the ends of each of these spars. Again, I have no idea why that's a necessary step but I guess I have to trust that there's a good reason for it. The two longest pieces are part of the front horizontal spar. The cap nestles inside the spar and holes need to be drilled along it's length so the whole thing can (eventually) be riveted together. There are no holes in the caps so everything has to be held together with clamps while we drill. As we drill holes, we can insert clecos to keep things in proper alignment. The cap doesn't extend the entire length of the spar, and it needed to be installed in a very specific location. To get the cap perfectly centered, we had to make a mark 1/4 inch from the ends of the cap. We then lined up that mark with the center of the 33rd hold from each end of the spar. We were very careful and checked each other's work before we proceeded. The last thing we wanted was to align the cap improperly and mess up the holes. Once we had everything lined up, Mike drilled holes while I moved clecos and clamps. We had a very good system and worked really well as a team. There were probably about 40 holes that needed to be drilled on each spar and with Mike running the drill while I moved clecos it went surprisingly quickly. All the drilling created A LOT of metal shavings. Mike was using the blue Boelube on the drill bit and we quickly realized that the metal shaving were going to cause a problem as they built up in the Boelube container. We got a smaller container and put a small amount of lubricant into it so we wouldn't contaminate the entire jar. I also took a picture of the metal shavings we swept up after drilling one side of the spar. Once we had the first side drilled, we took everything apart so we could flip it over and work on the other side. Before we dismantled everything, we made sure to mark both the spar and the cap we had just drilled so we could easily line them up later. Drilling the second side went even faster, at least until we were about 10 holes from the end. It was at this point that we stopped to consult the instruction manual to see what we would be doing and things began to go terribly wrong. When we checked the instructions, this is what they said: 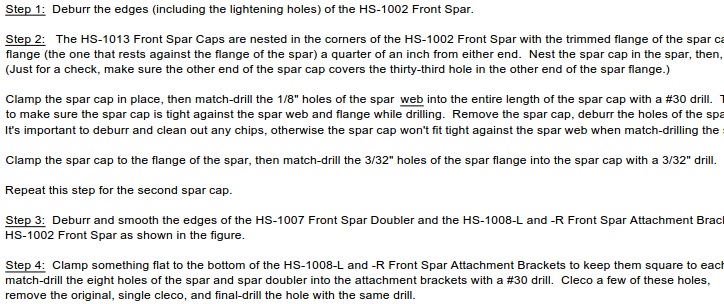 OK, so I admit I'm kind of messing with you. There's no reason any of that should make sense to you, but I want to show you an example of the kind of directions we are working with. They are very densely written and each "step" in the instructions can actually include anywhere from 1 to 10 individual steps. All of these individual steps are then written in the form of a paragraph, just to make everything even more annoying. Sometimes a single sentence in that paragraph will include more than one step. Here, let me highlight the really important part of that set of instructions. 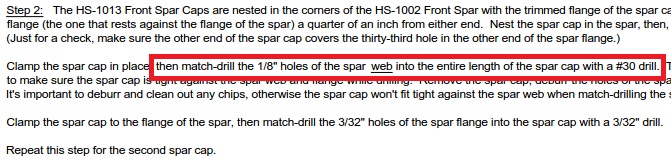 Let me explain why that line of instructions was such a problem. To do so, I'll have to explain some vocabulary that I've been ignoring so far because it seemed overly technical. Actually, a picture will probably explain it better than I can in words... 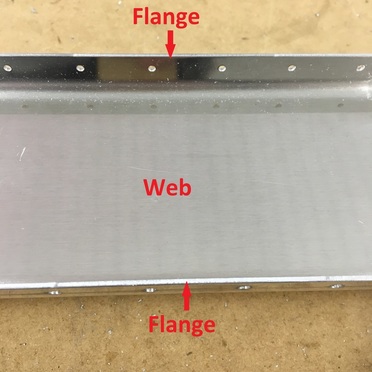 The web is the wide flat part and the flanges are the narrower bits that are bent at a 90 degree angle. If you look back at the line of instructions I highlighted, we were supposed to be drilling holes in the web, which is most definitely NOT what we were doing. The fact that they even underlined the word "web" tells me that we're not the first ones to make this mistake.
You might say, "So, what's the big deal, the next line of instructions says to drill holes in the flange." The problem is that those holes are two different sizes. The holes we drilled are 1.5 times the diameter they were supposed to be and will eventually be used to attach the skin to the spar. The fact that they're too big is a major problem because the skin has to be dimpled and the aluminum on the skin just isn't thick enough to be dimpled quite that much, then riveted with bigger rivets. We even contacted the kit manufacturer to see if there was any possible way we could make it work. They (not surprisingly) said there was no way to salvage it. So, we drilled the wrong size holes in the wrong place and basically the whole part is now scrap metal. We contacted Van's to order replacement parts (the front spar and the two caps). Since the spar is 13 feet long, it has to be crated and shipped by freight truck. The crating and freight alone cost more than $100. When we tally up the total damage, our mistake cost us about $150 and wasted about 6 hours of work. Honestly, we're dealing with this whole mess pretty well. We were disappointed when we realized how badly we'd messed up, but what are you going to do? Afterward, we talked about how we could have misread the instructions so badly. I fully admit that because the instructions were so densely worded, I got lazy and didn't read them very carefully. Mike seemed to know what he was doing so I just went with it rather than reading and understanding the instructions myself. I think Mike simply read through the instructions too quickly and missed that crucial wording. The silver lining to this whole mess is that every time we make a mistake, we work out a system to avoid that particular mistake in the future. Once we get our replacement parts, we can figure out how to navigate these instructions better and (hopefully) save ourselves some heartache in the future.
0 Comments
Leave a Reply. |
AuthorThe supportive spouse's guide to building an airplane. Archives
May 2017
Categories |


 RSS Feed
