|
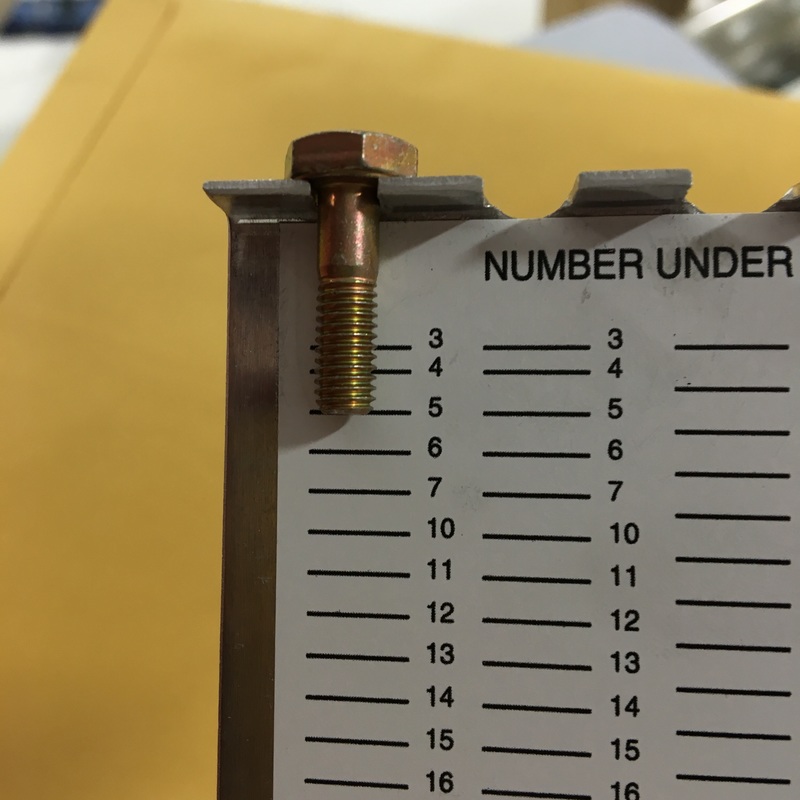
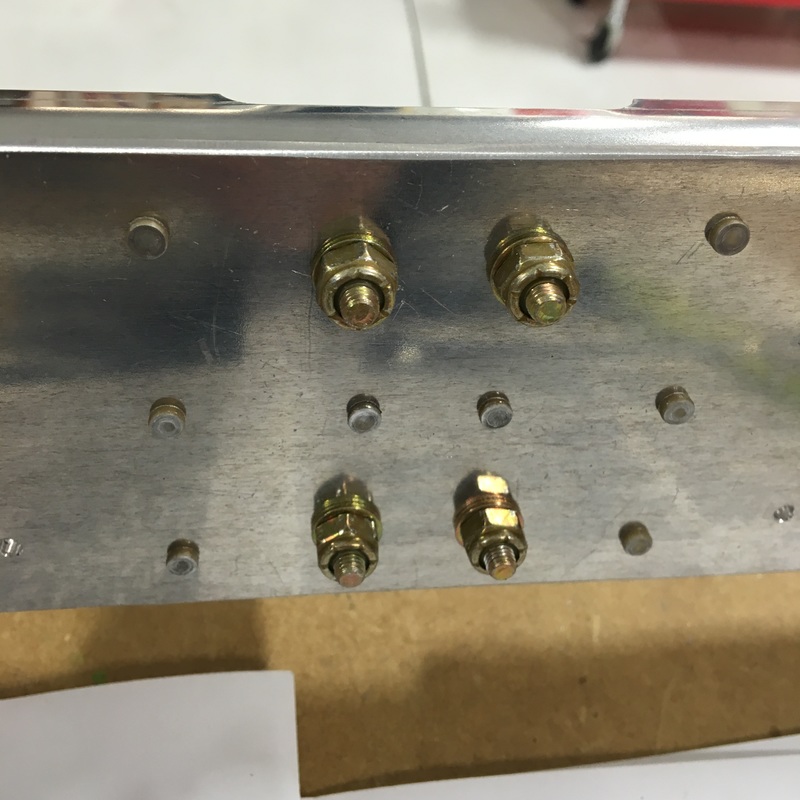
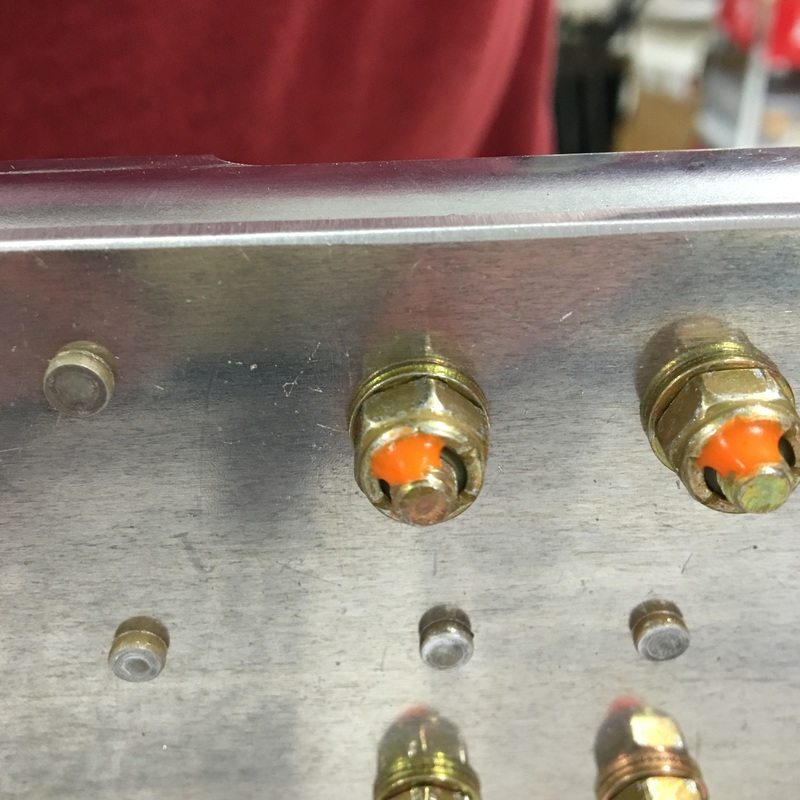
I don't know who writes the instructions for these airplane kits, but I have a distinct feeling that they prioritize technical details over clear communication. Today, I'd like to tell you the saga of installing 4 bolts on the rear spar of the horizontal stabilizer. You might recall in my last post that there was a part I didn't know the name of and didn't know what it did. Well, I still don't know what it is or what it does. I keep meaning to ask Mike about it, but I always forget and he's never around when I'm writing these posts (he's currently at the hangar working on installing our new shelving). 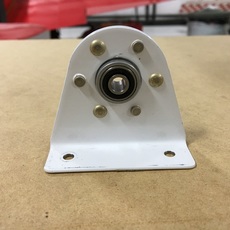 Mystery part This is the first part that gets bolted onto the plane rather than riveted. You might think that installing 4 bolts would be an easy process, but you've never read an airplane kit instruction manual. I'm going to walk you through this step-by-step so you can fully share in the experience. I feel like I should warn you that this post in an exercise in vertical scrolling. Step 1 - Consult the diagram to find out the part numbers for the bolts you need. (Also, I guess the mystery part is called the "inboard hinge bracket assembly" but I still don't know what it does.) 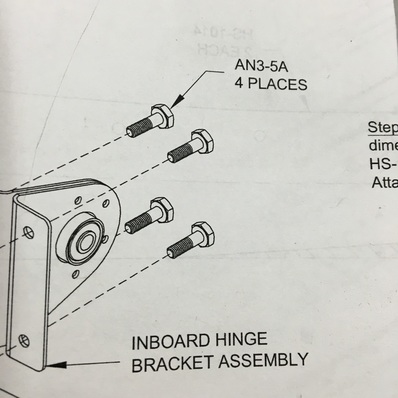 Step 2 - Locate part number AN3-5A on the inventory list and identify which bag of parts to look in. 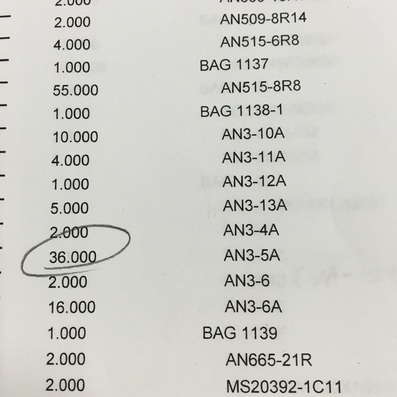 Step 3 - Find Bag 1138-1. 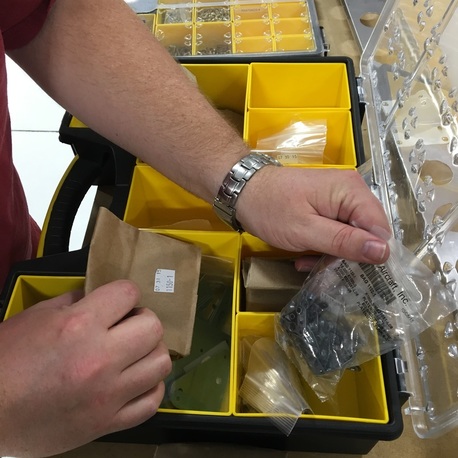 Bag 1138-1 contains a whole bunch of different sized bolts 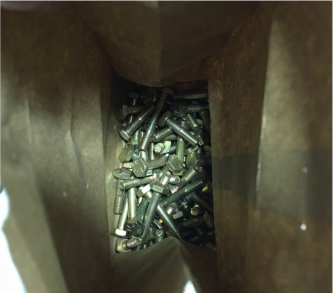 Step 4 - Find the right size bolt using a bolt gauge. You use the top notches to find the diameter of the bolt, the first slot is for size AN3. Then the horizontal lines tell you the length, this is a number 5. Step 5 - Refer back to the diagram to find out what size washers and nuts you will need. 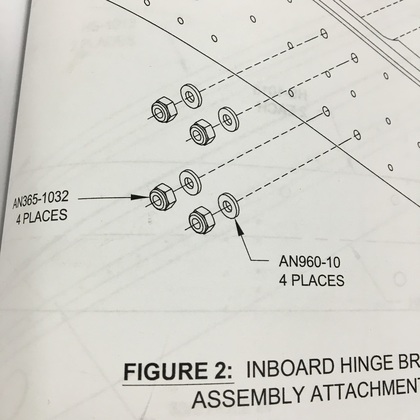 Step 6a - Go back to the inventory list and find washer number AN960-10. Step 6b - Look through the entire 6 page list three times because you can't find the part number. Step 6c - Realize that they've changed the part number and you needed to be looking in the Description column this whole time. The AN960-10 washer is now a NAS1149F0363P washer. 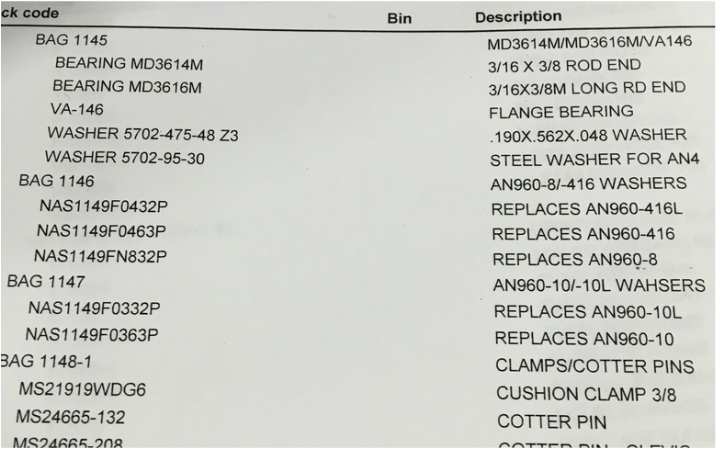 Step 7 - Find bag 1147. Step 8a - Discover that bag 1147 contains two, nearly identical types of washers. Step 8b - Realize that when we counted every single item on this list that we should have separated and labeled all the hardware. Step 8c - Figure out which washer in the bag is which. Can you tell the difference? 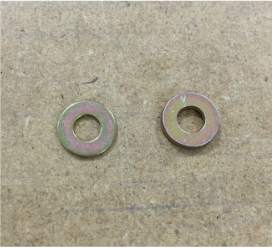 Here's a different picture that makes the difference more obvious. 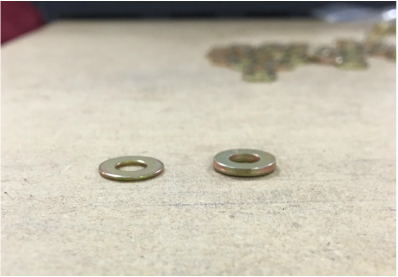 Step 9 - Find the right size nuts (AN365-1032). I didn't take any pictures of that because I was either really sick of the whole process at this point and/or because they were surprisingly easy to find. These bolts have to be tightened very gently to a very specific torque (they can't be too tight or too loose), which leads to step 10... Step 10 - Refer to the next step in the instruction manual that tells you how much to tighten the bolts. Or, more specifically tells you where to find that information. 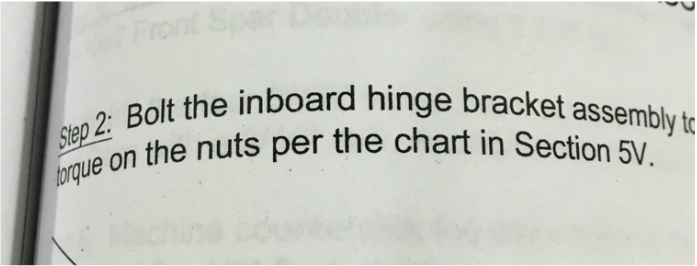 Step 11 - Refer to Section 5V... 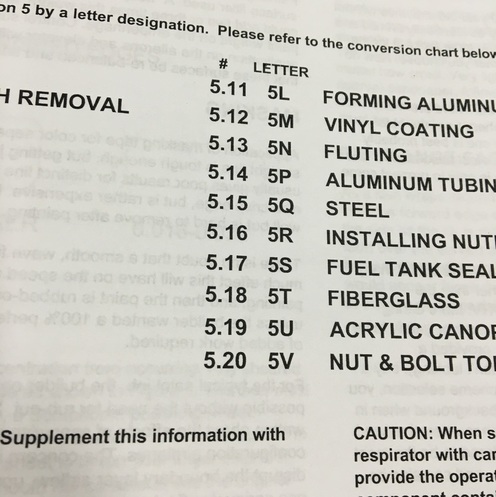 Which refers you to section 5.20, that you actually find on page 5-18... 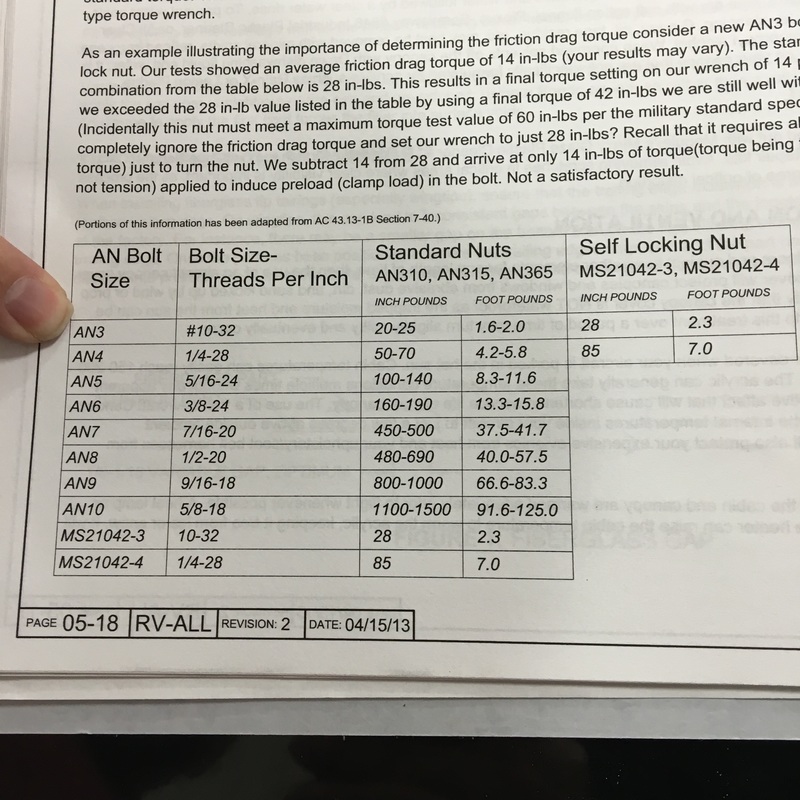 Where you read this chart... 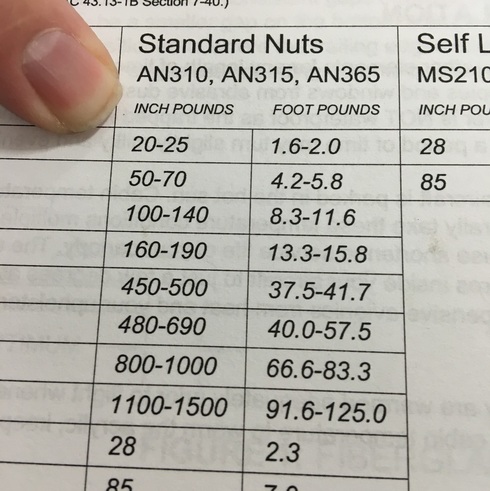 By locating the right size nut (remember is was an AN365-1032) to find out that it should be tightened to 1.6-2.0 foot pounds. Step 12 - Celebrate that you've finally found all the parts and information that you need to install 4 freaking bolts! Step 13 - Actually install the bolts, using the ridiculously expensive torque wrench you had to buy for this one specific job. This step will take about 2 minutes. Step 14 (Optional) - Put torque seal on the bolts. Torque seal is this orange paint-like stuff that makes it a lot easier to inspect this bolts later and make sure they haven't tightened or loosened. If the paint glob is intact you know everything is fine, if it's broken you know you need to do some maintenance work. Step 15 - Put away all of the crap that you had to dig out to do 2 minutes of work.
0 Comments
Leave a Reply. |
AuthorThe supportive spouse's guide to building an airplane. Archives
May 2017
Categories |


 RSS Feed
