|
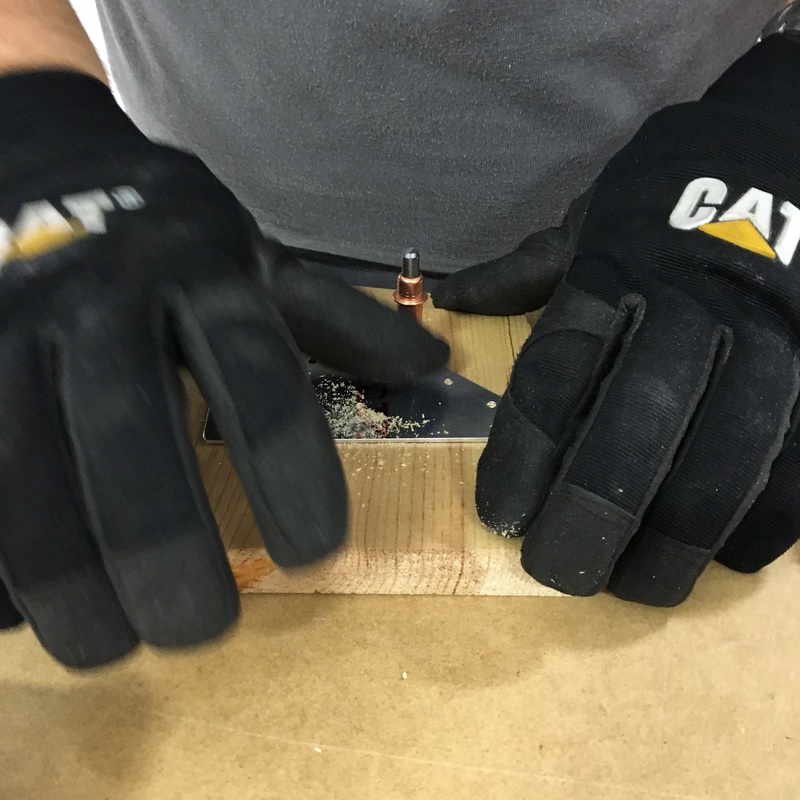
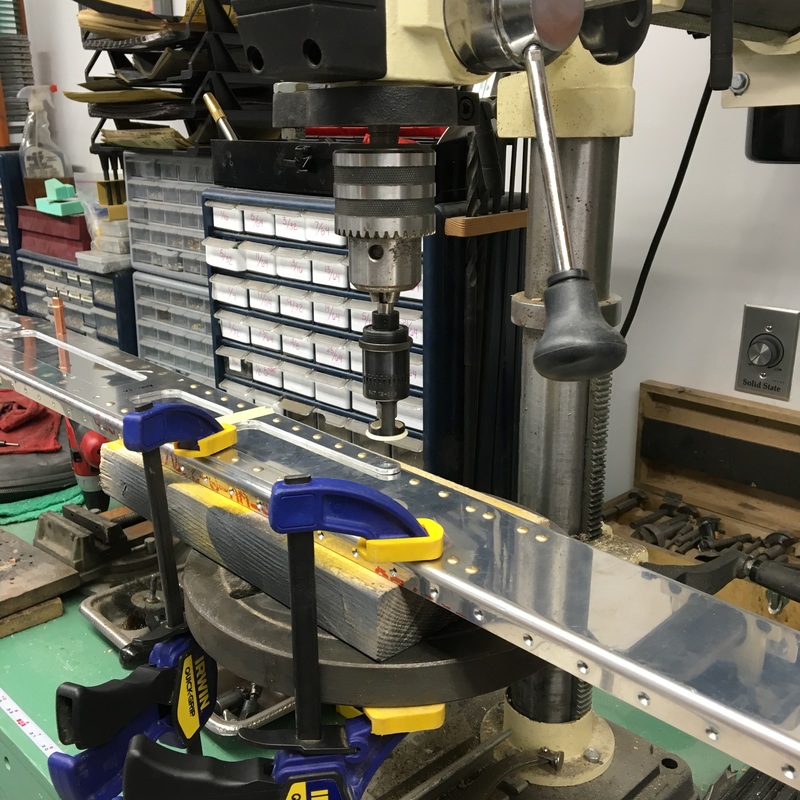
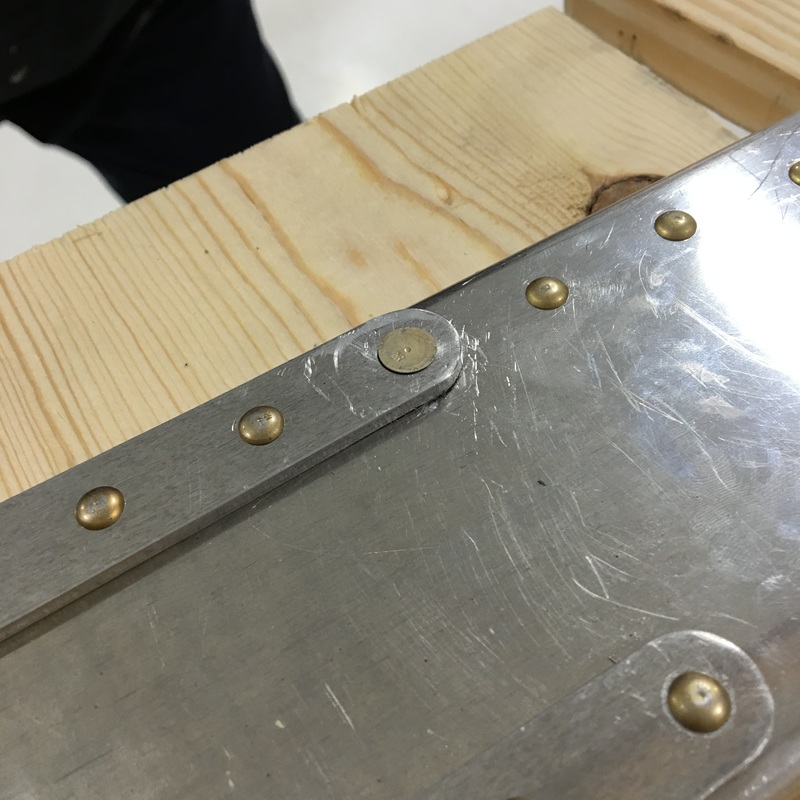
I've realized that I completely misunderstood the amount of energy required to build a plane. I don't mean that building a plane is physically hard, because honestly it's not. At this point, at least, the parts are small and nothing is particularly heavy. The thing I got wrong was that I underestimated the amount of mental energy it would require. I've referred to it before, but building is really just one long exercise in problem solving. Mike knows A LOT more about building a plane than I do - he's been reading about kit planes and anticipating this project for more than 10 years - but this is still his first build. You've read everything that I know about building airplanes because I've written it all down here. We are both in new territory and spend a lot of time questioning if what we are doing is correct or good enough. Add to that uncertainty our recent stretch of, not so much bad luck, as things just not going quite right and I think we're both a little mentally worn out at this point. For every thing I've written about in the past, there are probably 2 or 3 other problem solving steps that I could have included. I'm trying to stay positive about the build, so today I thought I'd write a little bit about the types of problems we are encountering and how we solve them. A couple of weeks ago, we encountered two specific problems. First, Mike has trouble drilling the countersinks into a small, thin piece of reinforcing metal. Here's a picture to remind you of what happened. That hole should be perfectly round, which is very obviously is not. We had to order a replacement part and start over. 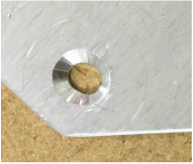 Mike did a little research and found an ingenious way to make sure that the metal stays still while he makes the countersinks. He drilled holes into a scrap of wood and used clecos to hold everything still while he drilled the countersink. Two minutes later, the replacement piece was ready to use. I was surprised that you could use clecos this way. I think I suggested to Mike that when we're done building we could use all of clecos to design some sort of wall mural in our house. I was joking but if you visit us at some point in the future and see a wall full of clecos, you can remind me to keep my mouth shut next time. Yesterday we decided to tackle our big problem from last week - the ugly mess created by the broken drill bit. We spent a lot of time discussing the pros and cons of the two options we had come up with - making the hole bigger and using a universal head rivet two sizes larger or countersinking the hole and using a flush rivet one size larger. We decided to try option 2 to get rid of most of the damage by countersinking That way, if things really don't work we still have the option of using a an even larger size rivet. Creating that countersink was a really nerve wracking process, probably because last time we tried to fix the problem we just made it worse. Mike used a drill press to make sure the countersink was centered properly. We don't actually have any of the size rivets we will be using so he had to use calipers to get the hole the right dimensions. The countersink removed most of the damage and hopefully it will be all right. Once the countersink was done, he enlarged the rivet hole (from the back). We had to order the rivet we needed to finish the repair. Actually we had to order 1/8 of a pound of rivets because that's how they are sold. We had hoped to use a rivet only one size larger, but the countersink was too large so we had to go up two sizes. Below you can see how the first rivet was way too small (left picture) and the properly sized rivet on the right. We also got to try out a new tool that Mike ordered called a chip chaser. It's a really thin piece of metal with a hook on the end that you can use to remove aluminum chips from tight spaces. Honestly, it looks like a tiny "slim jim" that you'd use for unlocking a car door. It was pretty hard to fit even that thin piece of metal in between those two pieces but we pulled out a few tiny pieces of aluminum so I guess it was a good idea. Finally, after several weeks of trouble shooting and ordering tools and rivets, we finally go the problem fixed! 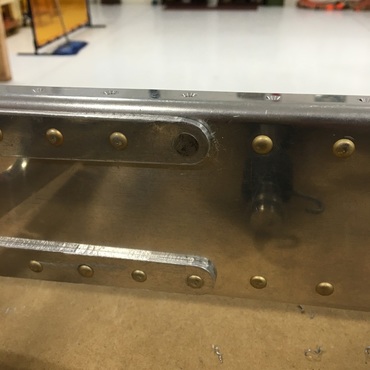 That single rivet has really held things up because we can't move forward with any assembly until that problem was fixed. Our next steps are to reconstruct the vertical stabilizer skeleton and rivet the skin into place.
0 Comments
Leave a Reply. |
AuthorThe supportive spouse's guide to building an airplane. Archives
May 2017
Categories |


 RSS Feed
