|
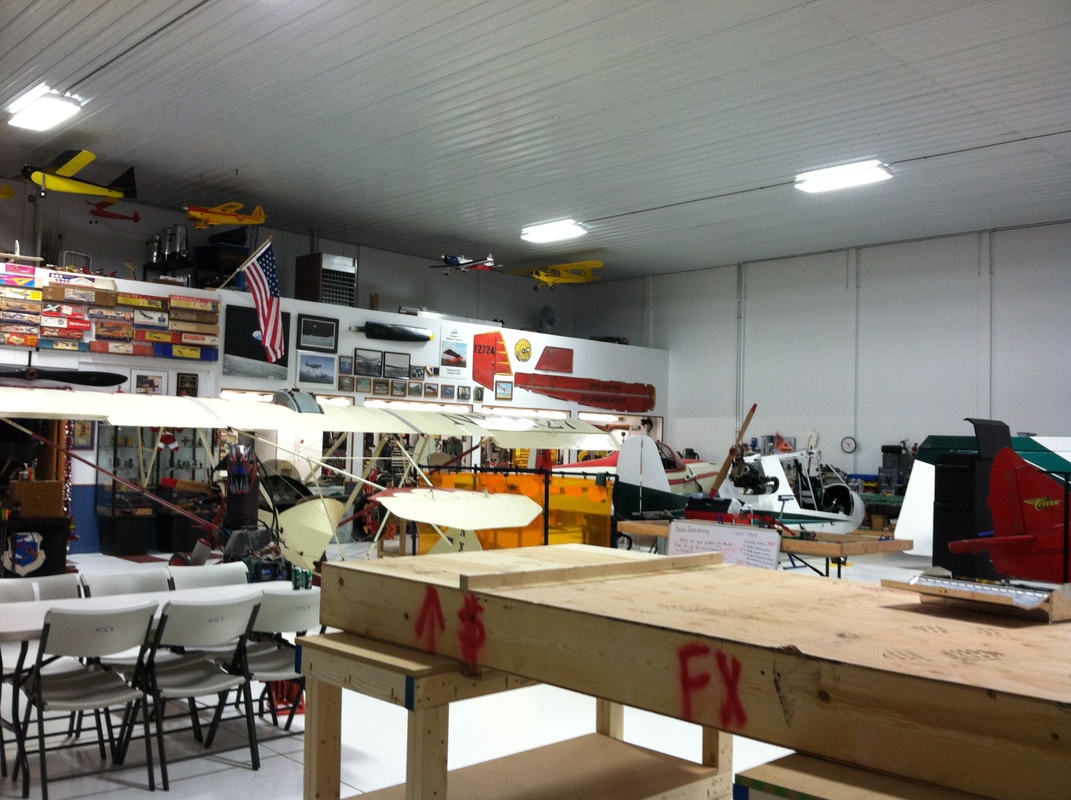
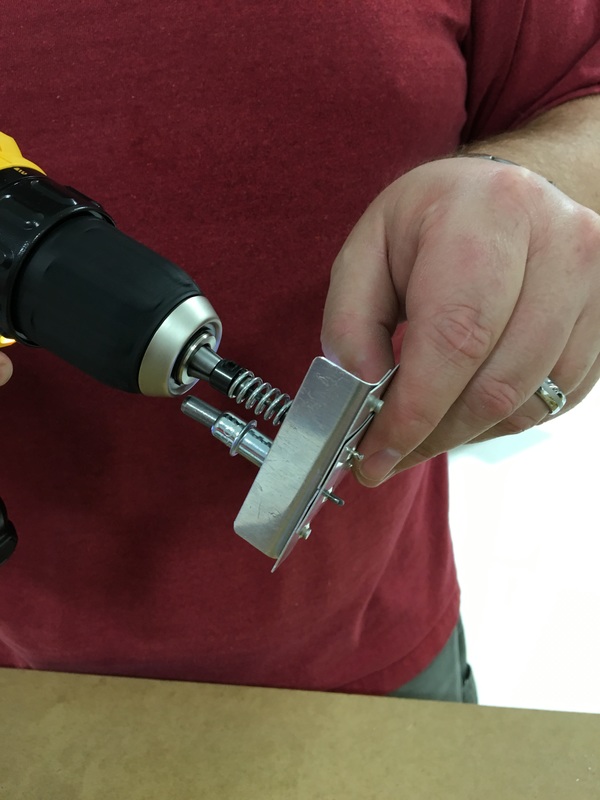
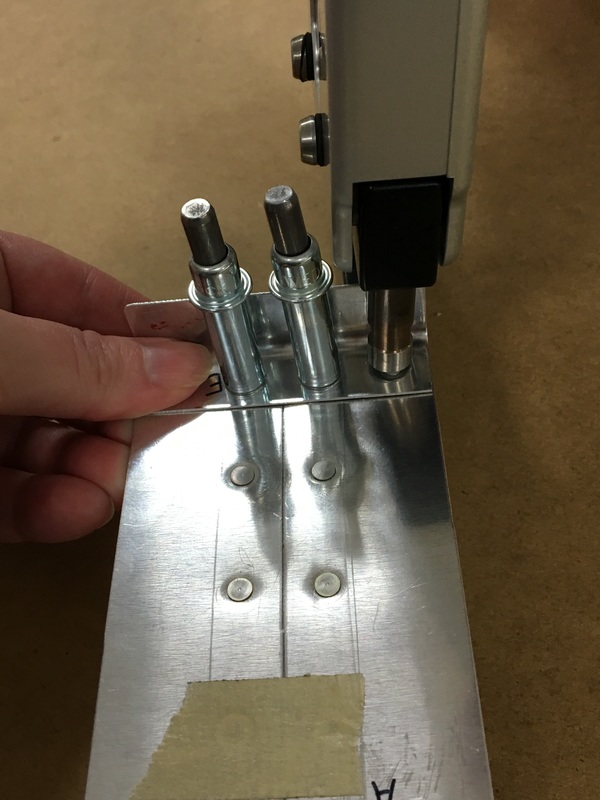
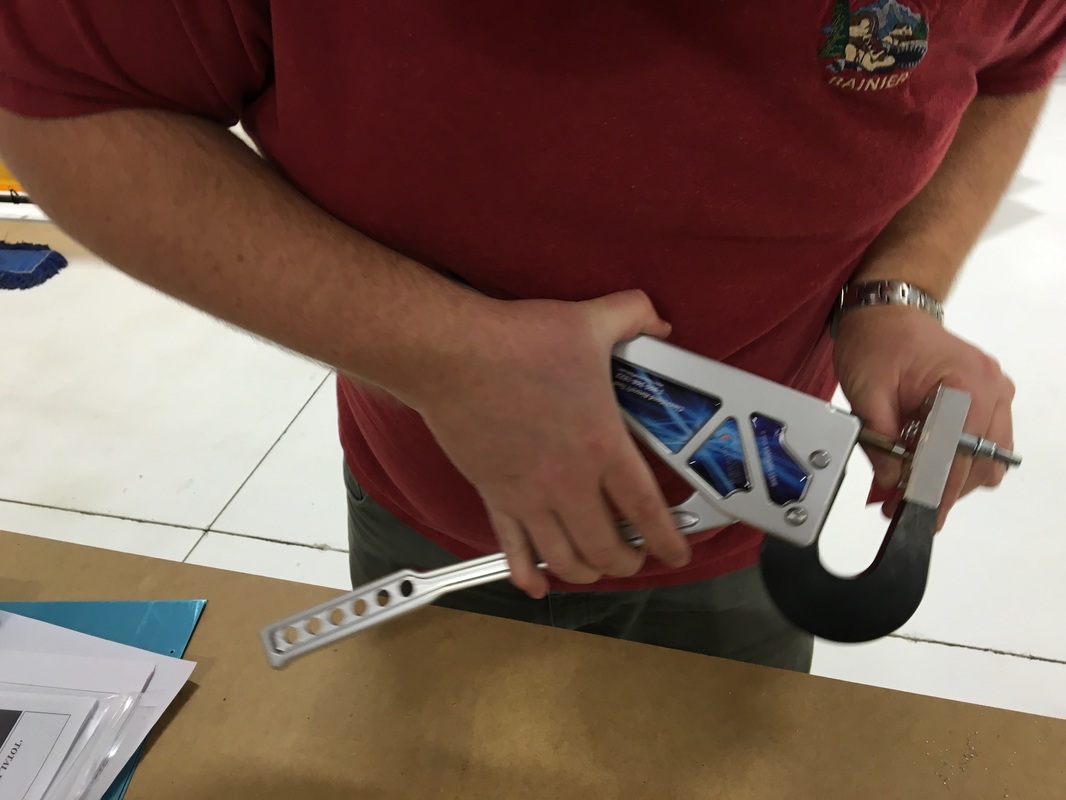
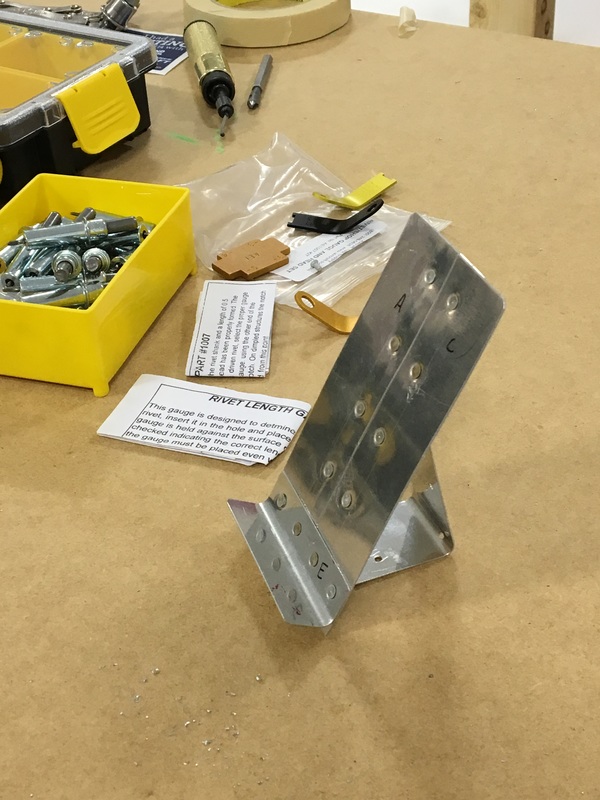
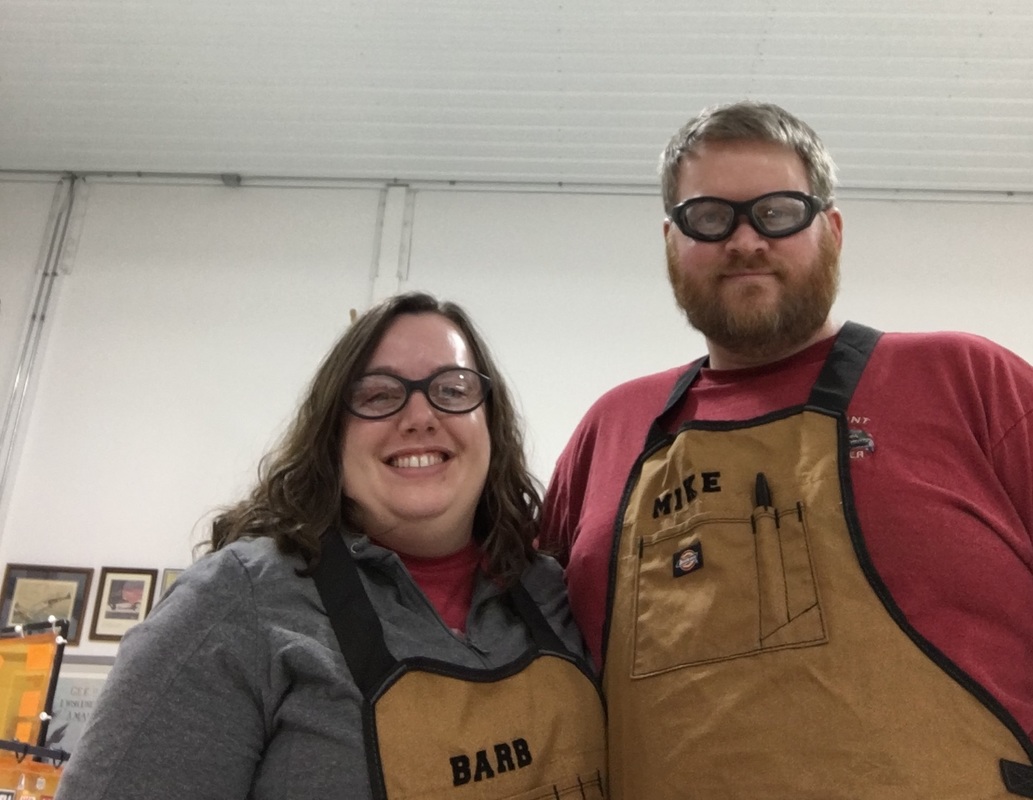
It's been a pretty slow week without much visible progress on the airplane. Eight inches of snow on Monday night and colder weather didn't exactly motivate us to spend time at the hangar. The other problem is that we needed to figure out how to store all the pieces we unpacked last weekend. The smaller structural pieces were easily put into boxes and labeled. The skins (those are the big pieces of aluminum that make up the outside surface of the plane) won't be needed for a while and take up a lot of space. The hangar where we are building is big, but as you can see it's pretty full at the moment. The best place to store the skins was up on the mezzanine (which you can kind of see in the right picture below). That required moving a bunch of other random stuff that is also being stored up there. Mike has also spent a lot of time this week reading the instruction manual that came with the kit. There are 40+ pages with directions like this:  Not exactly riveting reading (oh dear, now I'm using airplane puns) and the manufacturer suggests reading the instructions 3 or 4 times before you start building. Last night, we finally got to use some of the tools that arrived a few weeks ago. Mike and I put together a small practice kit that showed up in one of the boxes of tools. Mike has done some other practice kits in the past so I've heard him talk about the steps required to fasten two pieces of metal together. I just didn't realize how many (kind of tedious) steps were involved. 1. Prepare the parts you will be using. This includes peeling off the protective blue film that you can see in many of the pictures I posted last week. Most parts are labeled with a paper sticker that lists the part number. This sticker is attached to the blue film so you have to be sure to transfer the part number onto the aluminum with a sharpie. I can't even imagine how horrible it would be if you forgot to transfer the part number since most of the pieces look nearly identical. 2. Deburr the edges of each piece. Deburring is the process of removing tiny pieces of metal that are left over from the manufacturing process. These tiny metal pieces make any cut (or drilled) edges sharp and can cause problems later. 3. Drill the rivet holes to the appropriate size. The pieces come predrilled, but the holes aren't quite big enough (for reasons I really don't understand). (Picture 1) 4. Deburr the holes that you just drilled. 5. Repeat this process for every single piece you are going to be using. 6. Dimple all those holes that you just drilled. You use flush rivets when you build an airplane so you have to create a little hole for the rivet head to sit in. That's what the dimpling tool does. 7. Join the appropriate pieces together using clekos. Clekos are special fasteners that are used in airplane manufacturing. There are several types of clekos but the most common seems to be a metal cylinder with two pins inside. As you press down on the top plunger, those pins extend and come together so they will fit through the hole you just drilled. When you release the plunger, the pins retract and spread apart to hold the pieces of metal together. You have to use special pliers to install and remove clekos. (Picture 2) 8. Remove the appropriate clekos and install a rivet to hold the pieces together. There are several ways to rivet but last night we used a squeeze riveter because we didn't feel like dealing with the air compressor. The squeeze riveter is kind of fun and was my favorite part of the process. You put the rivet into the hole and then use the tool to squish the rivet into the right shape and thickness. You can actually see the metal in the rivet deform and squish to form the end that holds the pieces together. (Picture 3, 4 & 5) I can see the squeeze riveter being finger smasher because those handles come together with absolutely no room between them. There is even a little tool that you can use to make sure you've squeezed the rivet to the appropriate dimension. (Picture 6) 9. Repeat the two previous steps over and over. I would say that it took us about an hour to put the project together, mostly because we had to figure out how to use each tool. At the end of the night, I had a fancy new stand for my phone. We used it to take our first hangar selfie. The matching aprons were a Christmas gift from Mike's dad last year. (Hi, Leroy!)
1 Comment
Brother of a Bishop
12/20/2015 10:35:42 am
Great work! I love the writing and I'm looking forward to seeing more pictures with or without the new stand. Leave a Reply. |
AuthorThe supportive spouse's guide to building an airplane. Archives
May 2017
Categories |


 RSS Feed
