|
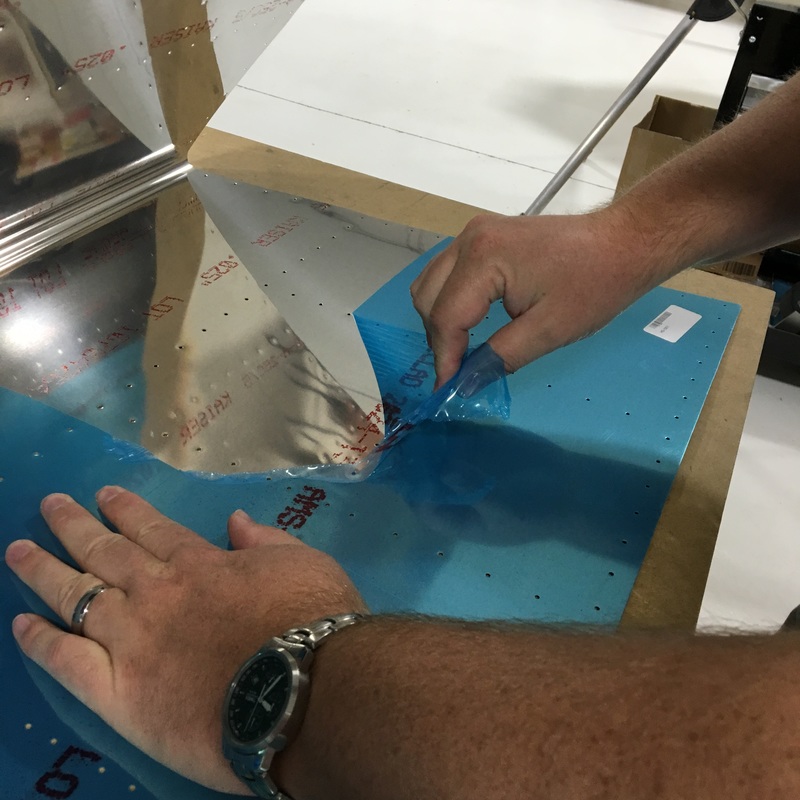
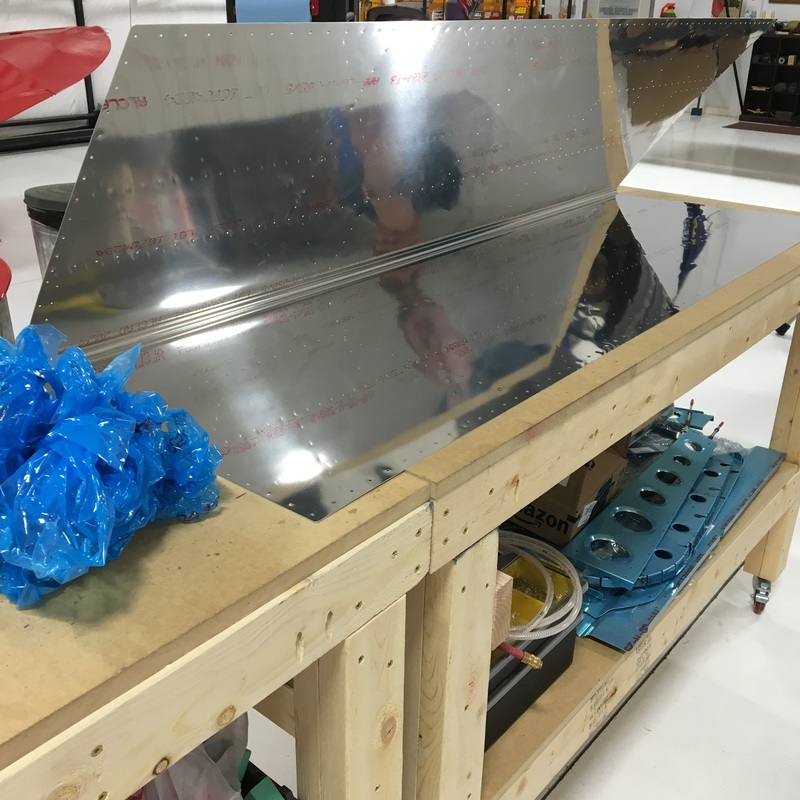
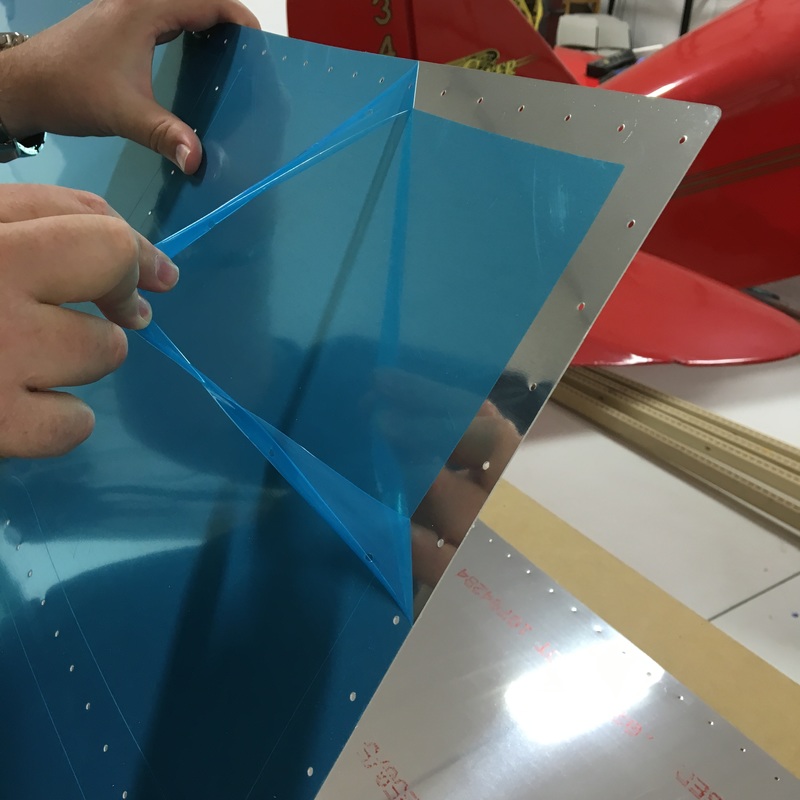
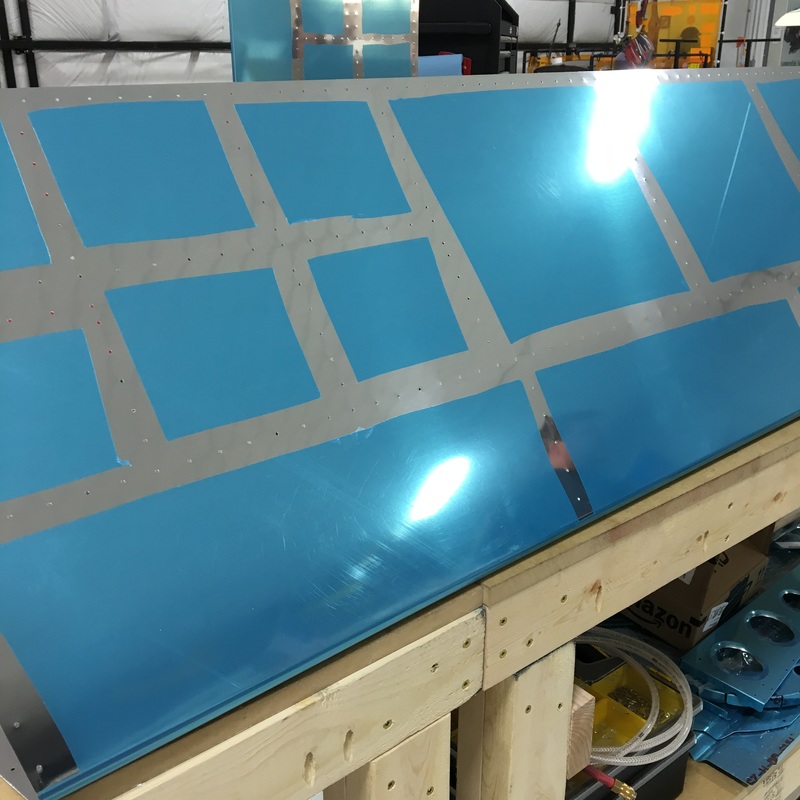
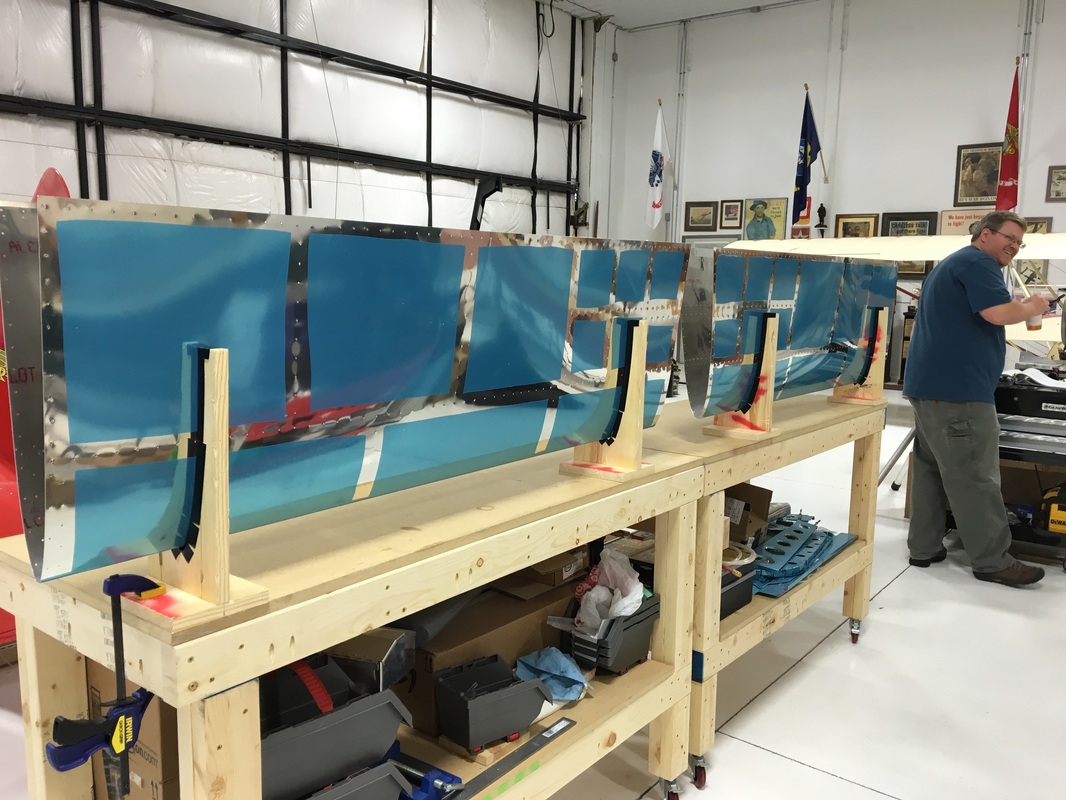
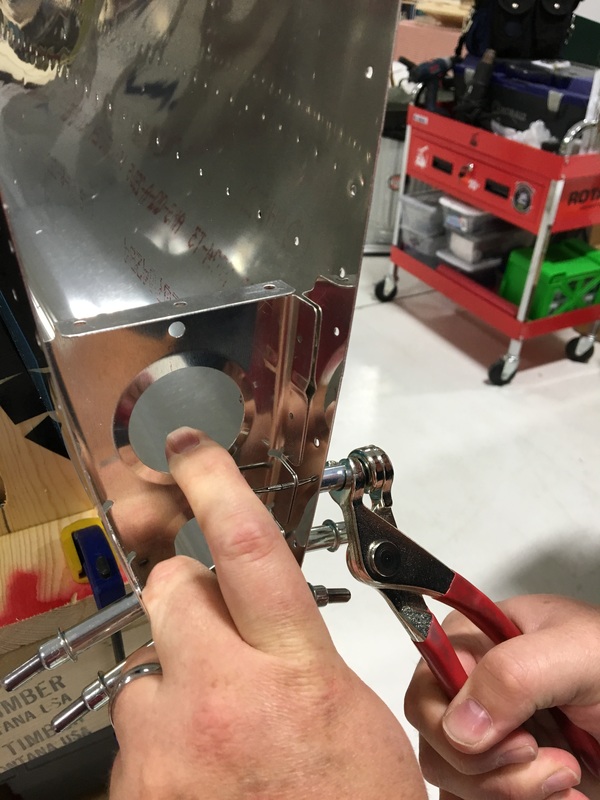
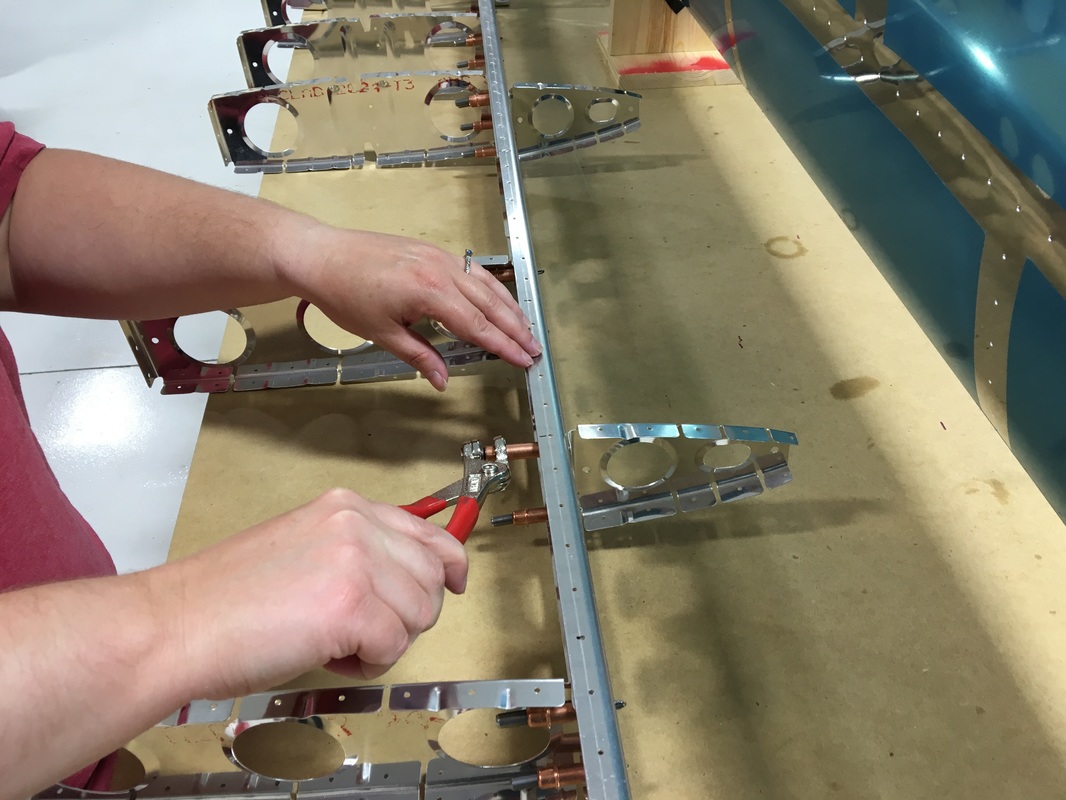
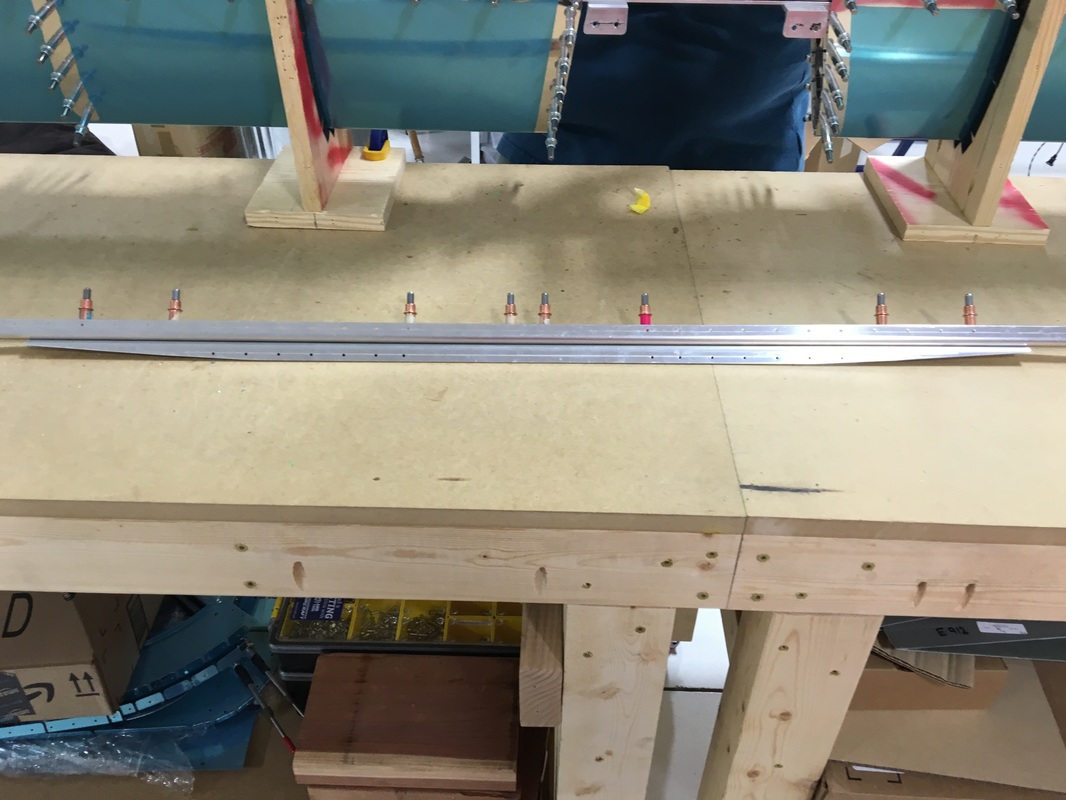
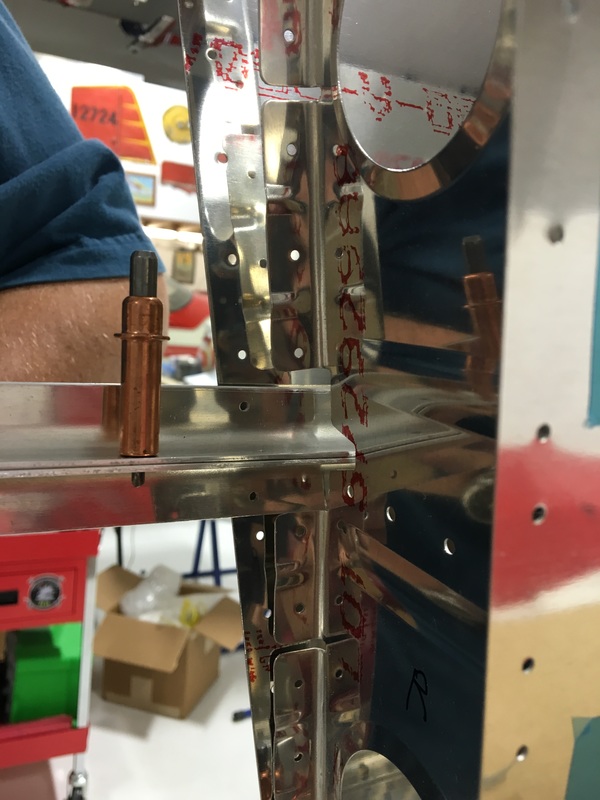
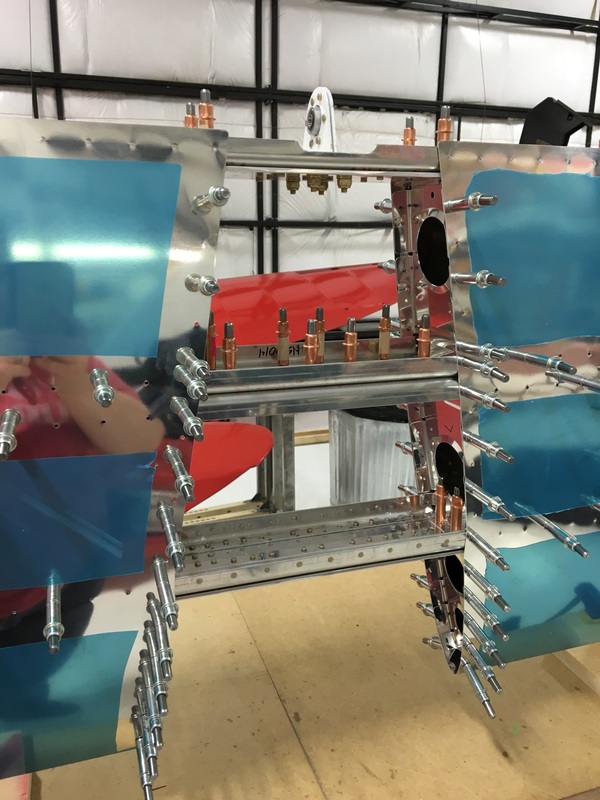
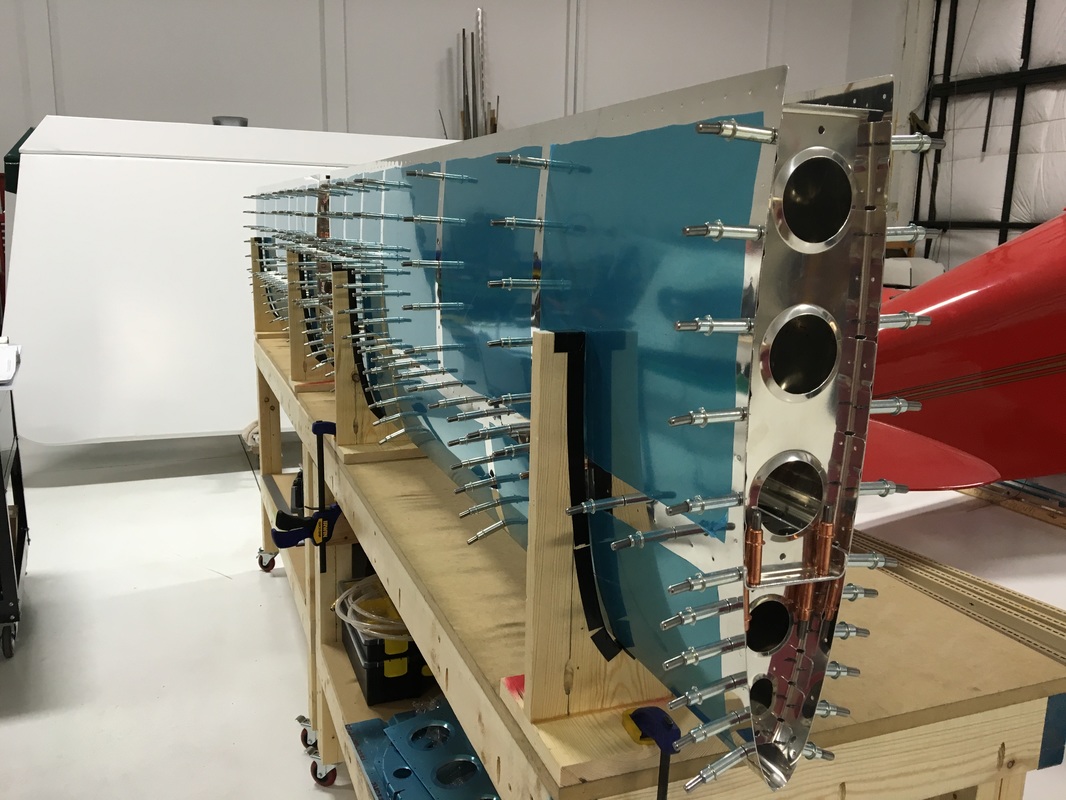
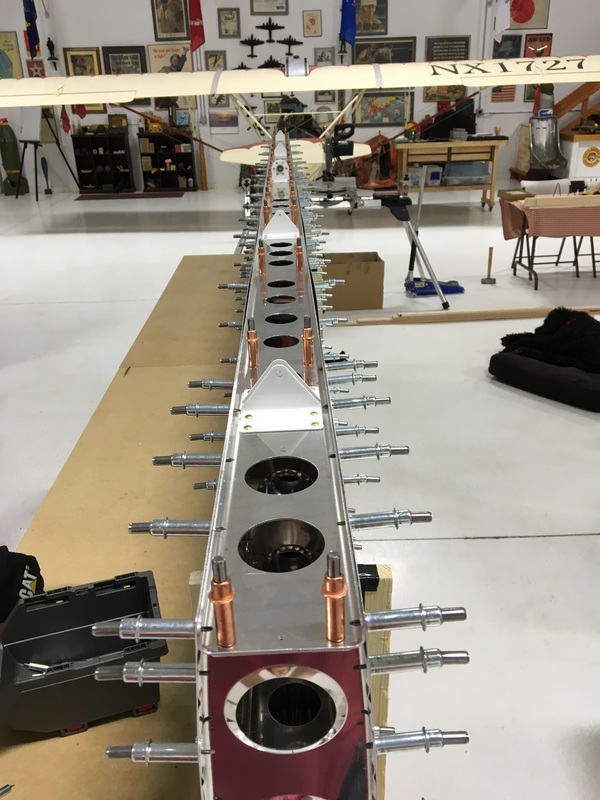
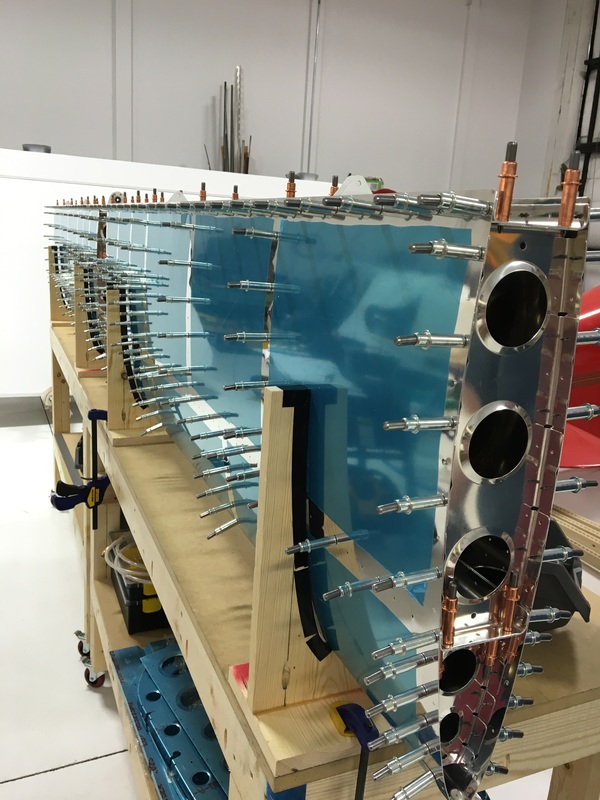
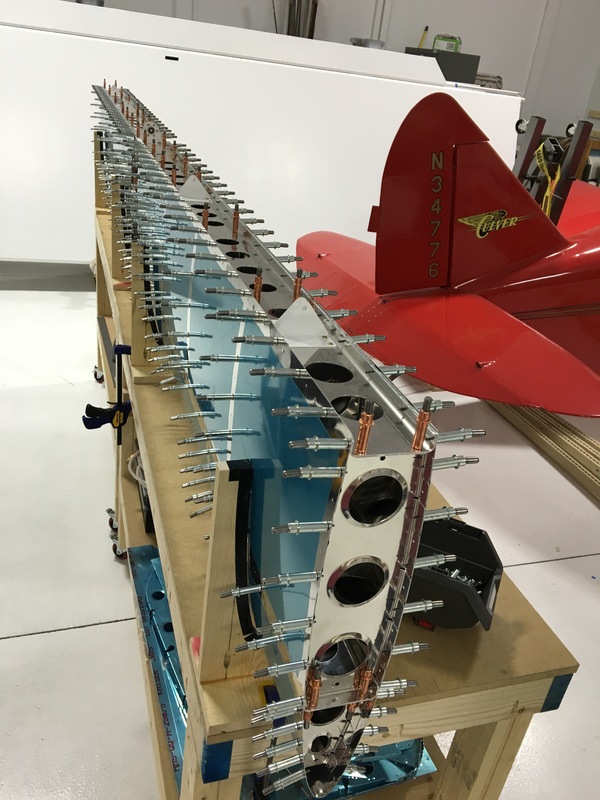
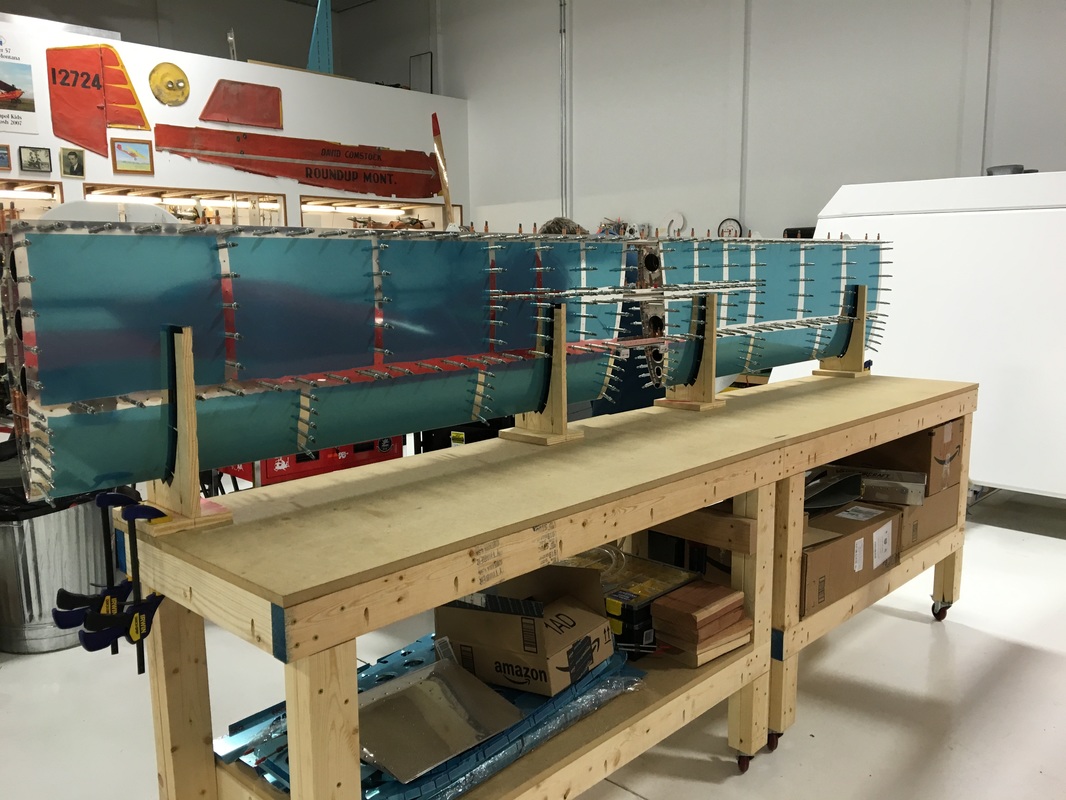
I'm really behind on blogging so I'm trying to get caught up. I'm writing multiple posts today, so if you've just joined me, be sure to scroll down and read Parts 1 and 2 first. Before we could continue, we had to get the horizontal stabilizer skins out of storage and get them prepped. That meant removing the vinyl from the inside of the skins and around the rivet holes on the outside of the skins. We used the same method as before where we scored the vinyl with a soldering iron so we could peel it off in smaller chunks. We experimented a little bit to figure out which soldering bit worked the best and it's definitely the angled bit rather than the pointed one. With all the spars completed, the skeleton and skins prepped, and the cradles fabricated, we could finally start putting everything together! This is always a really exciting part of the build. You spend the majority of your build time working on pieces that you don't know the purpose of and then set them aside for a couple of months. It's fun and surprising to finally see everything fit together. The fun is slightly tempered by the knowledge that this is just the pre-assembly. We will have to take everything apart at least one more time before we actually begin riveting. We started by setting the skins into the cradles. Then we removed the nose ribs one at a time and clecoed them into the skin. The aluminum skins are so shiny that you get these really amazing kaleidoscopic images during assembly. 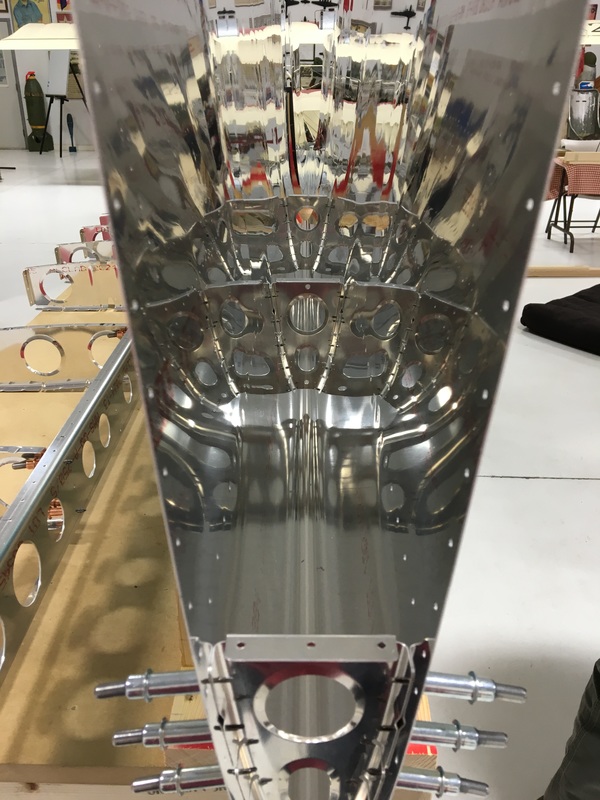 Next, we added the front spar with the attached inspar ribs and clecoed the spar to the skin and the nose ribs. Well, Mike clecoed the spar to the nose ribs because I couldn't reach. 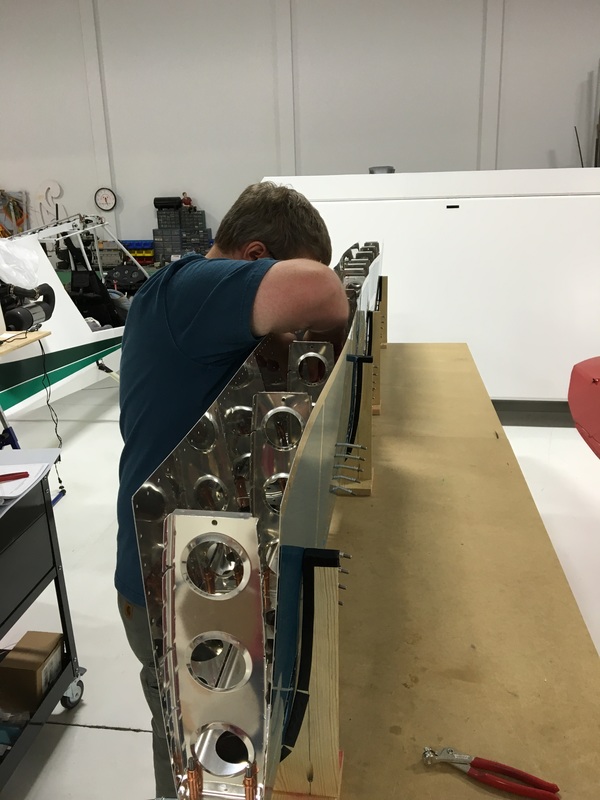 And we finally found out the answers to two mysteries - what is the purpose of the four extra pieces in this photo (which is from April) and why did we have to cut notches into some of the inspar ribs? 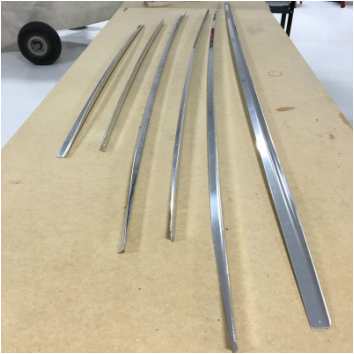 It turns out that those long pieces get put together into two "stringers" which are then inserted into the notches we cut. I have no idea why the stringers are necessary but it's always a relief when you don't have extra parts at the end of the day. Once the stringers were in place, we could finally cleco the skins and ribs together and add the rear spar. We had to open three additional bags of clecos before we were done and the whole thing looked like a porcupine by the end. But it also looks like something that belongs on an airplane. How cool is that!
1 Comment
Mark
6/26/2016 05:27:04 pm
So cool! It really looks fantastic. Leave a Reply. |
AuthorThe supportive spouse's guide to building an airplane. Archives
May 2017
Categories |


 RSS Feed
