|
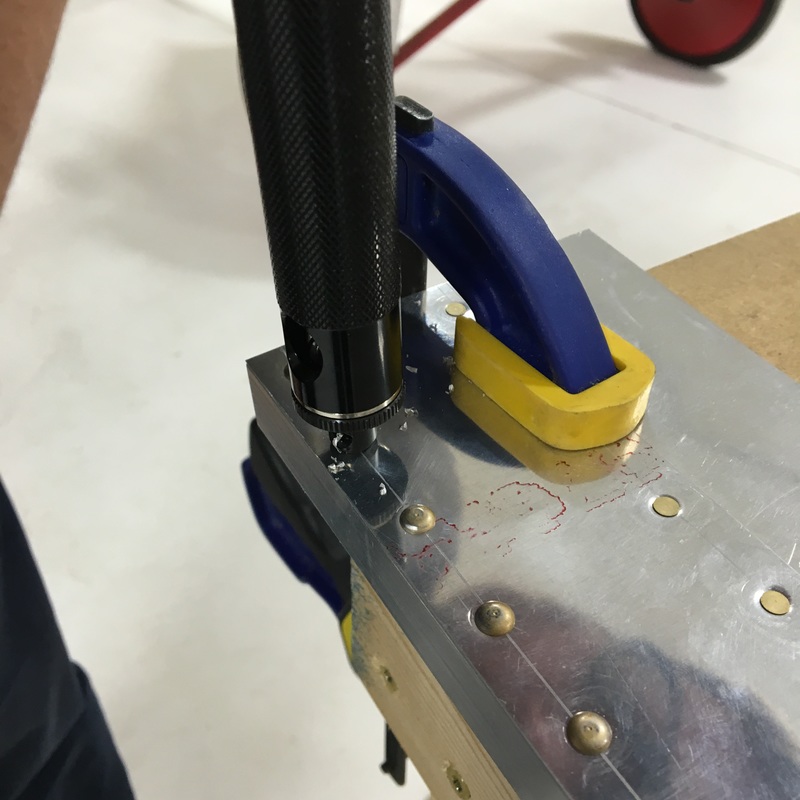
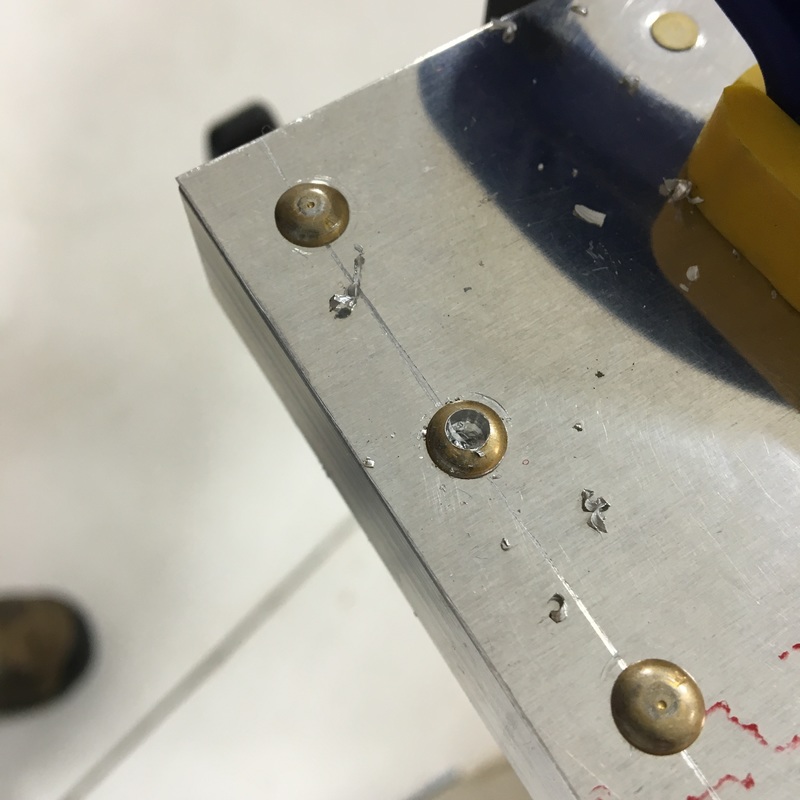
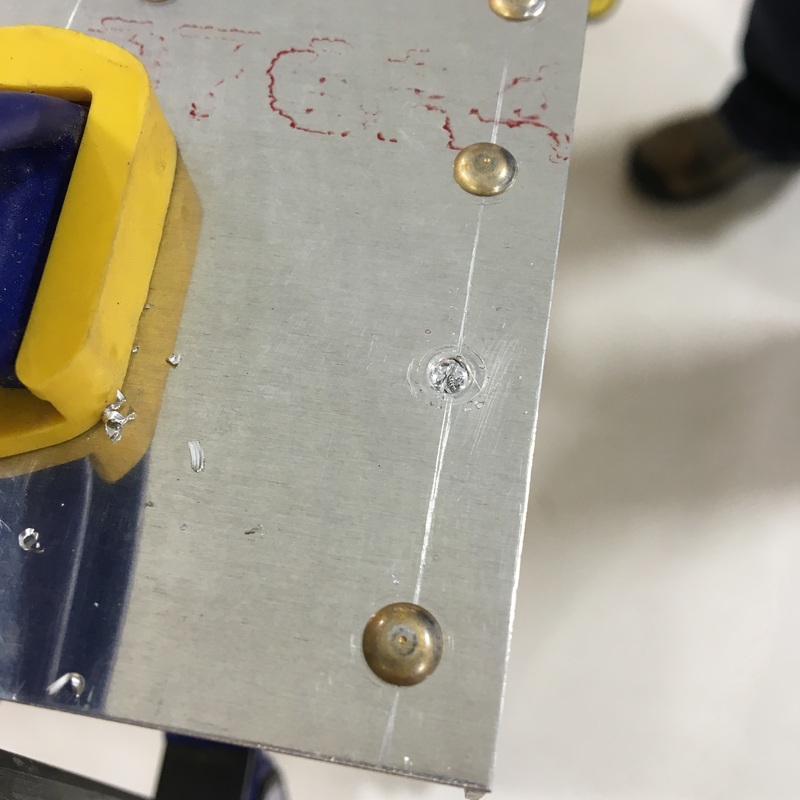
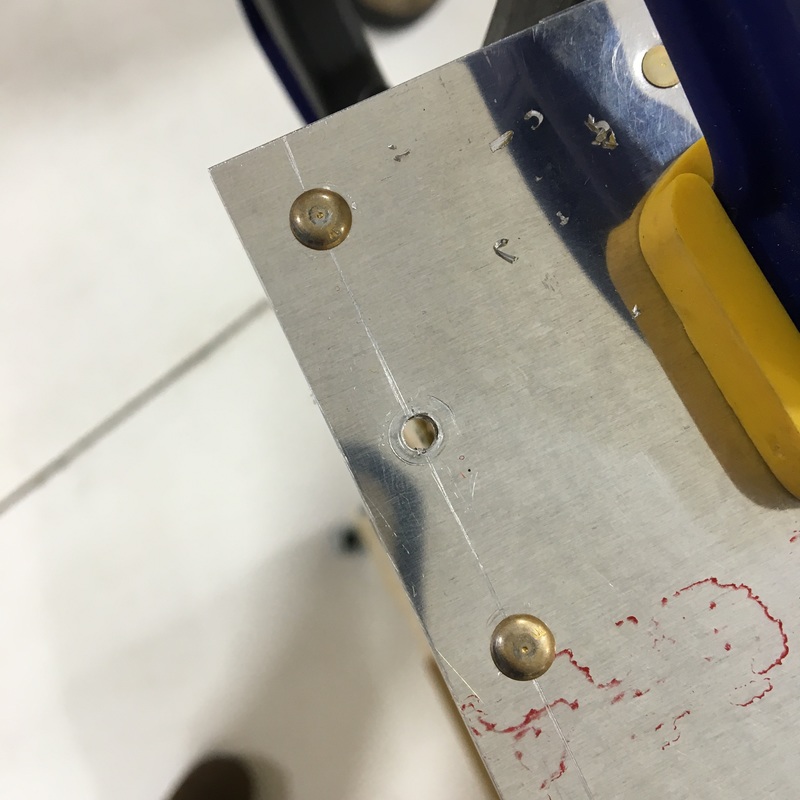
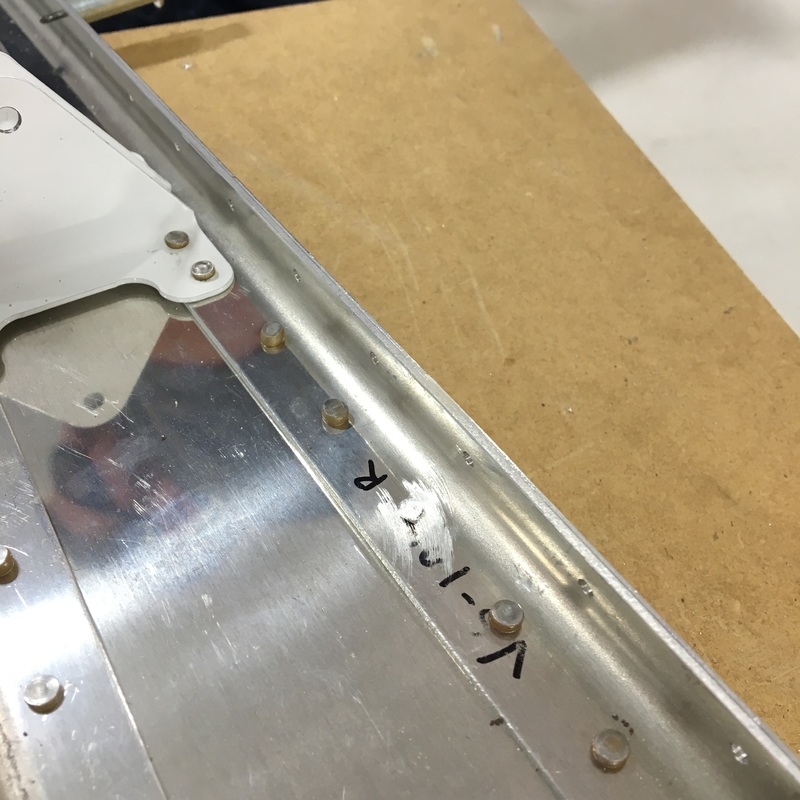
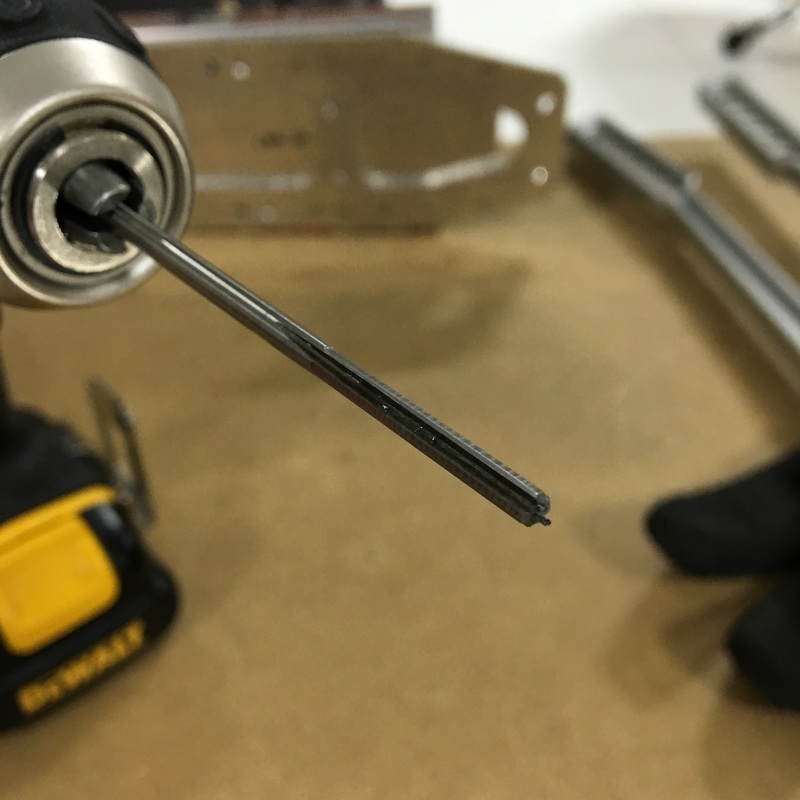
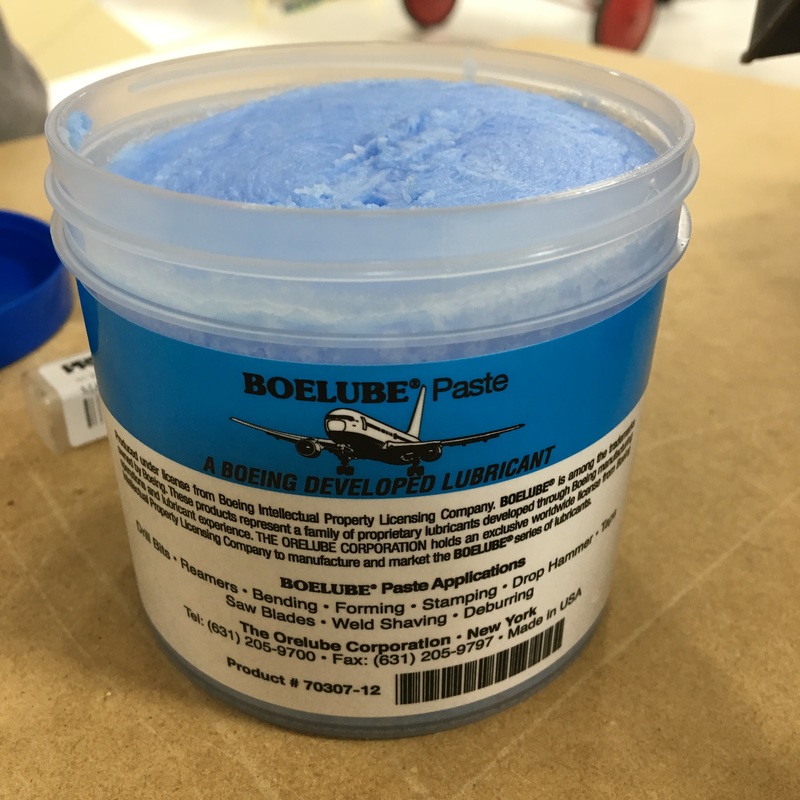
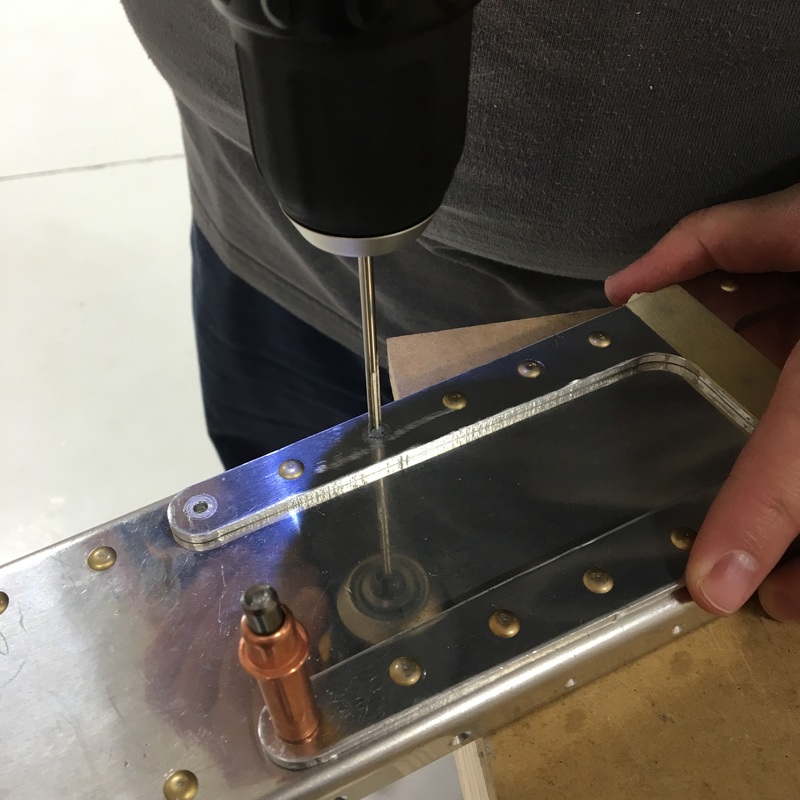
In theory, removing rivets is easy. I believe that last sentence is what they refer to as foreshadowing. It took us two hours to undo our mistakes from last week. Yes, two hours to remove and replace six rivets. Actually, if I'm being honest it took about 45 minutes to remove one rivet and then a little over an hour to replace the other five. We even practiced with the new rivet removal tool first so we wouldn't mess up the actual plane. Unfortunately our practice conditions weren't very realistic for the situation that we were dealing with. The theory of rivet removal goes like this: 1. Remove as much of the rivet head as possible; 2. Punch out the remaining shank of the rivet (that's the straight part of the rivet, it can also be called the shaft); 3. Replace the rivet. We followed that process and it worked pretty well on our practice piece. We even got a special tool that helps with drilling out the head of the rivet (we spent most of this last week waiting for that tool to arrive). You can see that rivet removal tool in the upper left picture below. There is a drill bit inside that big black tube and a guide on then end that fits over the head of the rivet. This is supposed to help you drill exactly in the center of the rivet so you don't accidentally damage the surrounding metal. Once you get the rivet head drilled out (top middle picture) it's easy to snap off the rest of the head (top right pic and bottom left). Finally you use a punch to push what's left of the rivet out of the hole (bottom middle and bottom right pics). It all worked perfectly on our practice piece. When everything goes smoothly, this is what you end up with: 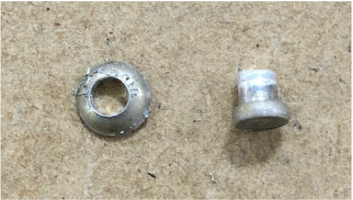 Once we practiced that process a few times, we started work on the actual plane and things didn't go quite so well. Our first problem was that the rivets on the plane were quite a bit larger than the rivets on the practice piece. Mike was able to drill and remove the head of the rivet just fine, but the shank seemed like it was welded in place. Mike tried and tried to hammer the shank out of the hole but we didn't have any luck. We figured that we hadn't drilled deep enough when removing the head so Mike tried to use the drill to remove a little more of the rivet. That's when we encountered problem number two and things started going really wrong. The second problem was that the drill bit that came with the rivet removal tool was a piece not very high quality (a.k.a. a piece of junk) and broke almost immediately. I guess the third problem is that we didn't notice the broken drill bit because it was hidden by the outside casing of the rivet removal tool. I didn't get a picture of the broken drill bit, but the end of was totally mangled. When Mike tried to drill out a little more of the rivet the bit started to shimmy all over the place and we ended up with a pretty ugly mess. 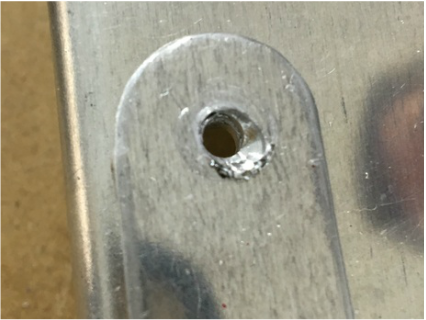 Building an airplane seems to be largely a process of solving one problem after another. In the picture above, you are seeing the final product - after we spent another 20 minutes to get the rest of the rivet out. That was quite a process and involved lots of discussion and weighing of pros and cons. I doubt our final solution was win the approval of an experienced builder but we managed to make it work. We decided that it would be best if we removed the shop head of the rivet and drilled it out from the other side. We did that using an angle grinder. Then Mike very carefully drilled of the remaining rivet shank using a drill bit that wasn't broken. Once we discovered the rogue drill bit and replaced it, the rest of the rivets came out pretty smoothly. When we started replacing the rivets we had a couple of places where it seemed like the holes had shrunk and the rivet wouldn't fit. 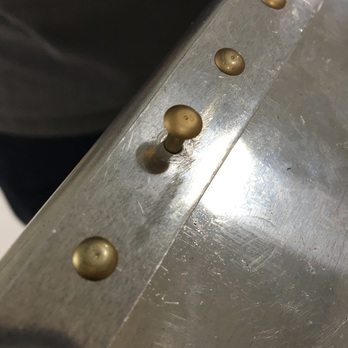 Help, I'm stuck! It's a pretty common problem when you are replacing rivets. Some tiny little piece of metal gets stuck in the hole and binds everything up. Mike used a special drill bit, called a reamer, to clear any debris from the hole. The reamer is designed so it won't enlarge the hole the way a regular drill bit might. The best part is that when you use a reamer you get to use this stuff called BoeLube Paste. We got the rest of the rivets replaced pretty quickly after this. We're still trying to figure out how to deal with problem we created thanks to the faulty drill bit. We are considering two possible solutions right now - make the hole big enough to get rid of the problem or use a countersink rivet here instead. Neither is a great solution and we are weighing our options. New Vocab:
Shaft/Shank - the straight "pin" on a rivet Reamer - a special drill bit used to remove debris from a rivet hole (it probably has more uses but I don't know what they are yet)
0 Comments
Leave a Reply. |
AuthorThe supportive spouse's guide to building an airplane. Archives
May 2017
Categories |


 RSS Feed
