|
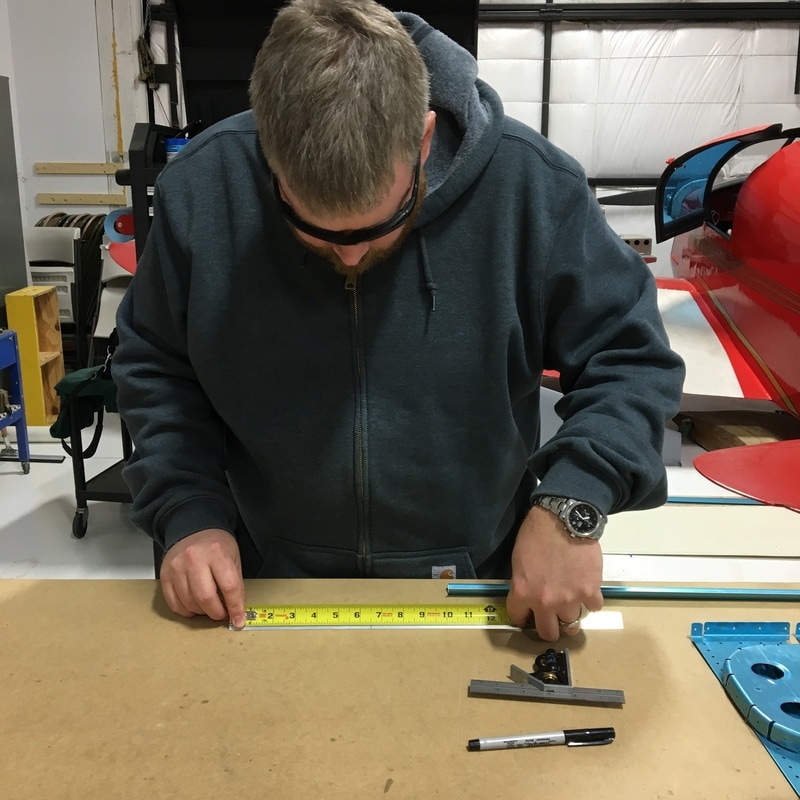
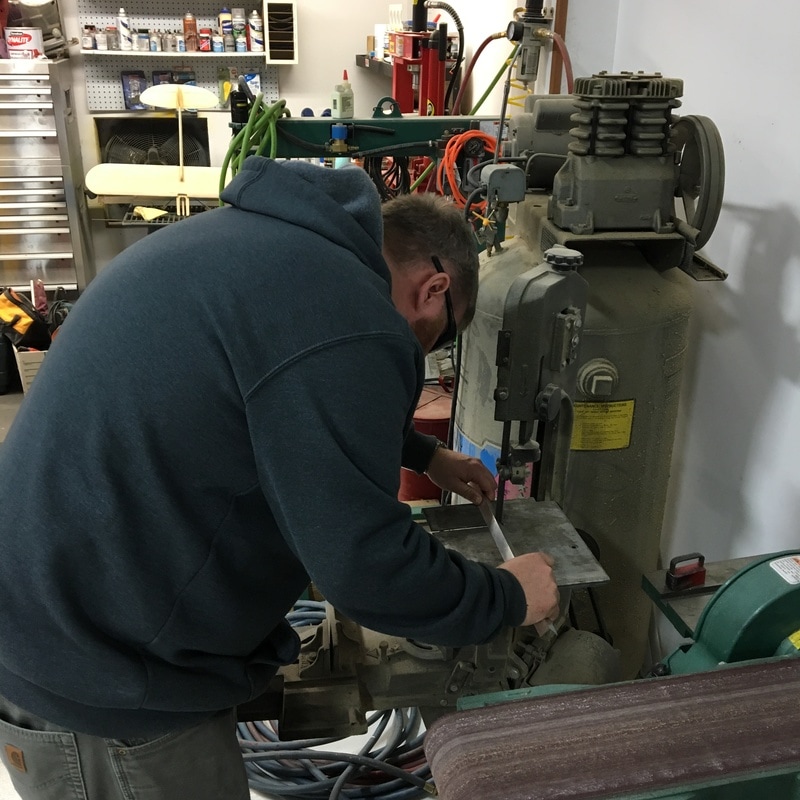
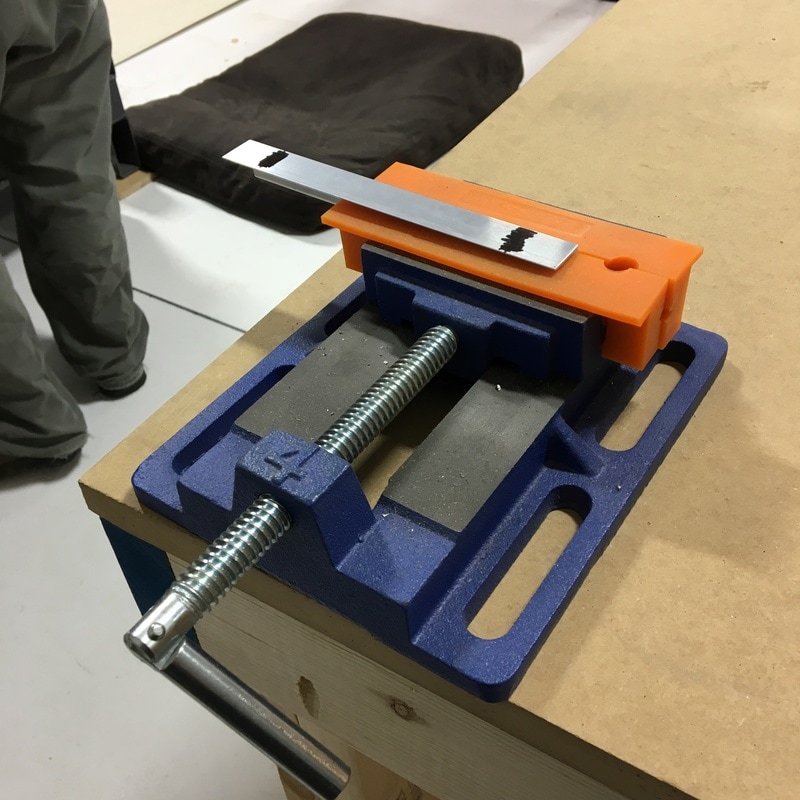
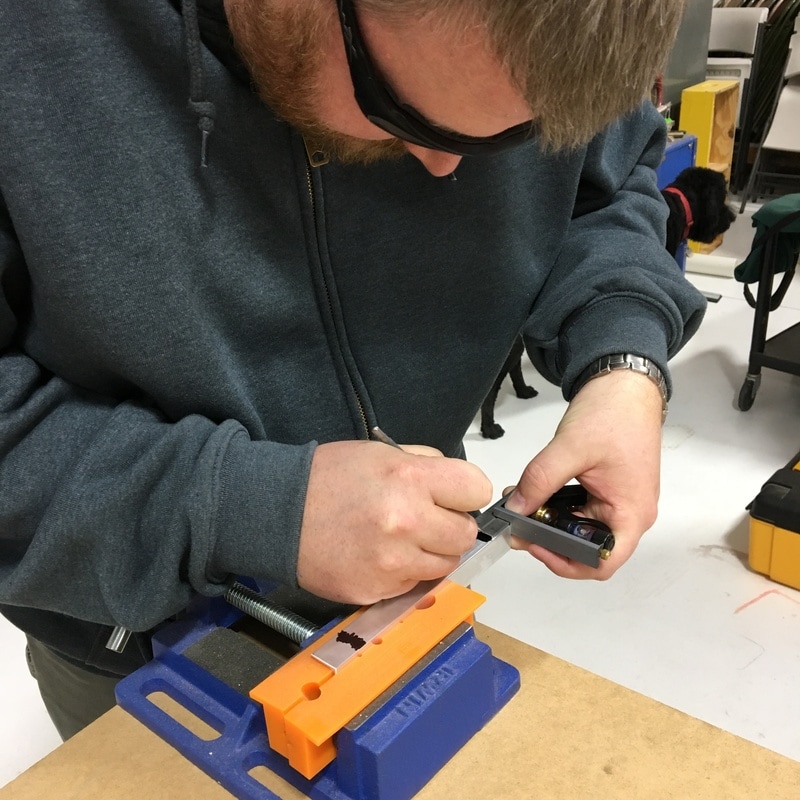
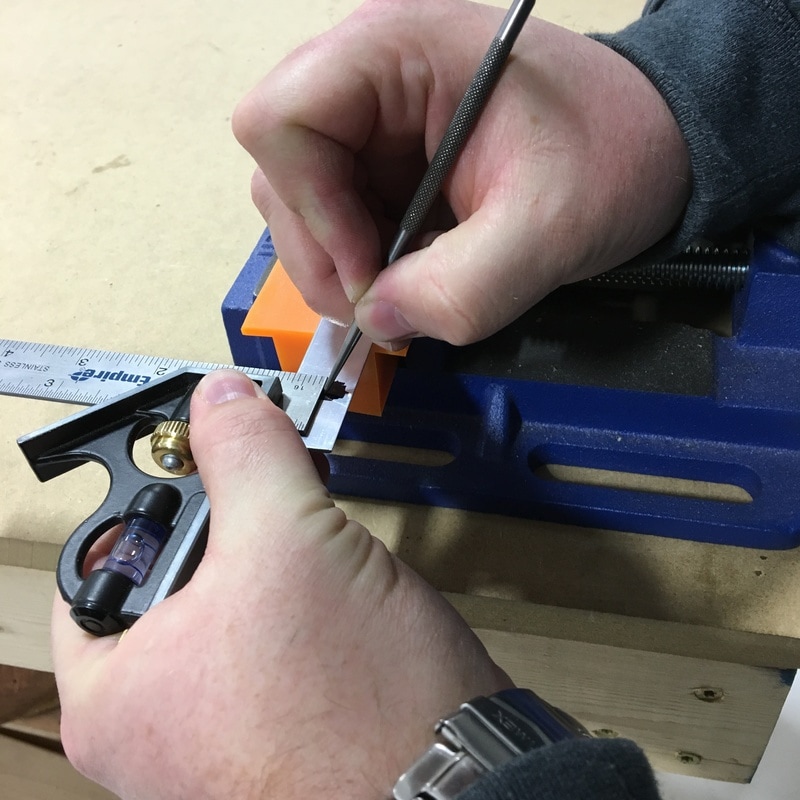
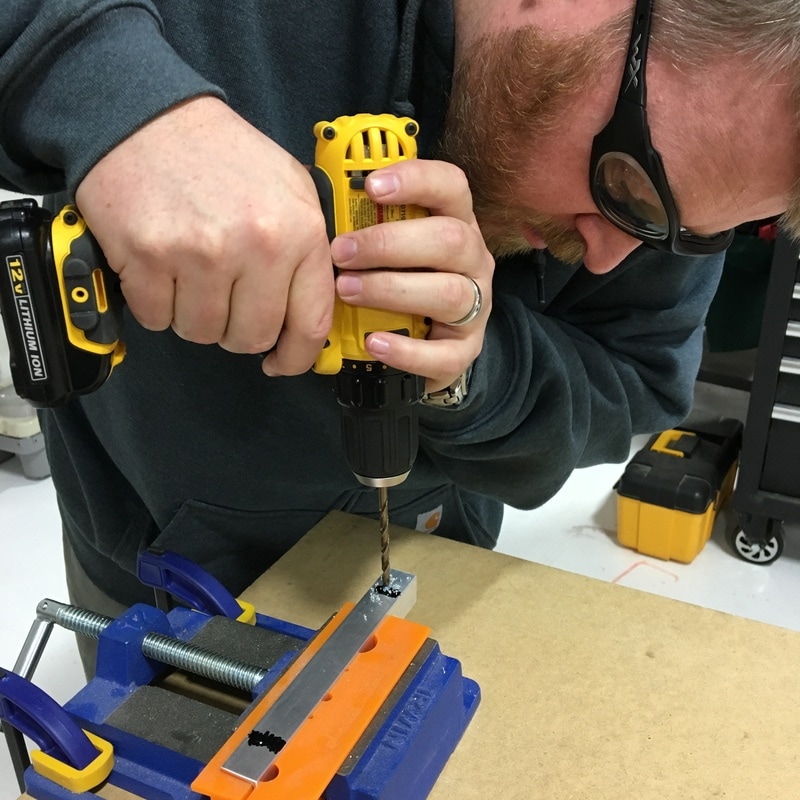
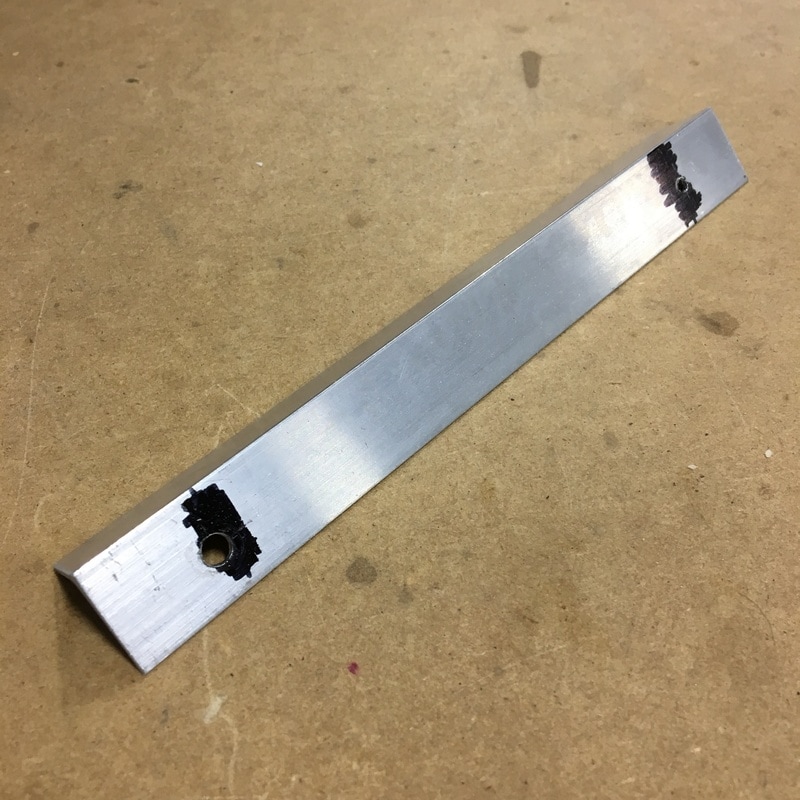
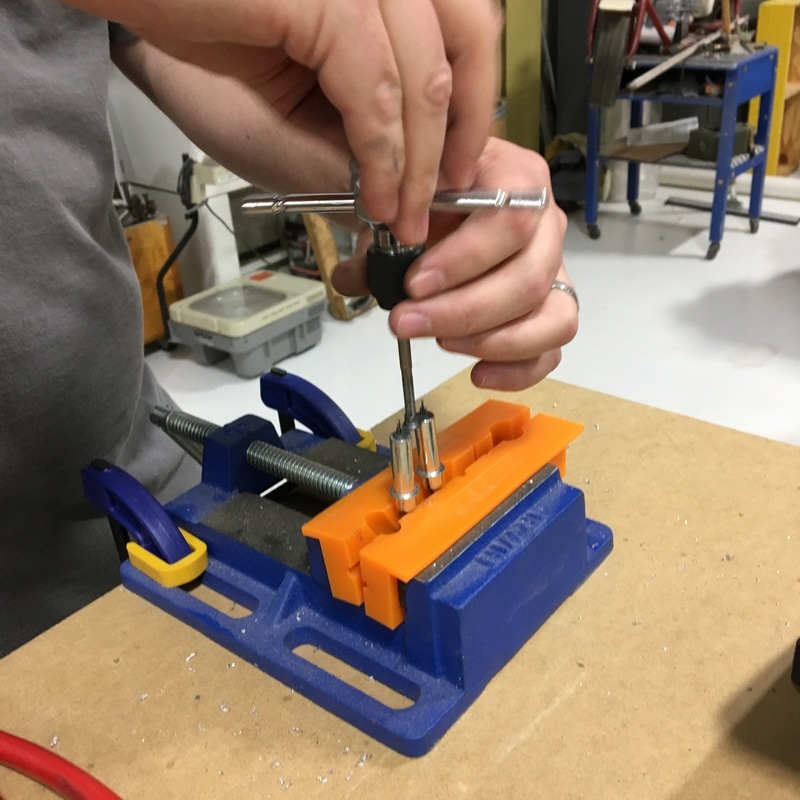
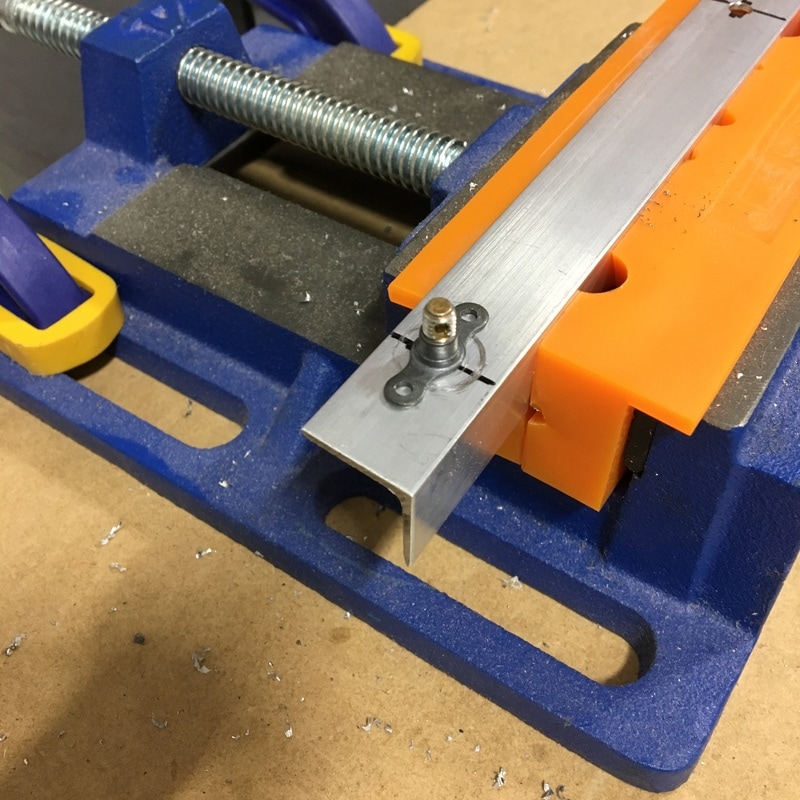
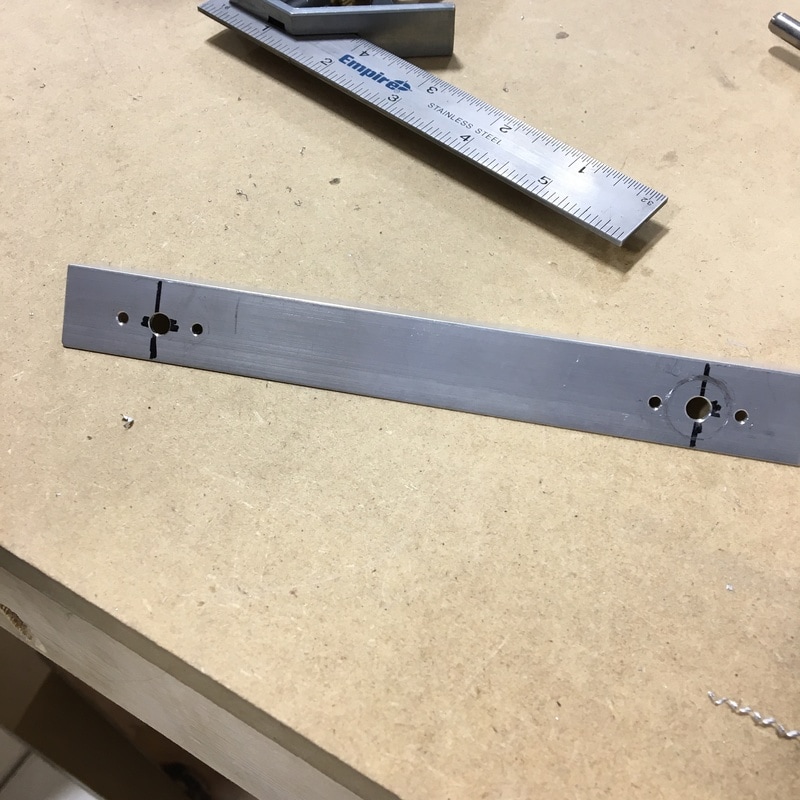
After a week of basking in the euphoria of finishing the horizontal stabilizer, it was time to move on to the next portion of the build - the tail cone. 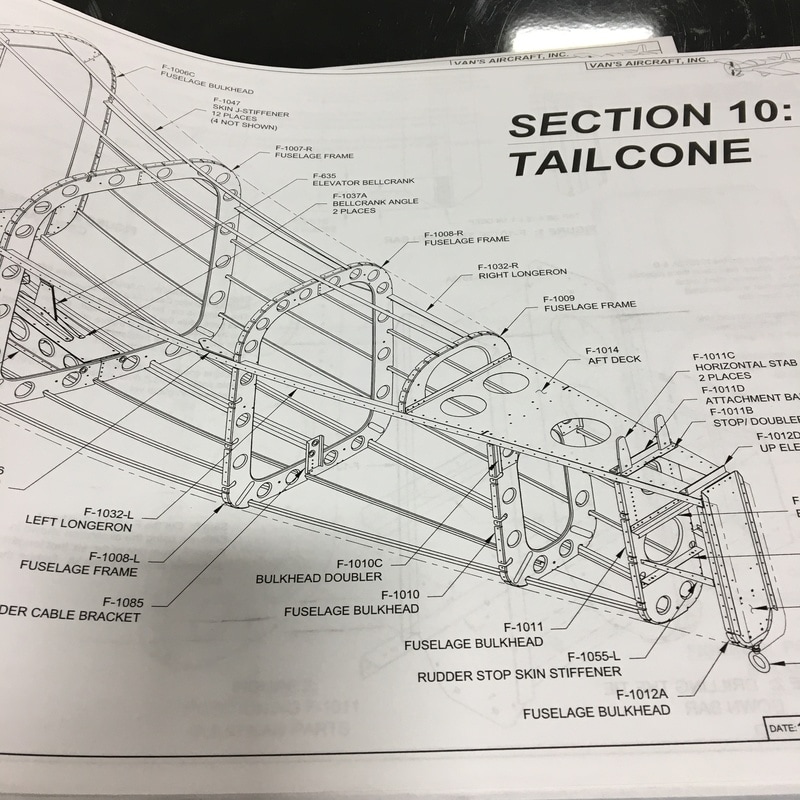 But first, we had to move the horizontal stabilizer into storage. That task wasn't as easy as expected because 1) the hangar where we are working is packed full of stuff and 2) the horizontal stabilizer is nearly 12 feet long. It's not especially heavy, but it's very awkward to move. After moving a LOT of stuff out of the way, we made a clear path and got the horizontal stab all settled into storage.  With the horizontal stabilizer out of the way, we were confronted with a view that we haven't seen in a really long time. 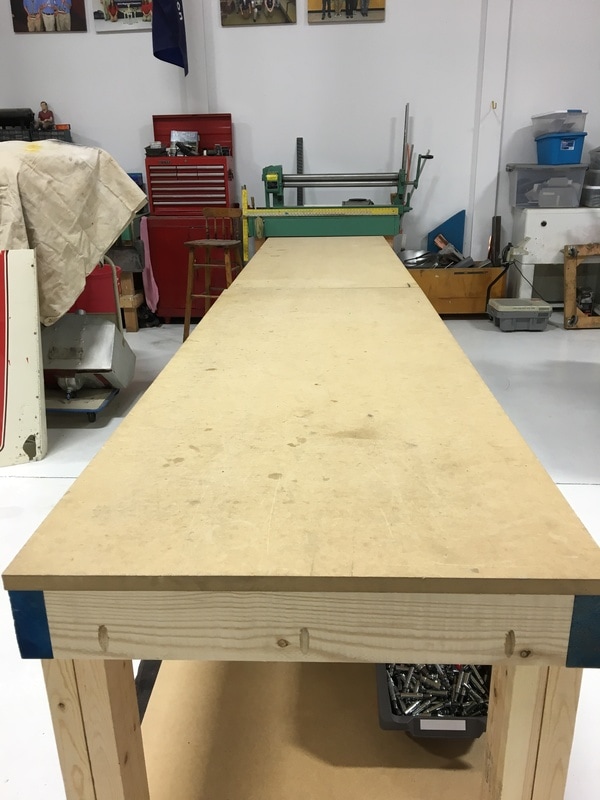 That, my friends, is an empty workbench! Don't worry, it didn't stay empty for long. While we were stowing the horizontal stab, we grabbed the parts that we will need for the first stage of the tail cone. It's been 10 months since we started a new section of the build and I had forgotten what the early stages are like...peeling vinyl, marking pieces, and deburring! Deburring is one of those tasks that just never seems to end and these tail cone pieces are full of lightening holes, nooks and crannies. It also seems like every piece is curved and has a million flanges. I did manage to get a pretty good picture of why we have to deburr every single edge. You can really see how rough the edges are on the flange. 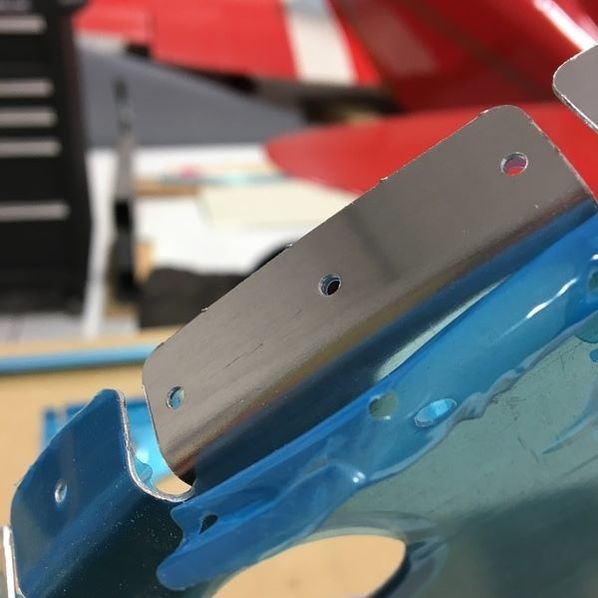 While I spent hours deburring, Mike started work on the first pieces of the tail cone. The first few pages of the tail cone instructions also require us to fabricate quite a few pieces. Mostly, they instruct us to cut a short length off of a long piece of metal and drill some holes. Mike likes to cut the pieces a little bit long and then finish the ends using the bench grinder. The holes always need to be drilled a very odd, very precise distance from the edges. I thought Mike used a very clever system to get the holes in the right spot. He laid down a solid layer of black sharpie and then used a scribe to make a line the appropriate distance from each edge. Where the scribed lines make an "x" is where he needed to drill. The holes that go into this particular piece are absolutely enormous (compared to every other hole we've drilled so far). When Mike got out the drill bit I made him double check the size a couple of times before I would let him make a hole. When we were done, we realized that the holes weren't in the right place. They were each off by about a quarter of an inch, so we started over and did the whole thing again. Even when building airplanes you should measure twice. These big holes then needed two smaller holes drilled on each side. We will eventually rivet on a nut plate that does...something. I'm going to admit right now that I have absolutely no idea what any of this stuff is. When we worked on each of the stabilizers I got pretty comfortable with the types of pieces we were preparing and using. On the tail cone we seem to be prepping a whole bunch of parts that then get set aside. I honestly have no idea what's going on, which makes it very hard to explain. As this part of the build progresses, we will just have to figure out what is going on together. Anyway, here are some pictures of drilling the holes for the mysterious nut plate.
0 Comments
Leave a Reply. |
AuthorThe supportive spouse's guide to building an airplane. Archives
May 2017
Categories |


 RSS Feed
