|
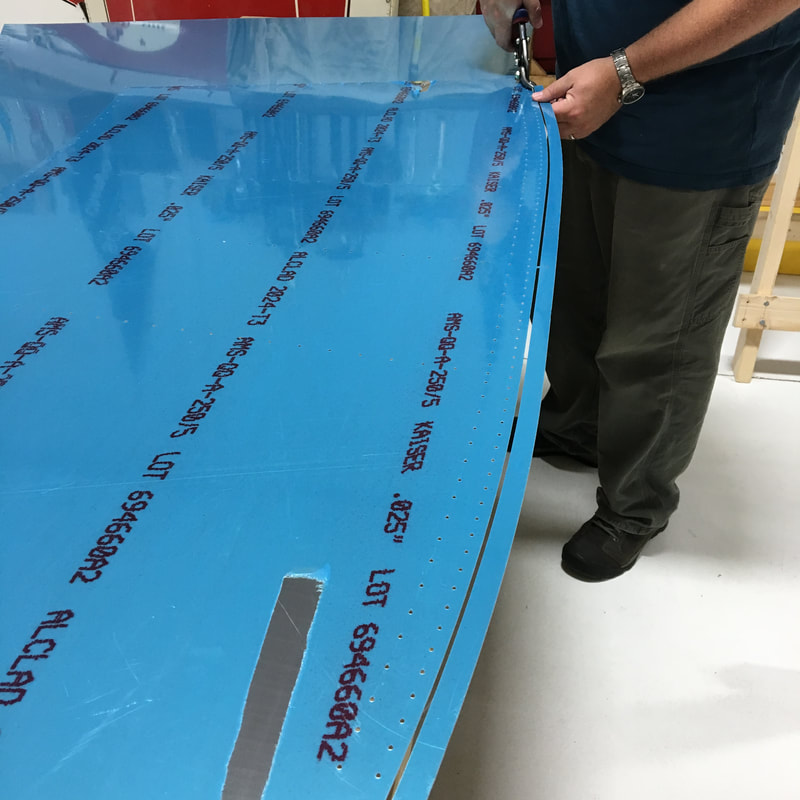
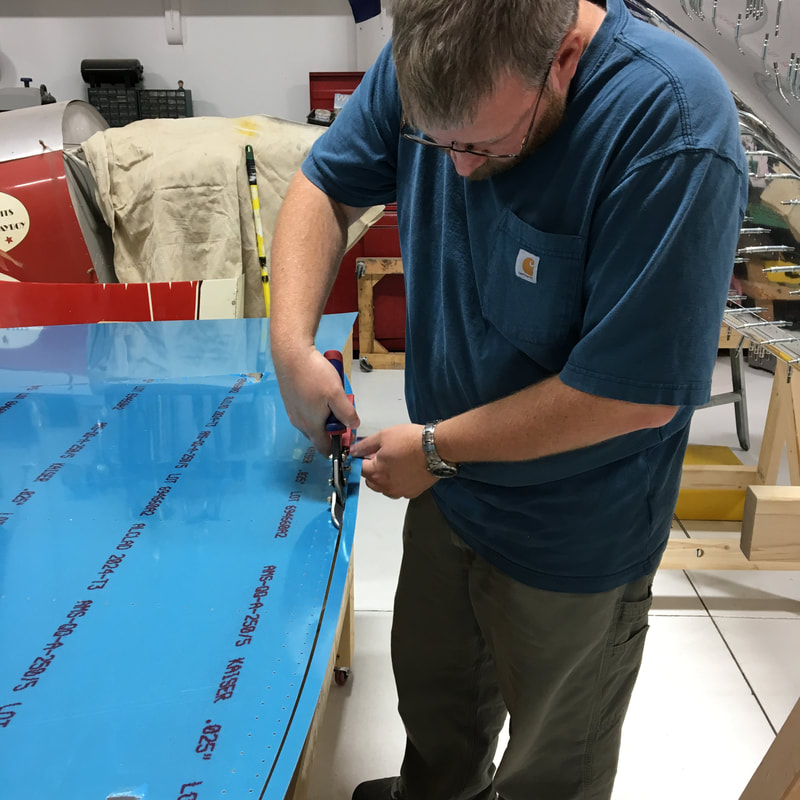
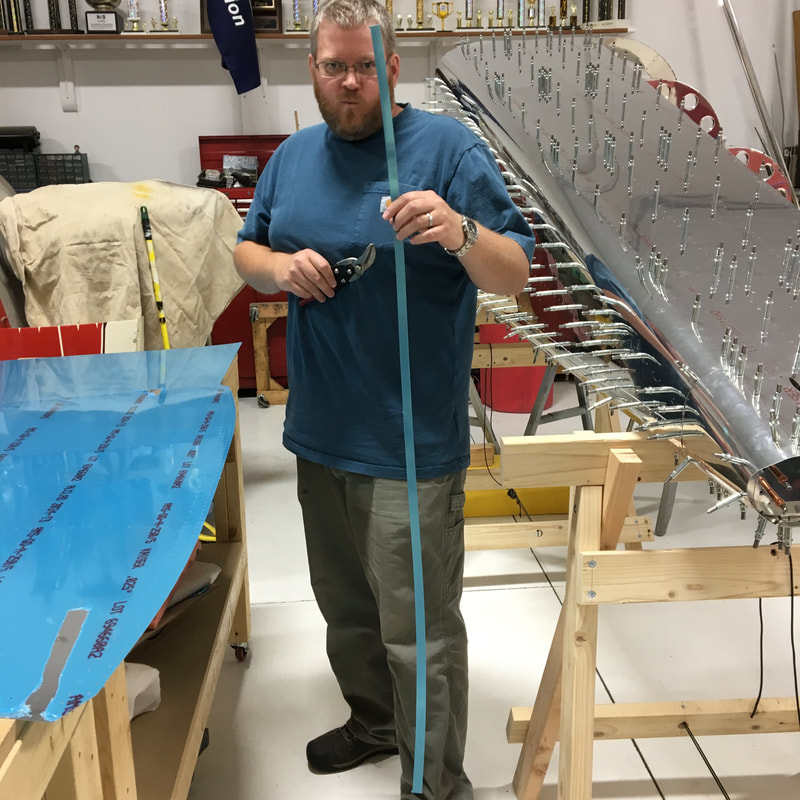
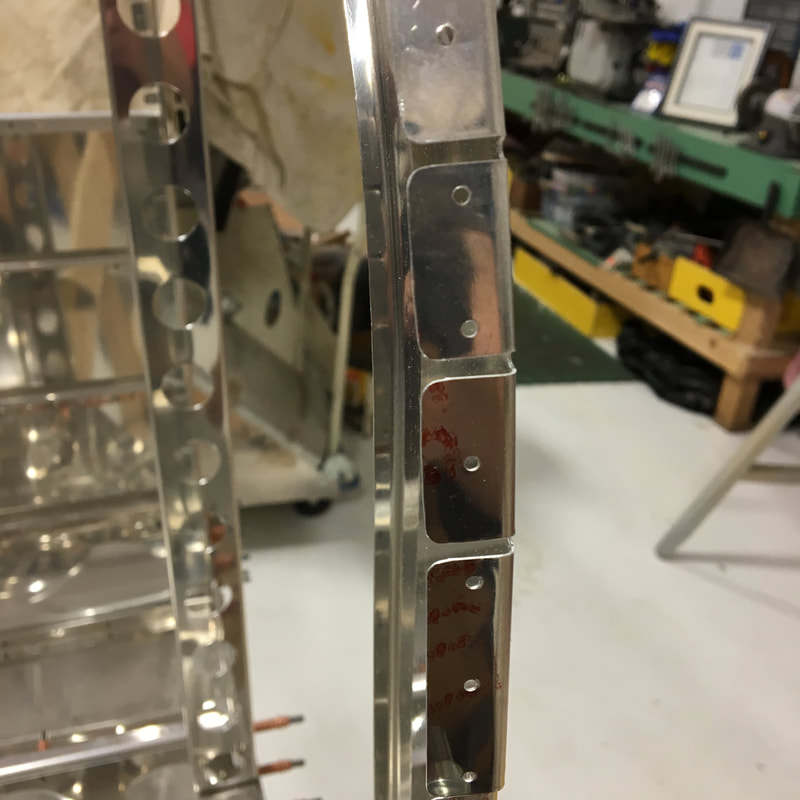
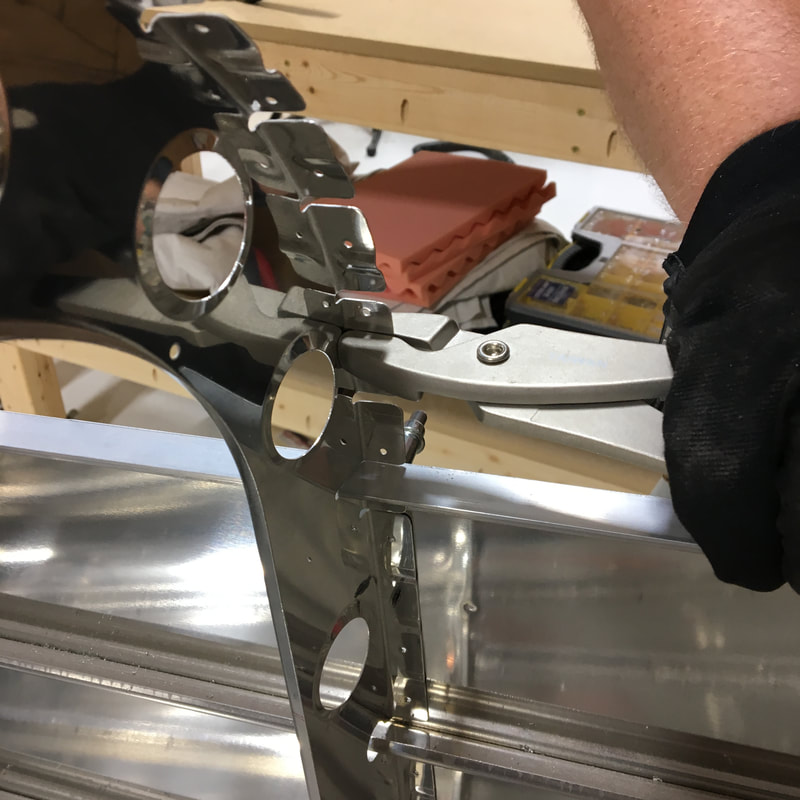
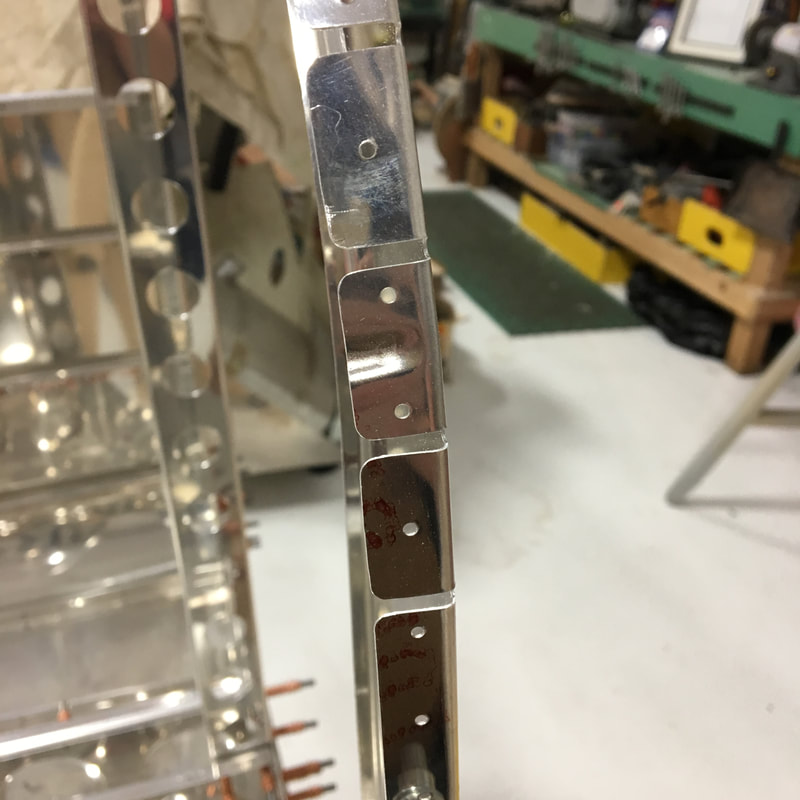
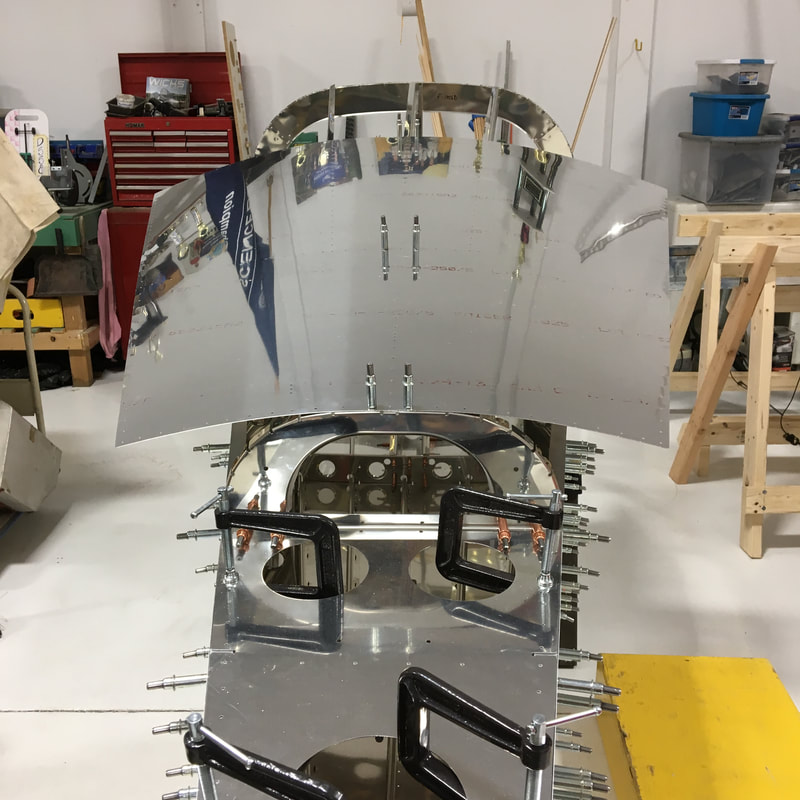
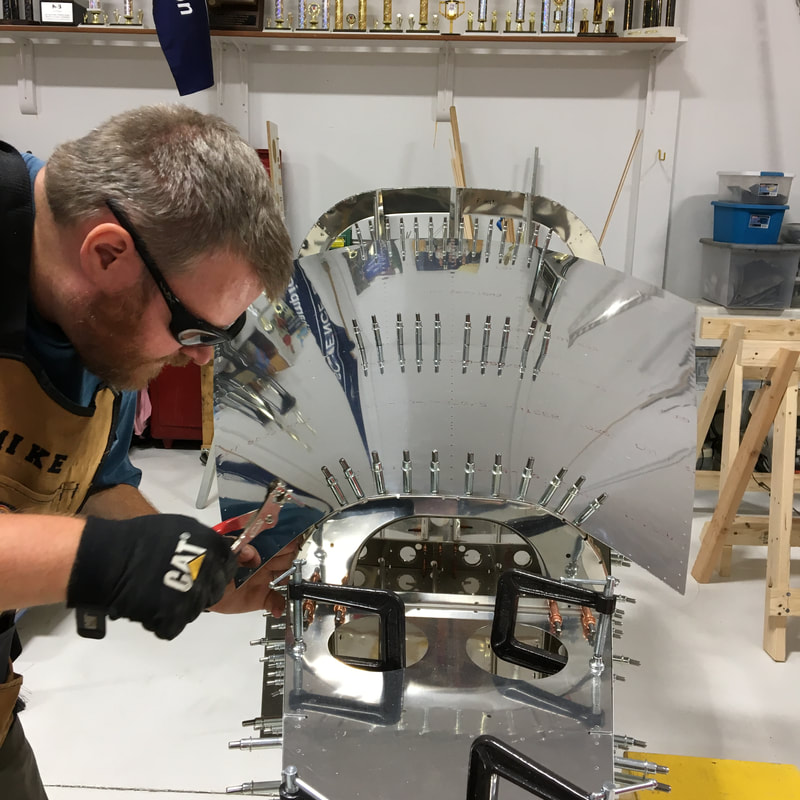
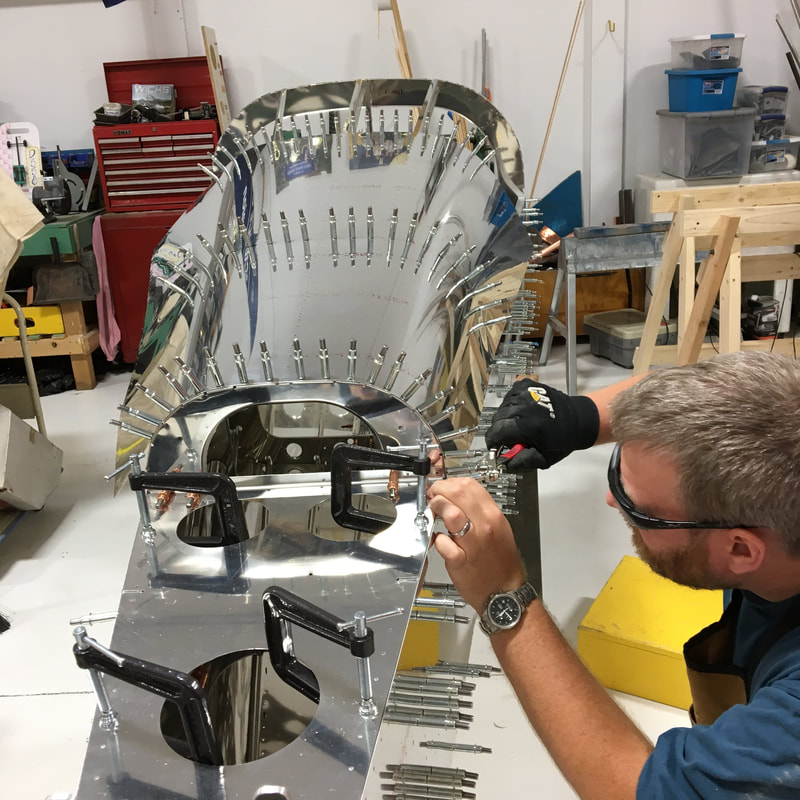
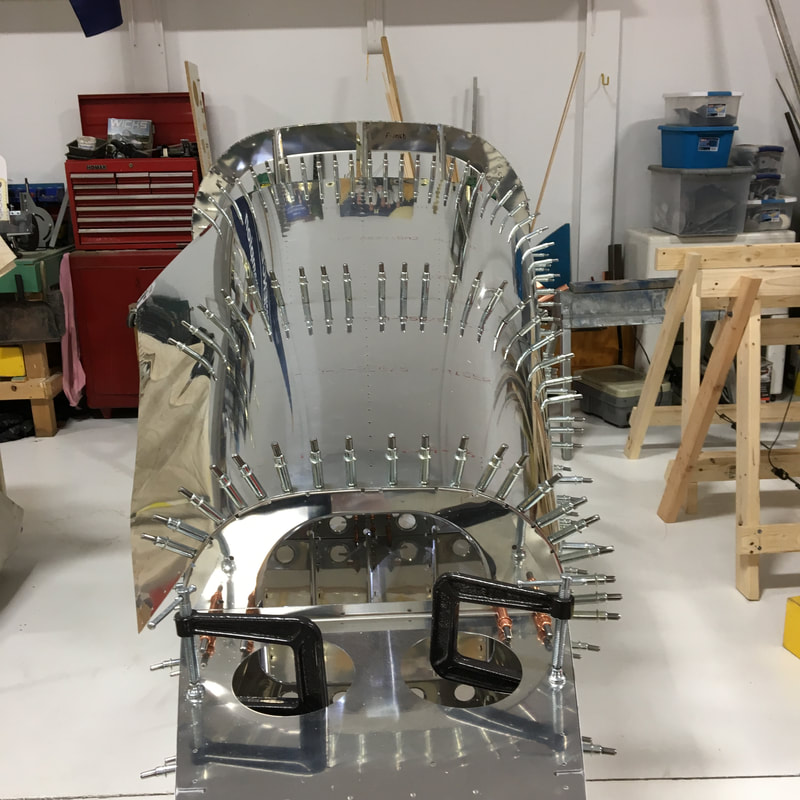
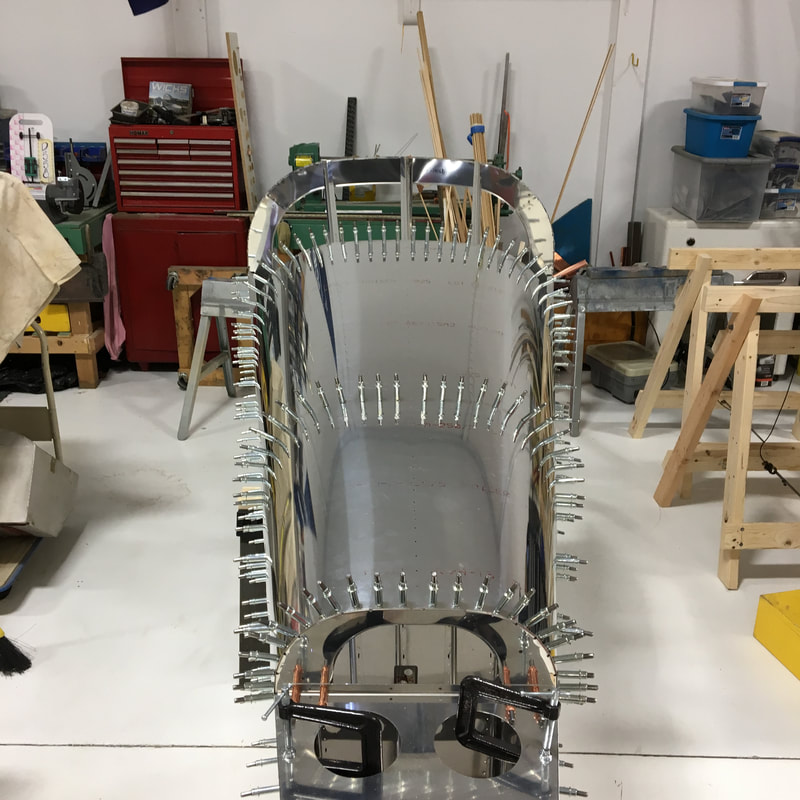
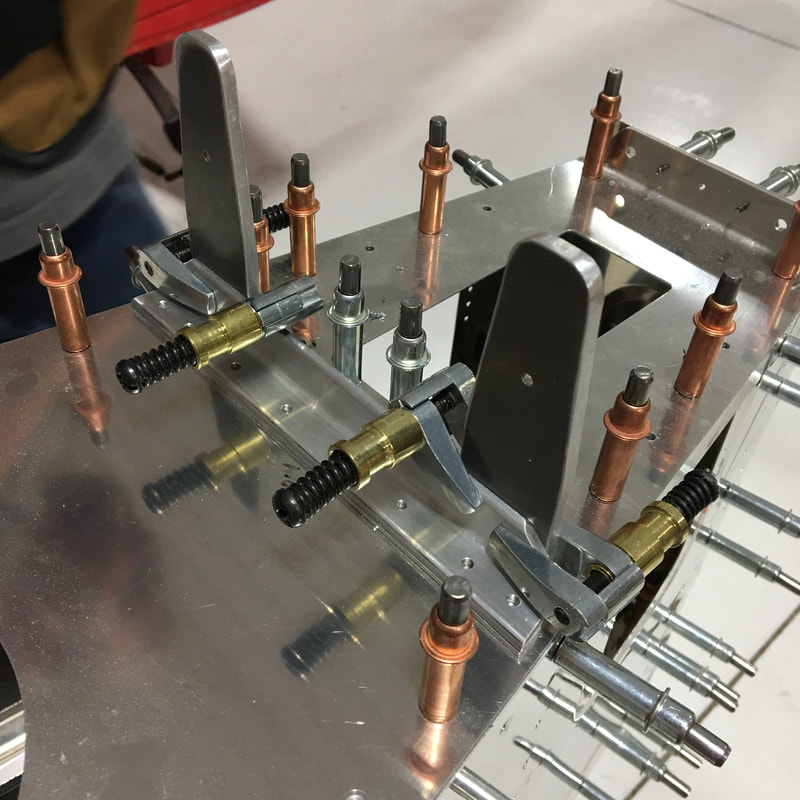
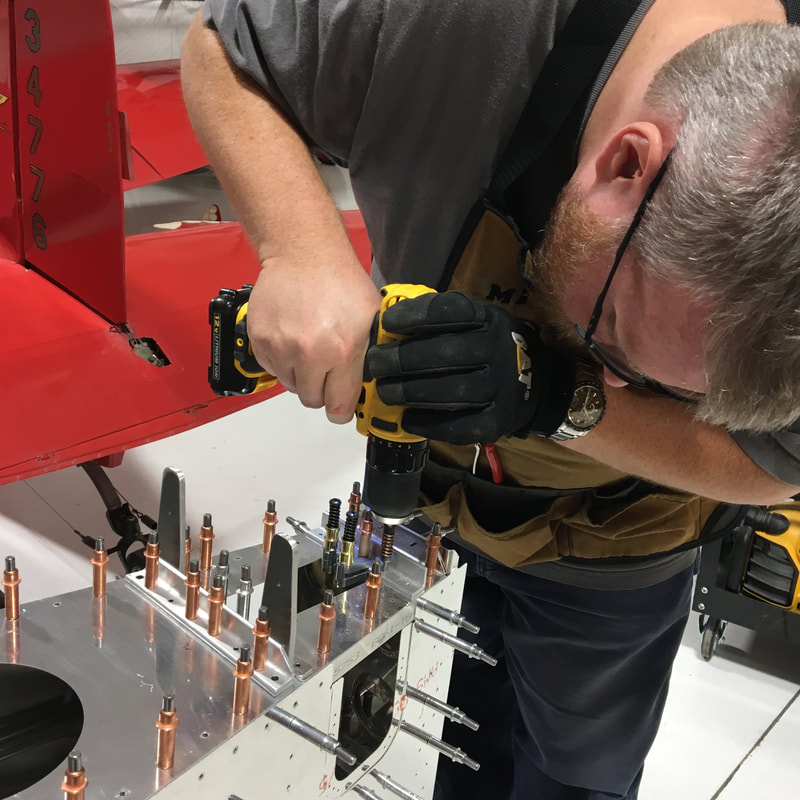
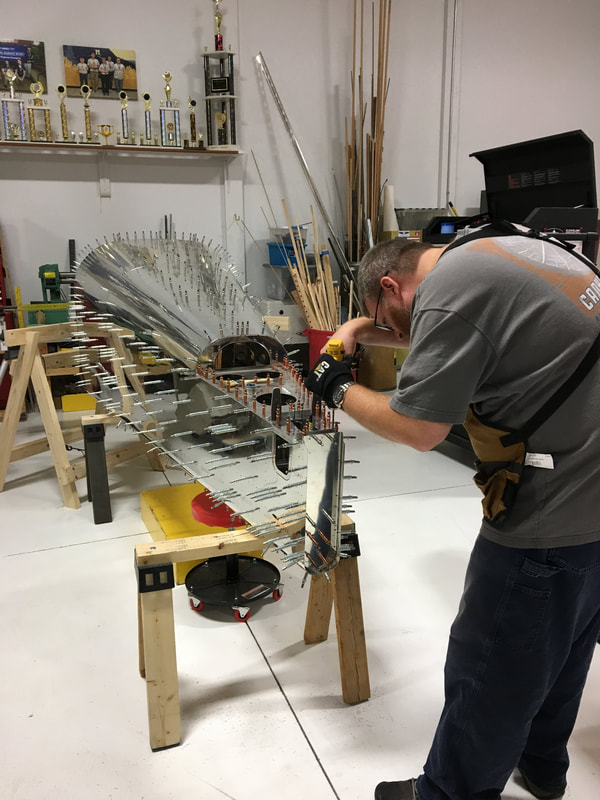
Okay, this is getting embarrassing. I have been so bad about updating the blog lately. We've been making steady (if slow) progress on the plane over the past few months, I just never seem to sit down and write about it. Let's start getting caught up on what's been going on. At the end of my last post, Mike was just beginning the daunting task of final drilling all the holes in the skin and underlying support structure. It took him about 9 hours to drill all the holes, with the holes in the longerons taking a particularly long time. The metal of the longerons is pretty thick and unlike most of the other parts, there were no prepunched holes. I mostly stayed out of the way during the drilling process since it's really a one person job. Once all of those holes had been drilled, we were ready to put the top skins in place. Before we were able to do that, we had to separate a thin strip of aluminum from one of the skins. I think that Mike said we will use that aluminum strip when we attach the tail to the fuselage...so about 5 years from now. I sure hope we can keep track of that piece! The top skins are flat, but obviously the top third of the tail cone is not, so getting the skins in place was a bit of a process. First, we had to flute some of the flanges where the curve is tightest. The fluting introduces a slight angle into the flange so you can get a smoother curve. Without the fluting, you end up putting tiny creases into the skin as the metal of the skin bends at the end of each of those flat flanges. The top skin is really two separate parts, so we started with the rear portion. We secured the skin at the flattest point on the top of the tail cone and slowly worked out way down each side, fastening the skin in place with clecos as we went. We did exactly the same thing with the front section, until it looked like this. 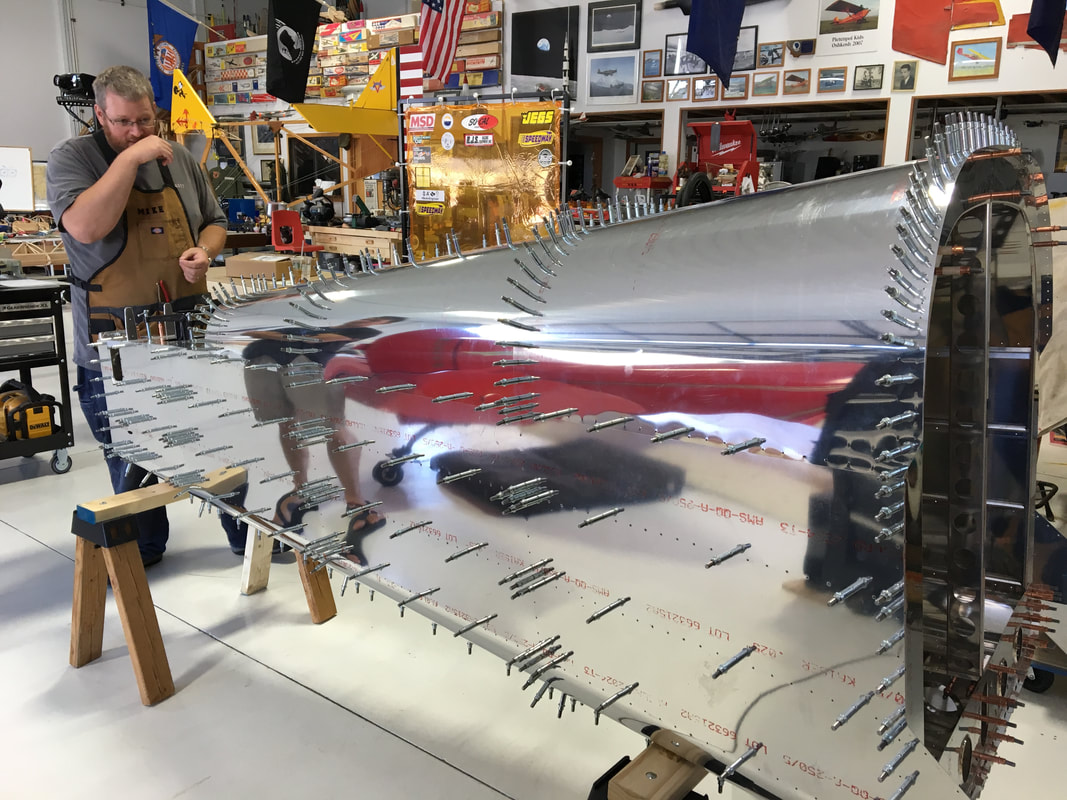 With the top skins in place, there were more holes for Mike to drill. Then we continued work on the very back of the tail cone, where the horizontal and vertical stabilizers will eventually attach. You can see in some of the previous pictures, that there are still C-clamps holding together the very rear portion of the tail cone. Mike was finally able to drill some holes back there so we could replace the clamps with clecos and add some additional structural stuff. There is so much going on in that last few feet of tail cone that "structural stuff" is about as detailed description as I can give. Keeping track of all those little brackets and angles and support whatevers is going to be a challenge. That structural stuff required using the angle drill in a couple of spots where the vertical stabilizer attachment bars get in the way of the regular drill. It was the first time I remember using the angle drill on such thick pieces of metal, and it was kind of a fiasco. The entire head of the angle drill swivels, so Mike struggled keeping it perpendicular while he drilled. At least one hole got a little mangled, but not enough to be a problem later on. Then, we had to remove the top skins (of course we did) so we could install the seatbelt attachment brackets (technically they are called shoulder harnesses, not seat belts, but I don't really care). I still don't understand why we couldn't have done that step before we put the top skins in place. They don't look like much right now, but those seat belt brackets are the first real reminder that actual human beings will be riding in this plane. 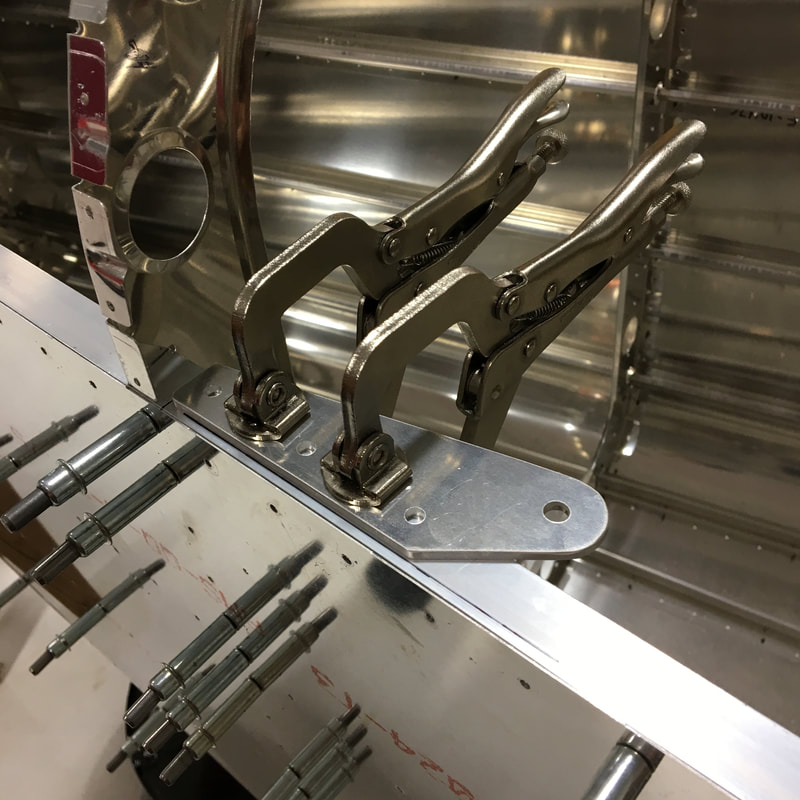
2 Comments
some foreigner
10/9/2017 10:20:06 am
Yeah! The blog is back. I saw that skin looking like a pin cushion this summer. A little heavy on the sarcasm in this one. "Structural Stuff" and that might be important to you know hold the harness in place. I love it though. Keep the updates coming. Leave a Reply. |
AuthorThe supportive spouse's guide to building an airplane. Archives
May 2017
Categories |


 RSS Feed
