|
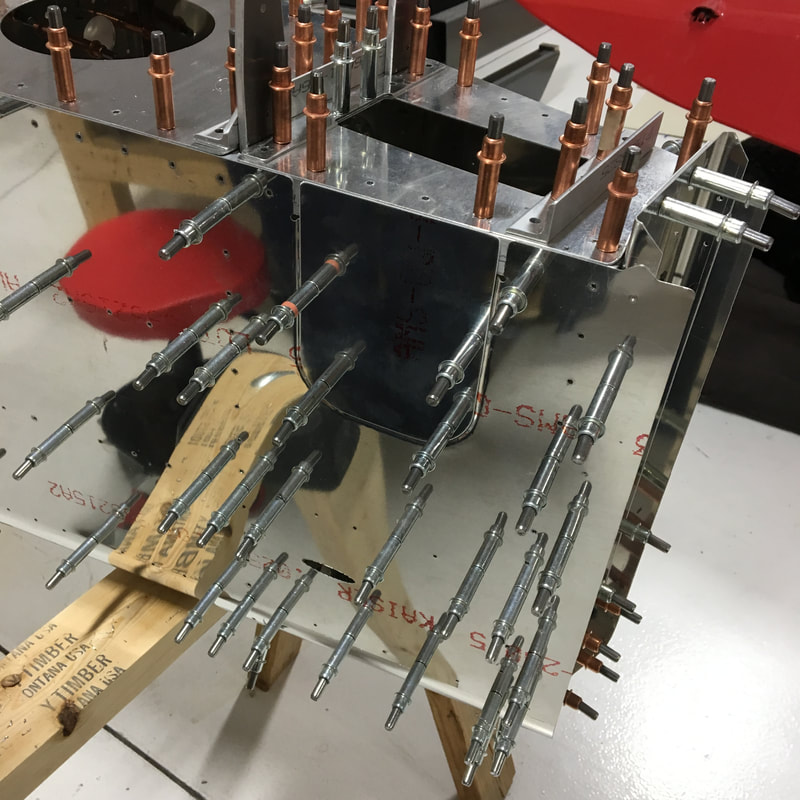
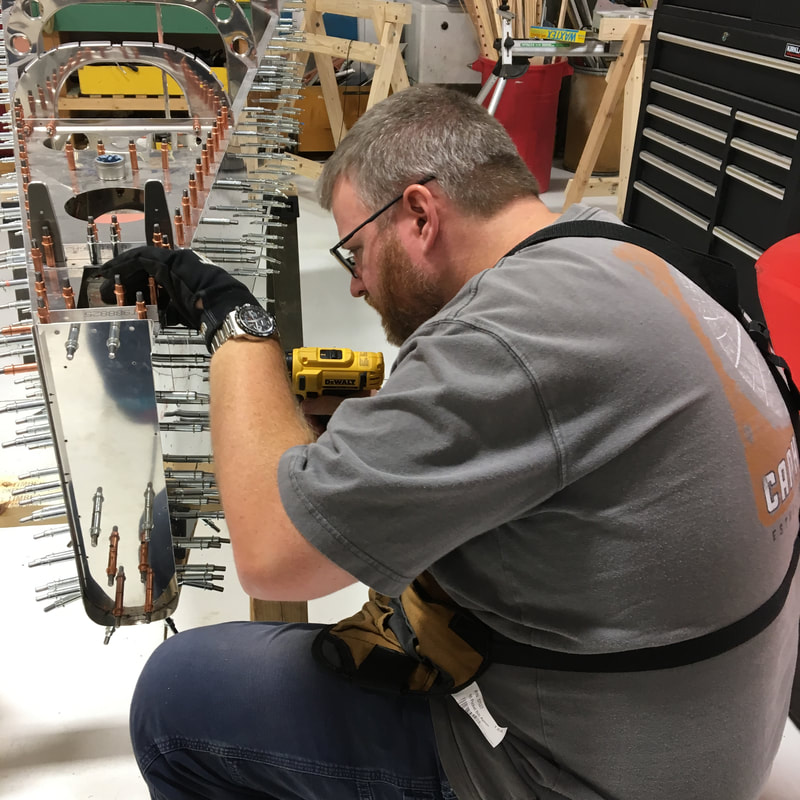
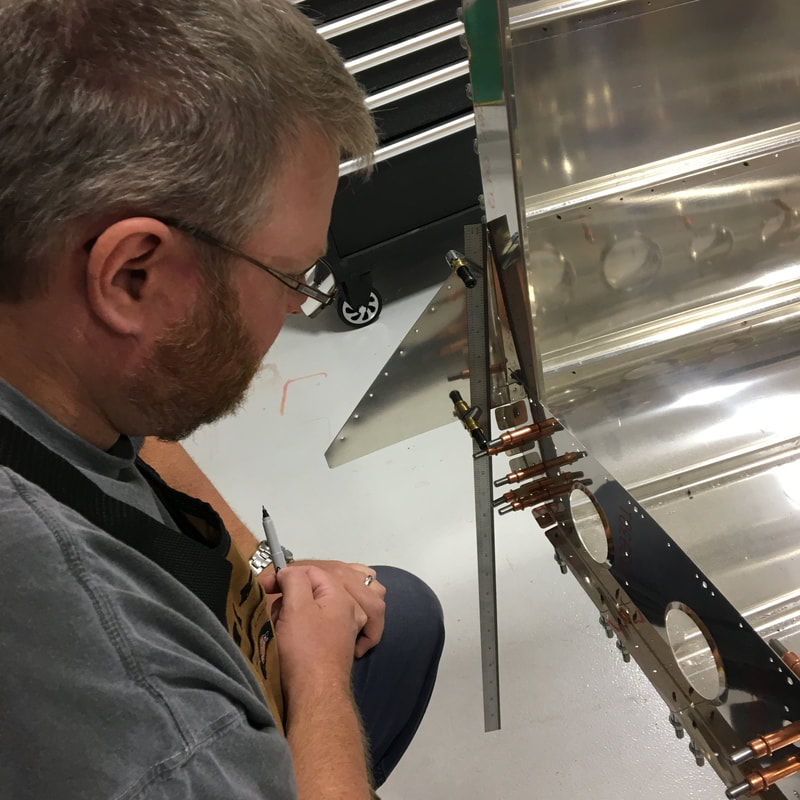
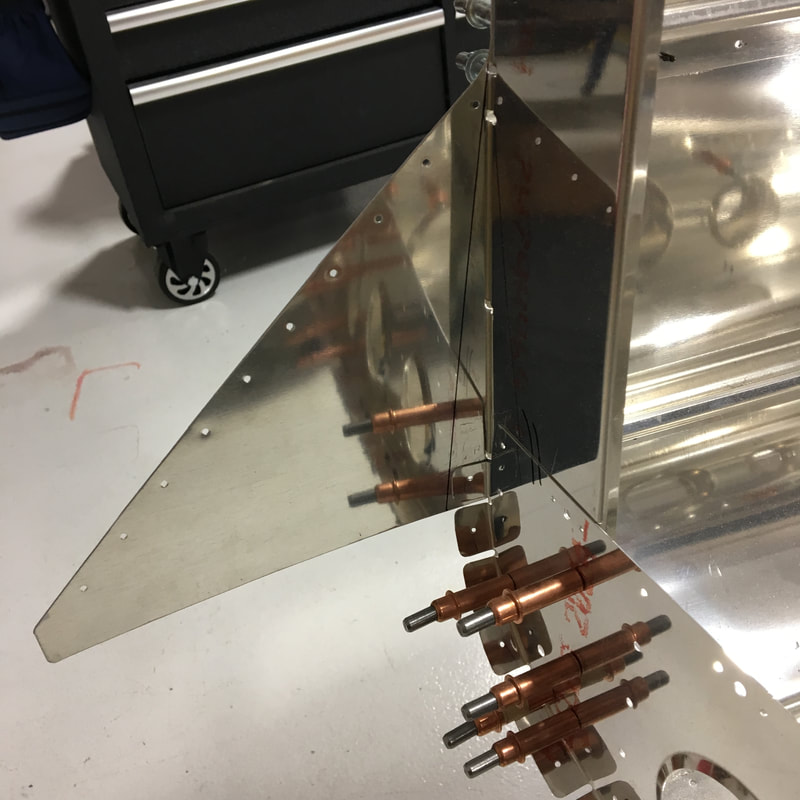
The instructions for the tail cone seem to jump all over the place. You feel like you're making real progress and then you stop what you're doing to work on some small, unrelated task. Obviously, every step is important, but it feels like we are always getting sidetracked. We still had a few of those small tasks to complete before we were able to move onto the next major stage of the build. We drilled some shockingly large holes in the side of the tail cone for something called a static port. The static ports are part of the system that measures the plane's airspeed and altitude (thanks Google). The rest of the system will get installed somewhere down the road, but this is the best time to put those ports in place.  To drill the holes for the ports, Mike used a step bit. It looks kind of like a pyramid where each step makes the hole a little bit larger. 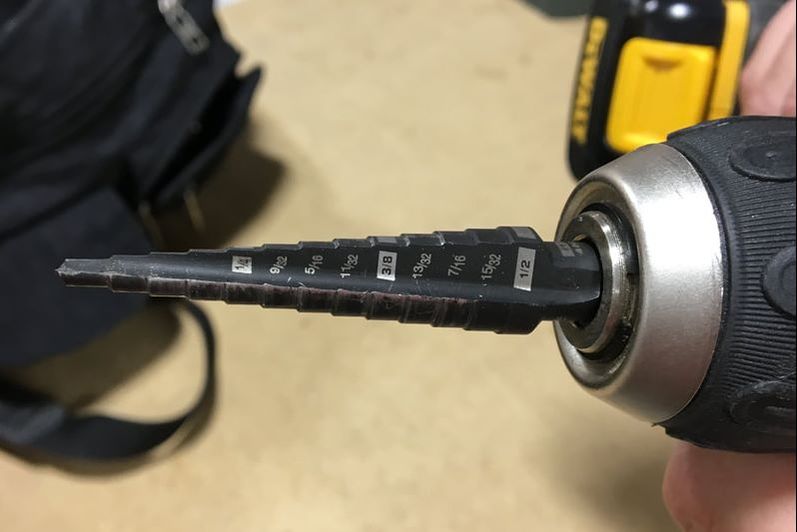 The step bit also has a straight cutting edge (you can see it on the bottom side of the bit in the previous picture) and that's helpful when you're cutting through the really thin metal of the skin.  Next, we installed the small plates that cover up the last of the holes at the end of the tail cone. Finally, in one of the most confusing and frightening instructions, we got ready to cut off part of the skin at the front of the tail cone. There are two small triangles that stick out of the front of the tail cone. Apparently, you only need one of them when you attach the tail cone to the fuselage. Mike marked the section that will be removed, but we won't actually cut it off until we can get better access later on.
1 Comment
Well you know
10/15/2017 10:22:35 am
Hmmmmm this post could have been titled addition by subtraction or growth by removal. Leave a Reply. |
AuthorThe supportive spouse's guide to building an airplane. Archives
May 2017
Categories |
 RSS Feed
