|
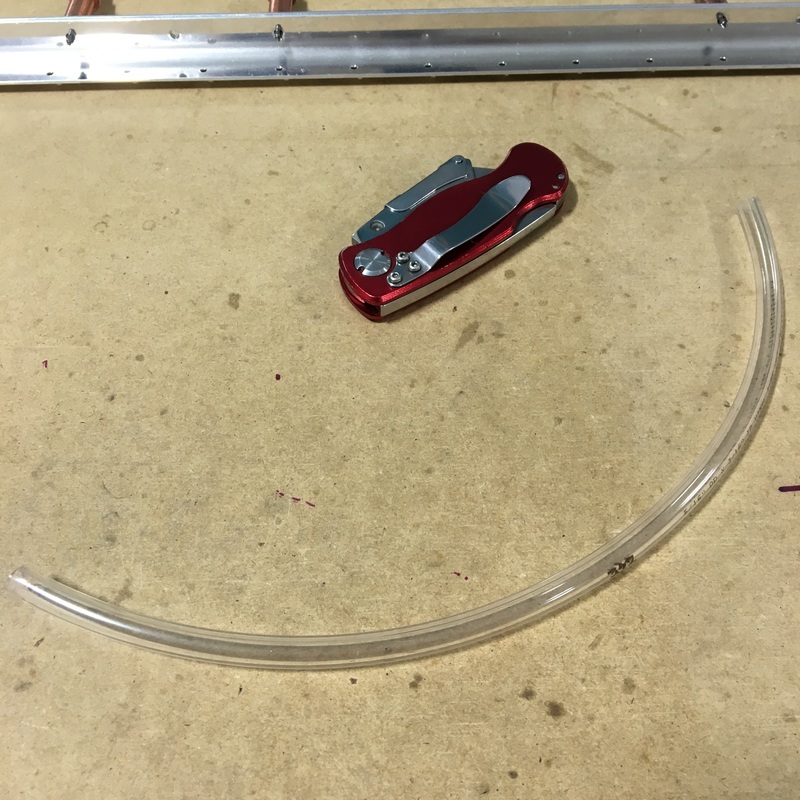
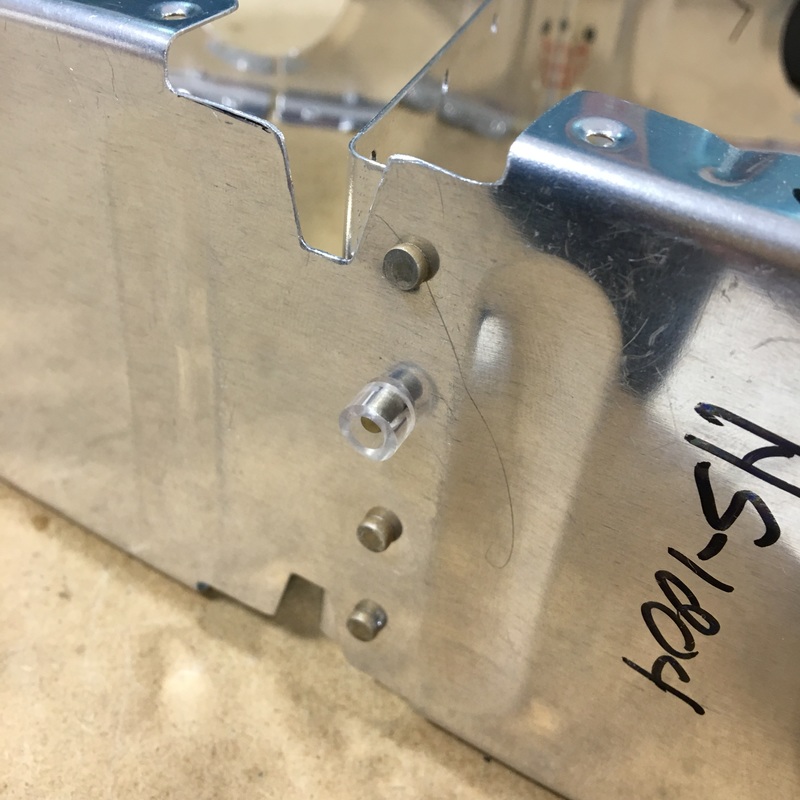
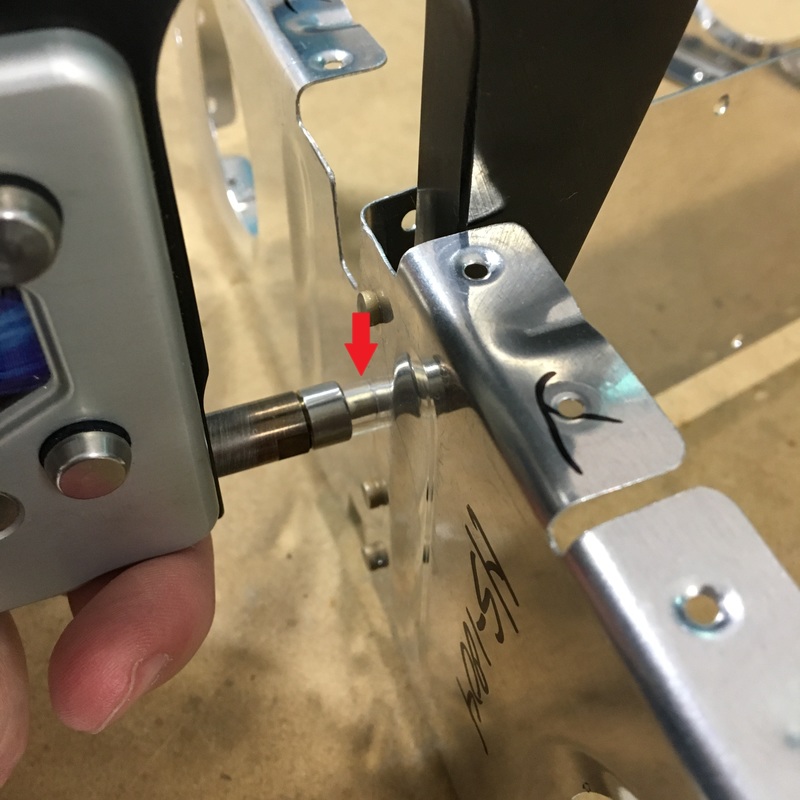
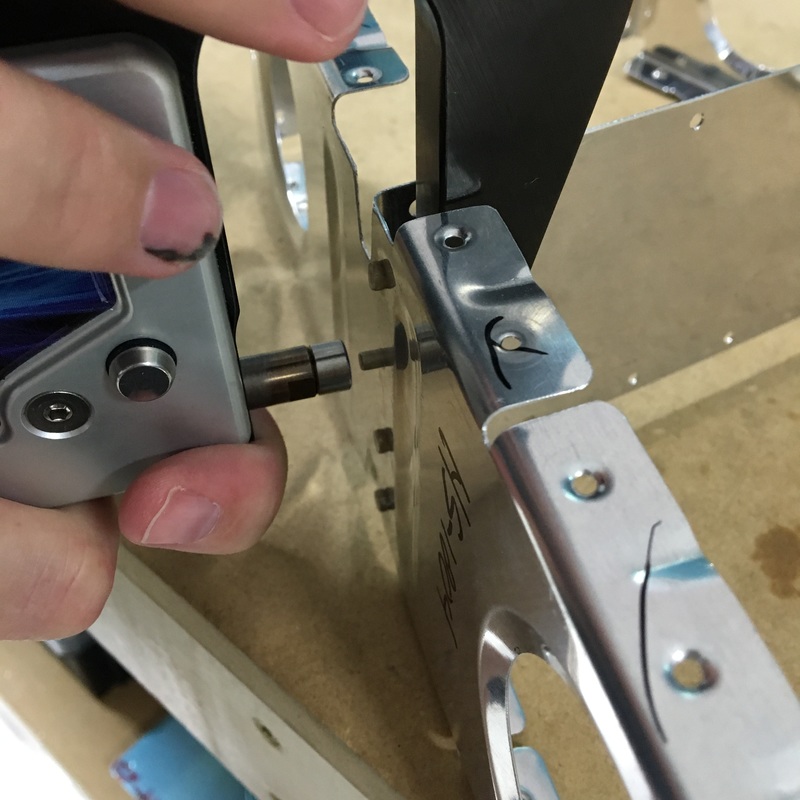
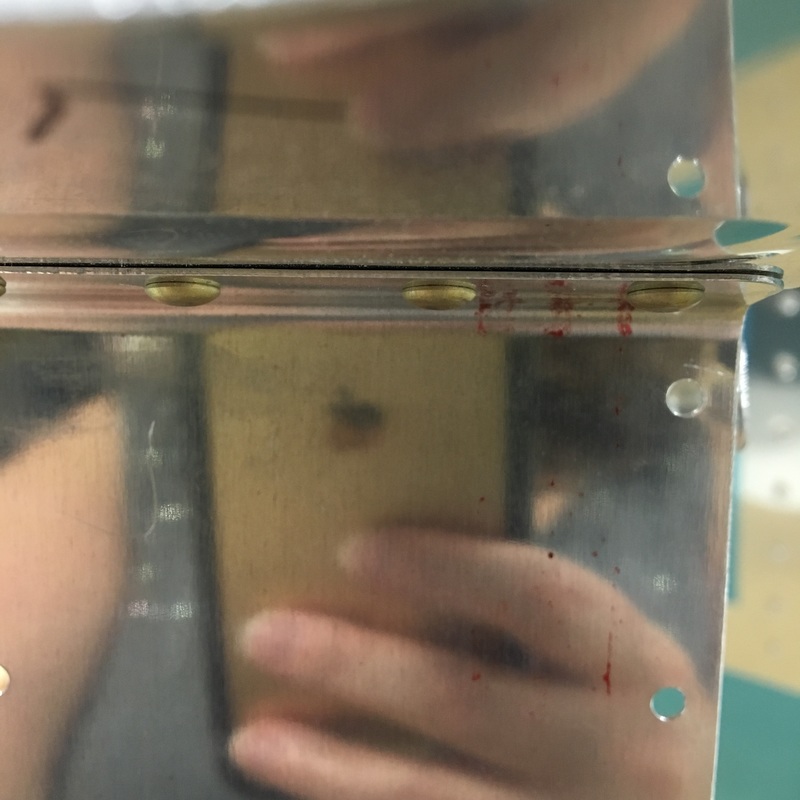
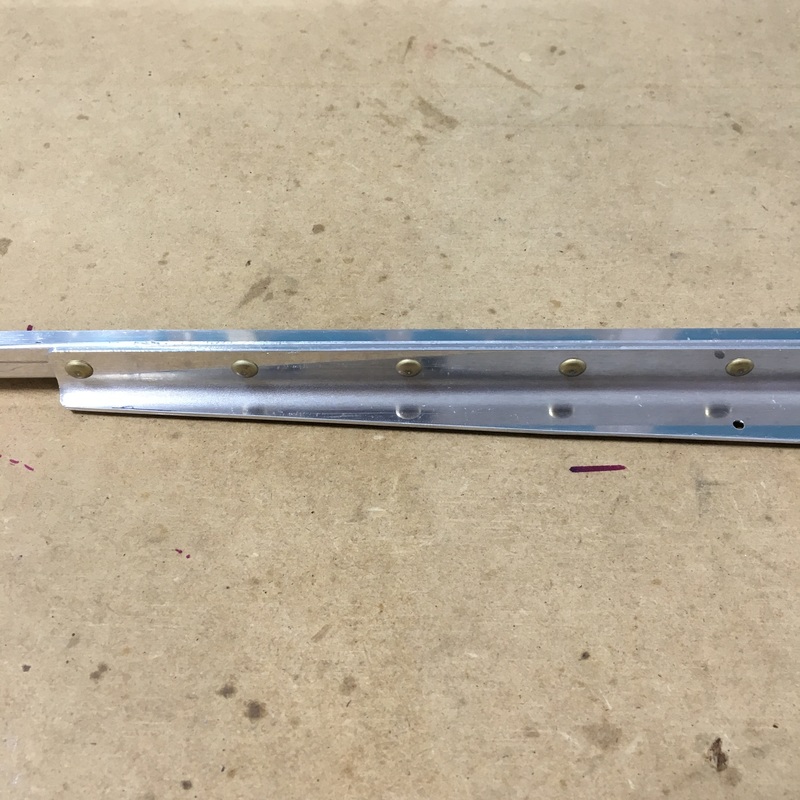
We've started riveting the horizontal stabilizer! What a wonderful feeling to be done with all the prep work on this part of the plane. I don't know that I could have faced drilling, deburring, and dimpling another hole. Finally getting to permanently attach pieces if both very exciting and very nerve wracking. We haven't done much riveting lately and let's just say that those skills were a little rusty. Things started out smoothly enough as we put together our first pieces of the skeleton.  When we rivet small pieces like this, there are often visible gaps between the flange of one piece and the web of the other. As we started riveting these pieces, we noticed the gaps and, while they aren't necessarily a problem, Mike wanted to test out a new technique he had read about online. Mike cut a very small piece of clear rubber tubing just slightly longer than the rivet shaft. The theory is that the rivet squeeze first applies pressure to the rubber tube, helping to cinch everything together before you actually begin squeezing the rivet. I was kind of skeptical that there would be much change, but there was a small but noticeable difference when we compared the two sides. Next we riveted the stringers together and attached them to the skeleton assembly. We used the squeeze riveter as much as possible but had to buck a few rivets that we just couldn't reach. Our skills with the rivet gun and bucking bar were really rusty and some of our work wasn't very good. 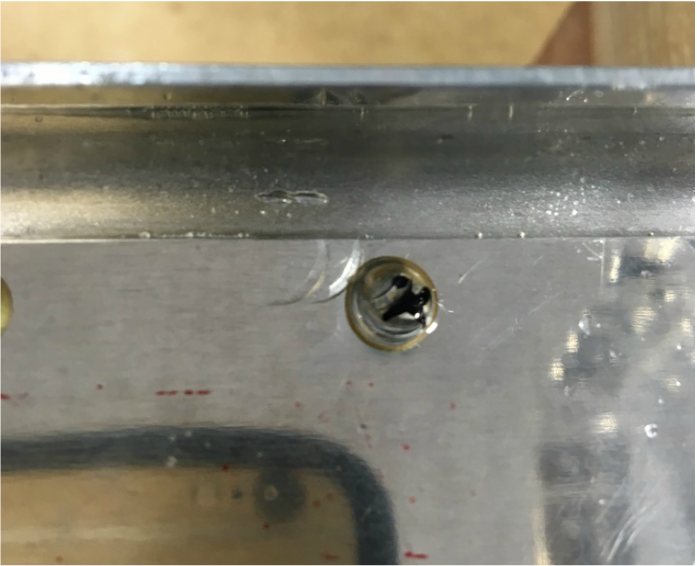 You can see the parentheses where the head of the rivet gun hit the rivet head and the metal next to it. This usually happens when the bucking bar slips and the whole thing moves before Mike can stop the rivet gun. The black "x" shows that Mike marked it for replacement. He used the rivet remover bit for the drill to take out the damaged rivet so we could try again. I still haven't gotten over my anxiety with drilling out rivets (you may remember the trouble we had the first time we drilled out a rivet and the broken drill bit caused so much damage). Everything went smoothly this time but it is still stressful for me. Part of our problem was that everything was very wobbly at this point and I was trying to simultaneously hold the bucking bar and keep the skeleton still. We figured out a way to secure the pieces to the workbench so we could focus on riveting rather than on keeping the pieces steady. 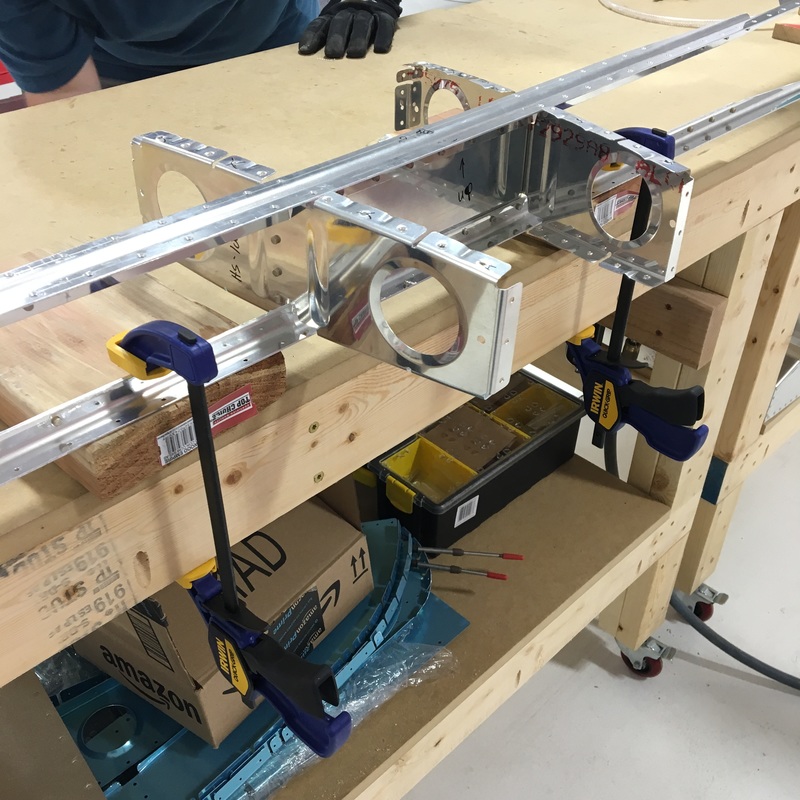 We also worked on solving another annoyance and potential problem we have encountered while riveting - scratching the surrounding metal with the bucking bar. 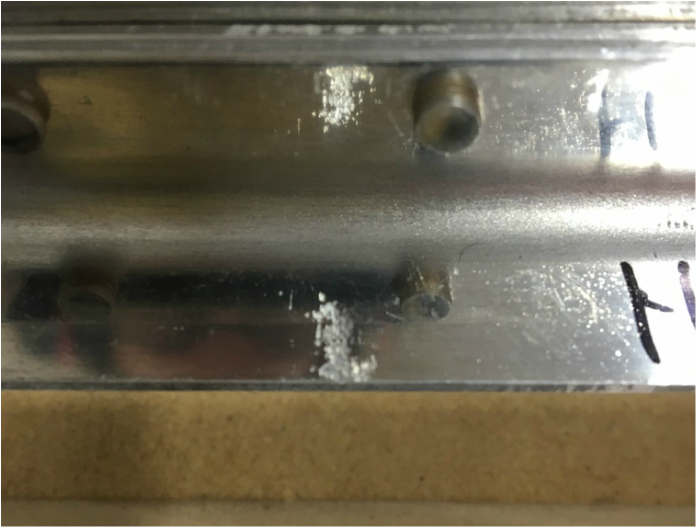 There is very little leeway when you're working with the bucking bar in these tight spaces. It's very hard to see in the picture, but that rivet is less than half an inch above the 90 degree bend. It can be quite challenging to hold the bucking bar so there is enough flat surface to hit the rivet squarely without bumping into anything else. We tried another tip that Mike read online and wrapped the bucking bar with some tape. 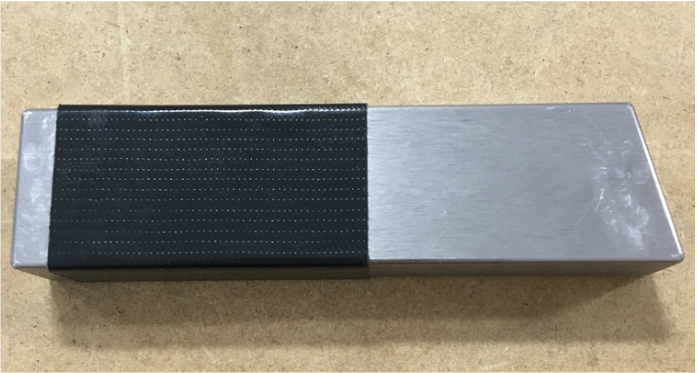 It seems to work very well and let's me position the bucking bar in the most comfortable place without worrying about scratches.
1 Comment
Chris in another country
8/19/2016 10:33:12 pm
Life hacks for airplane builders one-o-one. Great article, I am glad things are moving along to the attaching pieces together phase. Leave a Reply. |
AuthorThe supportive spouse's guide to building an airplane. Archives
May 2017
Categories |


 RSS Feed
