|
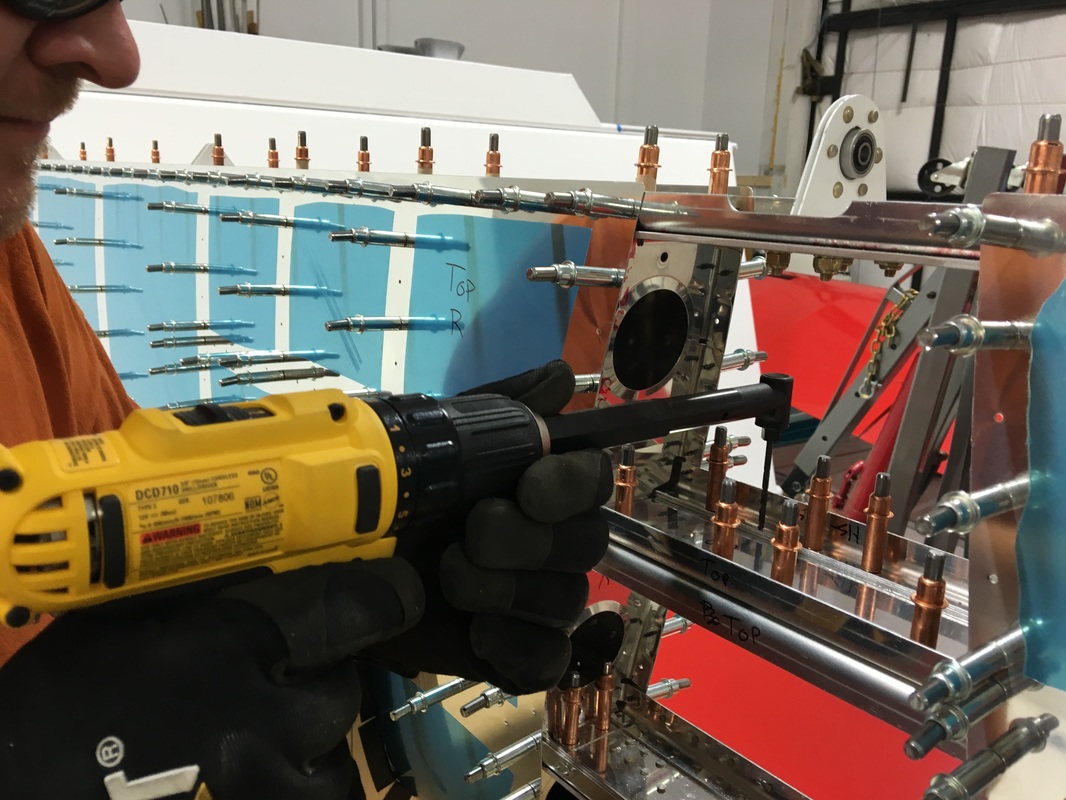
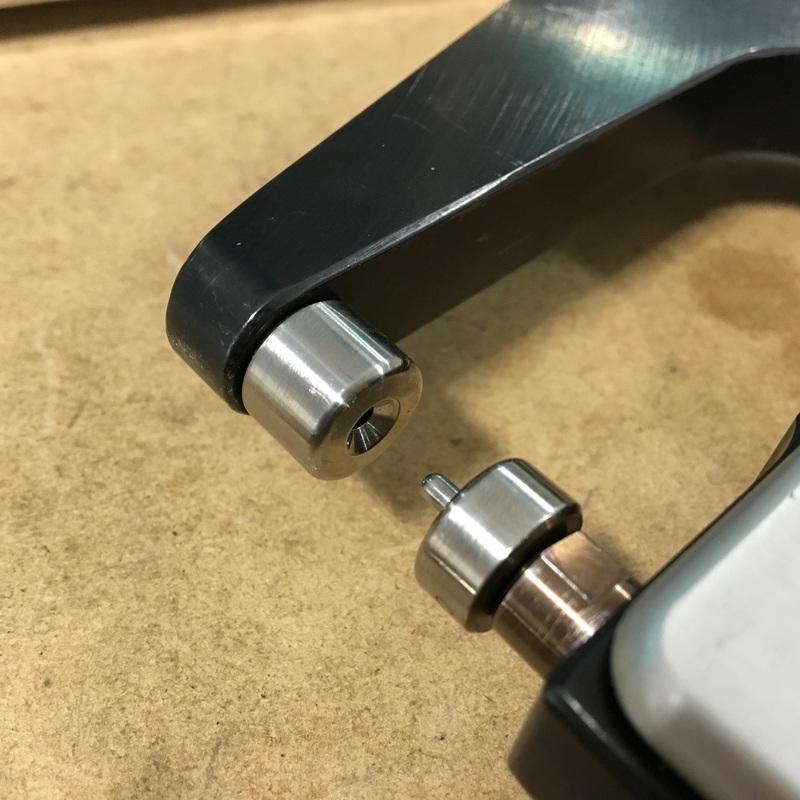
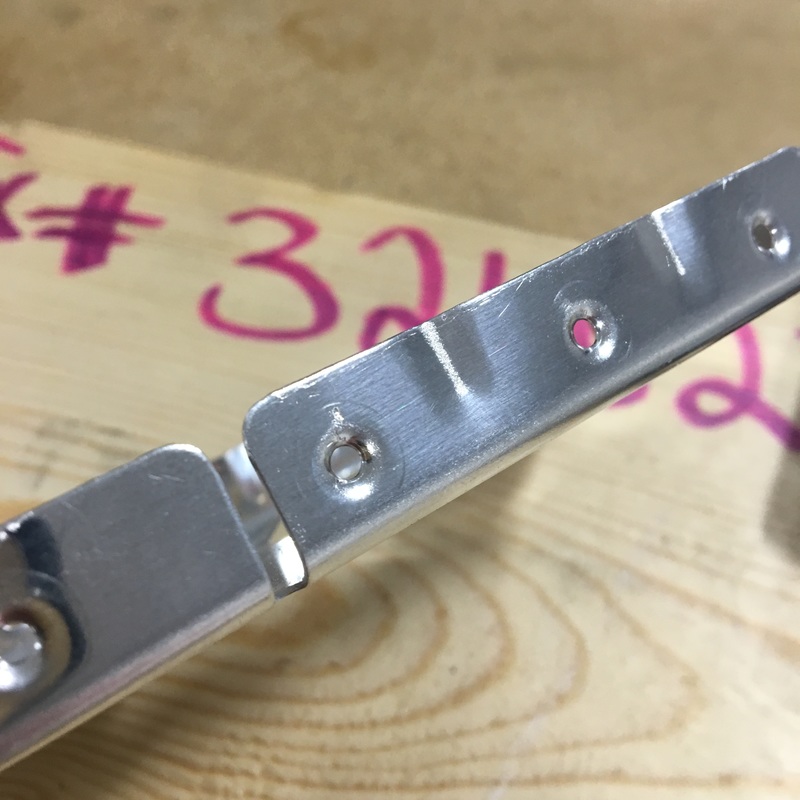
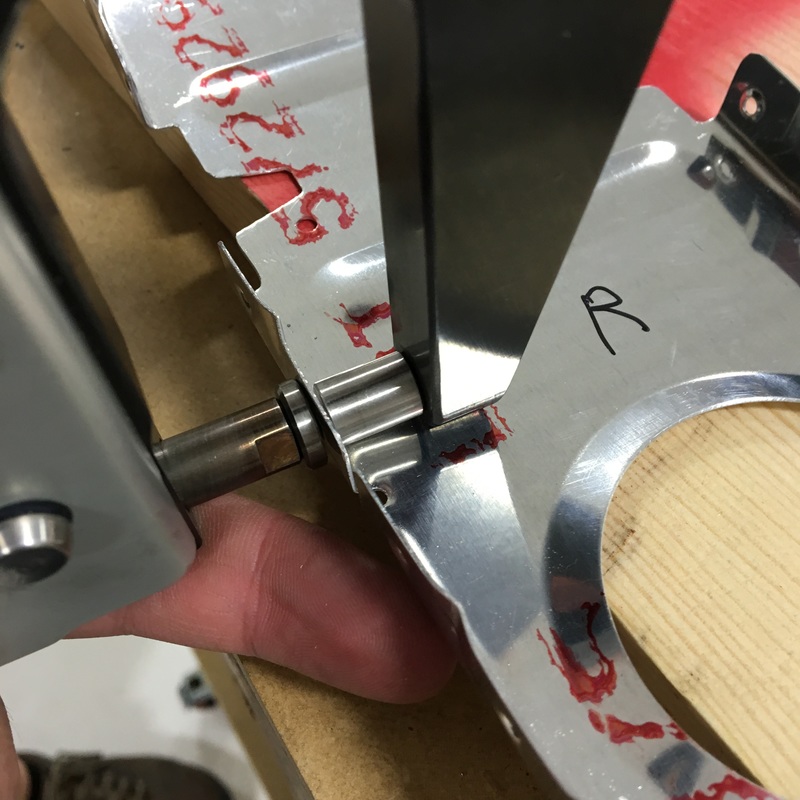
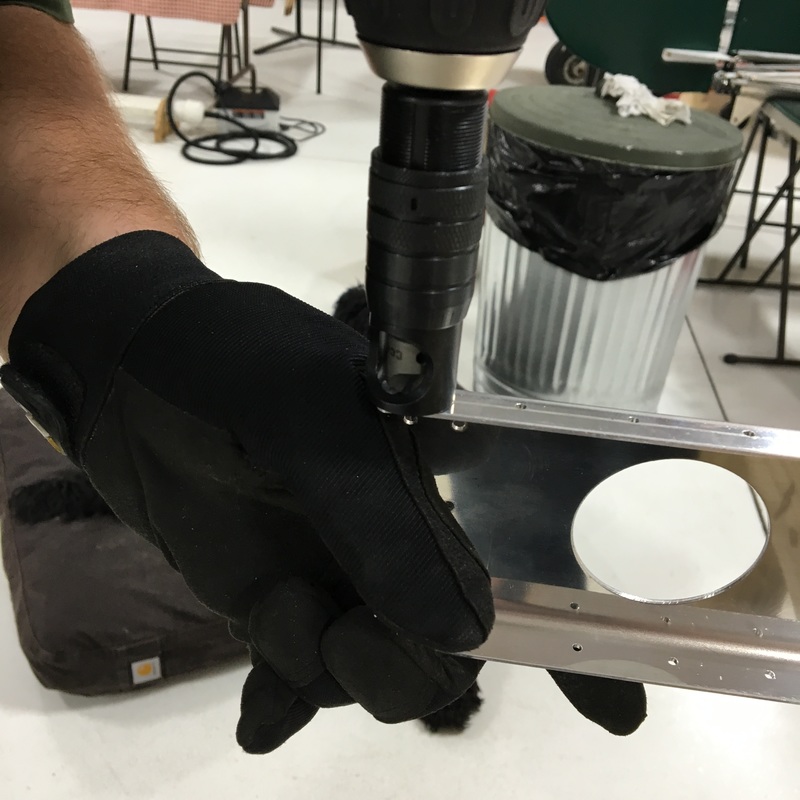
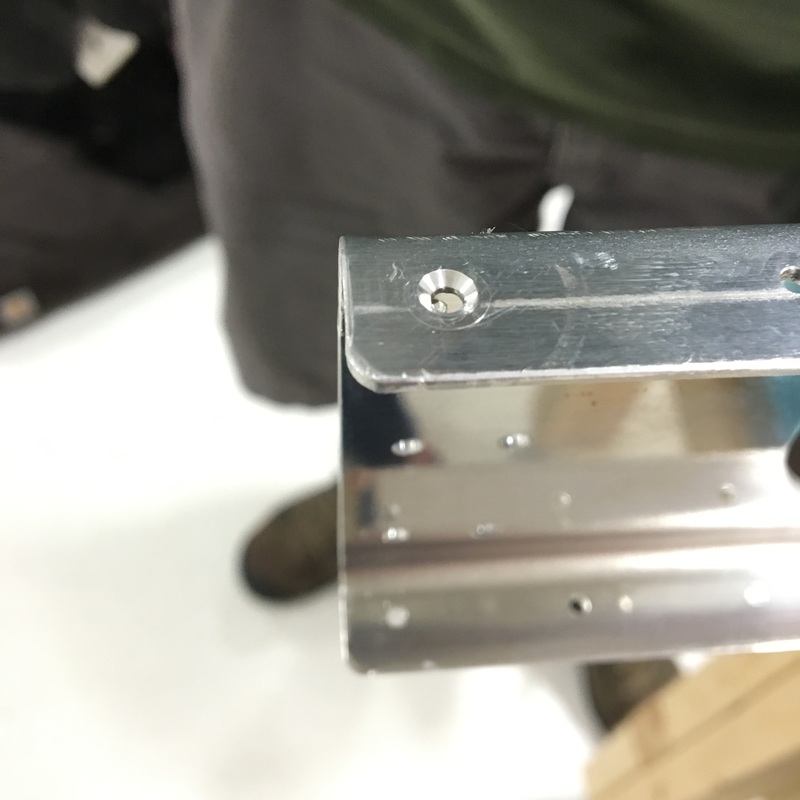
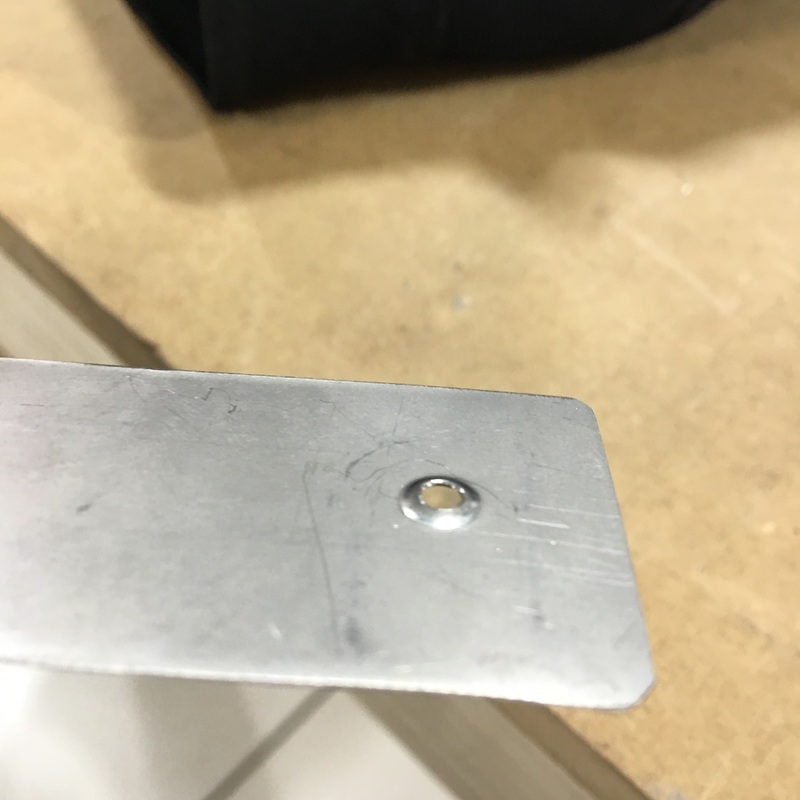
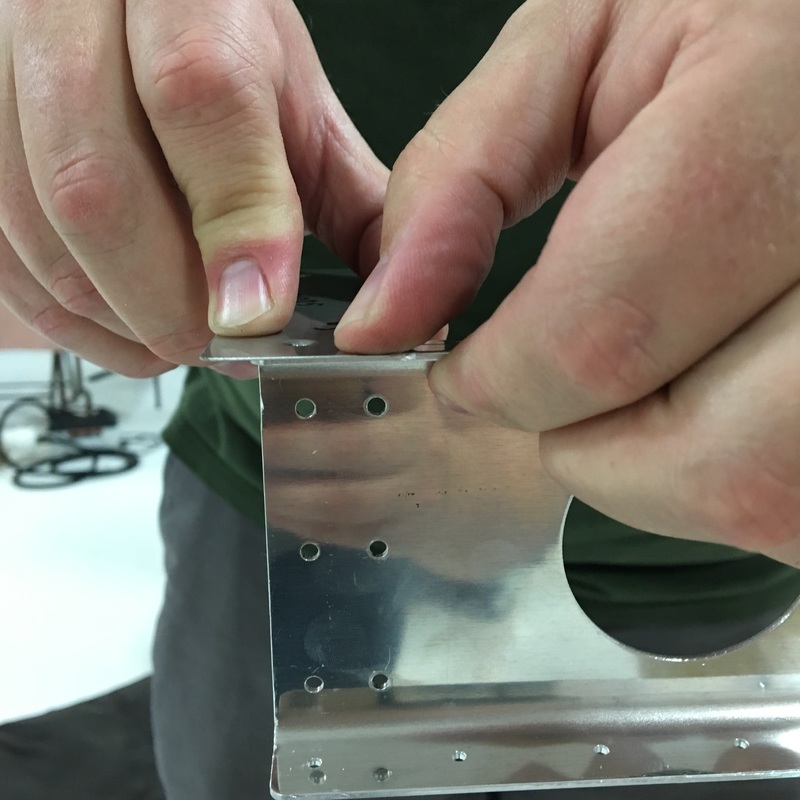
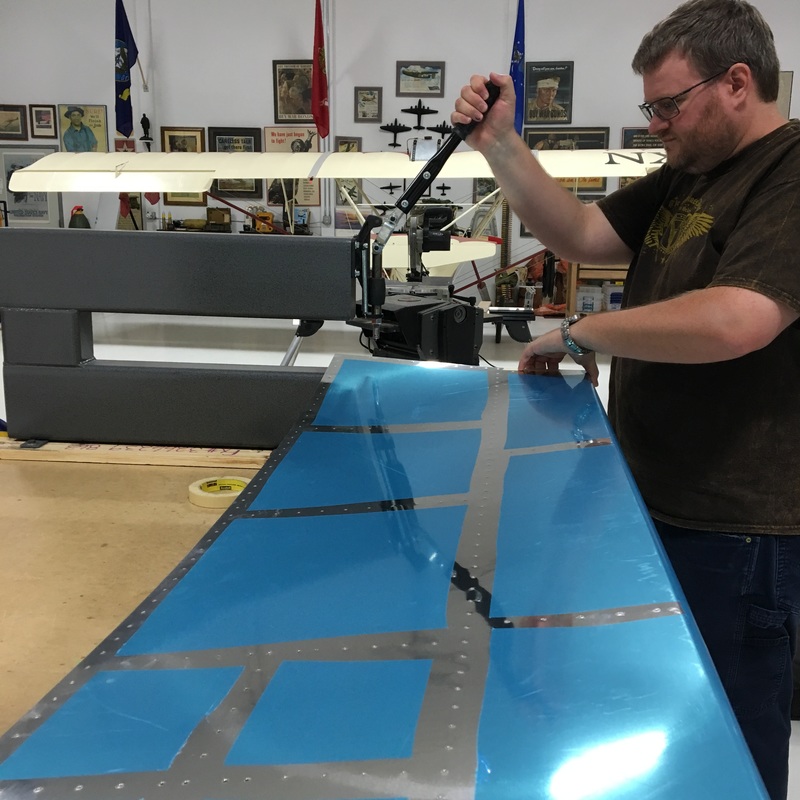
Exciting is not a word I would use to describe the last month of working on the plane. There is always a huge sense of elation when you get to fit everything together...until you remember that you have to drill, deburr, dimple and countersink every single hole in every single piece. The weekend after we got everything put together, Mike spent hours final drilling all of the holes in the horizontal stabilizer skin and a few other random pieces. Some of those pieces were quite difficult to get to, so he got to order a new tool - an angle drill. 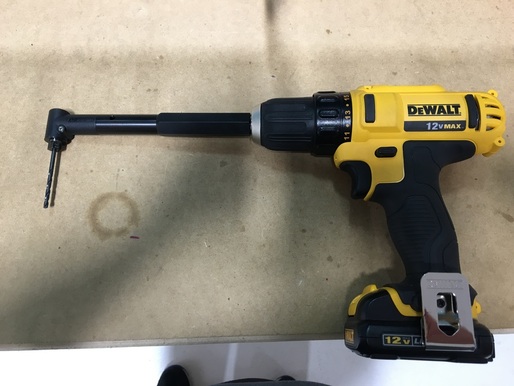 I talked Mike out of the model that cost several hundred dollars and convinced him to get something that fit his existing drill. Considering we used it for about five minutes, I'm glad we were able to reach that compromise. We needed to drill holes into a small plate that connects the two horizontal stringers. The front and rear horizontal spars are directly above and below this plate so there is absolutely no way to get a regular drill into that tight space. After Mike finished drilling all the holes in the skin, we took the whole thing apart. After the excitement of getting the entire horizontal stabilizer fitted together, there is nothing more disheartening than taking everything apart again. When we put the parts together, we grabbed extra bags of clecos as we needed them. Once we took them all out, you could really appreciate the number of clecos we used to put the whole thing together. 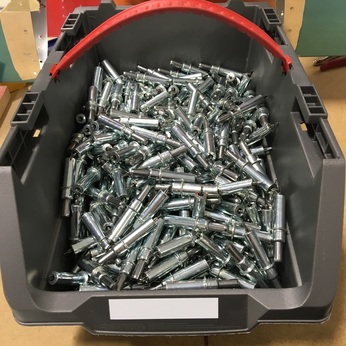 In fact, there were so many clecos that the handle on our cheap plastic bin couldn't handle the weight. 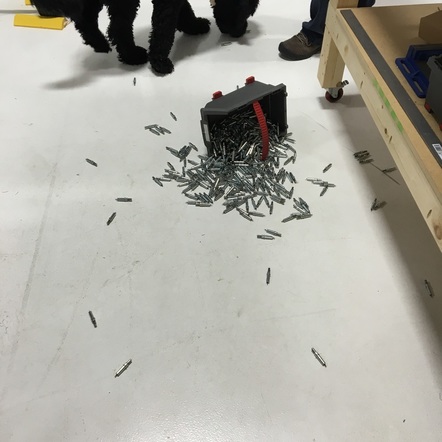 We spent the next three weeks completing three steps in the instruction manual.  Actually, it took us an entire weekend to complete Step 6. A weekend consisting of three trips to the hangar and 10 man hours of effort. Drudgery is the only word I can use to describe deburring all of those holes. Both sides of each hole had to be deburred, which obviously doubles the amount of work you think you have to do. The ribs are the most annoying because, while you can use the drill to deburr the holes on the outside, you have to deburr the holes on the inside of the flanges by hand. 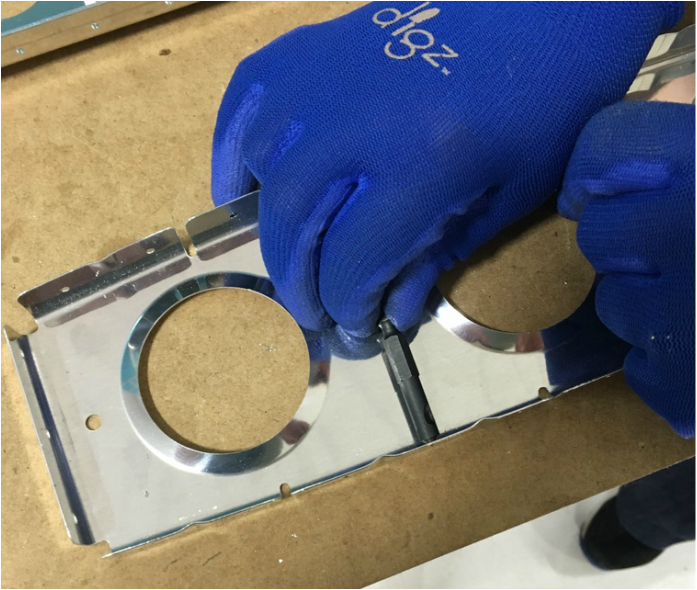 Before you ask, yes we tried the fancy new angle drill attachment, but the diameter of the drill head was too large. That deburring bit is pretty much flat against the web of the rib. It was hard enough to grab onto with the tips of your fingers. After deburring several hundred holes by spinning that bit, your fingers get pretty sore. The skins were much easier to deburr. 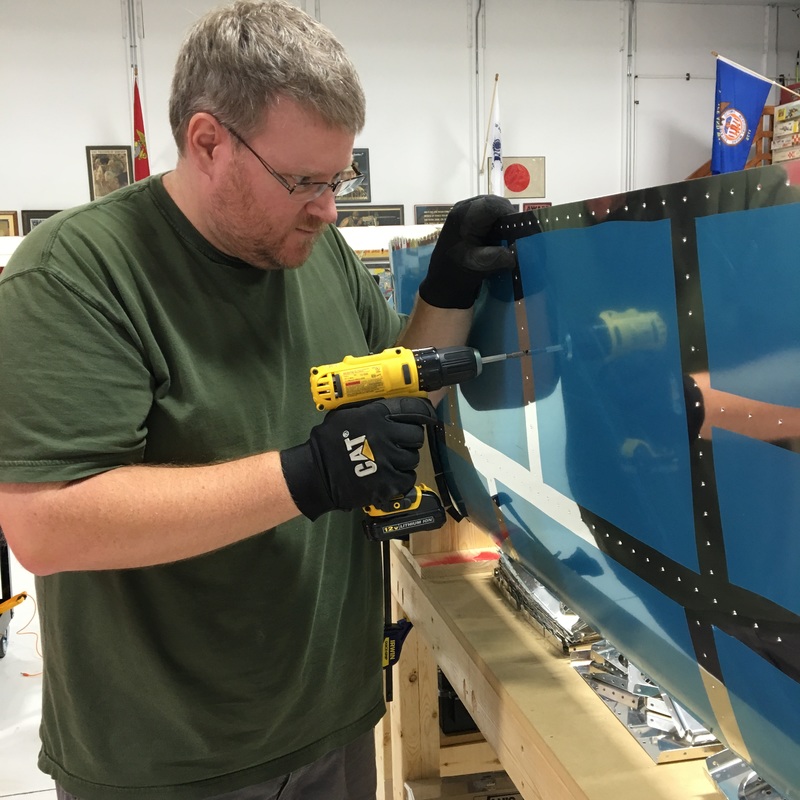 Even so, note the slightly crazed look on Mike's face. This picture was probably taken eight hours into our marathon deburring weekend. I deburred the other skin and figured I might as well count the number of holes in each skin - 250. That's 250 per side, so there were actually 500 holes in each skin. Multiply that by two because there are two skins = 1000 holes. And of course there are all of the holes in the underlying structure, approximately 1000 additional holes. Each of the holes in the skin and skeleton has to be deburred on both sides, so that's 4000 deburred holes. What a way to spend a weekend. The next weekend, we had to dimple all of the holes in the skin and most of the skeleton as well. We used a dimpling die for our hand riveter to dimple the ribs. There are about eight holes on the horizontal stabilizer that don't get dimpled (for some secret reason that's not revealed in this section of the instruction manual) and while we marked those on the skin, we forgot to mark them on the ribs. So, we had to undimple a few holes, which we did by using a flat die that we normally use for riveting. It's not perfect, but it should work. While I dimpled, Mike worked on countersinking the holes in the front and rear spar. This metal is too thick to dimple, but there has to be a recessed area for the skin dimples. Countersinking can be challenging because we don't have any sort of gauge to make sure the countersinks are the right size. Mike dimpled a scrap piece of aluminum that is the same thickness as the skin to use as a gauge. It's not an ideal situation but it's better than nothing. We used the big C-frame dimpler to dimple the skin. It's definitely a two person job so I only got one picture (while balancing my end of the skin - Mike is a good sport when I want a picture). That took another weekend at the hangar. We are finally ready to start riveting pieces together. That's a skill we haven't practiced in several months, so we'll see how it goes.
0 Comments
Leave a Reply. |
AuthorThe supportive spouse's guide to building an airplane. Archives
May 2017
Categories |


 RSS Feed
