|
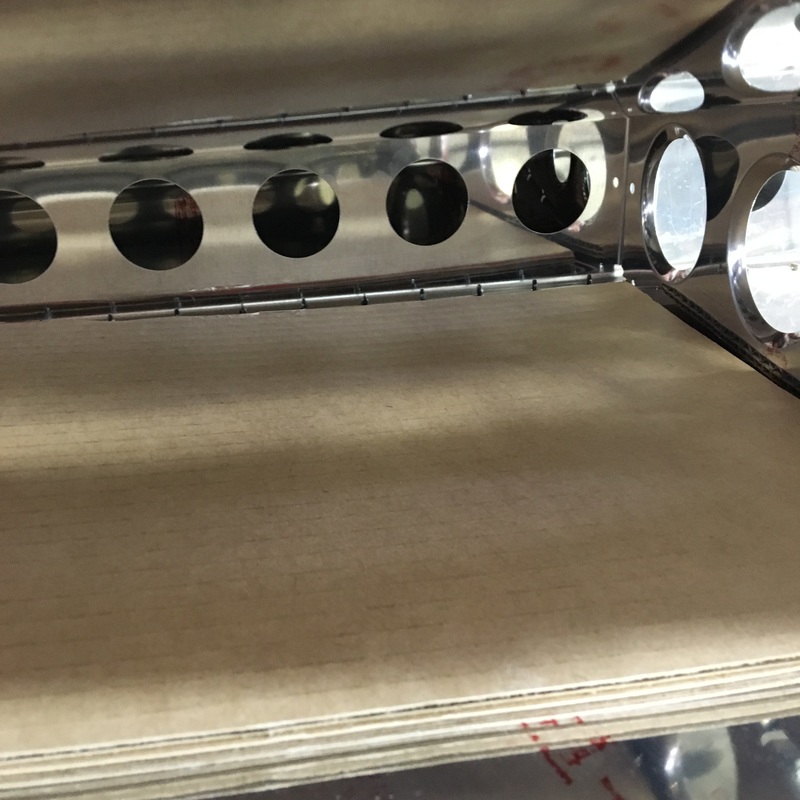
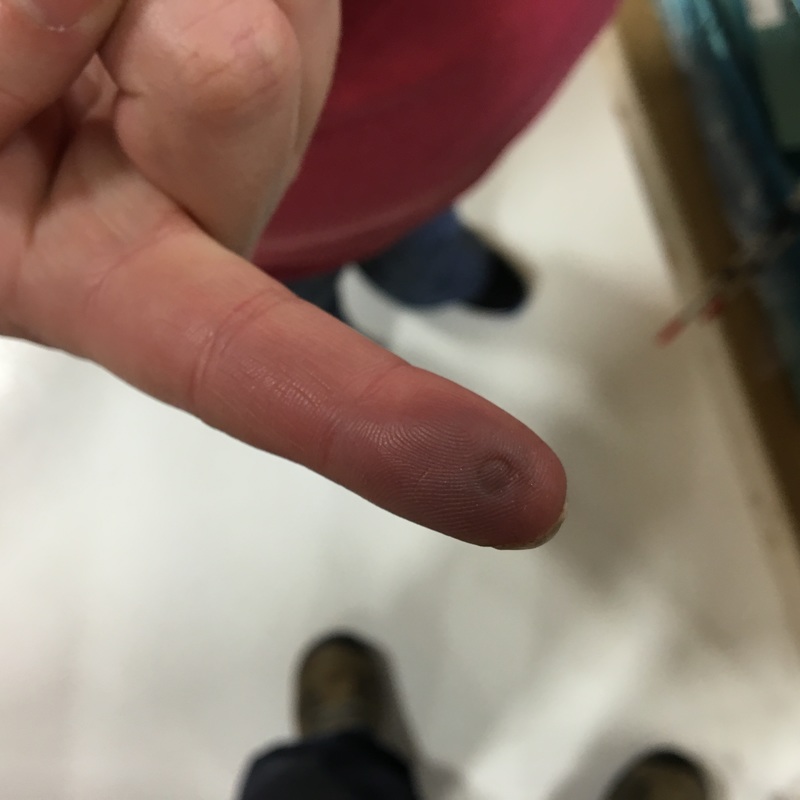
I can't believe that it's been a month since my last post! To put it simply, progress has been slow lately. We've had several issues that have slowed down or delayed progress - I spent a week in New York for work, the air compressor at the hangar broke, and Mike had an appendectomy (while I was in New York for work, that was fun). Mike's recovered very quickly from his surgery, but can't lift more than 15 pounds right now. That's meant that I've gotten to do some of more physical tasks while we (finally) finished the vertical stabilizer. Last time you tuned in, Mike and I were making good progress on riveting the skin onto the vertical stabilizer. I've got to say (now that we're 99% finished) that there are a LOT more rivets than I realized. I would have estimated that we were half way done at the end of my last post but I think a more realistic estimate would have been a third done. The riveting felt like it would never end! It didn't help that there were a few sections that were really difficult to access and subsequently exhausting to work on. The most challenging section to rivet was along the spar that runs down the middle of the vertical stab. If you look at the picture below, I'm talking about the row of clecos that runs vertically down the center of the picture. 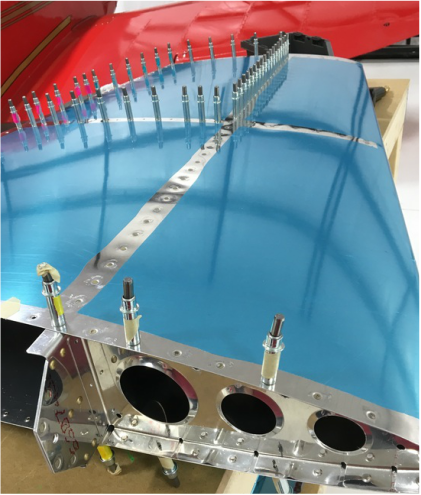 To get to these rivets, you have to remove as few rivets as possible and squeeze your arm under the skin. 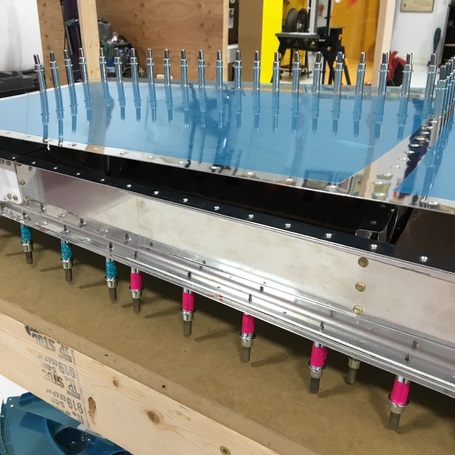 Guess who got to do that job?  It's a really awkward position and I could only buck a few rivets before I had to take a break. As Mike ran the rivet gun on the outside of the skin, I would try to brace the bucking bar against a rivet that I couldn't see. Mike also warned me not to drop the bucking bar because I would dent the skin (apparently this is a pretty common occurrence and there are lots of cautionary tales online). To help protect the skin just in case I dropped something, we put a piece of cardboard inside. It was also very hard to see the rivets to check and make sure the shop head was the right size and using our rivet gauge was pretty much impossible. So, we used the handy finger indentation method. I would hold my finger on the shop head for a few seconds and then we would compare the indent left in my skin to the gauge. I was so relieved to be done with this section! This was definitely one of the more physically uncomfortable parts of the build so far and I will admit that I was pretty whiny that day. From there, we finished riveting the inspar rib (which runs horizontally across the vertical stab), which again involved sticking my entire arm inside of the airplane.  Finally, we only had the edges to rivet. They were a piece of cake considering we could see them and access them easily. This was about the time that the air compressor broke. We could have finished the edges using the manual rivet squeezer (which we actually did for one section) but there were a few really big rivets where were really needed the rivet gun (and hence the air compressor). I don't really remember what these big rivets were for - probably holding some rib to some spar (which is about the most generic airplane sentence I could possibly write, everything seems to be called either a spar or a rib). I took a picture comparing these big rivets to what we had been using on the skin (the rivet on right). I grabbed a razor blade out of our tool kit to provide some scale. 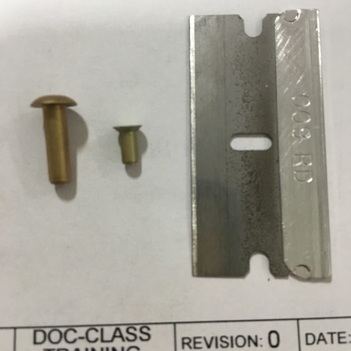 The last bit of riveting also required some creative problem solving so we didn't damage the skin. As I've said before, nothing on the airplane is square or flat. Up to this point we had been able to put a piece of 2x4 under one side of the vertical stab to keep everything stable while we riveted. This didn't work very well on the rivets along the bottom edge and at one point the whole piece slipped while we were riveting. Not only was that kind of alarming, it's also not very good for rivets... 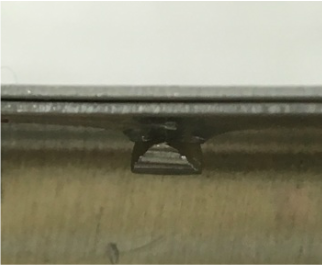 At this point we were kind of desperate to finish, so we improvised a more stable base using couch cushions. 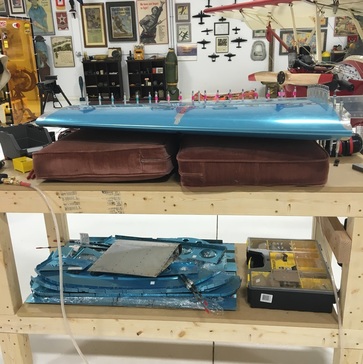 We plan on getting some sheets of foam to use in the future, but the couch cushions worked surprisingly well. The last step was to finish the rivets along the back edge. We opted for the manual rivet squeezer because there were a lot of people at the hangar that night and the air compressor and rivet gun can get pretty noisy. The rivet squeezer also has the advantage that once you get the depth set, you don't have to check every single rivet to make sure it's properly driven. The rivet squeezer takes quite a bit of strength and Mike's weight lifting restrictions are still in place so I got to be the muscle for this section. 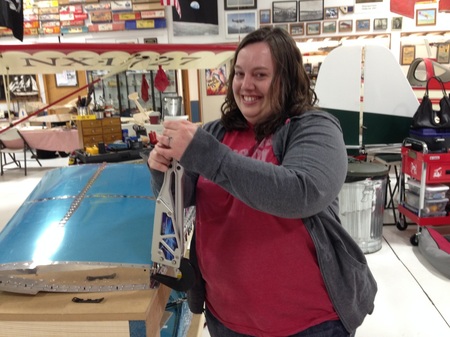 I wish I could say that we were completely done with the vertical stab, but we still have 6 rivets that we couldn't get to with the squeezer. We'll have to fire up the rivet gun to finish those off. I think that our final product looks pretty good! 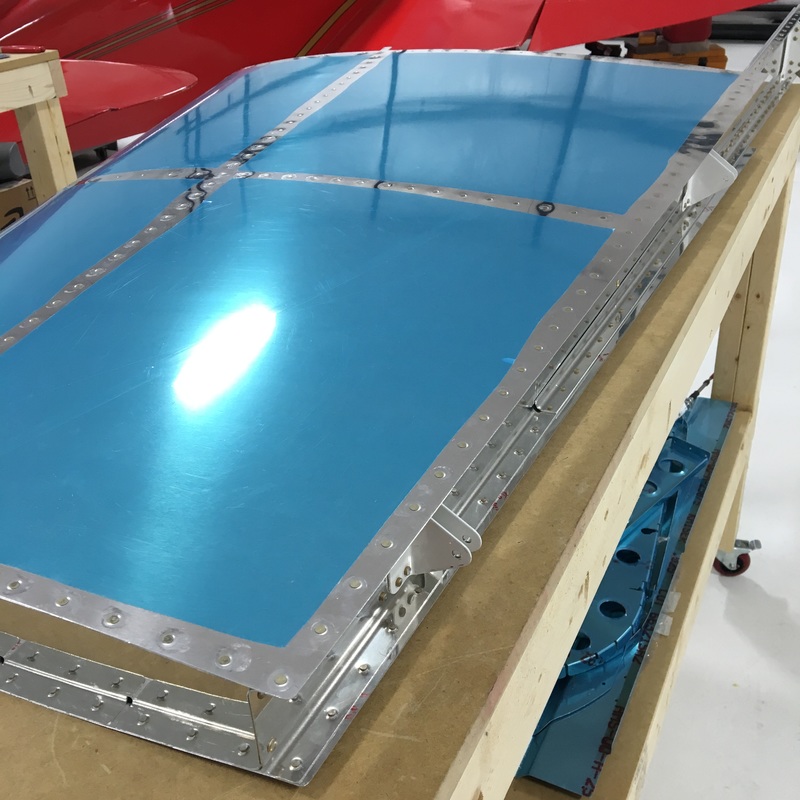
0 Comments
Leave a Reply. |
AuthorThe supportive spouse's guide to building an airplane. Archives
May 2017
Categories |
 RSS Feed
