|
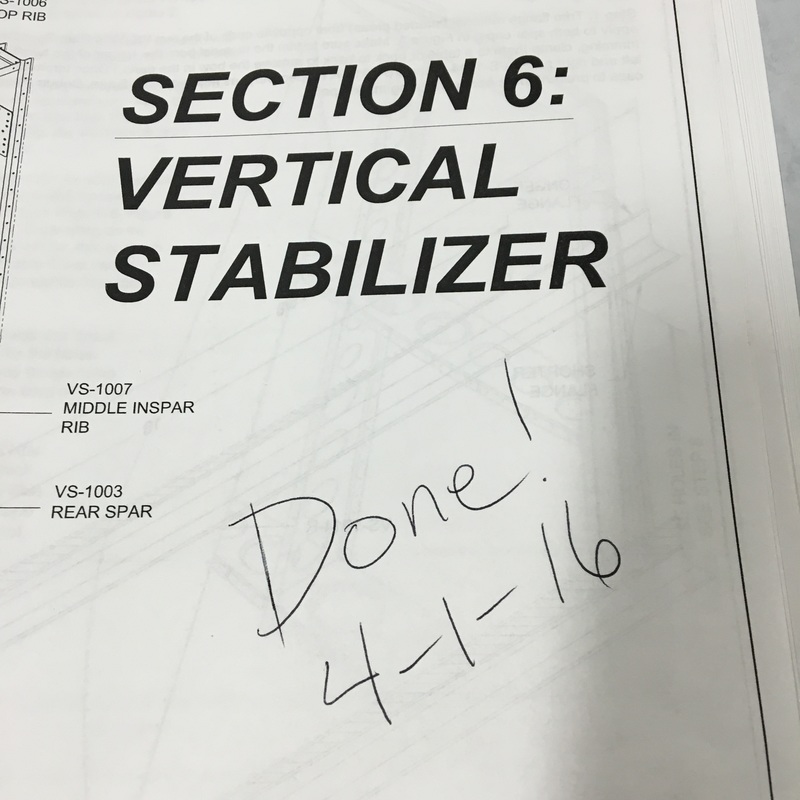
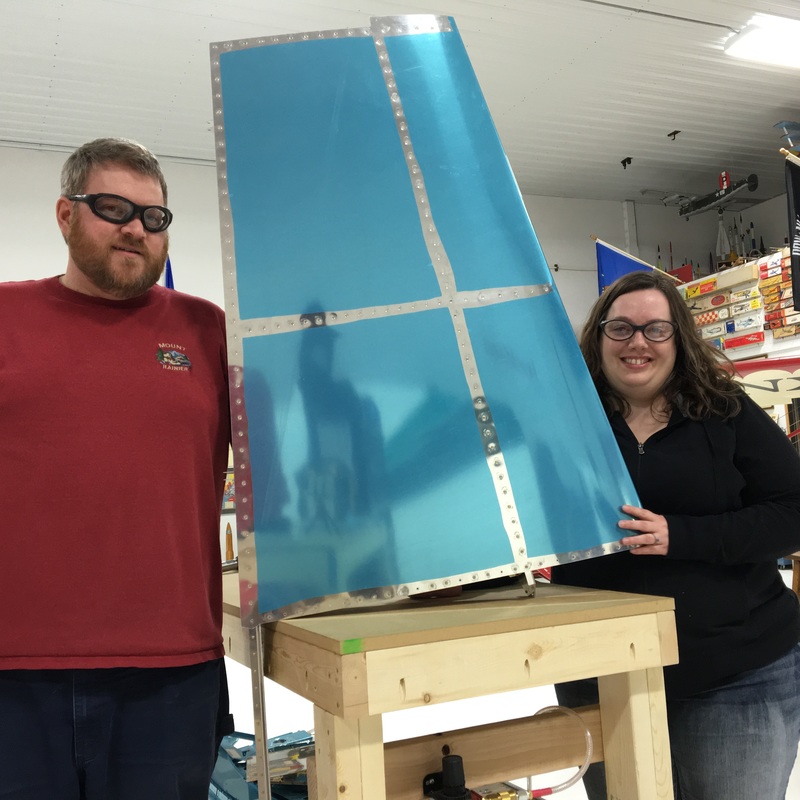
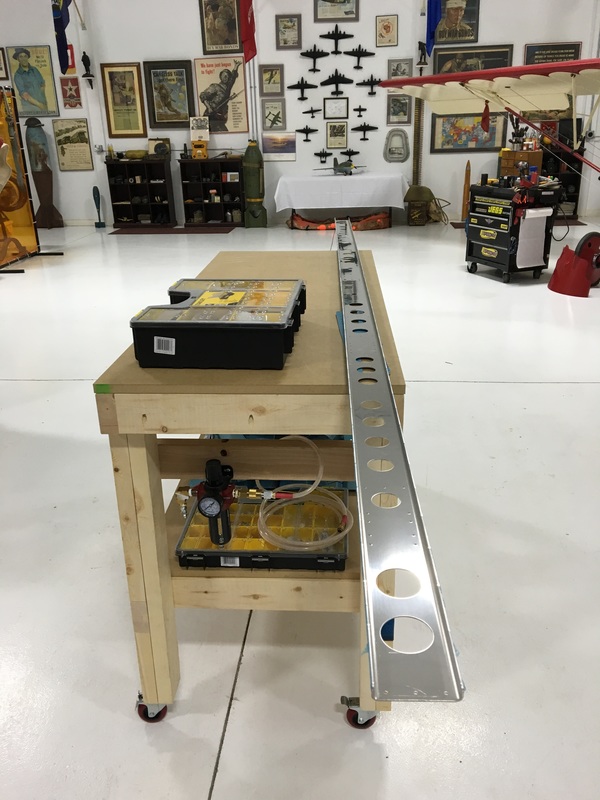
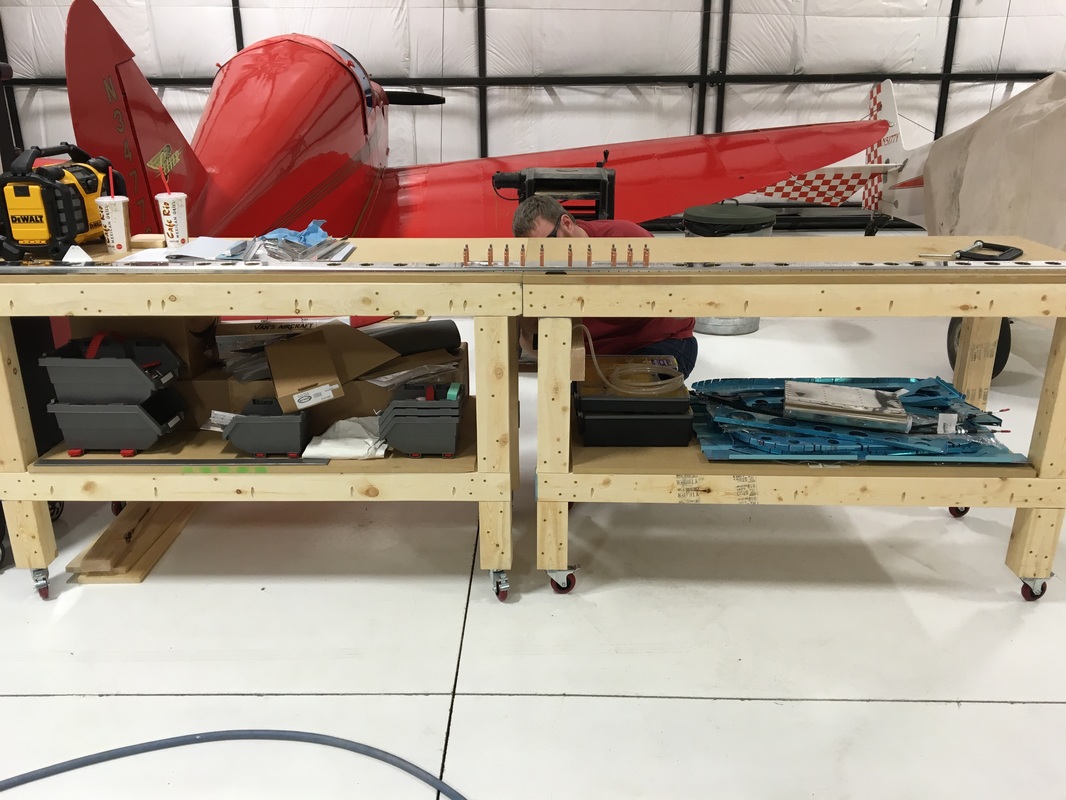
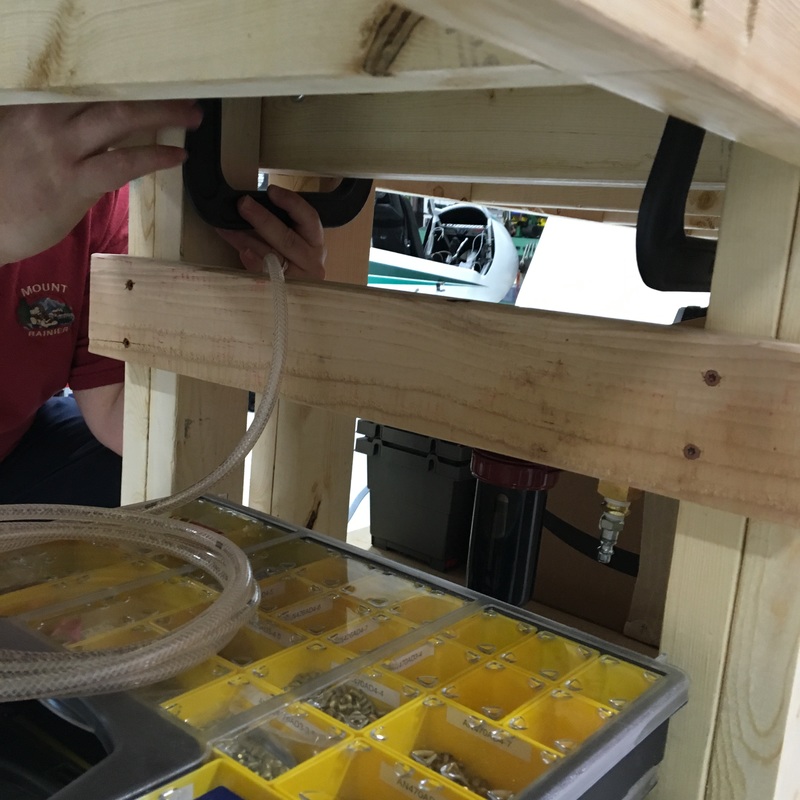
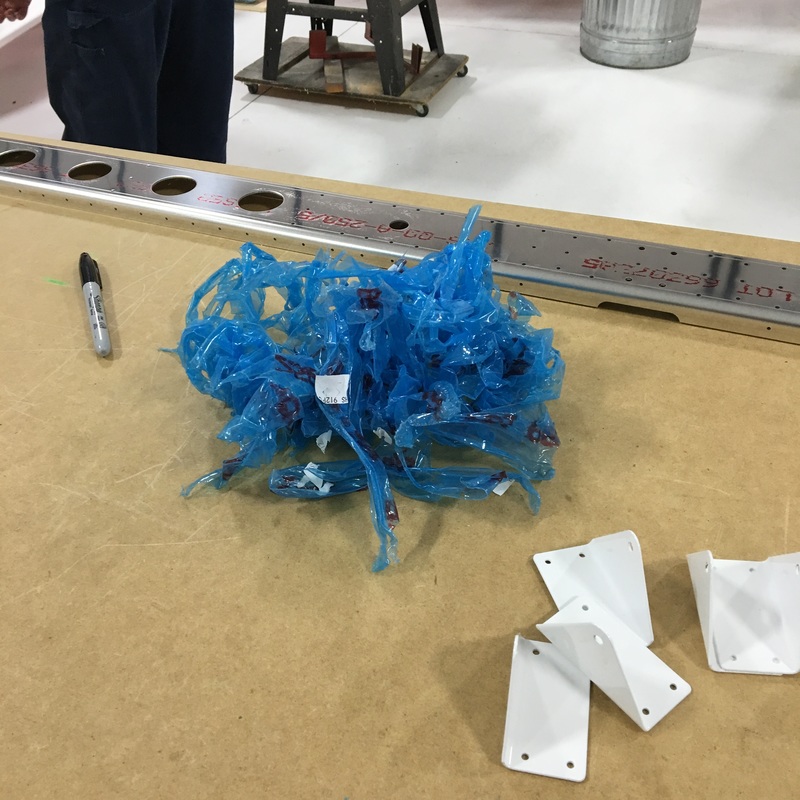
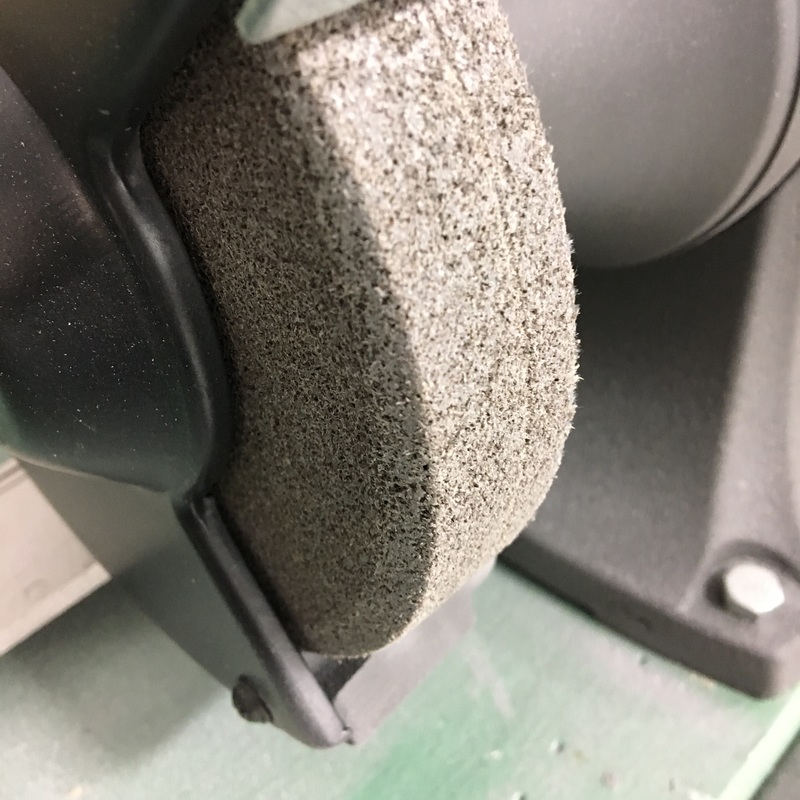
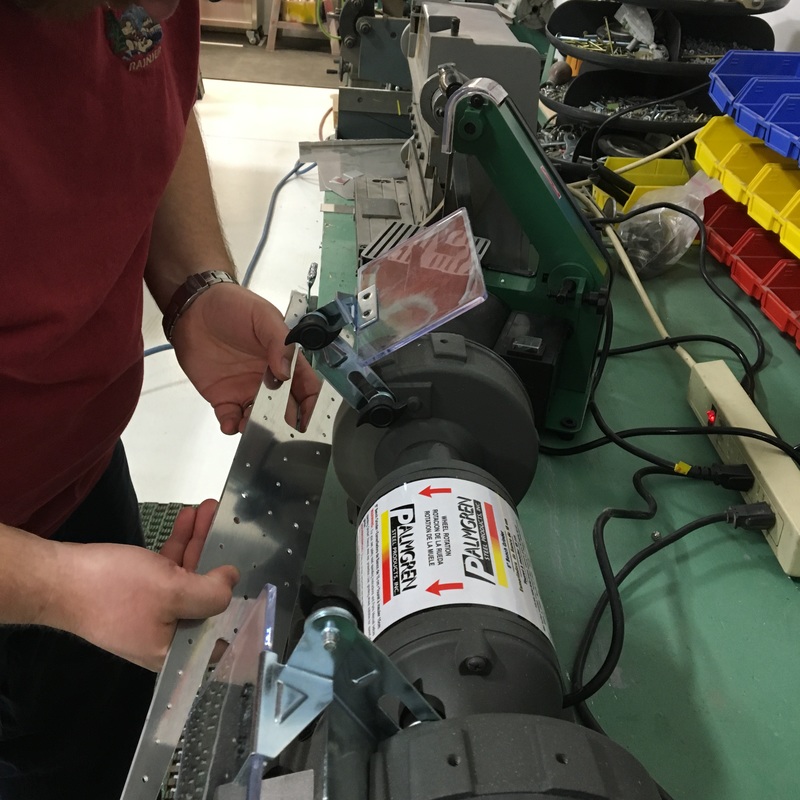
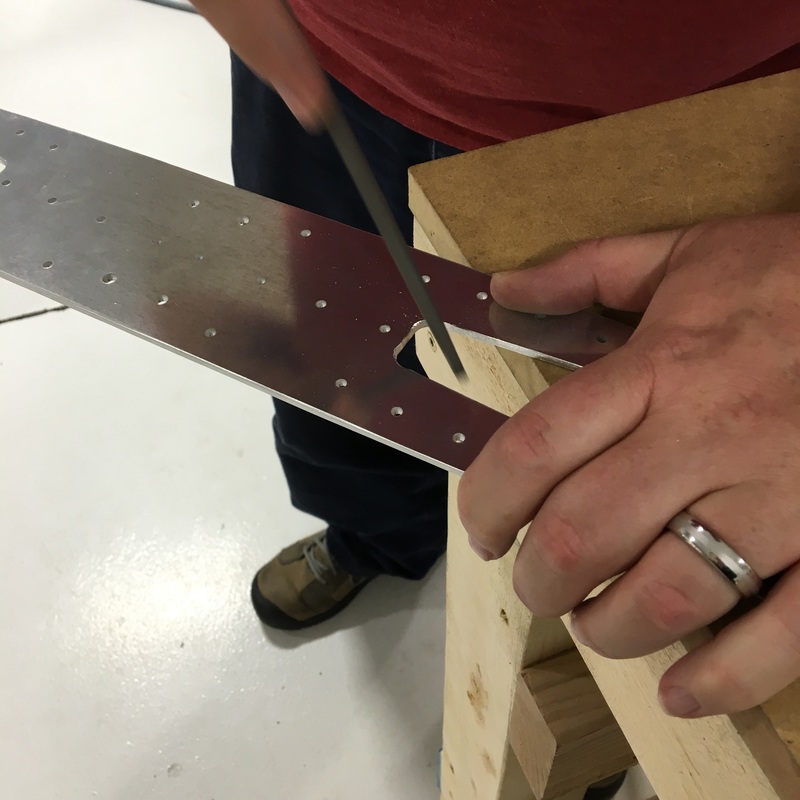
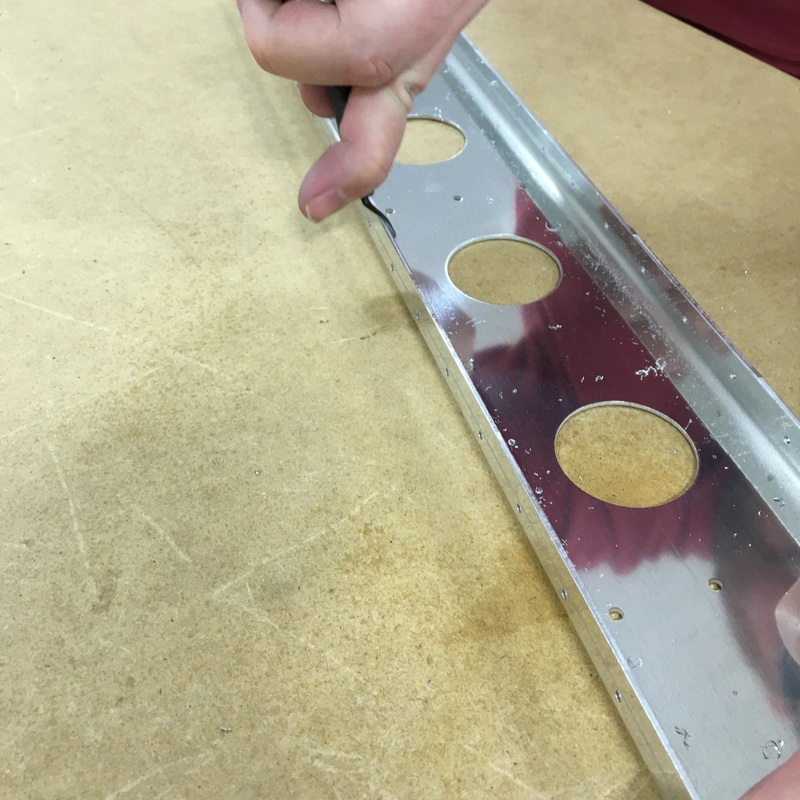
We put in most of our build hours over the weekend, so Friday nights at the hangar are a pretty common occurrence for us. We'll even take the dog with us and make it a family affair. Zoey is finally getting more tolerant of all the loud noises we make (especially while riveting). Last night she found an out of the way place and napped while we worked. 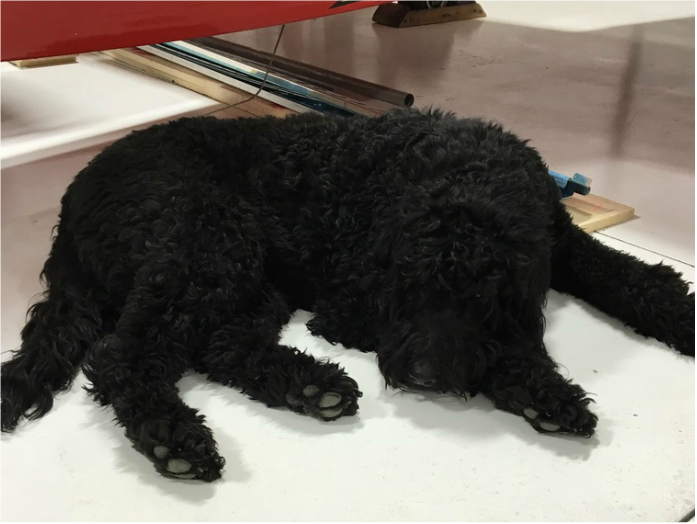 She might have also been annoyed because she was bored. Zoey prefers to be at the hangar when there are a lot of other people working on projects. I think she has these people divided into three categories - people to pet her, people to play with her, and people to feed her popcorn. Friday night was a big transition for us, we finally finished the vertical stabilizer and moved on to the next section of the empennage. Mike has to keep a detailed build log so the FAA will give us our Airworthiness Certification for Amateur-Built Aircraft. The vertical stab took 40 hours to build, and more than 10 of that was spent riveting on the skin - 252 rivets in total (I counted). Now, we have to figure out how and where to store the completed sections of the build so they don't get damaged. The next section of the empennage kit we are going to build is the horizontal stabilizer. 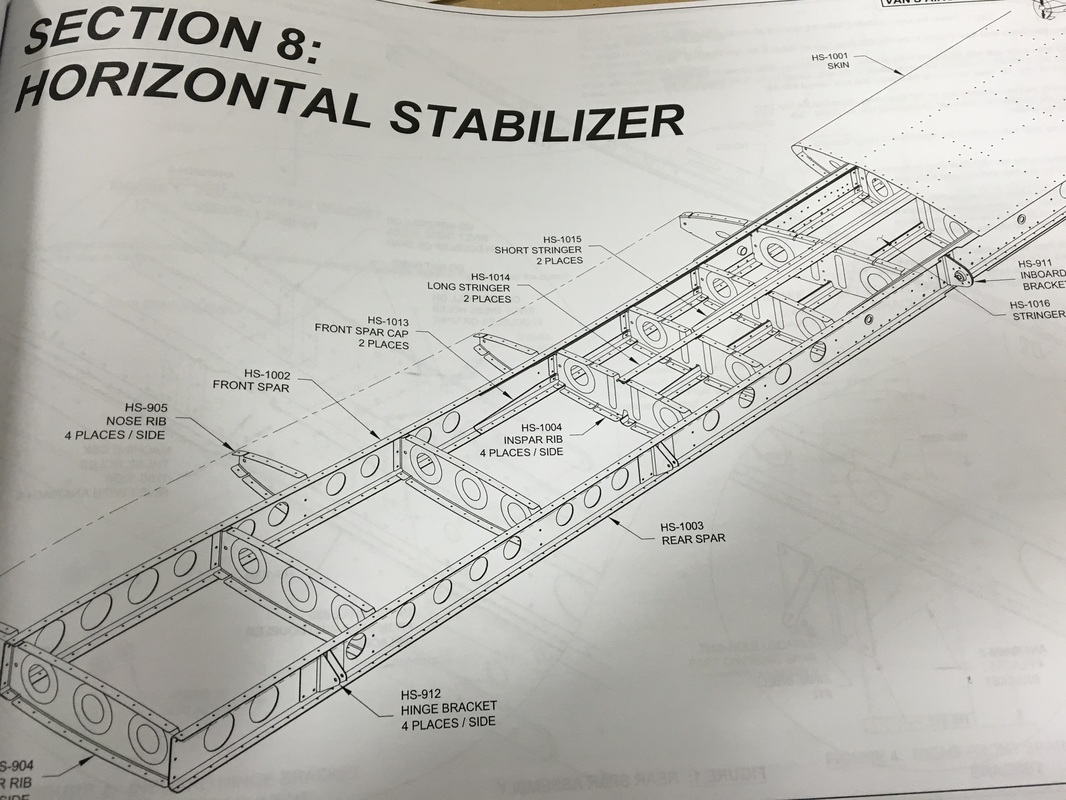 The horizontal stabilizer is the part of the tail that sticks out on the sides. (Here is a nice drawing I borrowed from a website about RC planes.) 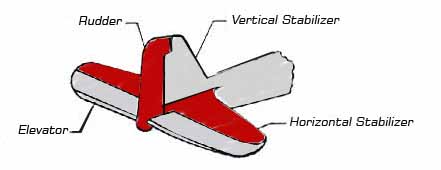 The horizontal stabilizer on our plane is 12 feet long, so we had to clear up some extra space and clamp our two workbenches together. We started prepping and deburring the first few pieces of the horizontal stab. First, we removed the protective vinyl coating from the pieces (all that blue plastic in the left hand photo) and peeled the labels off the smaller pieces. The labels that Vans uses are horrible to remove and almost always leave a layer of glue on the pieces, which we used WD-40 to remove. We learned a few things from our prep work on the vertical stab and ordered a few more tools to make to make the deburring process easier. (Pro tip - If you ever decide to build an airplane, get used to the phrase "more tools.") Mike bought a bench grinder so he could use a fancy deburring wheel. The wheel is made of a really dense material that looks like cement but feels more like wood. It made quick work of deburring the thick reinforcing parts. The wheel wears away over time and has to be replaced (hopefully not often because those wheels are expensive!). While Mike was using the power tools I worked on deburring the edges of the really long piece using hand tools. Every single edge has to be smoothed using a combination of deburring tools and files. If done correctly, you should be able to run your finger along the edges without feeling any rough spots or metal chips. These pieces are much bigger than anything we worked with on the vertical stab and we created a lot of metal shavings from those two pieces (Mike likes to call it glitter). Next up, drilling some holes and countersinking.
0 Comments
Leave a Reply. |
AuthorThe supportive spouse's guide to building an airplane. Archives
May 2017
Categories |


 RSS Feed
