|
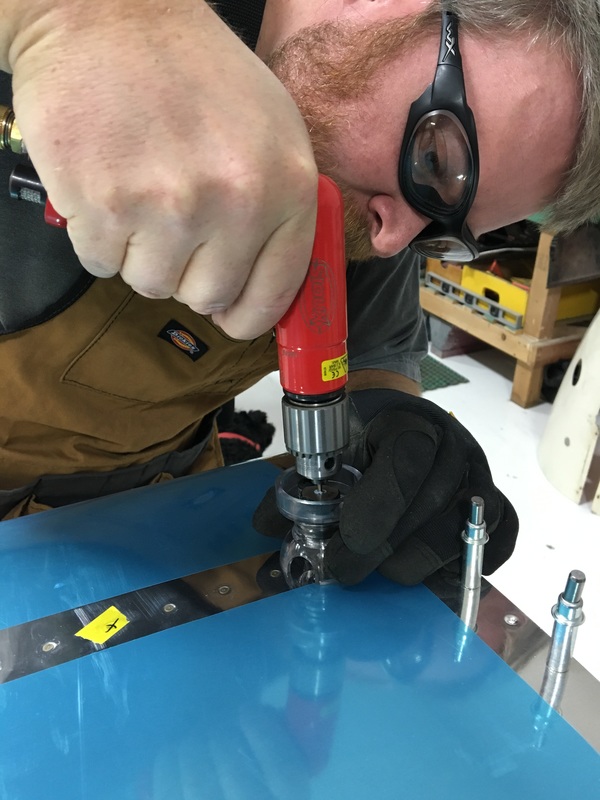
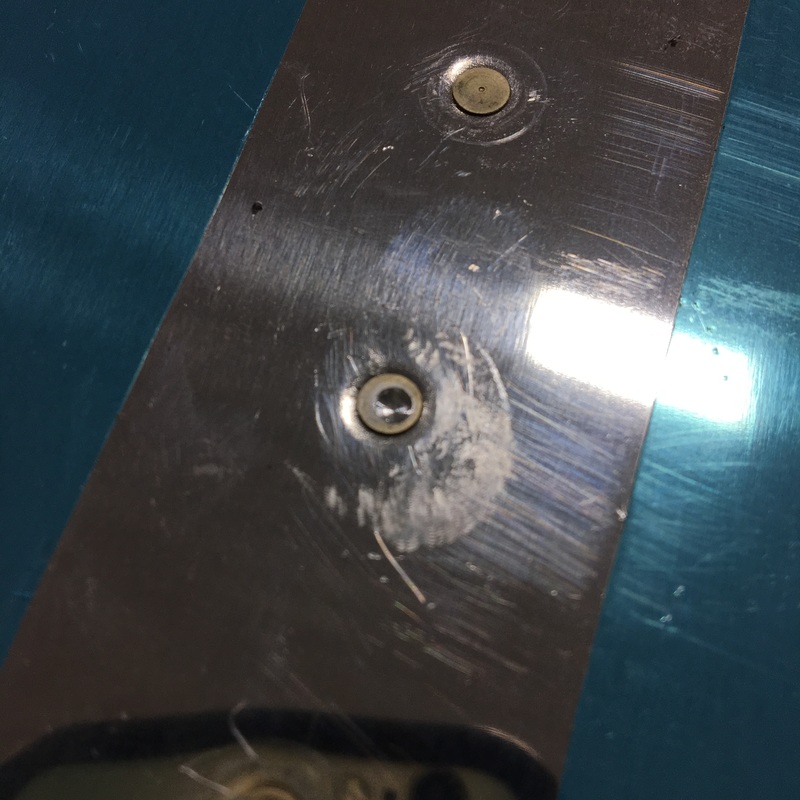
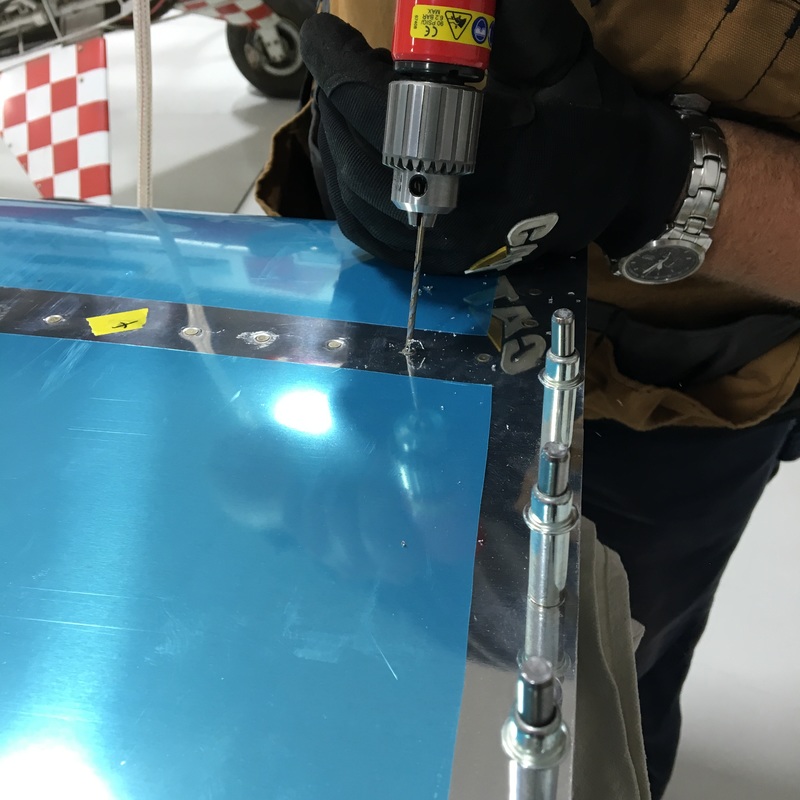
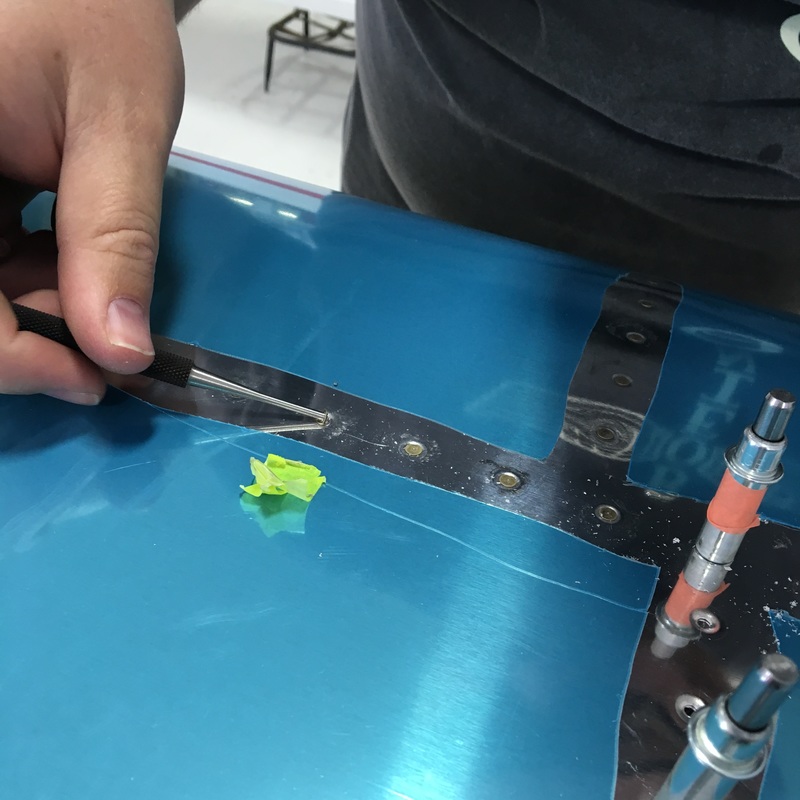
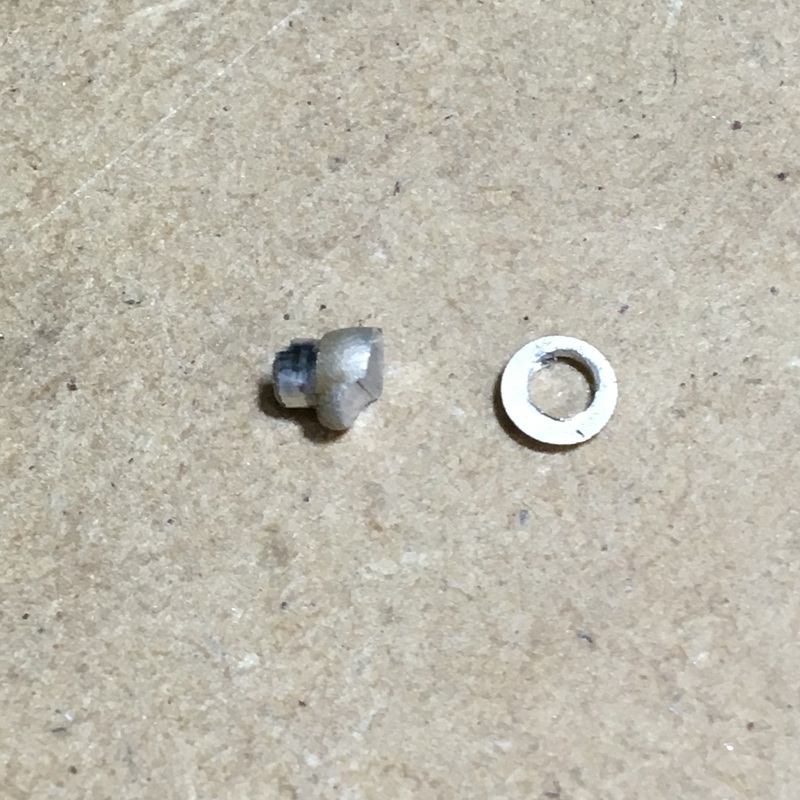
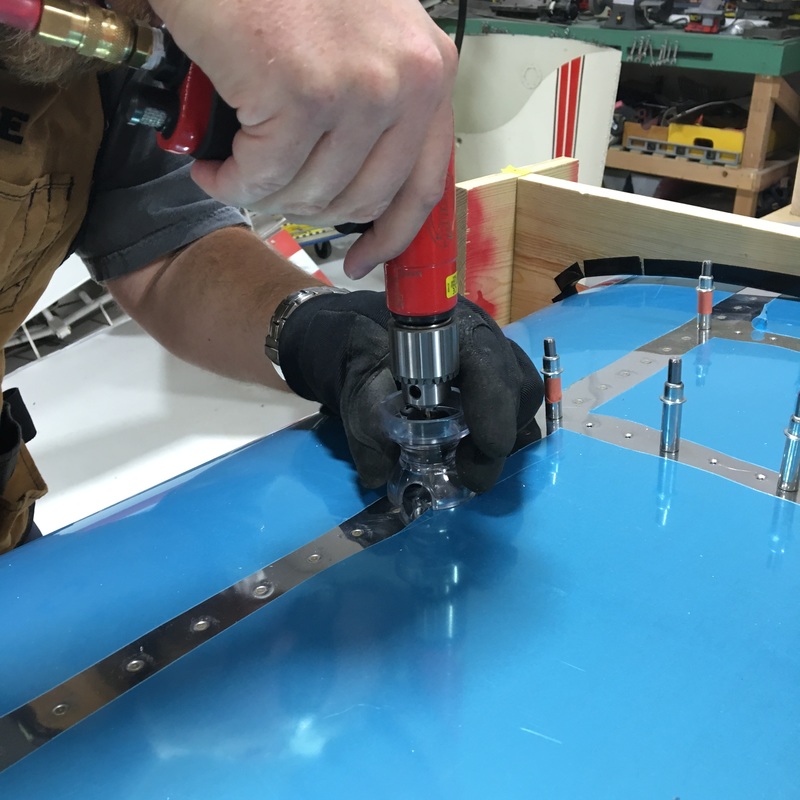
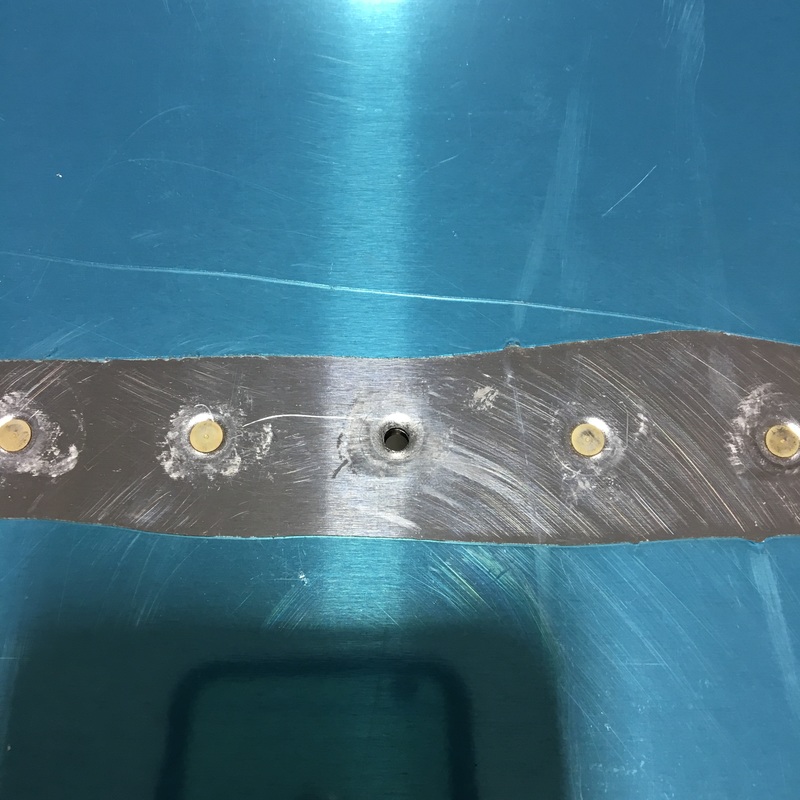
I know, I know, it's been a long time since I've posted any updates. What can I say, things have been pretty hectic around here and we haven't had much time for the airplane lately. I promise that we have been making some progress over the last six weeks so let's get caught up. After we finished pop riveting the front spar into place, our next task has been to rivet the skin to the front spar. This has been my least favorite part of the build so far. By the time I'm done, you'll probably understand why, but one of the main reasons it has been so miserable is the sheer number of rivets. The front spar is over 11 feet long and there is approximately one rivet per inch...on each side. 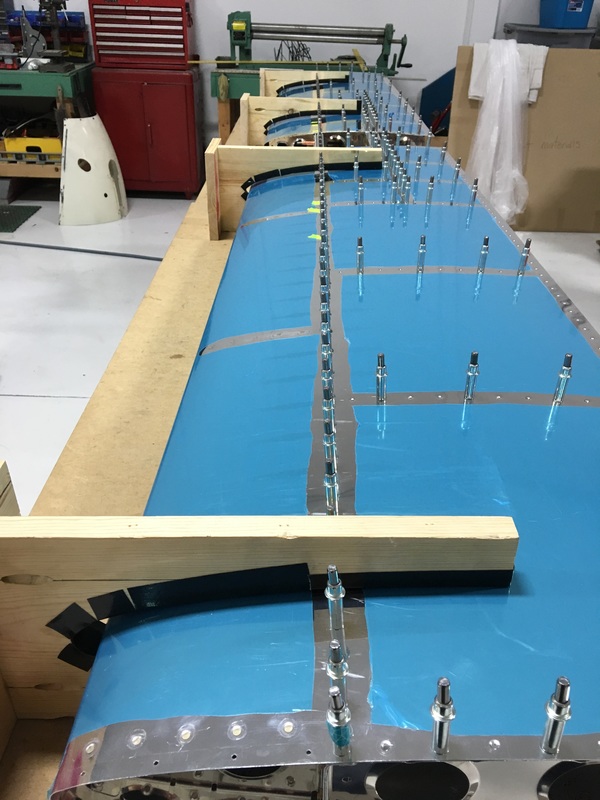 See that line of clecos that runs down the center of the picture? That represents every other hole that needs a rivet. I haven't counted how many rivets there are on each side of the spar, but it's more than a hundred. Before we started riveting, we color-coded our diagram and clecos to make sure we use the right size rivets in the right holes. Every rivet is the same diameter but the length varies based on the number of metal pieces we are riveting through. 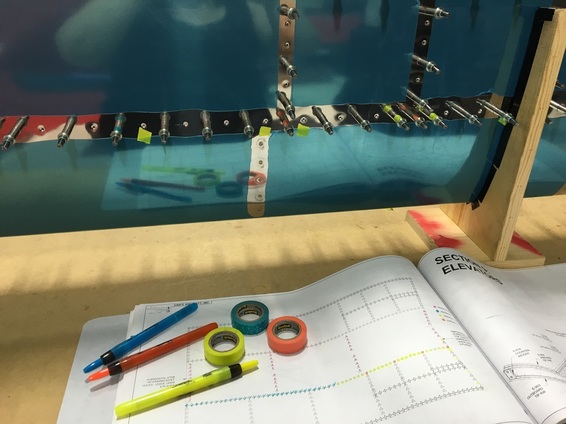 We didn't put tape on every cleco this time, just the first and last cleco in a particular length. Even using this modified method, it took at least half an hour to complete. Once everything was marked, we were ready to start riveting. This is where we discovered the other reason I hate this step. Once everything is clecoed together, the horizontal stabilizer is really narrow. Here's a picture to demonstrate. 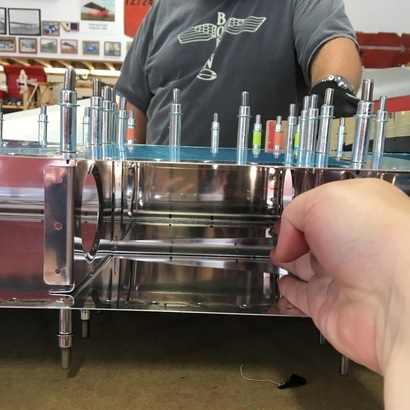 I can barely fit my hand inside the horizontal stab...and I have ridiculously small hands to begin with. You can also see that there are ribs every 8 to 10 inches that you have to work around. There are even several areas where the extra stringers make the space even narrower. I can fit about three and a half fingers between the stringers and in these places I have to insert my hand horizontally and then rotate my arm. 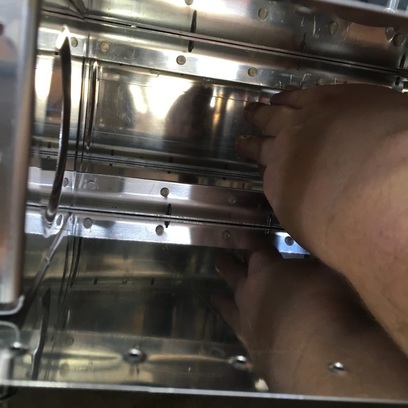 Before we move on, can we all just take a moment to appreciate how horrible that last picture was. My hand looks seriously deformed and I have no idea where my wrist disappeared to. The number of rivets and cramped space make this section a real bummer to work on. It also didn't help that one particular day was our least successful day of riveting so far on the project. I believe that we installed about 10 rivets that day and I messed up 3 of them with the bucking bar. It was the most frustrating experience, I just couldn't seem to hold the bucking bar still and it would slip off the edge of the rivet leaving a giant gouge. 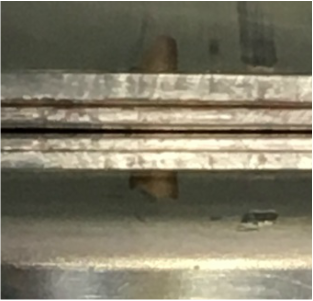 Things went so badly that we gave up on riveting after about 20 minutes and that seriously damaged my confidence. I agonized over why I just couldn't seem to hold that bucking bar still and even accused Mike of changing the setting on the rivet gun so it would be super powerful. I realized several hours later, when I tried to squeeze a water bottle, that the real problem was that my hand and arm muscles were super tired from washing walls the day before. If I could barely squeeze a water bottle, how could I possibly hold a bucking bar in place? Lesson learned (and I apologized to Mike for blaming him). We still had to replace the bad rivets, which meant drilling them out first. That meant that Mike got to use a new tool he had ordered just for this purpose. 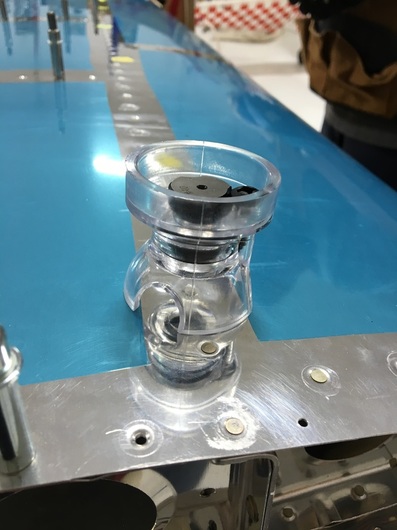 This little doodad helps keep that drill bit perpendicular to the skin and also gives you something to hold onto while you drill. We had some trouble getting the hole centered so Mike ended up drilling the last bit by hand. No matter how careful you are, you usually end up enlarging the hole slightly when you remove a rivet. Because there are so many layers of metal at this point, and some of those layers are countersunk or dimpled, we used a special kind of rivet to replace the ones we removed. They are, I'm not kidding you, called oops rivets. 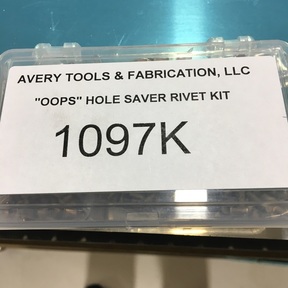 The head of an oops rivet is basically the same size, but the shaft is one size larger. Here's a picture to demonstrate. 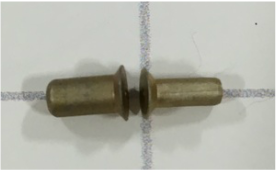 This lets us drill out the holes to a larger size without worrying about the countersinks and dimples. Once the oops rivet is in place, you honestly can't tell the difference.  Once we replaced all the messed up rivets we were able to continued working our way day the spar. It took me a couple of work sessions to regain my confidence with using the bucking bar but everything has been okay since. It's still not a very fun section to work on (even Mike agrees with me on that) but we are making progress. We have completed about six hours of riveting and we estimate about another two hours before we are finished. That will be a happy day!
0 Comments
Leave a Reply. |
AuthorThe supportive spouse's guide to building an airplane. Archives
May 2017
Categories |

 RSS Feed
