|
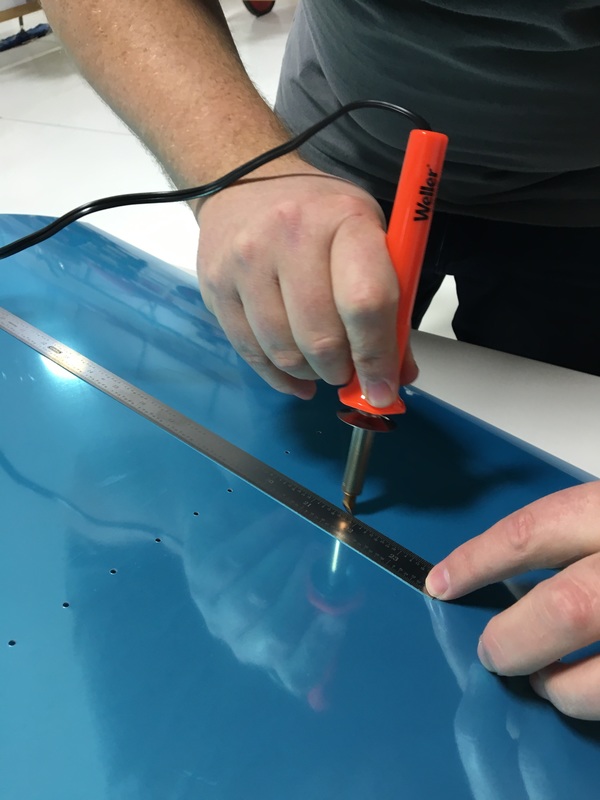
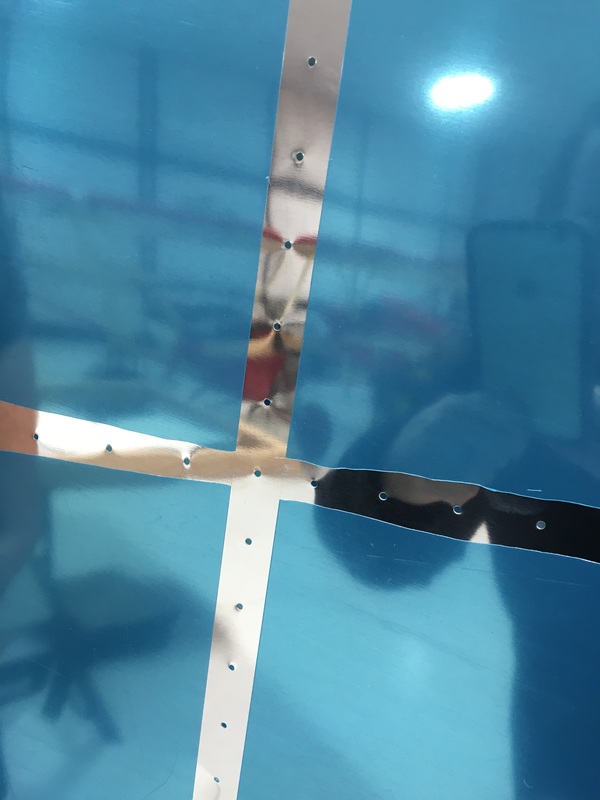
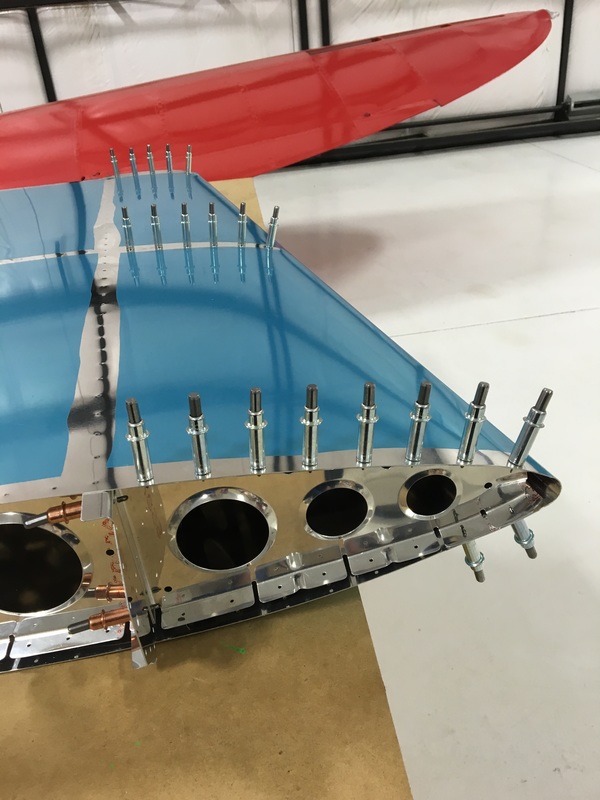
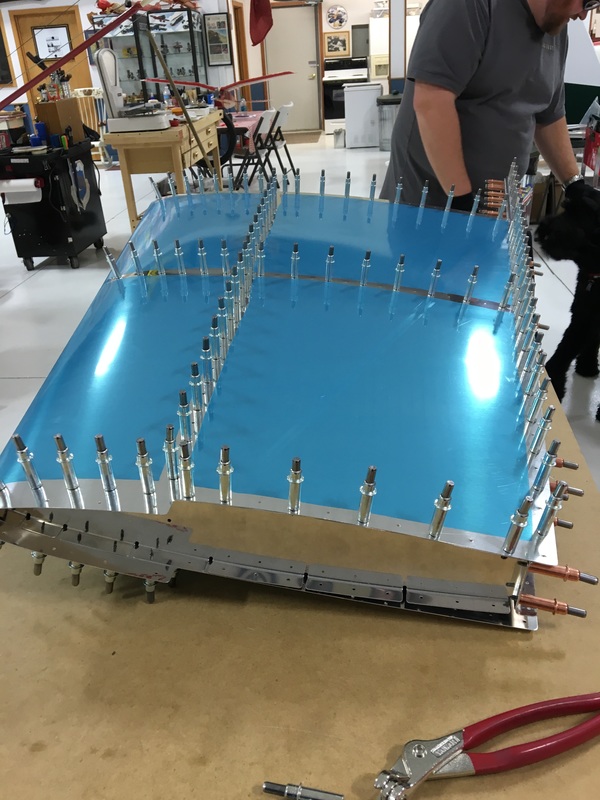
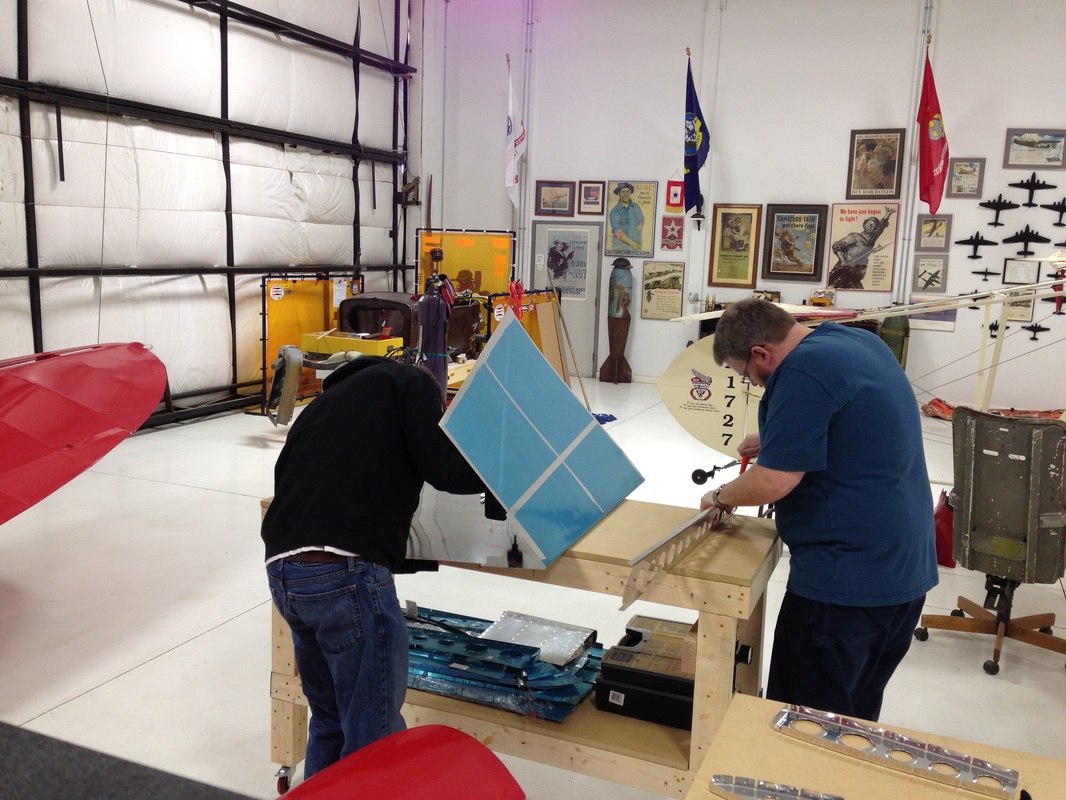
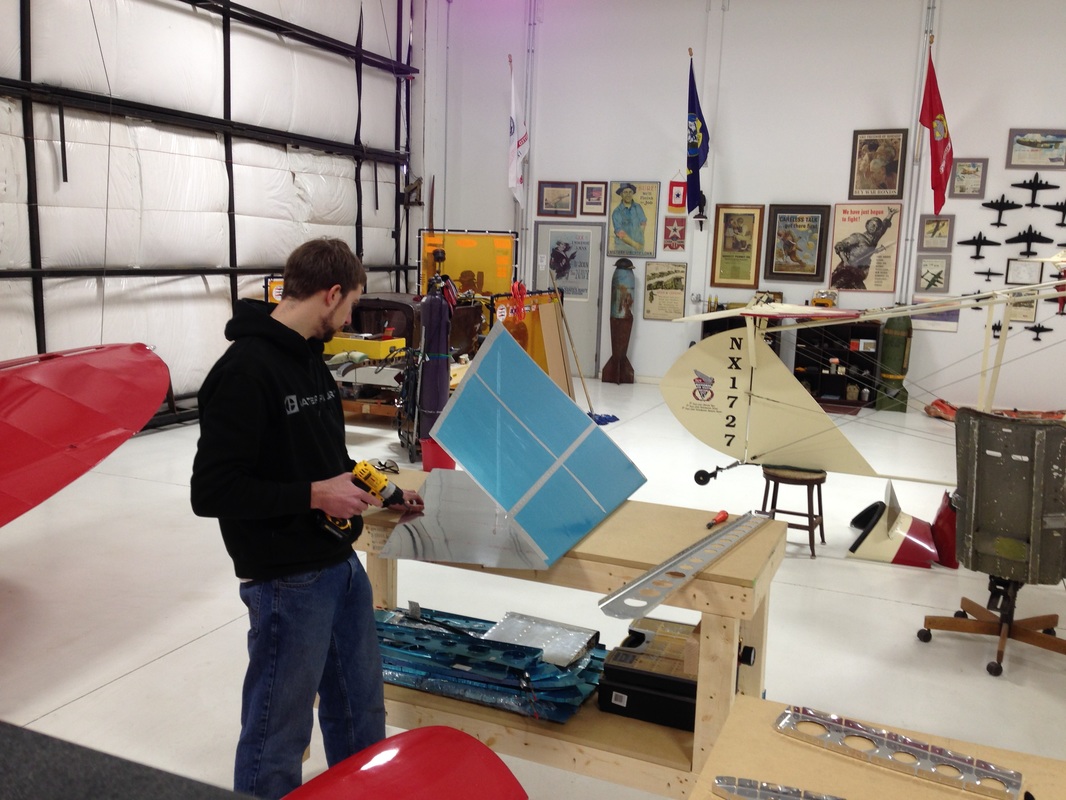
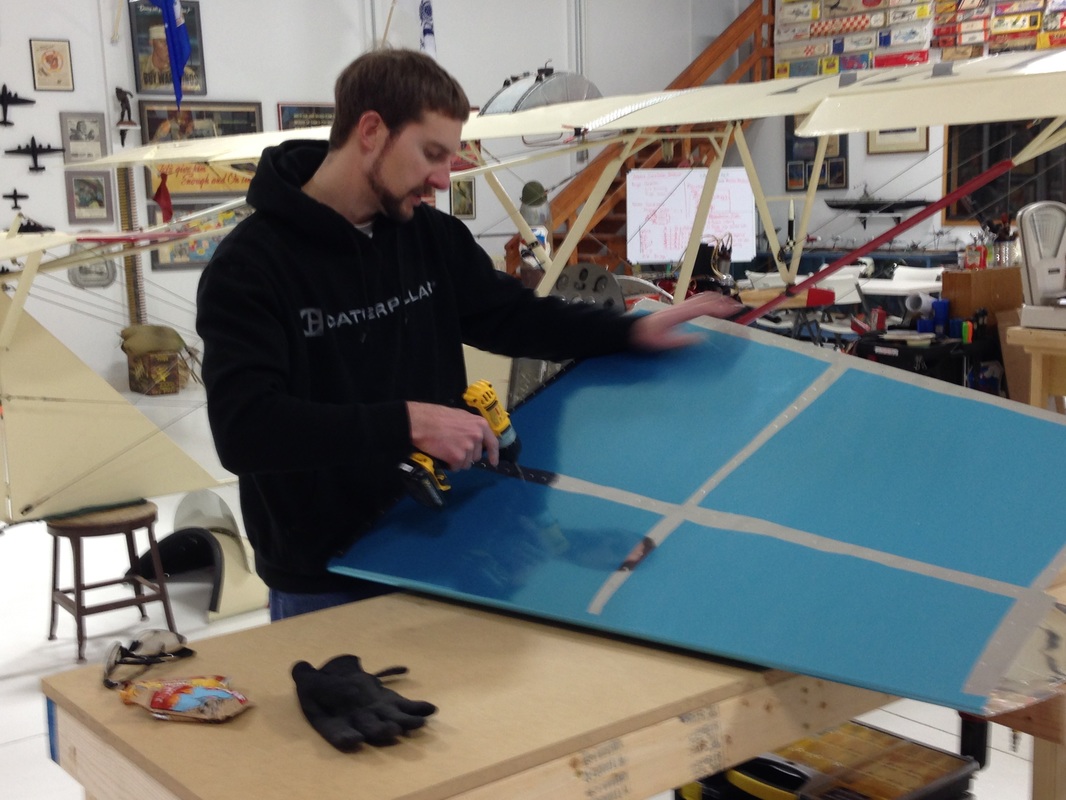
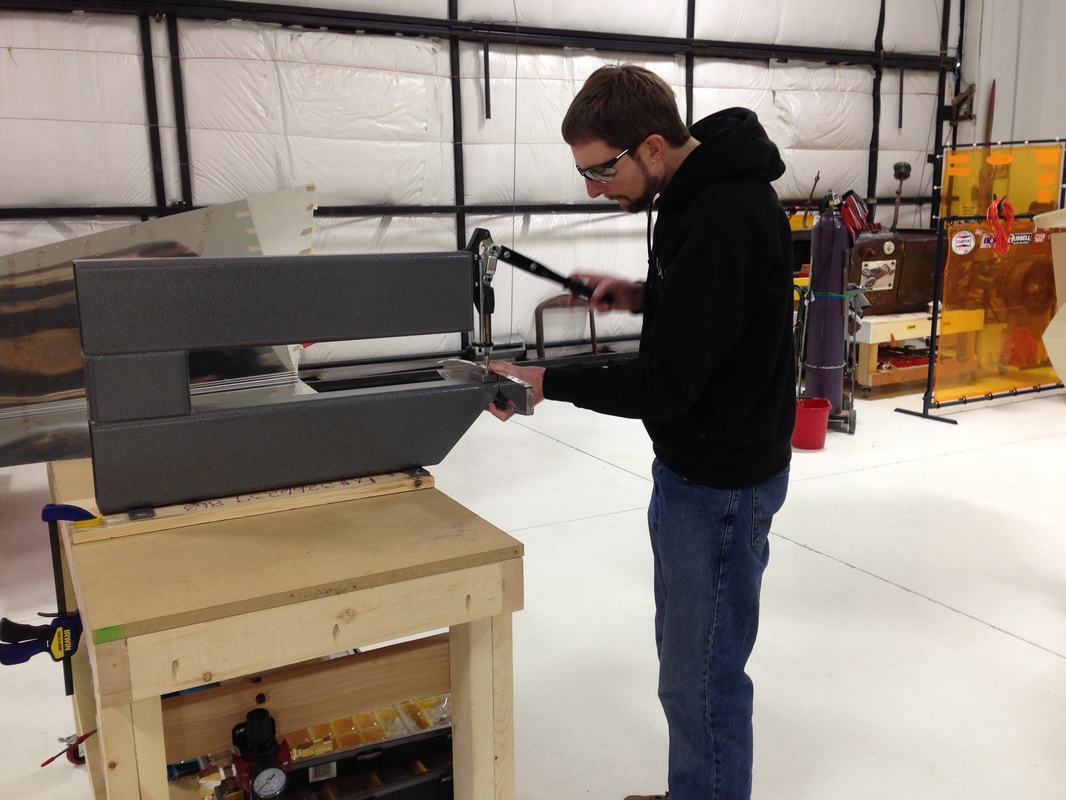
I've learned a big lesson about building airplane this week - sometimes it's hard to see that you're making progress. We've been continuing to work on the vertical stabilizer and since my last post we've put the whole thing together...and taken it all apart again. Apparently, putting things together and then taking them apart so you can put them together again is a big part of the build process. Now, I have to be honest and say that Mike did warn me about this. I believe he said that we will basically build our airplane four times before we are done. It can be a little disheartening to put in several hours of work to end up with the same pile of pieces you started with days ago. But, I suppose it's all progress and every single step gets us closer to a finished product. You might remember that at the end of my last post, we had finished putting together the guts of the vertical stab. I don't think that "guts" is an approved airplane term but I have no idea what else to call it. (OK, I just looked at the build manual and the correct term is actually skeleton.) Here's a little reminder about where we will be starting this week's adventure. 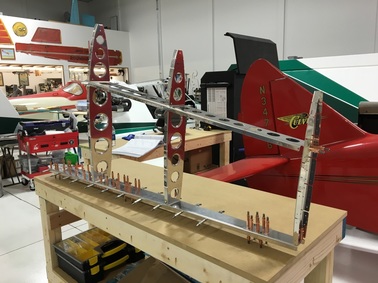 The skeleton of the vertical stabilizer. Our next step was to fit the skin over the skeleton that we had constructed. The skins are the thin sheets of aluminum that make up the outside surface of the plane. The skins come preformed into the final shape they will take on the plane, so they tend to be big and kind of unwieldy. Like the rest of the parts, the skins are also covered in blue plastic to protect the surface of the metal. One most of the other airplane parts we completely remove that blue plastic before we begin working. Since the skins are so easy to scratch, we decided to leave as much of the protective film in place as possible. On the outside of the skin, we removed only a thin strip of plastic around the rivet holes. We used a soldering iron to melt the plastic and isolate the sections that we wanted to remove. The picture below also illustrate an interesting difference between our approaches to this particular task. On the left, you can see Mike using a straight edge so he can score a perfectly straight line in the plastic. On the right, you can see Mike's perfectly straight lines (running vertically) and the wavy lines (running horizontally) where I decided that was a massive waste of time and decided to do it freehand. Oddly enough, prior to this I've been the person obsessed with getting things just right and Mike has just wanted to get things done. We also had to remove all of the protective film from the inside of the skin so we could put the whole vertical stab together. I didn't get any pictures of that process, probably because I was busy swearing at that stupid blue plastic. Let me just tell you that removing big pieces of that protective film is really, really hard. After a lot of frustration and not much progress, we finally wised up and used the soldering iron to divide the inside surface into smaller pieces that we could remove with much less difficulty. Our next step was to fit the skin onto the skeleton (that was a really creepy sentence to type). Again, that turned out to be more challenging than we expected. As I mentioned, the skin is preformed into (roughly) the right shape. The trick is that you have to get all of those little holes you see punched in all the parts to line up just perfectly. The skin of the vertical stab is formed into a big V-shape with straight sides, but the ribs on skeleton are curved. The hardest part to line up was at the front of vertical stab, at the point of the V. After some experimentation we figured out how to make everything line up but we did manage to scratch the inside of the skin quite a bit. Oh well, no one will ever see that once we have everything riveted together. We then proceeded to use about 200 clecos to hold the whole thing together. BTW, if you want to strengthen your hands, buy yourself 200 clecos and a set of cleco pliers. 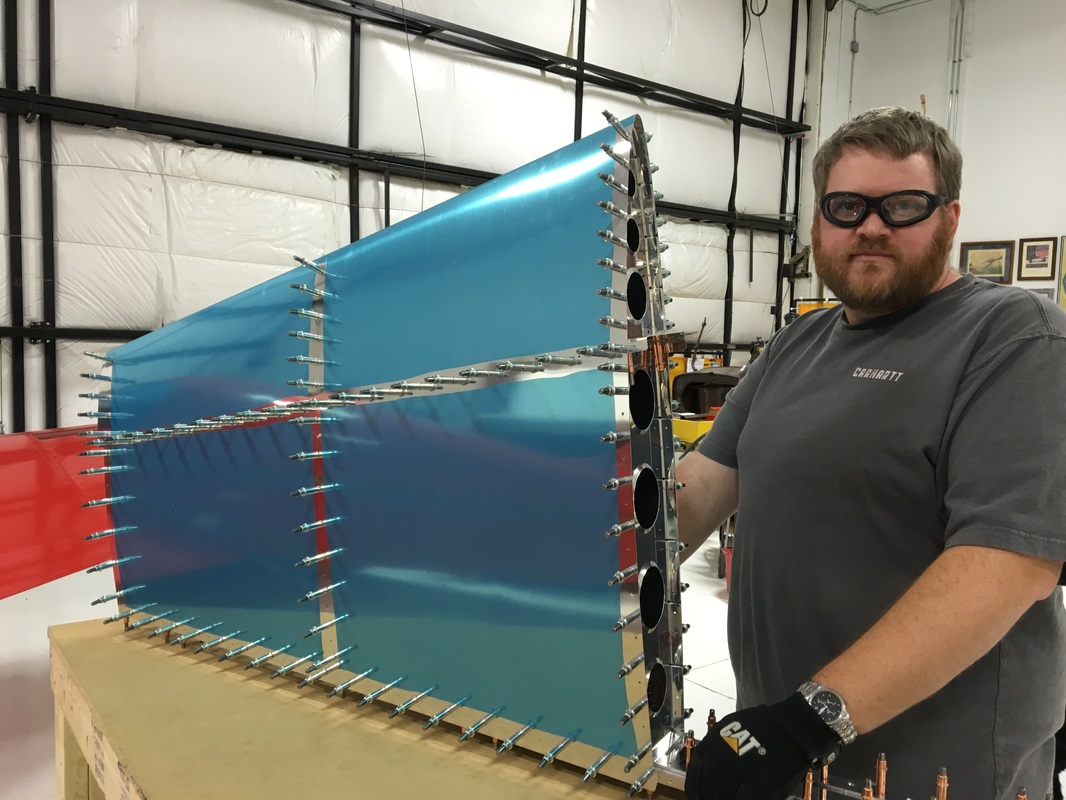 For a moment, it really looked like an airplane! Then...Mike took it all apart. See, the thing is that even though the kit comes prepunched with all of those little rivet holes, the holes aren't actually the right size. They are all just slightly too small and have to be "final drilled" to the correct size. Mike explained why the make the wholes to small but I won't go into that right now. Then, once all the holes are drilled to the correct size, they all have to be deburred. And all that work completed exactly two steps in the construction manual.  After reading that, I also just learned that the annoying blue plastic film is correctly referred to as vinyl. Finally, all of those holes on both the skin and the skeleton have to be dimpled so that all the pieces sit together properly. You might remember when I talked about countersinking pieces in a previous post. Dimpling is a very similar process, except the pieces of metal are much thinner so you don't have to use a drill to remove the excess metal. Instead, you use a dimpling die to press a little divot into the surface of the metal. This is where the head of the rivet will sit so that it's flush with the surface. Mike's friend, Keith, helped out with the build that day so I have to admit that I can't provide a lot of details on how it was done. I'm sure I'll get to help with it at some point in the future so I'll talk more about when that happens. Here are some pictures of Mike and Keith at work. At the moment, we are back to a pile of pieces on the workbench. There's a few more hours of work to be done before we put the whole thing together (again) and rivet the skin into place. 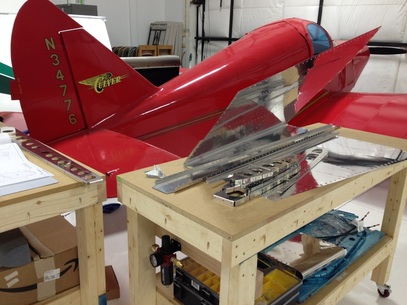 Looking less like an airplane. Also, a nice bonus shot of the Culver in the background. New Vocabulary:
Skeleton - the inside, structural part of the airplane that you don't see Skin - the outside surface of the plane that you do see Final Drill - drilling all the holes to the right size Vinyl - the protective blue plastic that covers every since piece of the plane Dimpling - putting a small divot in sheet metal so the pieces will sit together properly and the rivet head will be flush to the surface
1 Comment
Some other from a distant land.
2/1/2016 09:46:30 am
Great post especially about how progress can be negative of the idea of what we think progress should be. I like the instructions how you're supposed to vertically stab skin... until I realized that stab was just short for stabilizer. thanks for the pics... and hello to Mike's helping friend. Leave a Reply. |
AuthorThe supportive spouse's guide to building an airplane. Archives
May 2017
Categories |


 RSS Feed
